A Festive 'Be Merry' Holiday Pillow
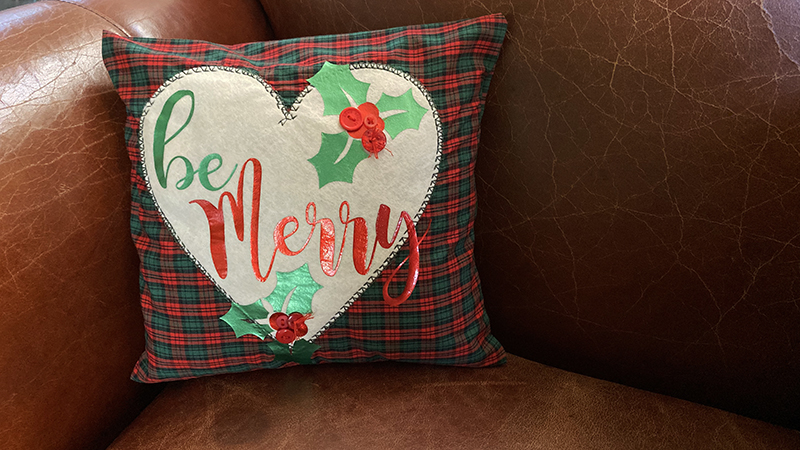
When it comes to decking the halls, I like to add handmade touches to my home. This not only allows me to customize and create one-of-a-kind creations for myself, but it is a lot of crafty fun too! In this video tutorial I will walk you through the process of creating this pillowcase. What I love about a project like this is that I can combine my own ideas, pre-made designs, and with a few sketches and within minutes I can be in the middle of making my own unique pillow!
Supplies needed:
- ScanNCut DX, standard mat, heat transfer vinyl, felt with iron-on backing applied, 12x25” (or other size depending on pillow) fabric, 10” pillow, Brother Sewing Machine (optional – for stitching), buttons, and thread.
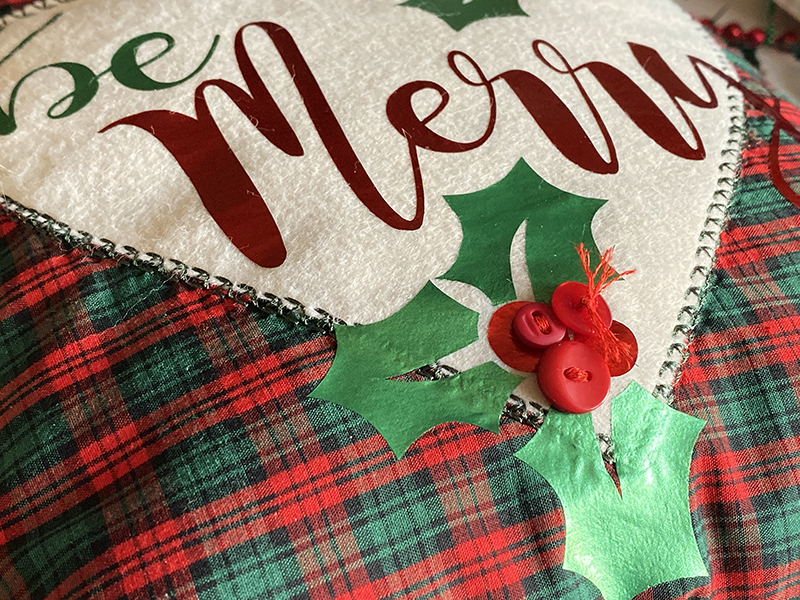
Note that you could begin with a pre-made pillowcase as well, if you do this, I would recommend sticking to just adding heat transfer vinyl layers as it will be easier, but it is possible to add buttons, felt, and more as well. Creating your own pillowcase is 4 straight stitch lines – so easy! Simply stitch the two ends and then fold the pillowcase (measuring), then apply all the decorations before flipping inside out and stitching the two sides (with ends overlapping for best results to create the flap) shut. This was one of my first sewing from scratch projects for a reason – nearly impossible to mess up!
http://youtu.be/HHzUYUBy-ug A project like this would be wonderful for any holiday or occasion – and the same pillow can be re-used just keep your pillowcases safe in storage between uses. Happy Holiday Crafting!
Related Projects
Stay Connected
Follow Us
Brother Support
Corporate Information
Partnership Opportunities
About This Website
