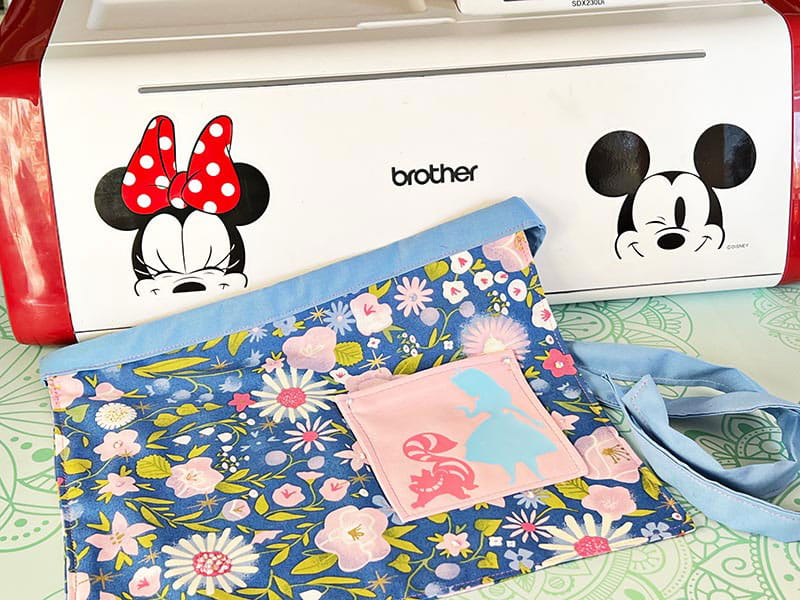
How to Make a Disney "Alice in Wonderland" Apron
- Brother Crafts Blogger
Supplies to Create Apron:
- Fabric
- Brother Sewing Machine
- Scissors
Supplies to Customize Apron:
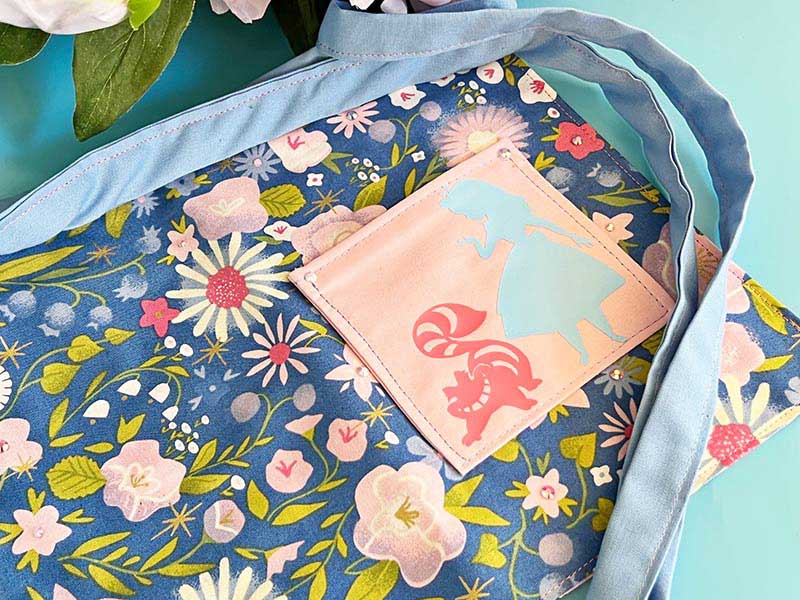
- Brother Disney ScanNCut DX
- Heat transfer vinyl
- an iron
- rhinestones
- fabric glue
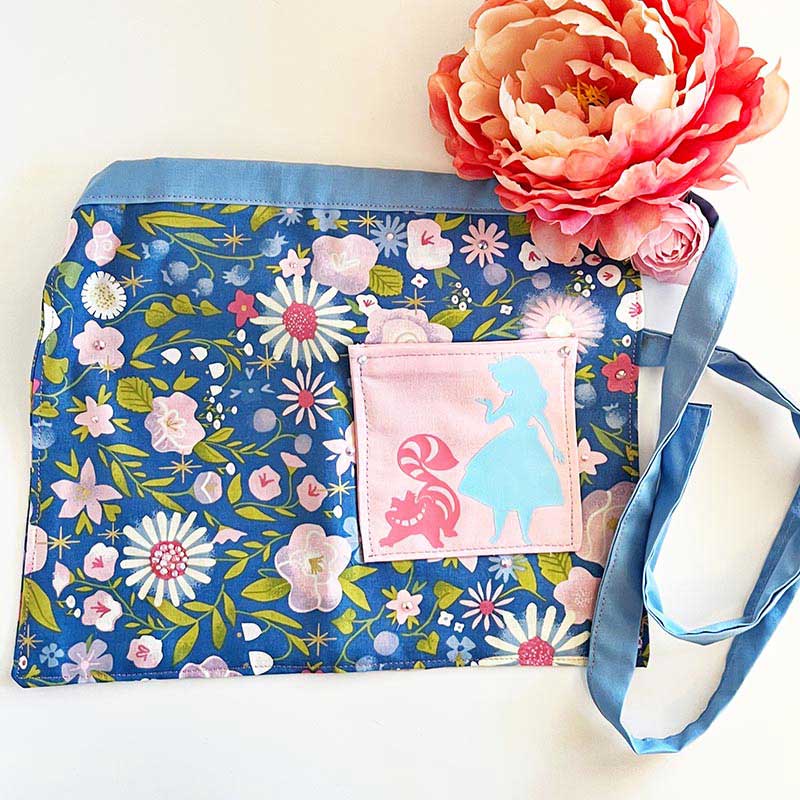
When it comes to great gifts for any age, an apron is always lots of fun! I’m a big fan of ½ aprons with pockets, as they are so versatile and useful. From a young artist to a passionate gardener, a baker to a crafter, aprons are a great option for people of all ages. For this crafting project, I knew I wanted to use the adorable Alice in Wonderland patterns built in to the Brother ScanNCutDX 230Di and create a custom apron for a little girl.
One of the things I love most about making aprons is that it is very easy for even beginner crafters. Believe it or not, it is possible to take a rectangle of fabric, stitch it up, and create a custom apron! Sizing and styling can become complicated and might require a pattern, but you can also make something very basic and easy. This makes it a great beginner craft project.
Don’t want to sew or have a nice ready-made apron you want to customize? You can skip to the part where you pick your designs, determine the correct sizing, and heat transfer onto your surface. I recommend looking at colors and sizing carefully before committing, and ironing your material to both warm and smooth it prior to your heat transfer of vinyl.
This beginner crafting project can be as intricate or as simple as you make it! And as I mentioned before, these DIY aprons really do make fantastic gifts for any holiday theme or occasion. With the Disney cut files in my Brother machine, I think a whole themed series based off the movies and characters would make for a fun collection of aprons! What Disney craft will you make next?
Related Projects
Stay Connected
Follow Us
Brother Support
Corporate Information
Partnership Opportunities
About This Website
