Crafting a Fourth of July Celebration
Brother Crafts Blogger
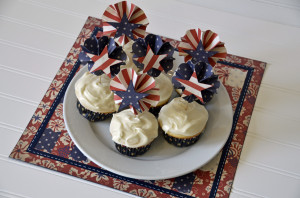
From fireworks over San Francisco Bay to readings of the Declaration of Independence at Independence Hall in Philadelphia, America is getting excited for its 238th birthday! And families across the country are getting set to create memorable events, whether they’re backyard barbecues with friends or festive block parties. Veteran blogger and crafter Erin Bassett graciously shares her pro tips for adding patriotic flair to any place setting using the unique features of the ScanNCut machine. She offers step-by-step instructions for creating a placemat and cake toppers, perfect for cakes and cupcakes alike.
Using papers left over from her scrapbook papers, Erin says the added bonus is, “The photos from the holiday will coordinate perfectly when they are scrapped!” To find and download Erin’s cut files, click HERE.
Materials: Brother ScanNCut machine, USB memory stick, patterned scrapbook papers, adhesive, white pen, toothpicks
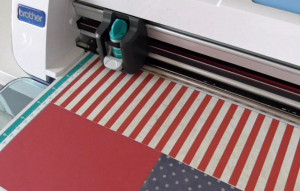
Placemat Step 1: Load all of the cut files onto your USB flash drive and then insert it into your ScanNCut machine. Click on “patterns,” “saved data,” and then the USB icon. Select the “weave.fcm” file and cut it out on a 12" x 12" piece of patterned paper. This will be your paper loom for your placemat.
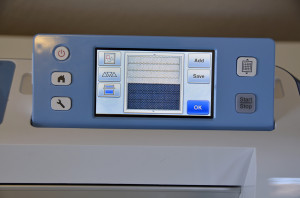
Placemat Step 2: Cut out the border shape “BO-A006” from the border patterns that are preloaded into every ScanNCut machine. Keep the size at 1.57" x 11.42" and change the number to cut to 6.
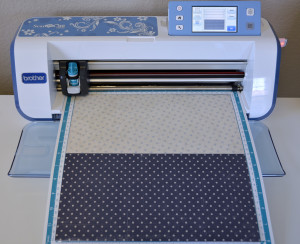
Place two 6" x 12" patterned papers onto your standard mat, insert it into the machine, and then press the scan icon so you can make sure the papers and patterns are lined up correctly, you need 3 shapes per paper...6 total.
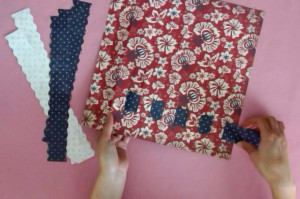
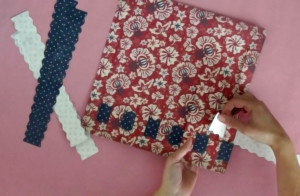
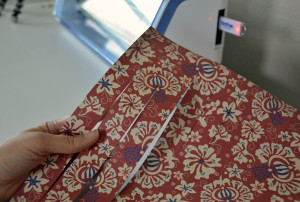
Placemat Step 3: Weave the border strips into your paper loom going over the first band, under the second, and so on. For your next border strip, start by going under, over, under, and so on. Continue alternating the two patterned papers and weave until all the pieces have been used. Adjust the strips so they are evenly spaced and then glue down the end pieces on the back side of the placemat to keep them in place.
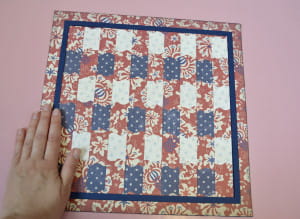
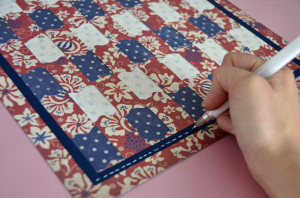
Placemat Step 4: Cut out and glue down the square border “weave_frame.fcm” cut file so that it's centered on the placemat. Add faux stitch lines on it with a white pen if desired. You could also stitch the paper by using your sewing machine.
Cupcake Topper Step 1: Load the cut files onto your USB memory stick and then insert it into your ScanNCut machine. Click on “patterns,” “saved data,” and then the USB icon. Select the “patriotic_pinwheel.fcm” file and place a patterned paper that is at least 12" x 2" at the top of the standard mat, this is for the pinwheel. Beneath it place two papers that are at least 2.5" x 2.5" for the star and the circle. Press the scan button so you're able to see your papers on the screen and then move your patterns onto the correct papers before cutting them out.
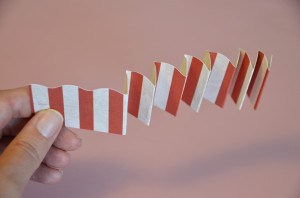
Cupcake Topper Step 2: Apply adhesive to the circle shape so that it's ready to be glued on after the border piece is folded. Next, accordion fold the border shape using the scallop edge as a folding guide. You want a fold in each valley of the scallop. Cupcake Topper Step 4: Press the center down on your table top to flatten it out and then mount it onto the circle that you already put adhesive on.
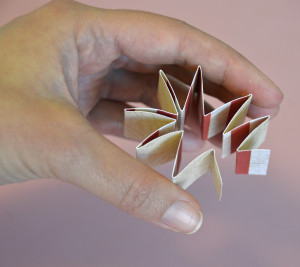
Cupcake Topper Step 3: Once it's completely folded, apply adhesive to one of the ends and attach it to the other end to form a circular shape.
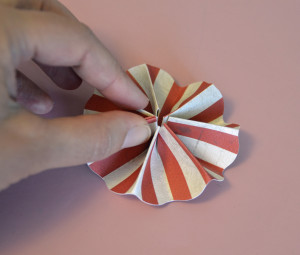
Cupcake Topper Step 4: Press the center down on your table top to flatten it out and then mount it onto the circle that you already put adhesive on.
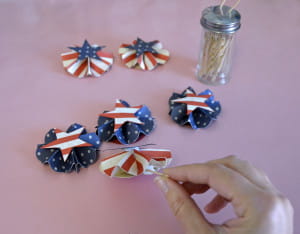
Cupcake Topper Step 5: Glue the star to the top of the pinwheel and glue on a toothpick so it can be inserted into some yummy cupcakes!
Related Projects
Stay Connected
Follow Us
Brother Support
Corporate Information
Partnership Opportunities
About This Website
