Create Your Own Face Shield Using a Cutting Machine
Supplies:
Brother ScanNCutDX
Firm Plastic (approx. 0.5mm)
Elastic band
Masking or Washi tape
(Optional) Brother Sewing machine
Cutting File Courtesy of Brother: Click to Download
Given the ongoing efforts for the sewing and crafts community coming together to develop face masks and face shields, the Brother Crafting team wanted to ensure everyone and anyone could help. Using the ScanNCut DX cutting machine, the team put together a wonderful template for making a face shield that is easy to cut and use.
After downloading the digital cutting file, you will bring the file above in, unify (if desired) to move or re-size and then cut it out. I will note that it is a good idea to place washi tape or masking tape around the edges of your plastic material when making a face shield, as the weight of it will be prone to lift at the edges during cutting. This will help stabilize and ensure a perfect cut from the ScanNCut DX cutting machine.
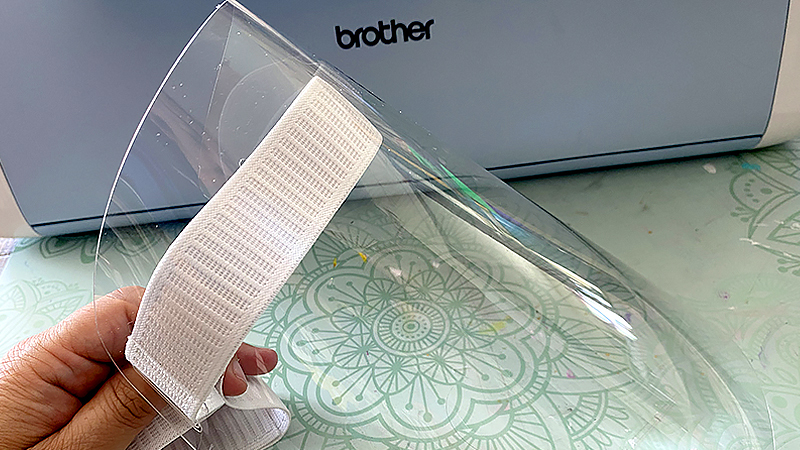
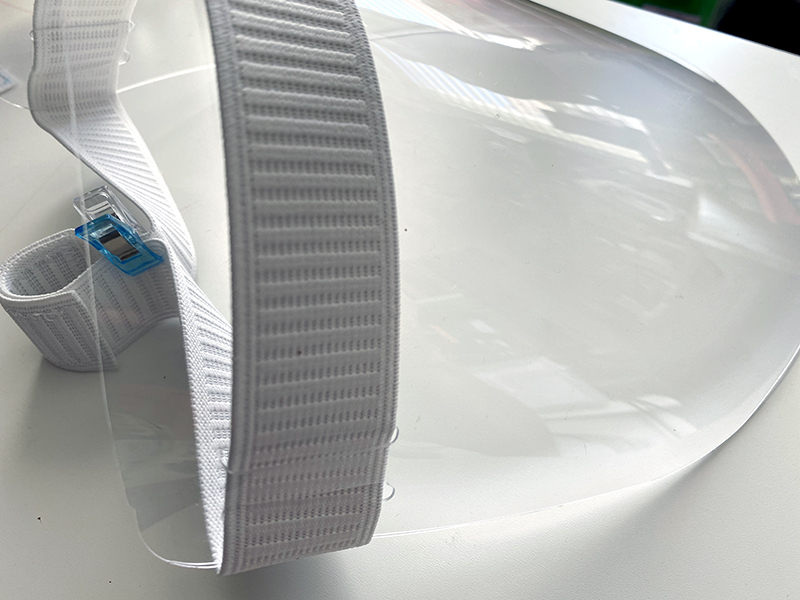
The best part of this project for me was that you do not need to do anything complicated to complete the DIY face shield. You could use a no-sew adjustable closure, or what I did was to use a 1” elastic band stitched together so it is adjustable, but always closed/sealed together.
Even better? The auto-blade feature on the ScanNCut DX models means that it will continue to cut through your plastic material as many times as needed – no settings or adjustments required.
It is important to note that face shields have not been proven to provide effective protection against the spread of viruses. For more information, visit the CDC website.
Related Projects
Stay Connected
Follow Us
Brother Support
Corporate Information
Partnership Opportunities
About This Website
