Cute Valentines Day Card
Brother Crafts Ambassador
When it comes to Valentine’s Day, what else comes to mind than Valentine’s Day cards? I always have so much fun creating all sorts of Valentine’s Day projects with my Brother ScanNCut, so I couldn’t wait to dive in to create a fun DIY card for my boo!
Designing your own cards with Brother ScanNCut is a great way to explore your creativity.
This is a unique way to create custom Valentine’s Day cards, and make them completely personalized. Use your favorite sayings, characters, or even start off with your own cheeky, clever phrase and build your design off of that! If you’re willing to go that extra mile, this would be a fun project to do with the kids for their school Valentine’s Day exchanges (just give yourself enough time to get them all done)!
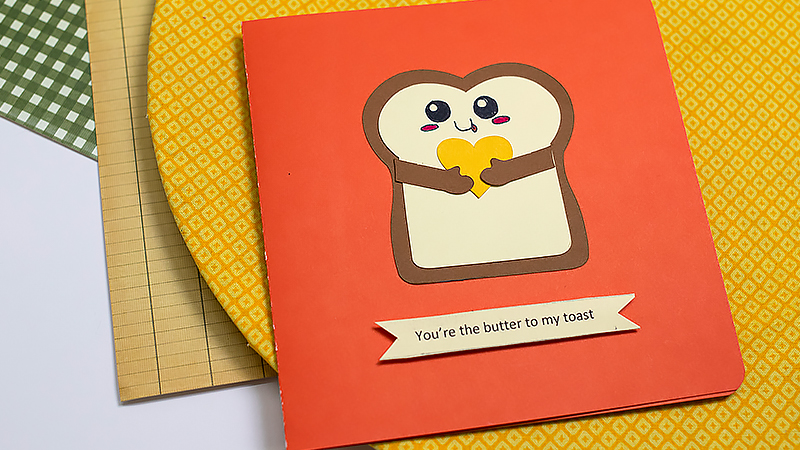
I thought it would be cute to make a card that brought a little fun and humor to Valentine’s Day. The files are easy to locate. The link is below. Simply download and upload into CanvasWorkspace.
Download Valentines Toast FCM file here! Valentines_Toast.fcm
Directions:
1. Cut out the files on the appropriate colors. (The crust and arms should be your darker brown. The bread should be a lighter brown or beige. The heart should be a yellow for the butter.)
2. If desired, type your favorite saying, print, and cut out your desired shape. Alternatively, you could also write your saying at the end.
3. Glue or tape the crust to your card (I used puffy tape because I wanted a bit more dimension to my card).
4. Layer each of the remaining pieces to your card. The bread should be centered on the crust. Stick your butter around the center of your toast. Then add the arms to start at the edge of the bread and lay over the butter heart.
5. Finish the card off by drawing on your favorite facial expression with your markers, pens, or other writing utensils and adding your saying.
6. If you have a cut out saying, finish the card by adhering it to the card in your desired spot.
Tags
Shop this Project
Ready to make this project your own? Well, Brother has you covered! The products in this inspiring project are available for purchase so you can click, shop, and get to crafting!
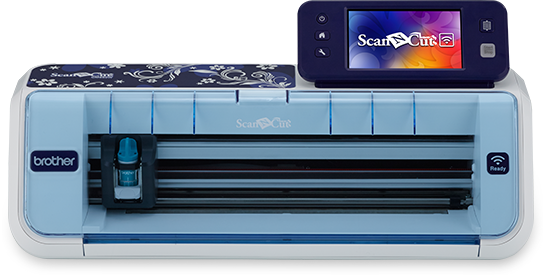
Electronic Cutting Machines
- True Auto Blade
- Built-in designs
- Built-In Scanner, scan in hand-drawn creations and cut them out!
Related Projects
Stay Connected
Follow Us
Brother Support
Corporate Information
Partnership Opportunities
About This Website
