DIY Fall Felt Projects! Flower Wands, Wreath & Modern Appliqués
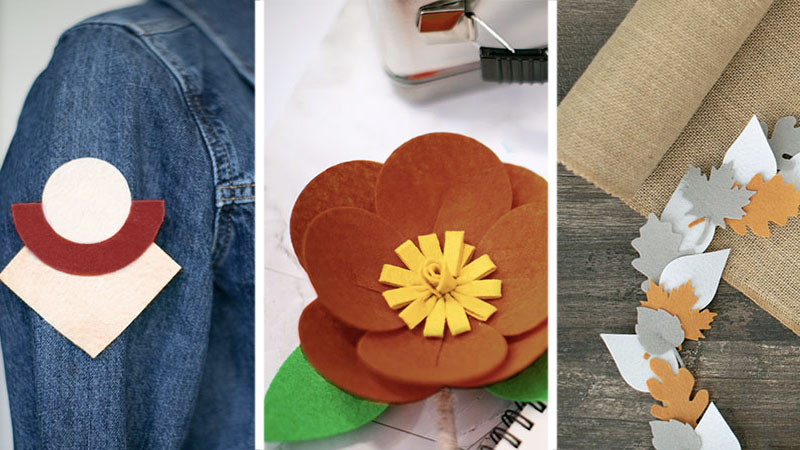
Get into 'fall-decorating' mode with these three fun felt projects! First, create colorful home decor flowers; next, ada splash of autumn with a seasonal fall wreath, and lastly, throw a touch of cool modern design on your favorite denim jacket!
You will need:
Felt Flower Wands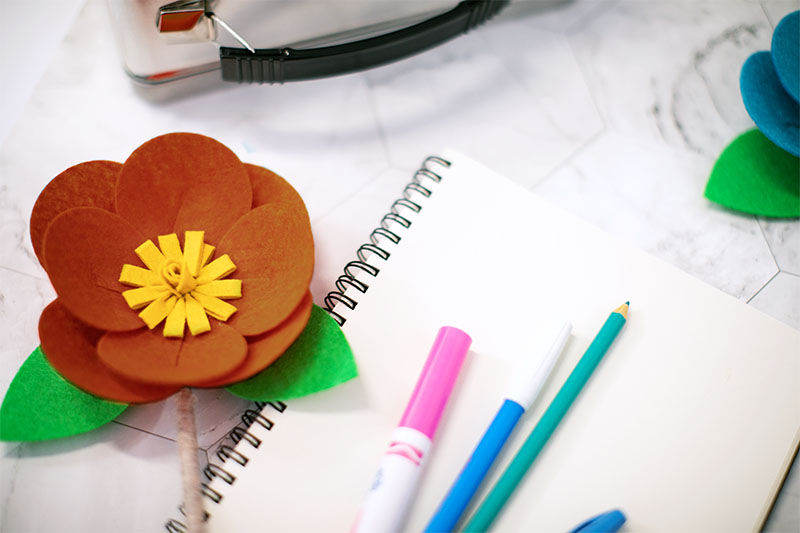
- CanvasWorkspace project files & instructions
- Stiff craft felt, 12” x 12”
- 0.25" wooden dowel Twine, yarn, or floral tape Needle & thread
- Hot glue gun
- ScanNCut
- High-Tack Fabric Support Sheet and Auto Blade
- Standard Tack Mat
- Stiff craft felt
- 12” x 12” Large embroidery hoop
- Hot glue gun
- ScanNCut
- High-Tack Fabric Support Sheet
- Auto Blade
- Standard Tack Mat
- FallTipsandTricks_FeltWreath_1.fcm
- FallTipsandTricks_FeltWreath_2.fcm
- Stiff craft felt
- 12” x 12” Iron-on transfer sheets
- Press cloth
- ScanNCut
- Auto Blade
- Standard Tack Mat
- FallTipsandTricks_Appliques.fcm
- Denim jacket or piece of clothing you’d like to decorate
Steps:
Felt Flower Wands
Head over to CanvasWorkspace and download the free project files and recipe PDF to create this project.
Felt Wreath
1. Download “FallTipsandTricks_FeltWreath_1.fcm” to your machine.
2. Select your felt colors and apply to the mat using the high-tack fabric support sheet.
3. Cut out the felt shapes, remove from the mat and set aside.
4. Repeat steps 2-3 once or twice more, varying the felt colors.
5. Download “FallTipsandTricks_FeltWreath_2.fcm” to your machine.
6. Repeat steps 2-3 with the felt colors of your choice.
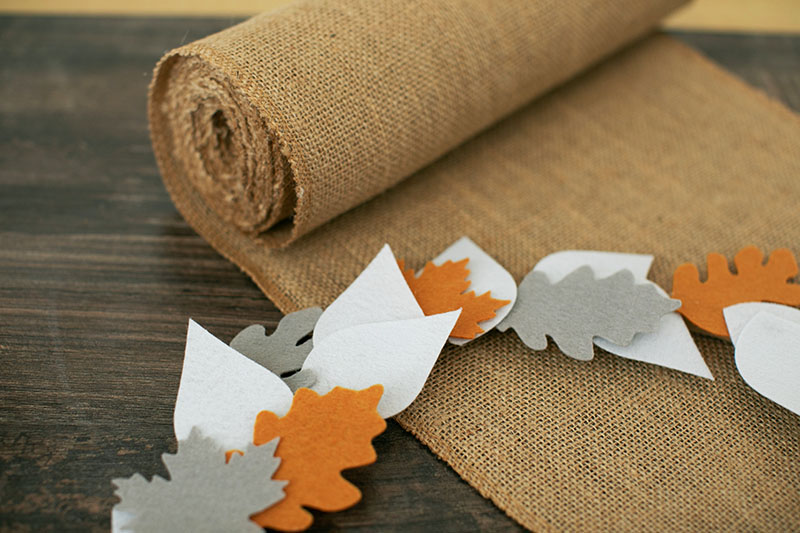
7. Gather all leaf shapes and begin to arrange on top of the embroidery hoop. Make the wreath as “fluffy” as possible, arranging the leaves at different angles and layering them on top of one another for a full look.
8. Secure each leaf to the embroidery hoop / to the leaf it’s stacked on top of with hot glue.
9. Remove all strings of hot glue once all leaves are secured for a clean finish.
10. Done!
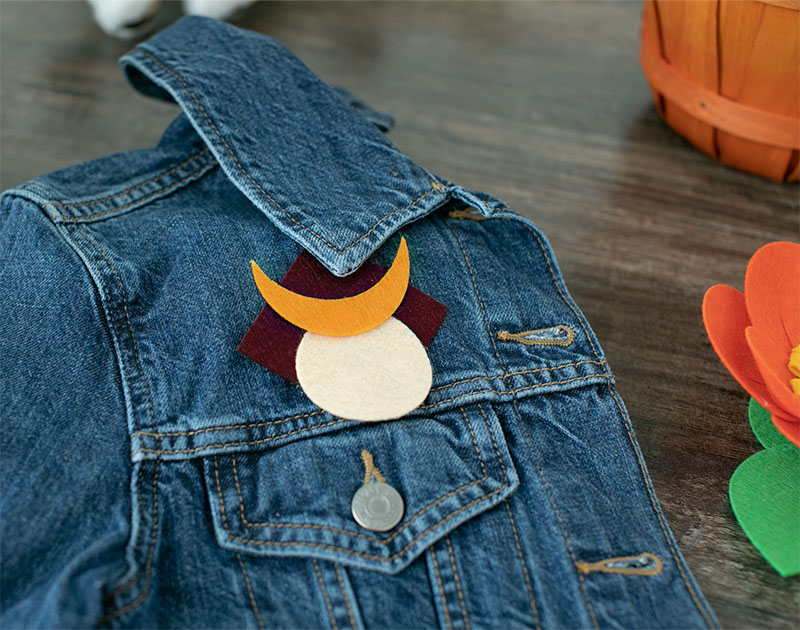
Modern Felt Appliqués
1. Download “FallTipsandTricks_Appliques.fcm” to your machine.
2. Select your felt colors for each shape, trimming if needed to fit on the mat. (Use the scanning function to help you align each felt piece with the cut file on the screen!)
3. Apply the iron-on transfer sheet to each piece using an iron (refer to the sheet instructions).
4. Once each sheet is applied, trim down if needed and peel off the backing.
5. Apply your felt to the low-tack mat, with the adhesive side facing down.
6. Cut out the appliqué shapes. Carefully remove each cutout from the mat, ensuring that the adhesive remains stuck to the felt and doesn’t get pulled off.
7. Arrange the pieces on your jacket or clothing item, overlapping each felt piece as shown in the photos.
8. When you’re happy with the look of the appliqués and the placement, carefully place a press cloth over the entire area, making sure not to move the appliqué pieces around.
9. Use an iron on the medium setting to bond the appliqués to each other and to your clothing item.
10. Let cool - it will be very hot for a few minutes after ironing.
11. Done!
Related Projects
Stay Connected
Follow Us
Brother Support
Corporate Information
Partnership Opportunities
About This Website
