How To Create A DIY Seasonal Card
- Brother Crafts Blogger
Supplies:
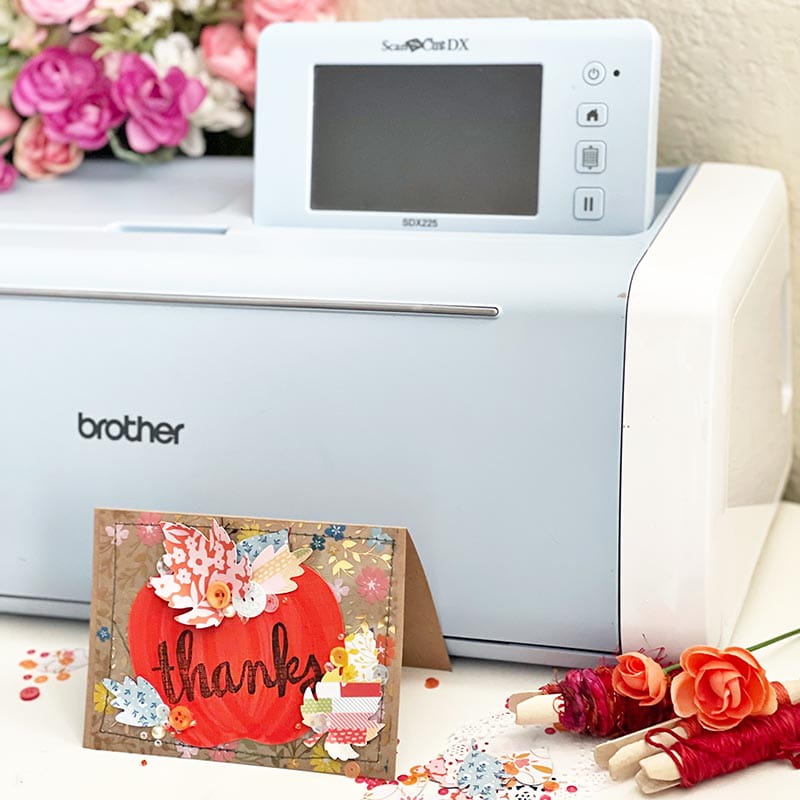
- Brother ScanNCut DX
- standard mat
- cardstock
- patterned paper
- acetate
- blank card
- buttons
- ink and thank you stamp
- adhesive
- (optional) Brother Sewing Machine, or hand stitch
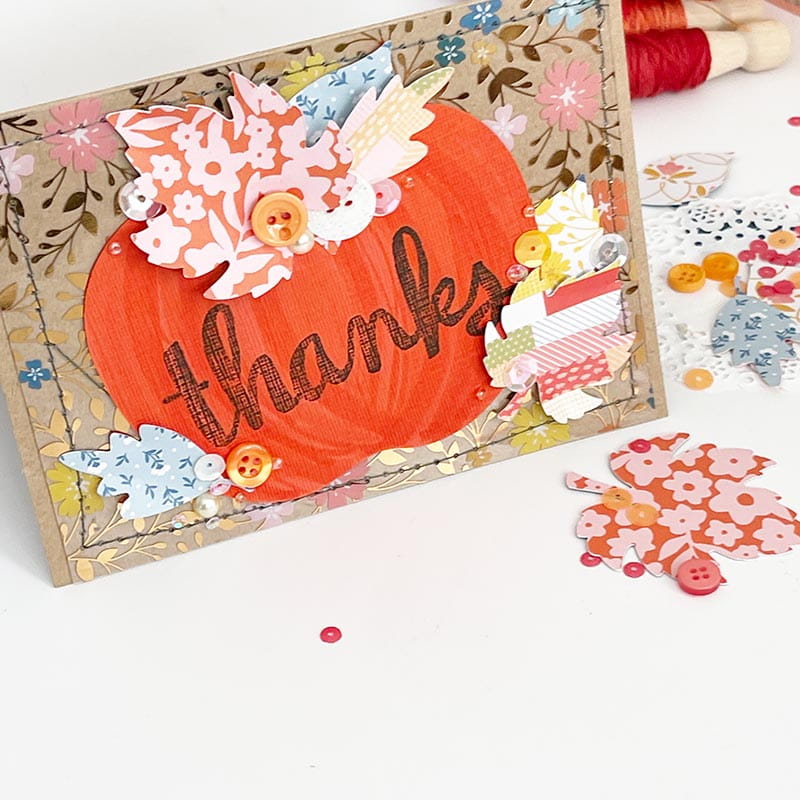
Tip: Don’t have the perfect cut file ready to go? Think outside the box! See if a built-in design can be altered or used for something else. For example, on this project I used the apple to be a pumpkin!
There are two ways I love to use my ScanNCut DX; the first is to prepare loads of basic shapes in advance with scraps of paper, and the second is to create batches of projects. This particular card accomplishes both! By utilizing the scan mat function and making plenty of extra leaves, I now have a card ready to mail, and making more just like it will be a breeze, or I can use my leftovers to create other projects!
For a card like this, the formula that I like to use is a decorative background, a solid-colored large shape, and then layered small shapes. In this example that means an acetate sheet and stitching on the background, an orange pumpkin, and of course the little patterned leaves. There are many options here, and this is a creative formula that works well for cards – whether you make them regularly or not!

Using the scan mat function enables me not only to see where my material and designs are, but it also allows me to make the most of small pieces of material. This saves me time, money, and lets me use up all of my scraps efficiently. It also helps me prepare for future projects by letting me batch create and cut, then use on future things. This is especially useful with paper, and with both seasonal and most used color/themes. Think about shapes you use often and cut them out! A pre-cut die drawer I find is much more useful than a stack of scraps.
Tags
Shop this Project
No ScanNCut DX? No problem! Any products mentioned in this project are available to buy here.
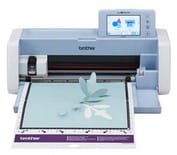
Brother ScanNCut DX
- 251 Built in Designs
- True Auto Blade, no manually adjusting blade pressure settings
- Built-in Scanner; scan in hand-drawn creations and cut them out!
Related Projects
Stay Connected
Follow Us
Brother Support
Corporate Information
Partnership Opportunities
About This Website
