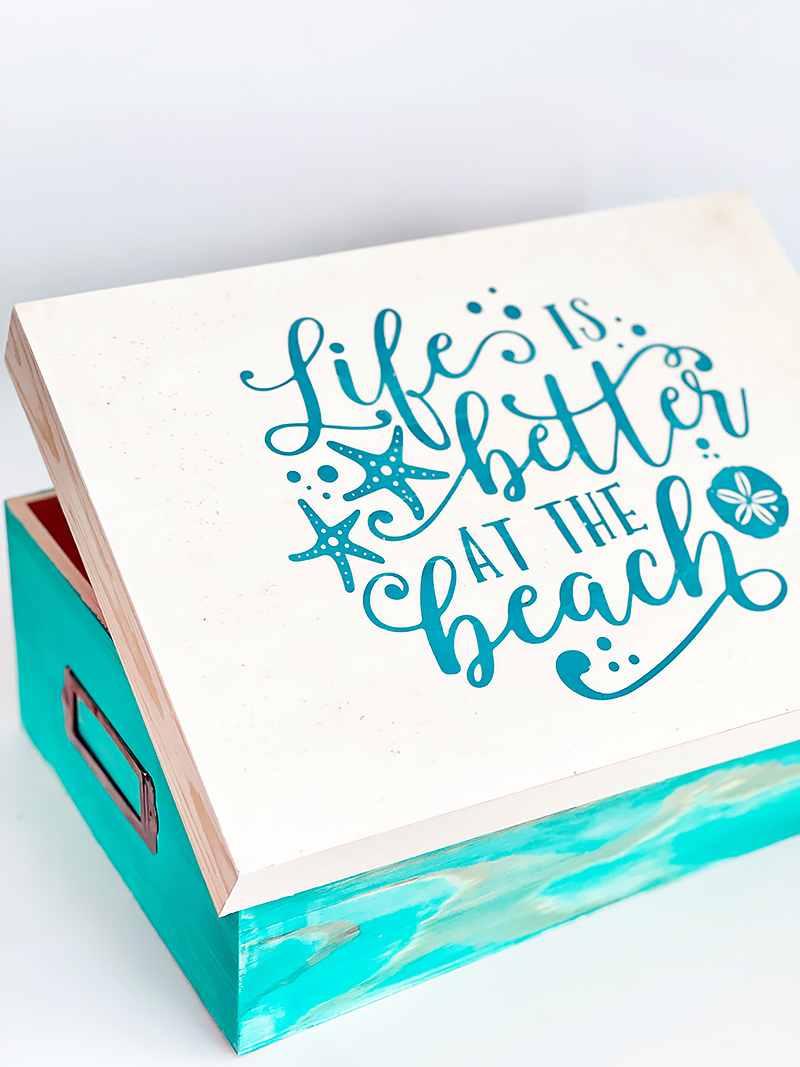
Get Crafty for National Crafting Month With This DIY Family Memories Photo Box
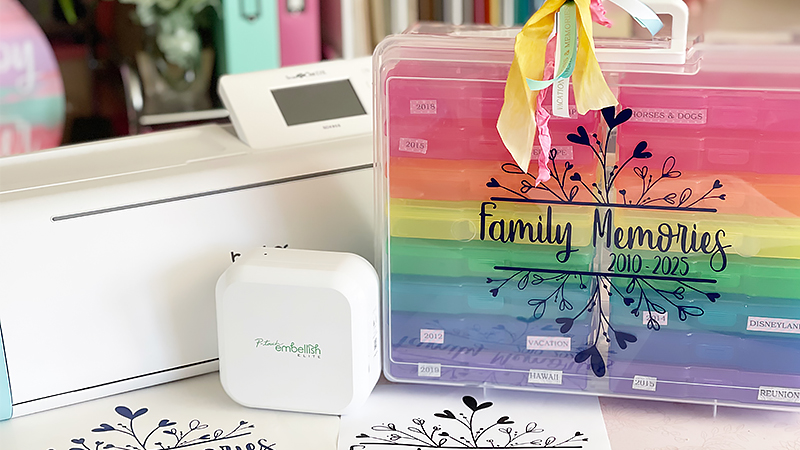
Brother Crafts Ambassador What can you do when stress is high and you’re looking to relax, perhaps reminisce? Organizing your family photos is a wonderful way to unwind and walk down memory lane – and with the right tools it can also be crafty! Here, I’ll show you how to make a DIY photo box for all your favorite family memories. Finally, this month is National Craft Month, so it gives us that much more spirit!
Supplies:
- Brother ScanNCut DX
- Brother P-touch Embellish ELITE
- Craft (Sticker) Vinyl
- Vinyl transfer sheet
- Washi tape cartridge for Brother P-touch
For this project, I customized my photo box by:
1. Printing out an image (in this case clip art and my own wording) to create a cut file with my ScanNCut DX. Please note that you could also use SVG file(s), or a combination of files as well.
Tip: Be sure to measure and make sure you are clear on the height and width of the area you are working with!
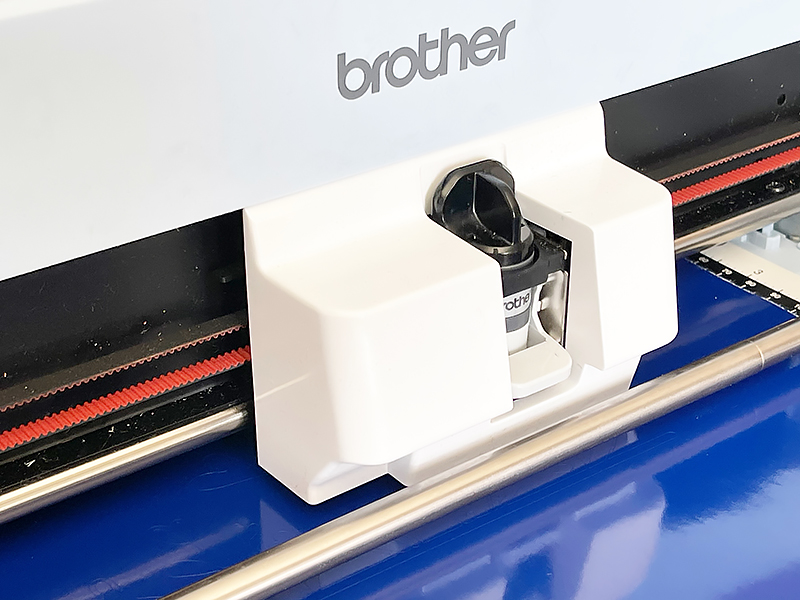
2. Place the image onto the ScanNCut DX mat and select scan to cut data. Once the machine has scanned, select the option to cut lines both inside and outside, and check that everything looks good. If it does, go ahead and save it to your machine.
3. Remove the image, and place vinyl on your mat. Be sure to firmly rub the material to ensure that it is completely flat, and well adhered.
4. Under “retrieve” select machine, and the cut file that you just created. Once selected, click through “Ok” until you reach the select function screen. Select cut. Click the tool button and turn half cut to on. This will cut your vinyl, but not the backing sheet. The half-cut function on this auto blade is amazing!
Tip: Need to move the pattern or make edits? Instead of simply clicking through, click on edit and go ahead and make your edits before “ok” clicking through.
5. Once your mat, material, and pattern are all set, click to start the cutting. For a pattern that is intricate, it can take a few minutes.
6. Once cut, remove the sheet of vinyl from the cutting mat. Then weed (remove) the excess vinyl from all around the design. Do this carefully and with a tool such as a craft pick to assist you.
7. Your final step is to use transfer material to lift the entire design off of the backing sheet, and on to the front of your photo storage container. Use firm pressure, and rub to ensure a good solid transfer. Repeat if needed to properly transfer your vinyl sticker onto the front.
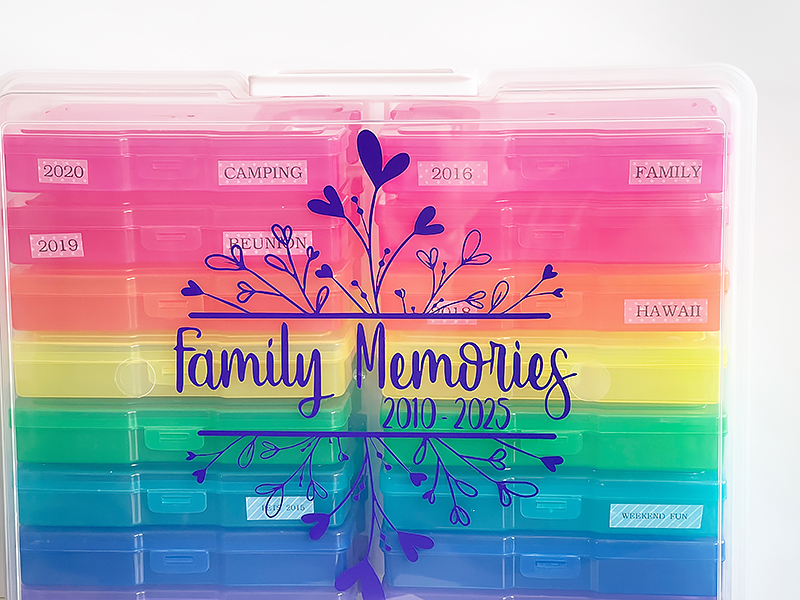
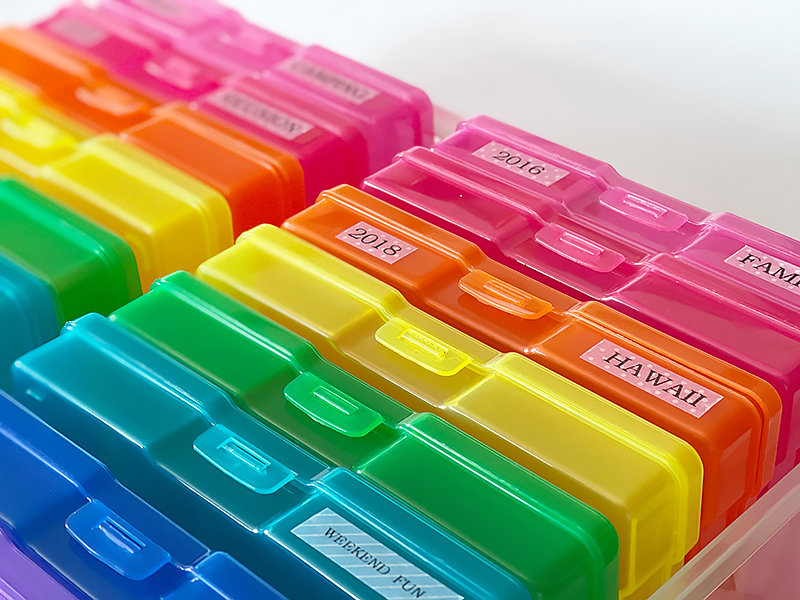
With this done, you are now ready to sit and organize and sort your photos however you please. Want to take the organizing a step up? Let’s get out the Brother P-touch Embellish ELITE! Select your size and font (and words/numbers), print onto washi tape, cut, and adhere to the individual photo boxes.
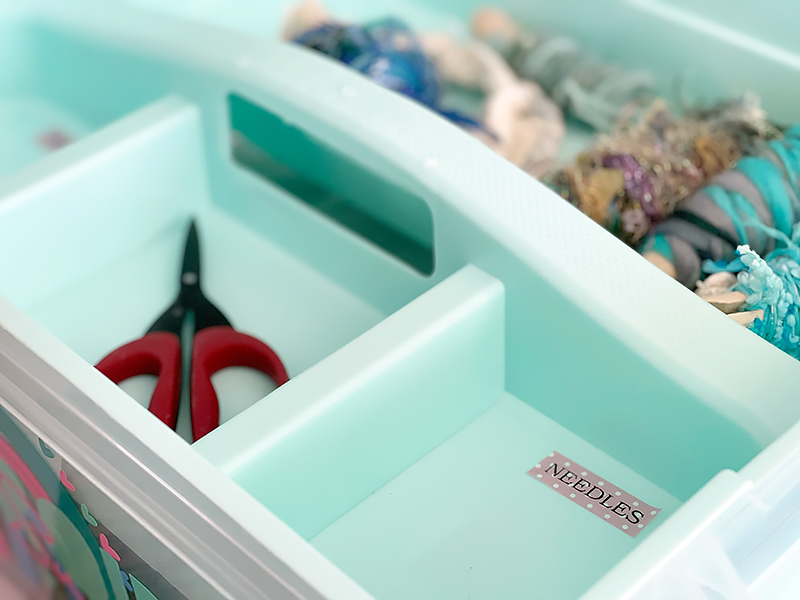
This can be repeated on all of your individual boxes – and the details will help you remember what photos you’ve sorted, of what, and where to find them later on. With the Brother P-touch Embellish ELITE, you can select a number of colors and patterns for the tape to match your mood – or the container.
Want to get even more customized results? You can repeat what we did on the outside cover of this photo storage box on the individual small photo storage boxes! This allows even more crafty fun and relaxing as you organize. Vinyl to customize and help me make organizing fun is a great way to infuse creativity and make time reflecting on memories past even more enjoyable. You can utilize pre-made designs, design your own, or utilize any of the built in designs the ScanNCut DX has ready for you.
Want to take this project farther? You can use this idea on different types of boxes, including wooden boxes and create keepsakes for a new baby, to celebrate a wedding, a birthday, or any other life events and gift to a loved one.
Tags
Shop this Project
Inspired to try to this at home? Brother has you covered! The products in this snazzy project are available for purchase so you can click, shop, and get crafting!
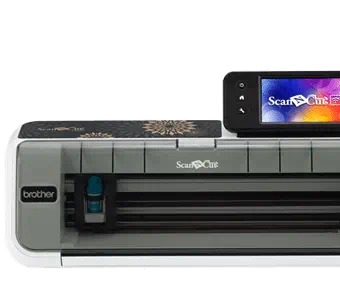
Electronic Cutting Machines
- Built-in designs
- Built-In Scanner, scan in hand-drawn creations and cut them out!
- True Auto Blade
Related Projects
Stay Connected
Follow Us
Brother Support
Corporate Information
Partnership Opportunities
About This Website
