Get Your Game On with Geometric Gameboard & Pieces
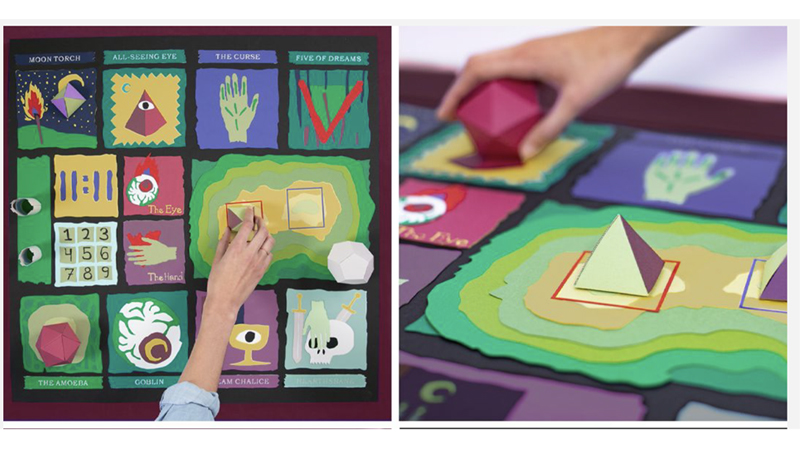
Create a one of a kind gameboard and fun playing pieces such as Isohedron and Pyramid shapes!
You will need: ScanNCut DX, cardstock, AutoBlade, low-tack mat, non-toxic glue or adhesive, ruler, a toll to score/fold paper

Steps for the Isohedron:
Step 1. Download “isohedron.svg” to your machine.
Step 2. Apply cardstock or paper to a low-tack mat and cut out the shape using the machine. Carefully lift the shape once it’s cut out.
Step 3. Use a ruler to carefully score and fold the adhesive flaps and object folds in the following manner (along the red lines):
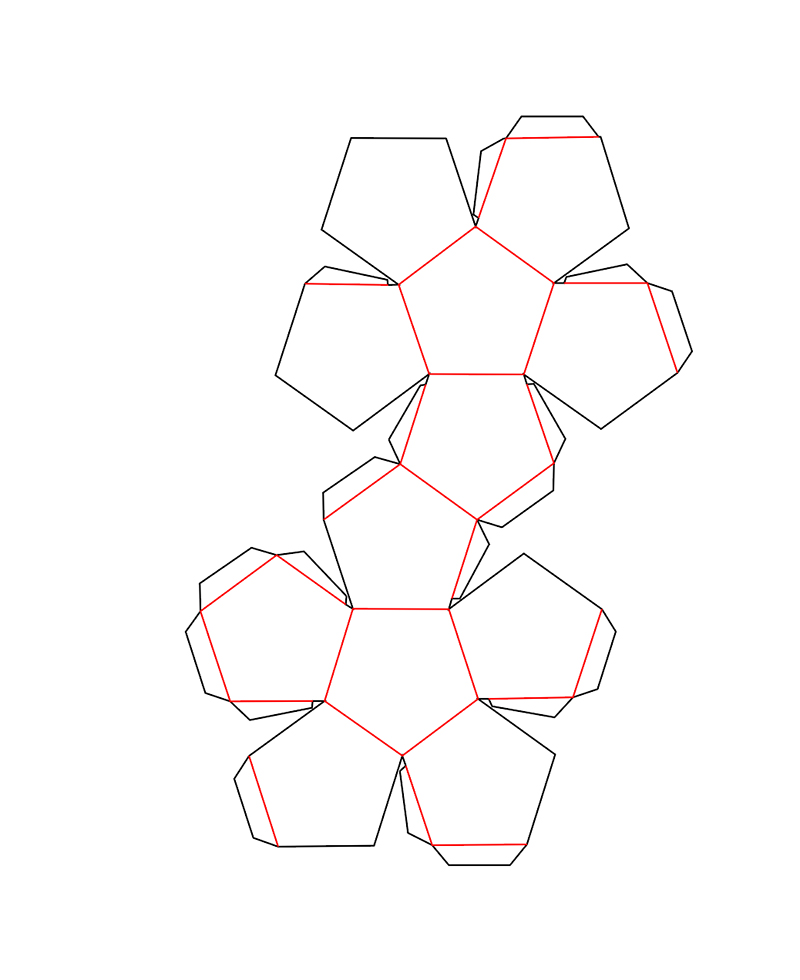
Step 4. Make sure all folds are folded in the same direction (inwards).
Step 5. Fold the shape together into its 3D form, using glue or adhesive to secure the adhesive flaps to their neighboring sides.
Let dry fully. Done!
Steps for the Pyramid:
Step 1. Download “pyramid.svg” to your machine. (This file contains patterns for 6 separate pyramid cutouts.)
Step 2. Apply cardstock or paper to a low-tack mat and cut out the shapes using the machine. Carefully lift the shapes once they are cut out.
Step 3. Use a ruler to carefully score and fold the adhesive flaps and object folds in the following manner (along the red lines):
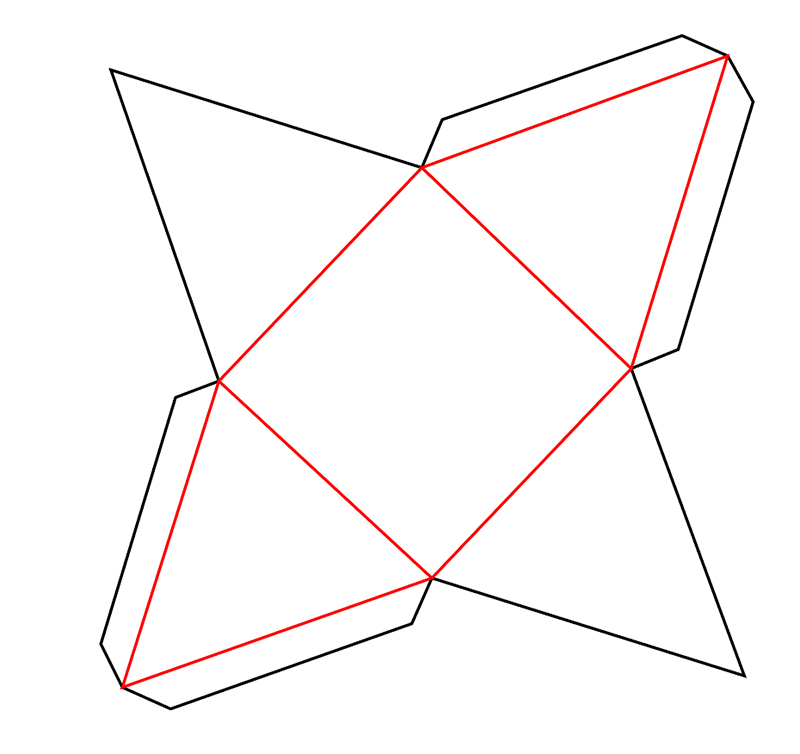
Step 4. Make sure all folds are folded in the same direction (inwards).
Step 5. Fold the shape together into its 3D form, using glue or adhesive to secure the adhesive flaps to their neighboring sides. Set aside the pyramids and let them dry.
Step 6. Download “pyramid triangles.svg” to your machine. These triangles are meant to be applied to 2 opposing pyramid sides to create a high-contrast look.
Step 7. Apply cardstock or paper to a low-tack mat and cut out the shapes using the machine. Carefully lift the shapes once they are cut out.
Step 8. Use glue or adhesive to glue the triangles to the sides of the pyramids, creating a high-contrast look like so:
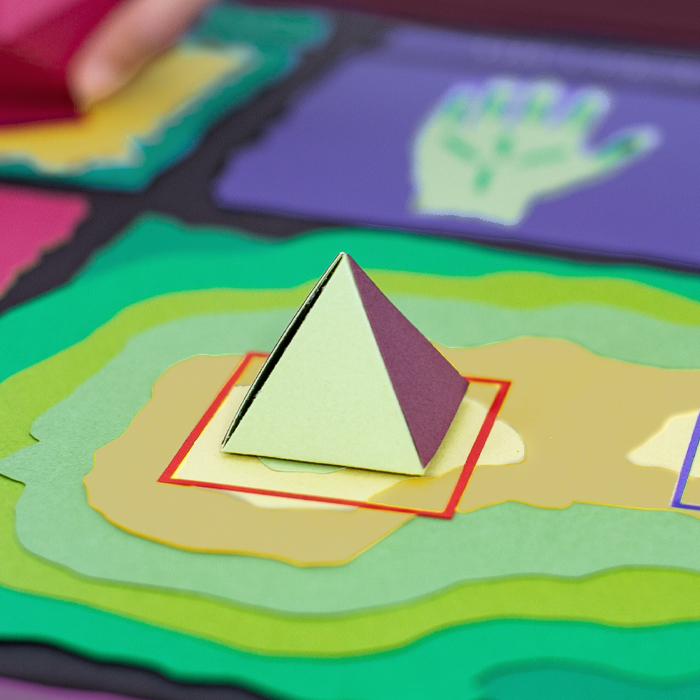
Let dry fully. Done!
Now for the Gameboard!
You will need: ScanNCut DX, cardstock, AutoBlade, low-tack mat, non-toxic glue or adhesive
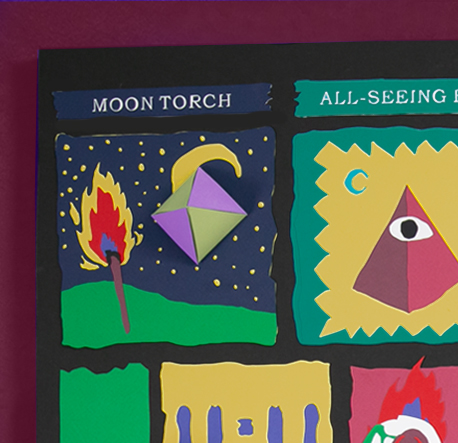
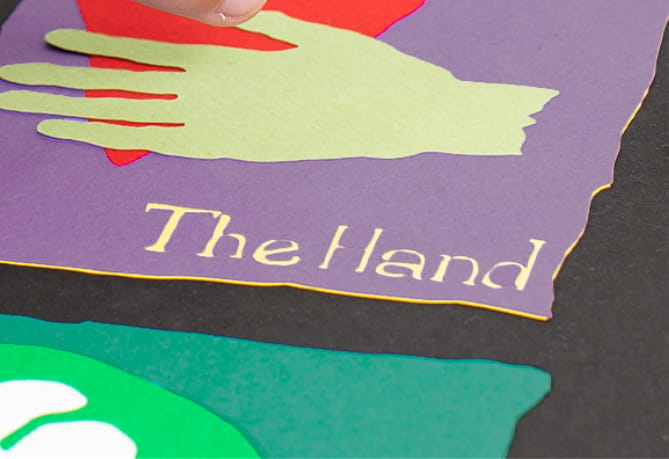
Note: This is a technique walkthrough to create text labels out of layered paper cutouts. Get creative and find ways to apply the skills outlined here in your own projects! We used it to create labels for a fantasy gameboard.
Step 1. Open up CanvasWorkspace.
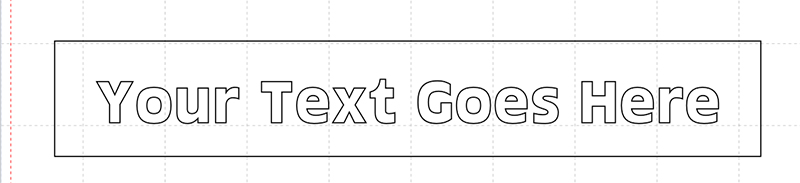
Step 2. Select the Text function, and type out what you want your text to say. Change the font and size to your specifications.
Step 3. Pick a shape from the shapes menu, or use the pen tool to draw your own. Alternatively, you could also upload an .svg file of the shape you want to use.
Step 4. Arrange the shape so that it surrounds the text completely, like so:
Step 5. Copy the outer shape and drag it down onto a different part of the canvas.
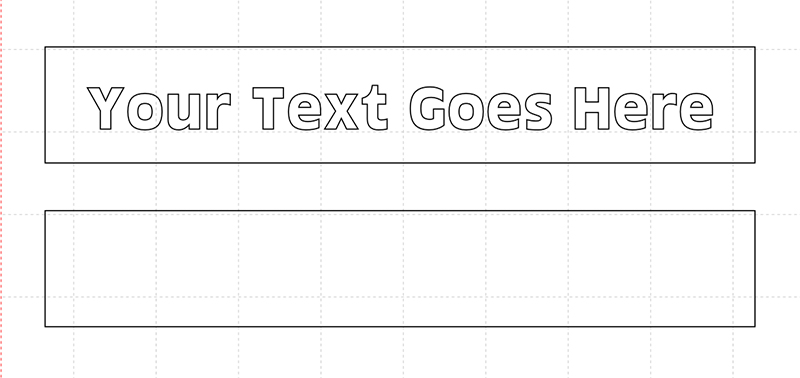
Step 6. Arrange the shapes so that the outer shape is sent to the back (the text should be on top of the shape). Select both the text and the outer shape.
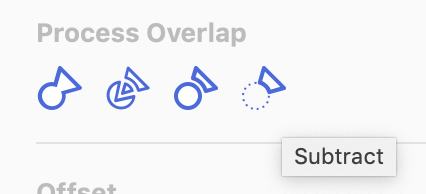
Step 7. In the Process Overlap menu, click the “subtract” button (the icon on the far right). This combines the shapes.
Step 8. Transfer your pattern to the machine and cut out the shapes. Use two different colors for the text shape and the blank copied shape to create a contrast between the two.
Step 9. Lift the cardstock carefully from the mat, making sure to save all small “negative” pieces (the holes inside of letters, like the letter “o” for example).
Step 10. Use adhesive or glue to carefully press the shapes together. Fill in any missing negative spaces with the saved pieces, pressing down firmly to affix the adhesive.
You’re done! Use this technique to embellish any project you desire.
Related Projects
Stay Connected
Follow Us
Brother Support
Corporate Information
Partnership Opportunities
About This Website
