Glamorous Galentine’s Day Crafts

Gather the gals together and celebrate Galentine's Day with these glamorous ScanNCut holiday crafts!
You will need:
Foiled Place Cards
- Foil Kit (with pink foil)
- Calligraphy Kit
- ScanNCut DX
- Auto Blade
- White Cardstock
- Low-tack mat
- Galentine's Day Place Cards.fcm
- Pink or red paper of your choice
- Paper Piercing Kit
- ScanNCut DX
- Auto Blade
- Ribbon
- Galentine's Day Wrapping.fcm
Steps for the Foiled Place Cards
1. Download “Galentines Day Place Cards.fcm” to your machine.2. Load a sheet of white cardstock onto a low-tack mat. Make sure it’s firmly stuck down.
3. Make sure that the drawing sections in the pattern have the fill setting turned ON on your machine.
4. Move on to the next screen, and choose the “Foil Glue” function.
5. Load the machine with the glue pen and its correct holder (comes with the Foil kit).
6. Press the start button. Wait until the glue pen is finished drawing.
7. Let the glue dry for a couple of minutes, until it has a shiny but not wet surface on the paper.
8. Take a sheet of gold foil and place it SHINY SIDE UP on top of the glued section. Press down to stick it to the glue.
9. Layer the Brother blue protective sheet (comes with the Foil kit) on top of the foil sheet. Affix to the mat with tape.
10. Change out the glue pen with the foiling holder and lock it into the machine.
11. Navigate to the screen where you can select the function and select “Foil2.”
12. Press the start button and wait until the function is complete.
13. Remove the protective sheet and carefully pull back the foil.
14. Keep the foiled designs stuck to the mat!
15. Use the “add”button in the cutting file view screen to add the Calligraphy kit font from the USB thumb drive.
16. Adjust the font size as necessary, type in a gal’s name to start. Add the text to the center portion of the foil design, using the align tools to get it centered.
17. Set up the Calligraphy pen, following the instructions from the Starter Kit.
18. Use the Drawing function with the calligraphy pen (we used a pen with a wider 0.8mm tip) to draw out the text.
19. Once the drawing function is complete, swap in the Auto Blade and use the Cutting function to finally cut out the place card.
20. Repeat as needed to get your desired number of place cards.
21. For each card, score and fold the design along the center, creating a folded card.
22. You’re done!

Steps for Paper Pierced Gift Wrap
1. Set up your Paper Piercing Kit with your machine, following all instructions.
2. Download “Galentines Day Wrapping.fcm” to your machine.
3. Apply a sheet of paper to the Paper Piercing mat.
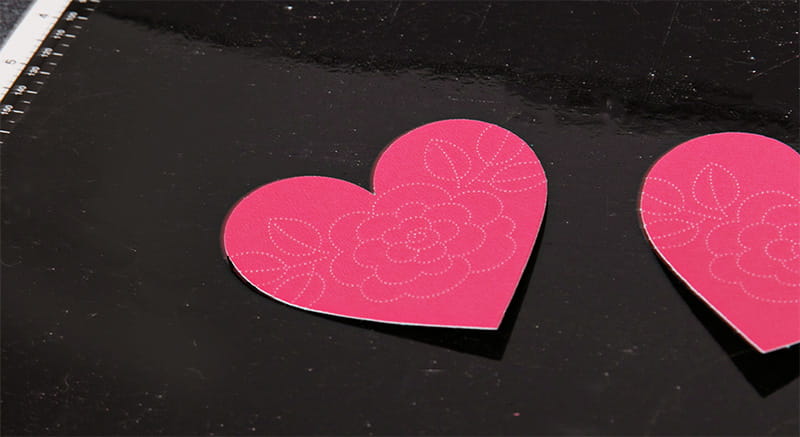
4. Follow the instructions that come with the Paper Piercing Kit—using the Auto Blade, cut out the design first.
5. Then, switch out the Auto Blade for the 0.8mm Paper Piercing tool. Pierce the design. (This will likely take some time!)
6. Carefully remove the pierced design from the mat once finished.
7. Repeat steps 2-6 to create more tags if desired.
8. Loop a ribbon through the center slits of the tag and wrap your present!
9. You’re done!
Related Projects
Stay Connected
Follow Us
Brother Support
Corporate Information
Partnership Opportunities
About This Website
