How to Craft Holiday Garland
SUPPLIES
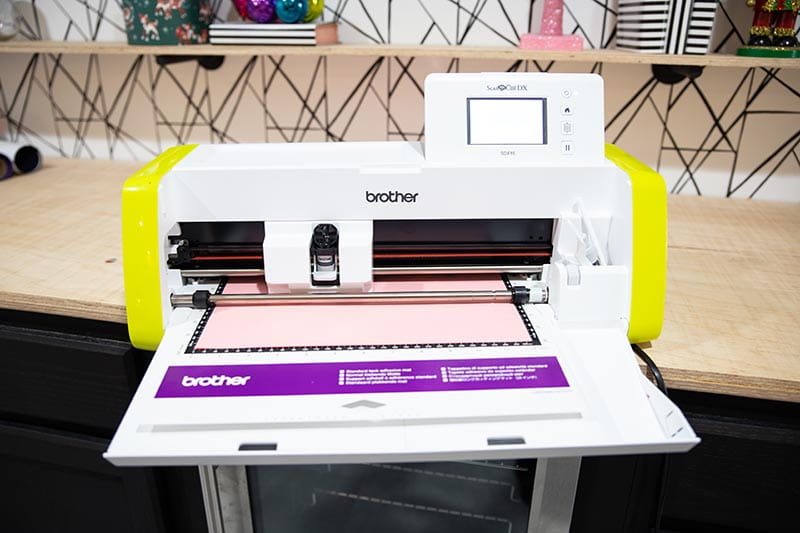
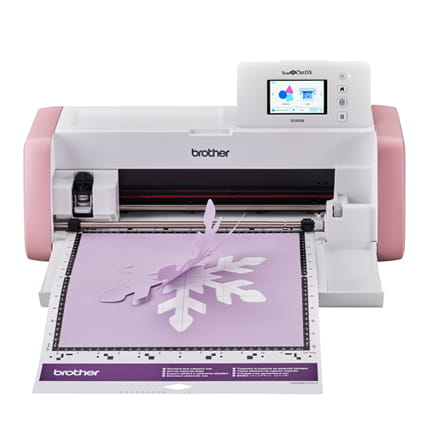
- Brother ScanNCut SDX85
- Brother Sewing Machine
- Cardstock Paper
I want to start off by sharing how much I love this project because of how versatile it is. You can use the steps of this project to create garlands for all the important occasions in your life. So now, there is no need to go out and spend extra cash on decor when you can create it at home in very few steps. Not only is it easy to create, but it’s elevated decor because you can customize it with the colors of your choice.
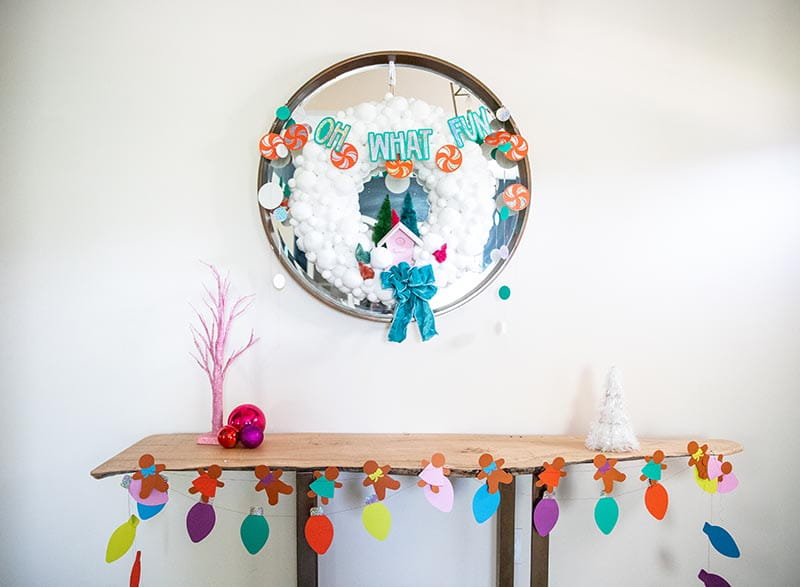
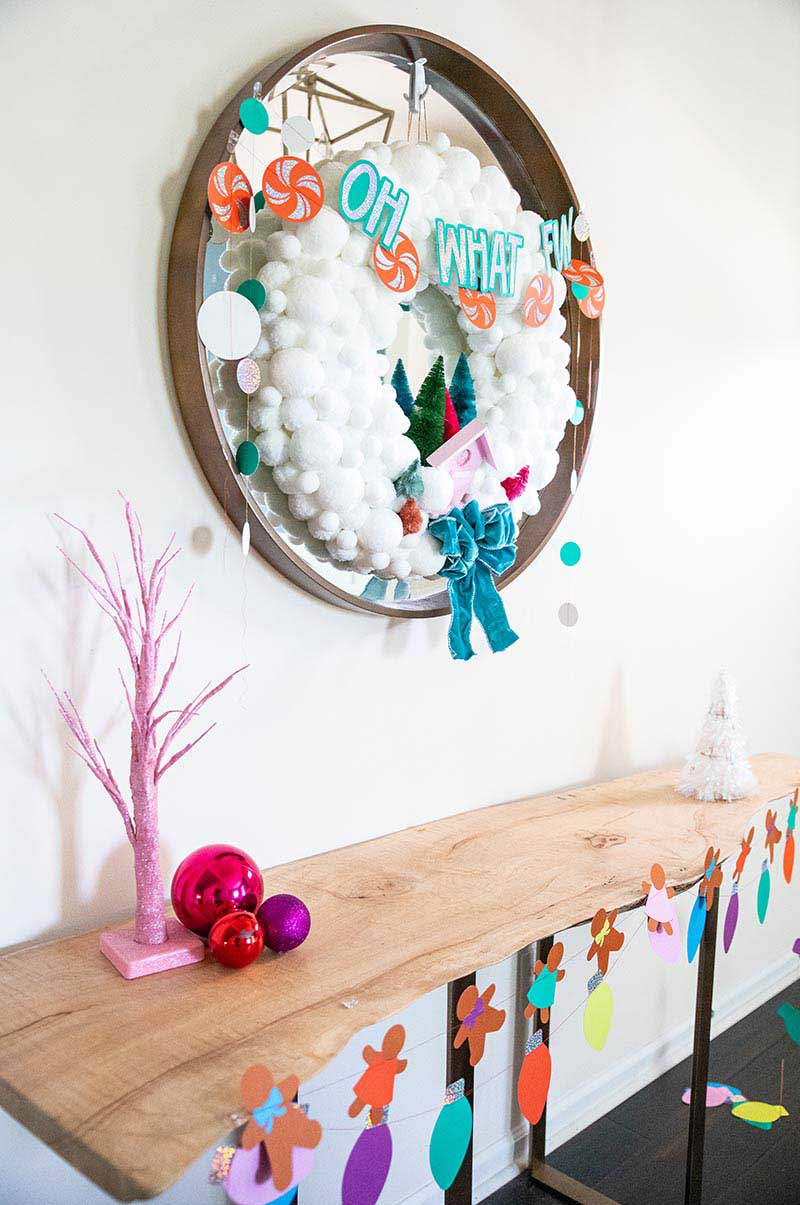
When it comes to finding a use for this project, trust me when I say there are many! You can use this to decorate for the holidays of course, but also for baby showers, birthdays, bridal showers, decorating a child's bedroom or playroom, and my favorite use of this is an idea for teachers. Teachers can create a banner with the names of all of their children and hang it up in their class. Kids love to see their names in their classrooms. It makes them feel extra special. If you're a parent, gift this to your child’s teacher. She would adore you for such a thoughtful gift.
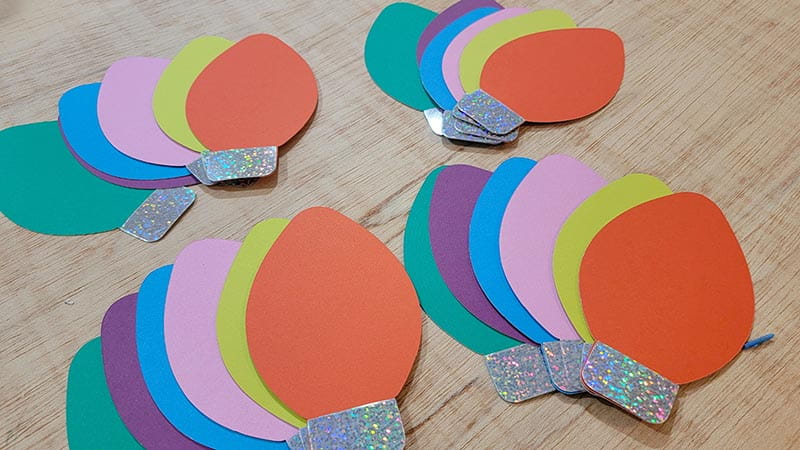
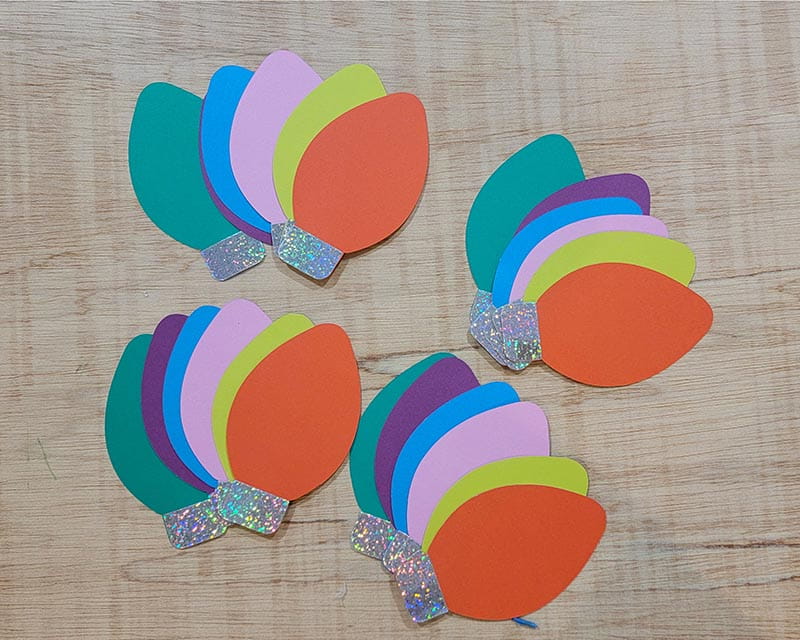
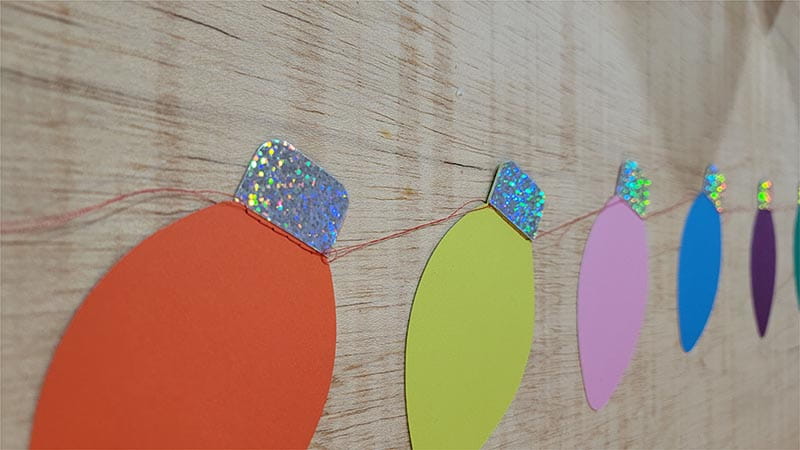
For this project, I used cardstock. Cardstock has the most options when it comes to color and textures, so I love using it for this project. However, you can use felt for this project as well. I do love the texture felt provides. It’s great when decorating for children. However, there are a few tips that you must know if you choose to use felt.
- Use a stiff felt. The soft felt moves around on the cutting mat, so a stiffer felt material works best.
- Be sure to use the Brother rotary cutter for your ScanNCut
- Be sure to use the fabric mat, which is a high tack mat that is the appropriate tackiness for the material you'll be cutting.
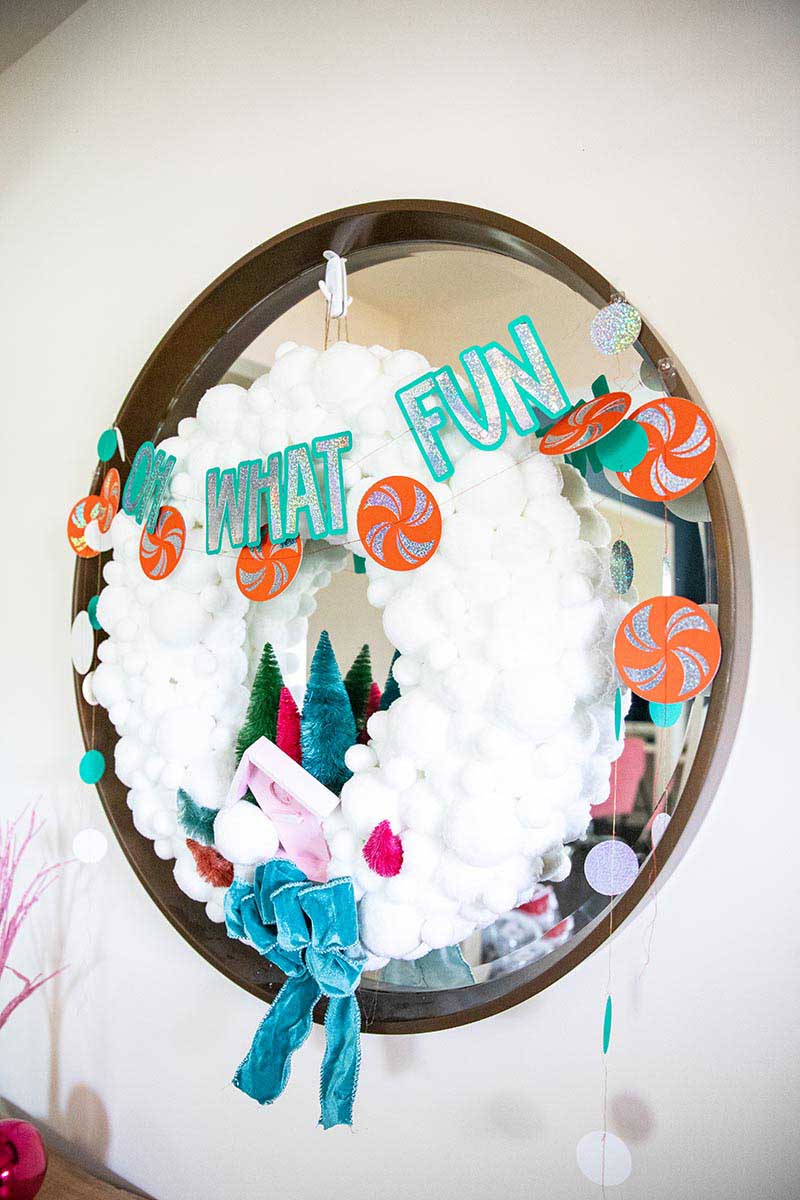
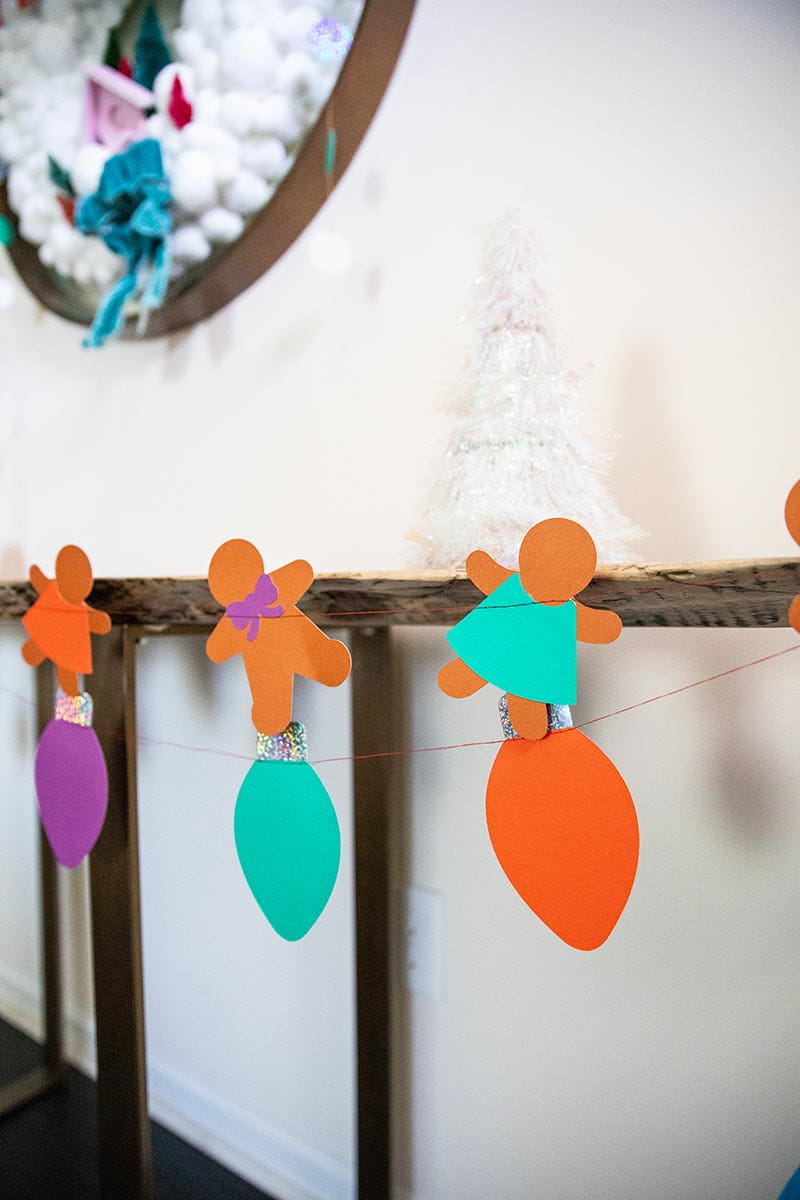
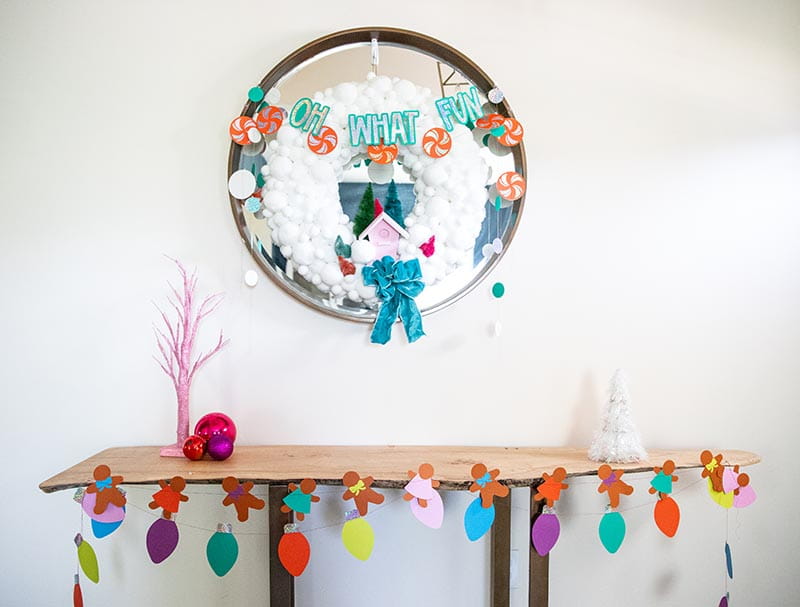
In the styled photos, you'll see that you can create different styles for the garland. You have a garland with one word or multiple words, one or multiple shapes; you can choose to do a solid color or multi color. The options are endless. One tip for designing is to create half the garland in Canvas Workspace and align it as you would if it was hanging. Then, use the options in Canvas Workspace to color each shape to get a feel for what it will look like when you assemble it.
INSTRUCTIONS
- Type out a word in CanvasWorkspace. Be sure that it’s welded together. Note: Brother CanvasWorkspace has designs in the program, so feel free to use what they have. If you use a shape, there is no need to weld unless each part is to be a different color.
- Place as many designs on the CanvasWorkspace and cut. Once files are cut, if necessary, glue parts together.
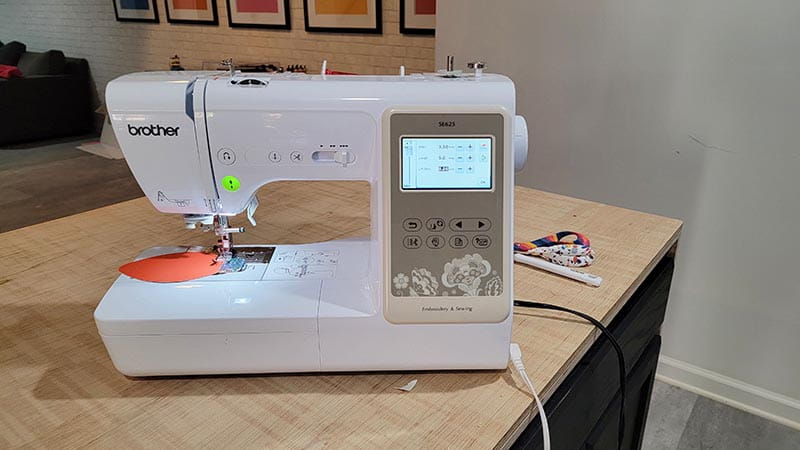
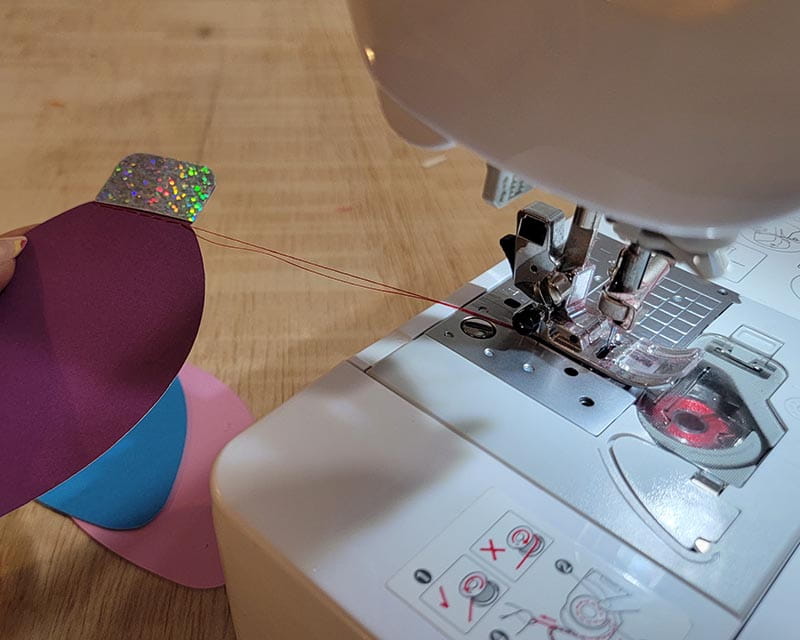
- Let’s set up your sewing machine. You’ll be sewing a straight stitch. Just be sure to change the stitch length to the longest stitch length available.
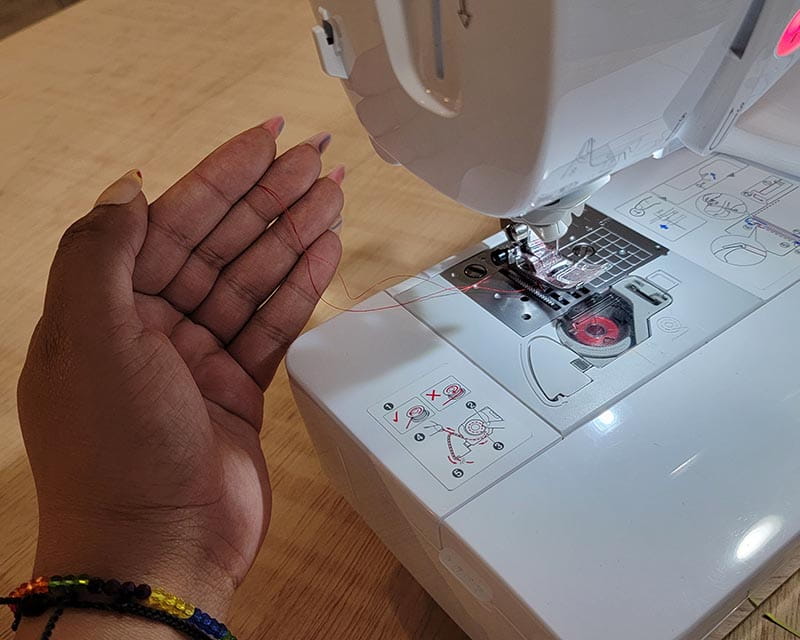
- Take your upper thread and bobbin thread and pull about 5 inches of both threads to the back
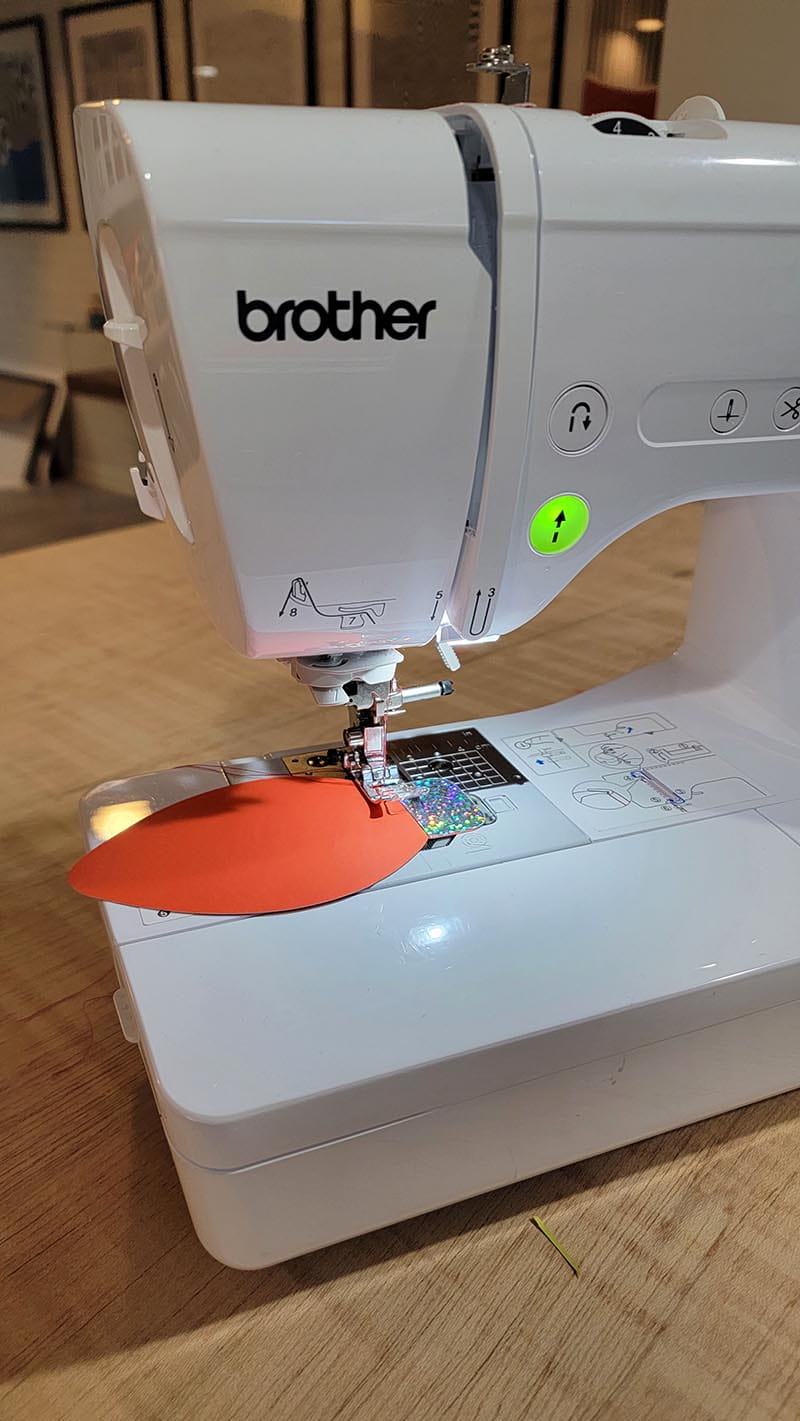
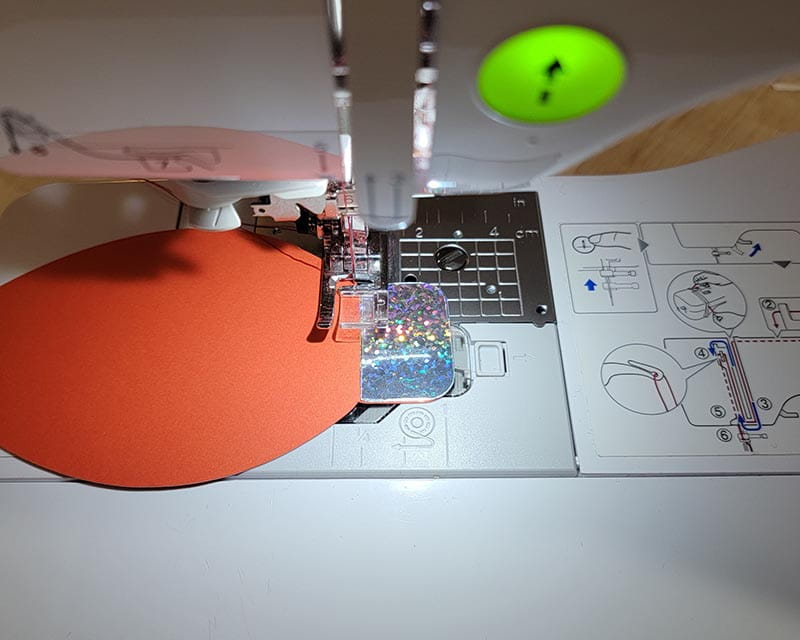
- Take your cut-outs to your Brother machine, and starting with one, place it under the foot of your machine and sew a straight stitch across the cut-out.
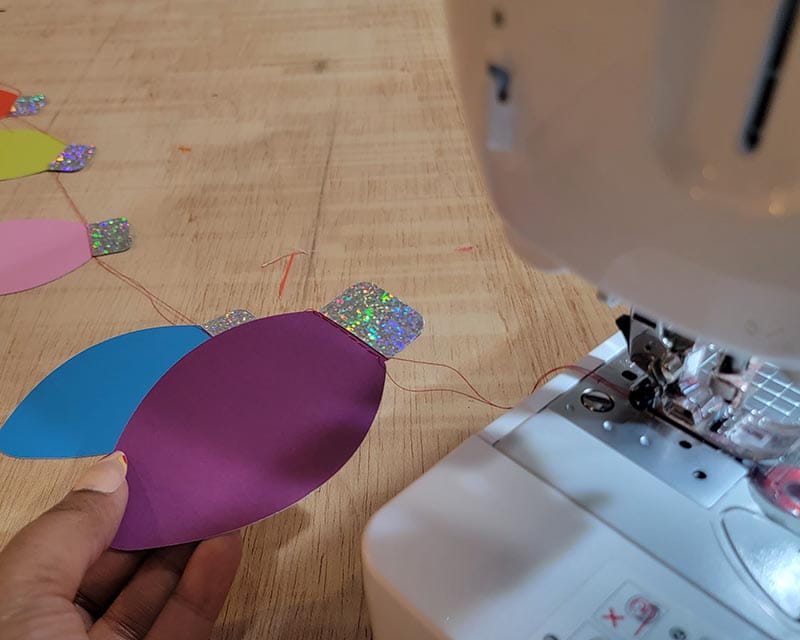
- Once your stitches reach the cut-out's end, pull your cut-out toward the back of your machine. The thread should be about the length of one finger.
- Place your next cut-out under your sewing foot and repeat steps 4-5 until all of your cut-outs have been sewn together.
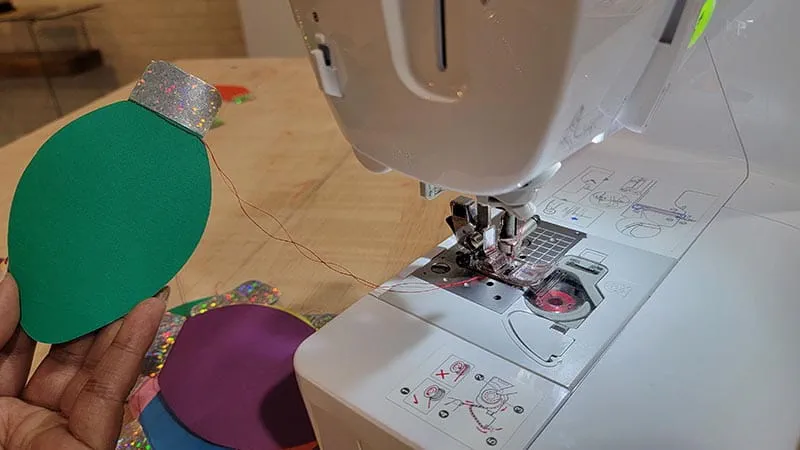
- Once you get to the end of your last cut out, pull the cut out to the back until you have at least 5 inches of loose thread.
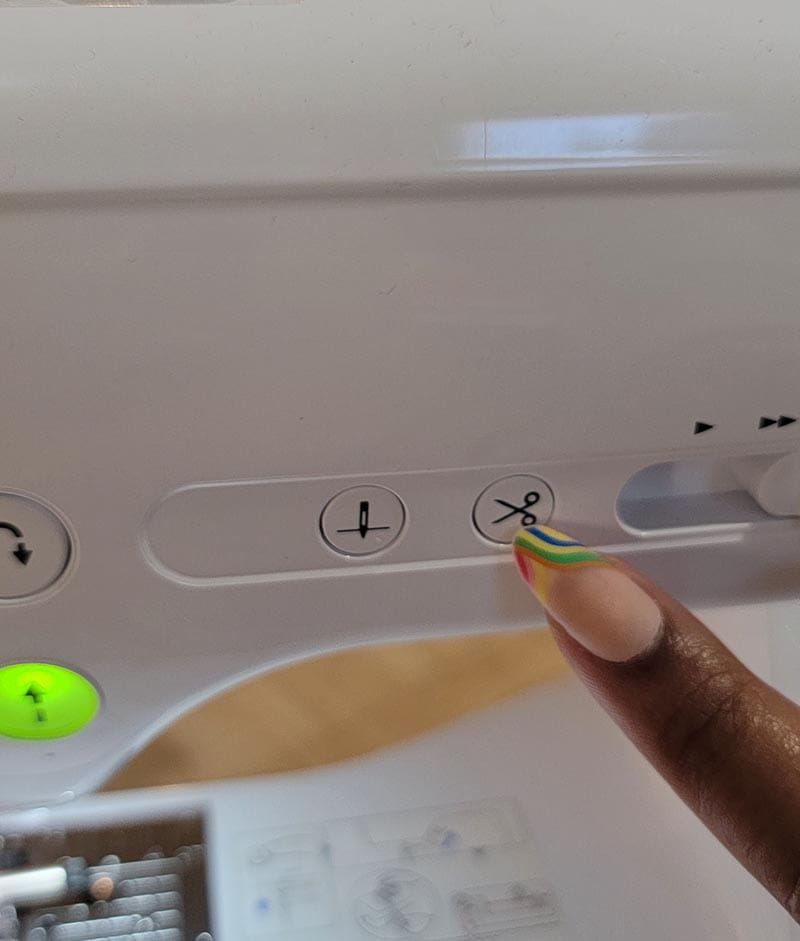
- Cut the thread, then remove your garland from your machine.
- That’s it!
TIP: To prevent the garland from being tangled, fold each cut-out in an accordion style; one on top of the other. Store in a small plastic bag.
Tags
Shop this Project
No ScanNCut DX? No problem! Shop our full line of cutting products and get crafting!
Brother ScanNCut DX
- 251 Built in Designs
- True Auto Blade, no manually adjusting blade pressure settings
- 600 DPI built-in scanner with on screen editing
Related Projects
Stay Connected
Follow Us
Brother Support
Corporate Information
Partnership Opportunities
About This Website
