How to Create a Custom Hair Clip
-Brother Sews Blogger

Hair accessories are heavily on trend at the moment. I love watching all the boys and girls adorn their hair with all of the fun baubles. From headbands, to bobby pins, to hair clips; I love how each one showcases the individual style of the person wearing it.
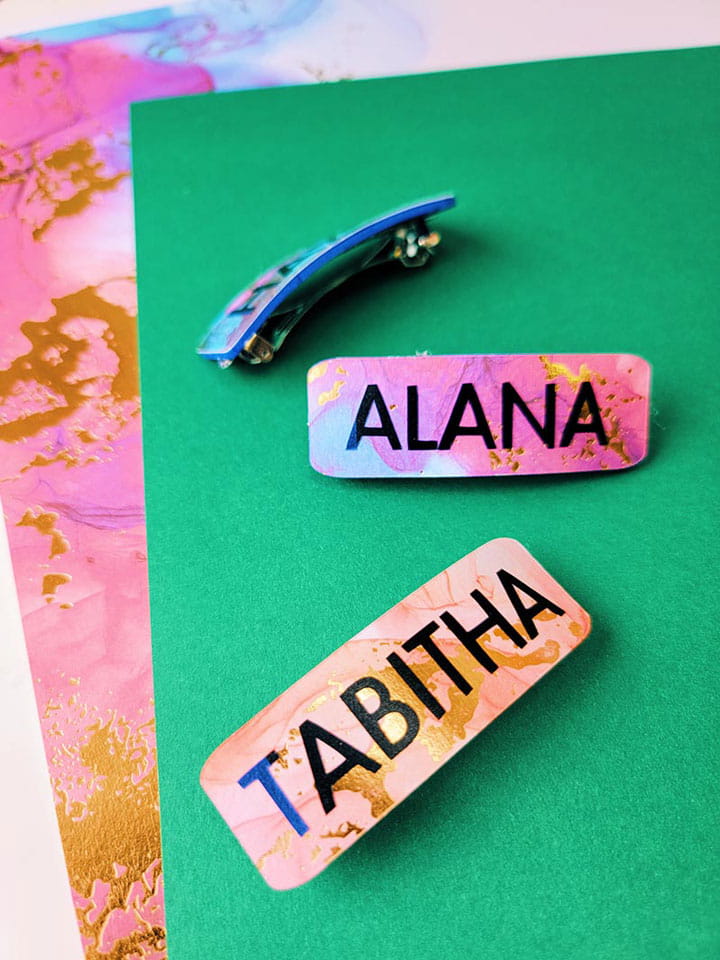
While doing research, I found that custom hair barrettes like these retail over $30 for one barrette. That’s pretty insane if you ask me because you can create your own at a fraction of the cost. The ones I created were literally a couple of cents. Because the pieces are so small, you can use scraps of paper and vinyl to create one clip. Creating a custom set to gift to your girl friends or children would make for the perfect gift. When creating, I provided some tips below on how to customize your hair barrettes by combining different textures and colors. For an added bonus, I also included ways to style your hair with the barrettes. I hope that you enjoy creating this project as much as I had fun putting it together.
Supplies & Tools:
- Brother ScanNCut SDX85
- 3” Metal Hair Barrettes
- Craft Foam
- Craft Vinyl
- Transfer Vinyl
- Textured or Printed Cardstock paper
- Hot Glue and Hot Glue Sticks
- Water Based Sealer or Decoupage Medium
- Paint Brush
Instructions:
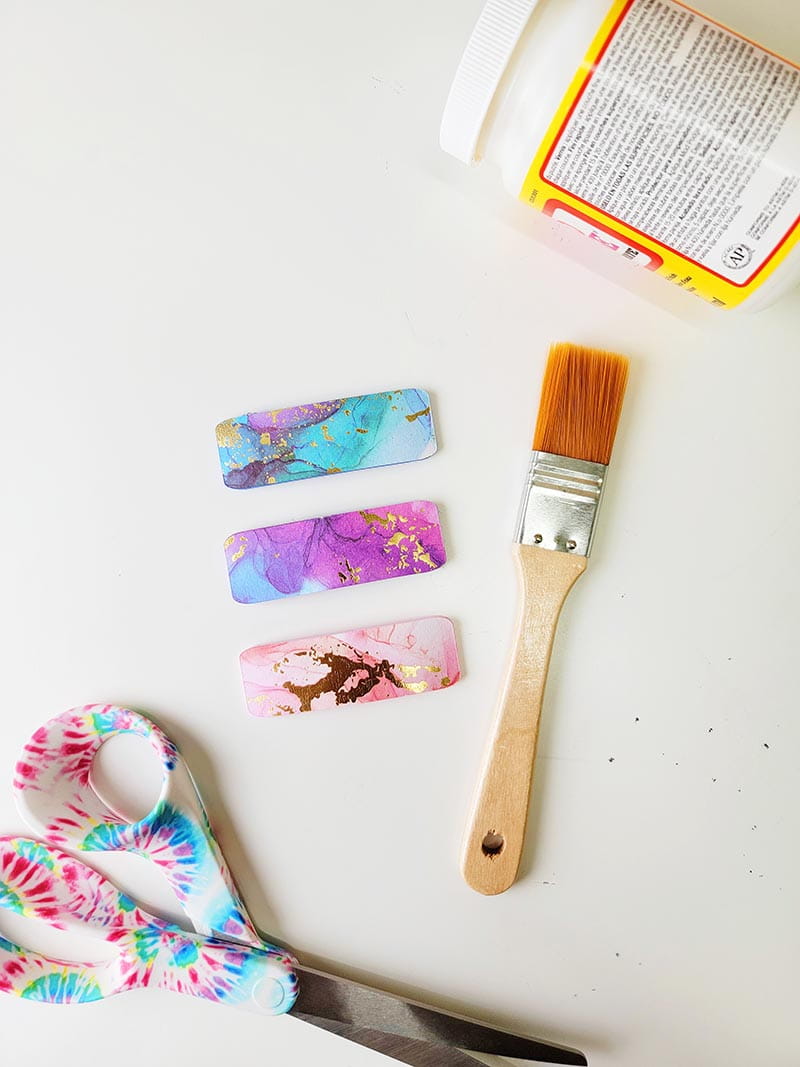
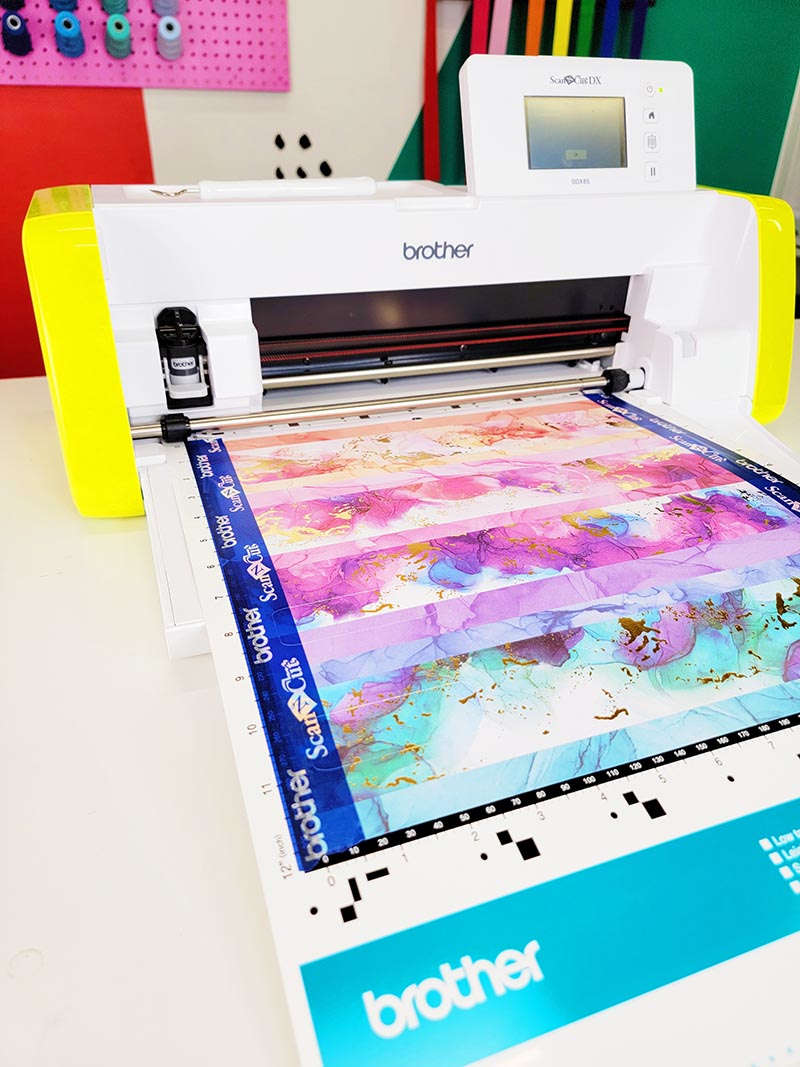
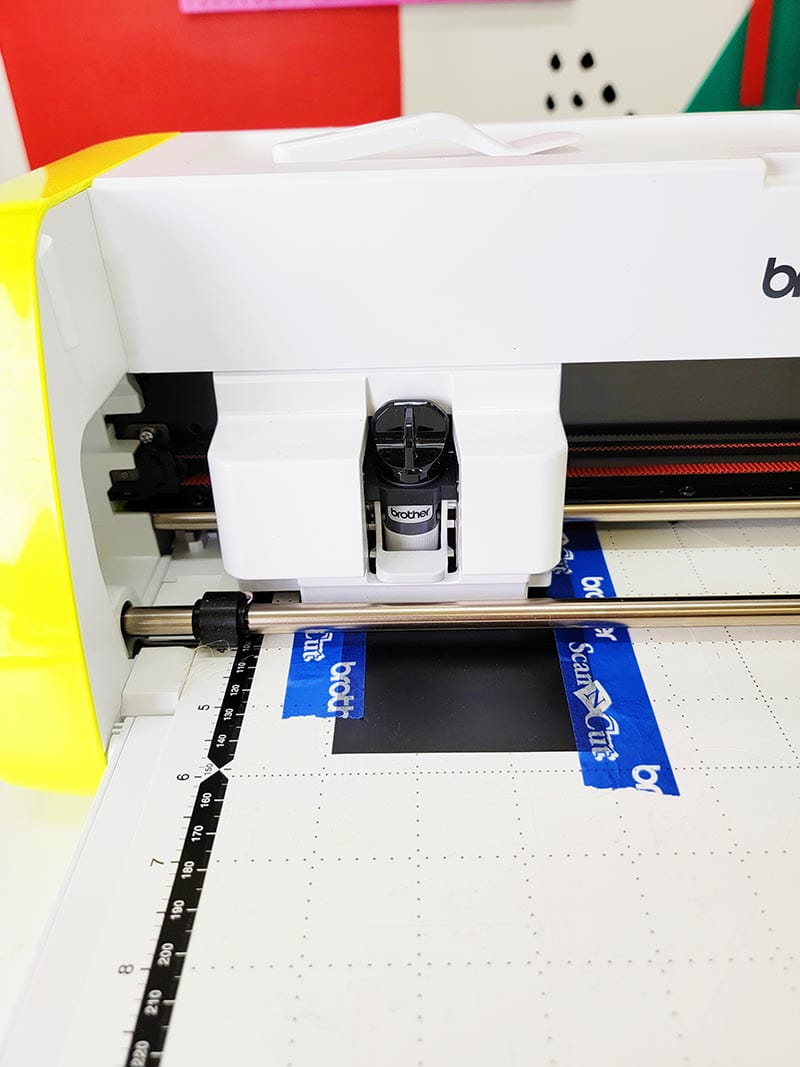
- To start, let’s create the base. The material used for this is the foam and the cardstock. Be sure to attach your material to the cutting mat. In CanvasWorkspace, you’ll find a rounded rectangle. Adjust the measurement to 1” x 2.75”. Cut one from the foam and one from the cardstock.
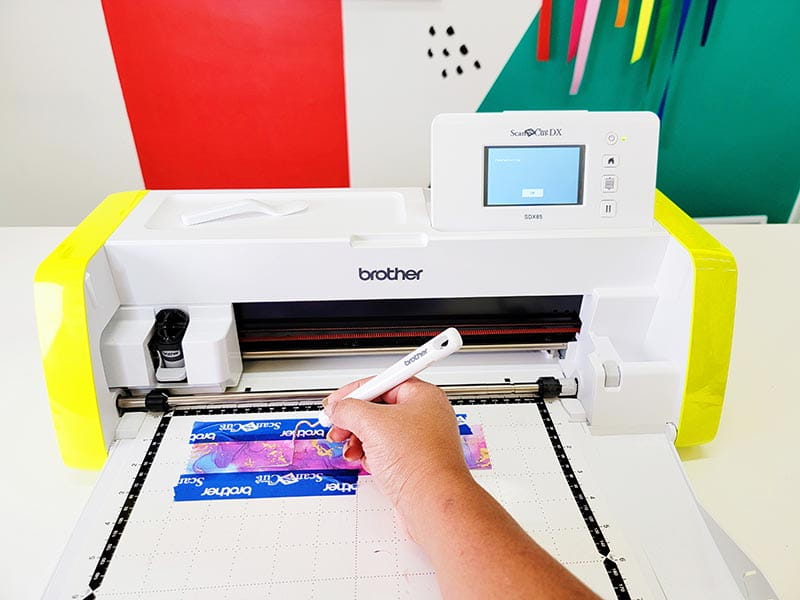
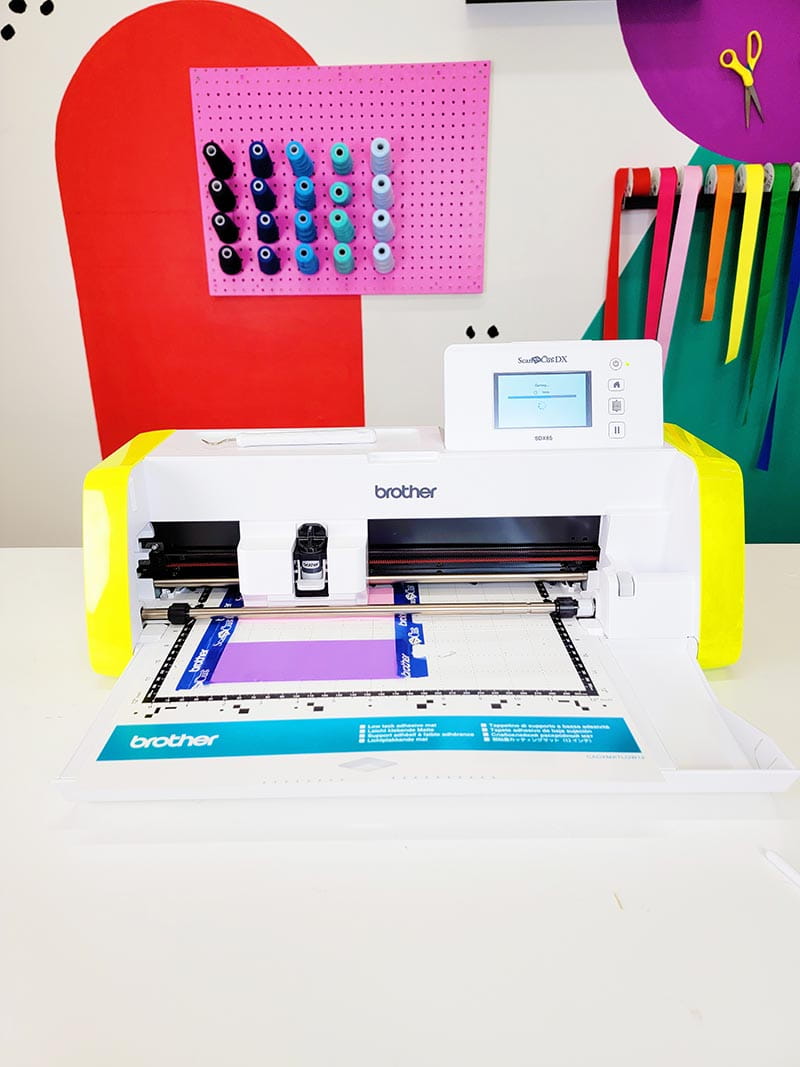
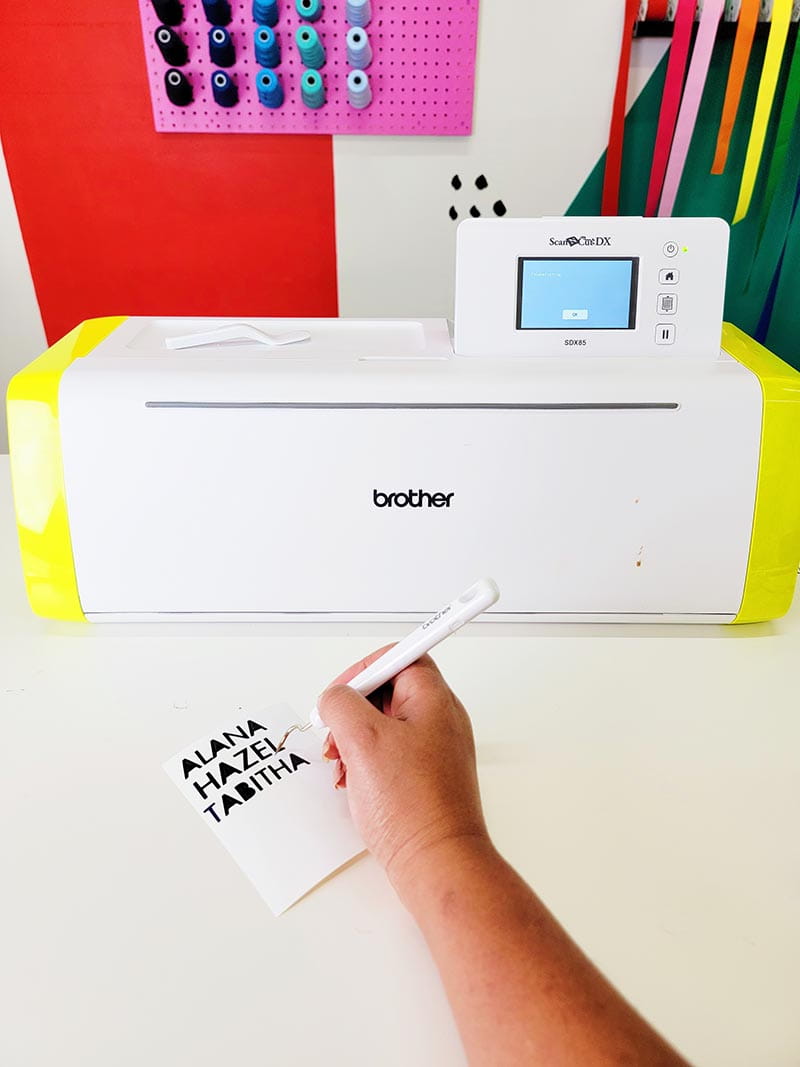
- Next, let’s create the text. For this, you’ll need craft vinyl. Attach the vinyl to the cutting mat. For the text, you’ll find the font in CanvasWorkspace named ‘Apple SD Gothic Neo’. As for sizing, layer it on top of the rectangle and resize from there. Making sure there is space all the way around. Prior to cutting, set your cut to a half cut.
- Weed the excess vinyl from the letters and transfer to transfer tape.
- With the hot glue gun, adhere the foam to hair barrette.
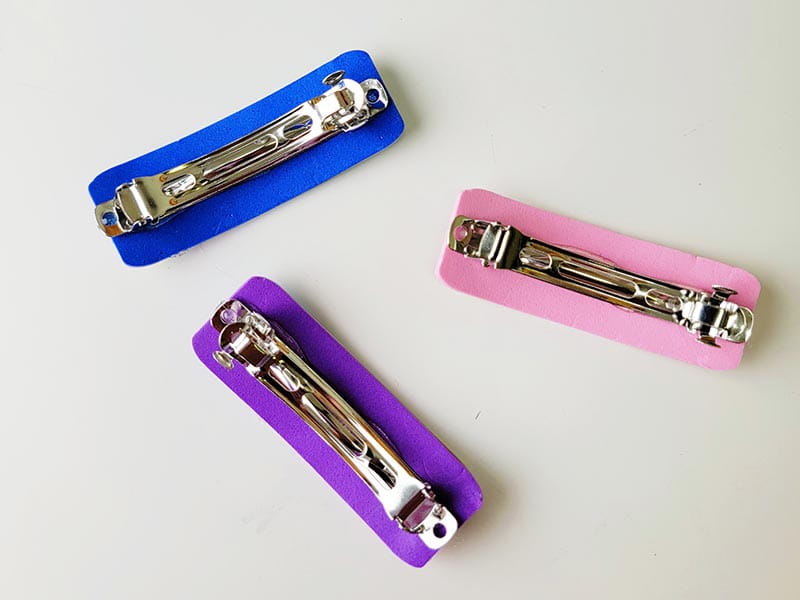
- Next, adhere cardstock to the top of foam.
- Using the paint brush, apply the water based sealer to the paper. This will help to give it a longer lifespan. Allow to dry for one hour.
- Adhere the text to the cardstock making sure to center it.
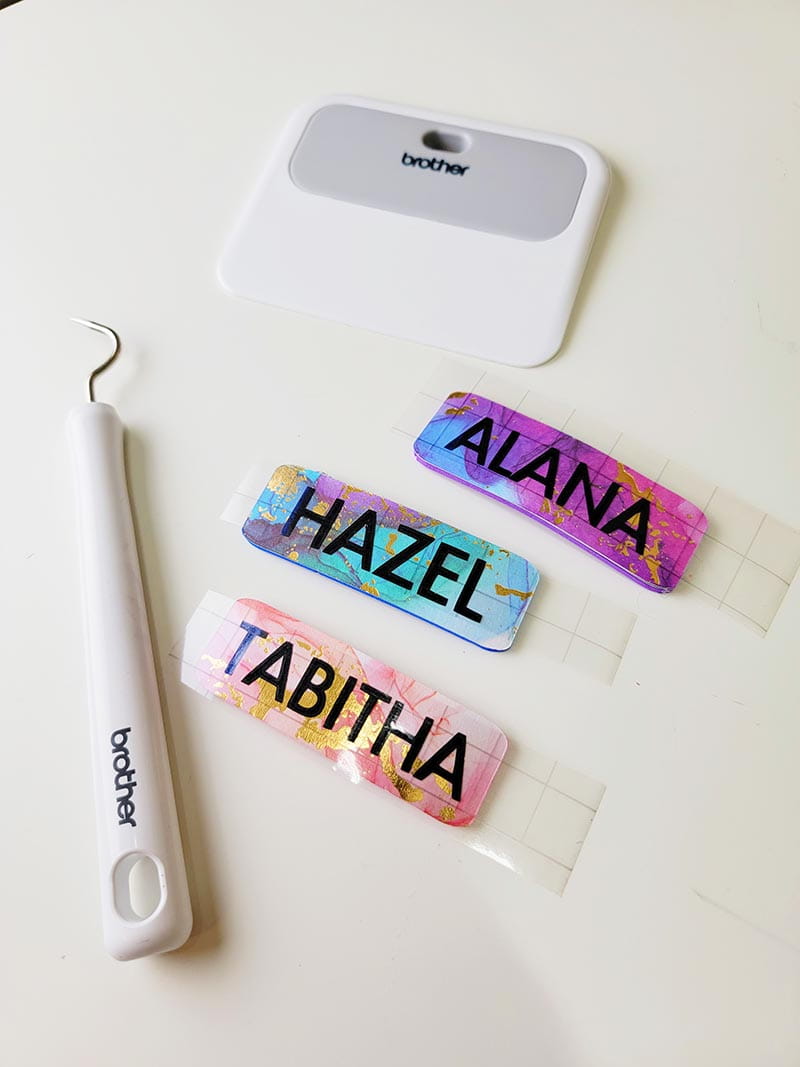
- That’s it! How quick and easy was that?
Customization ideas
I’ll say this once and I’ll say it again, DIY is the way to go! Being able to create things yourself is the absolute best because the option to customize is endless. Being able to choose from different colors, prints, textures, and design, I mean… the list goes on. The only downside (if this is even considered a downside) is your time. But, with this particular project, the majority of the time you’ll spend is being creative and thinking of fun ways to execute your hair barrettes.
Texture + Color Combo
This part is the most exciting for me! I love pulling color combos and textures together! In this process, get creative. There are no rules here.
When it comes to the base of your barrette, be adventurous as you want. Glitter and sequin materials are always a good time. Marbling in all kinds of colors is pretty cool as well. Polka dots or fun shapes like hearts . If these aren’t your style, an animal or tortoise print might be cool.
- Wording Ideas
- Names. First and Middle.
- Two to three words sentences
- Expressions
- Fave Song Lyrics
- Holidays
- Tools from your fave hobby
- Seasons
- Fave Foods
Hair Styles
There are so many fun ways to wear these custom hair clips but I wanted to share with you some fun ideas for you to try at home. Use these ideas as a base to tweak the idea to create a look for the hair type you have.
Low Pony
- Part hair down one side.
- Swoop hair over the sides of your head and brush hair back into a low ponytail.
- Smooth hair by using gel to create a clean and neat finish and hairspray to tame flyaways.
- Add a hair barrette to one side of your hair
Low Pony with French Braid
- Create a French braid down center of hair. Stop at the base of your hair.
- Brush sides of hair to back creating a low ponytail.
- Smooth hair by using gel to create a clean and neat finish and hairspray to tame flyaways.
- Add two to three hair barrettes down back center of braid. A cute or funny sentence would be perfect for this.
Natural Hair Out
- Whatever your hair texture, whether it be straight, curly, or a beautiful natural fro, I’m here to tell you that your natural hair is stunning! Wear it natural and adorn it with your custom hair clips.
- Comb and apply hair moisturizer.
- Tame the edges with edge gel.
- Add two to three hair clips on the side. A fun song lyric would be so cute!
Tags
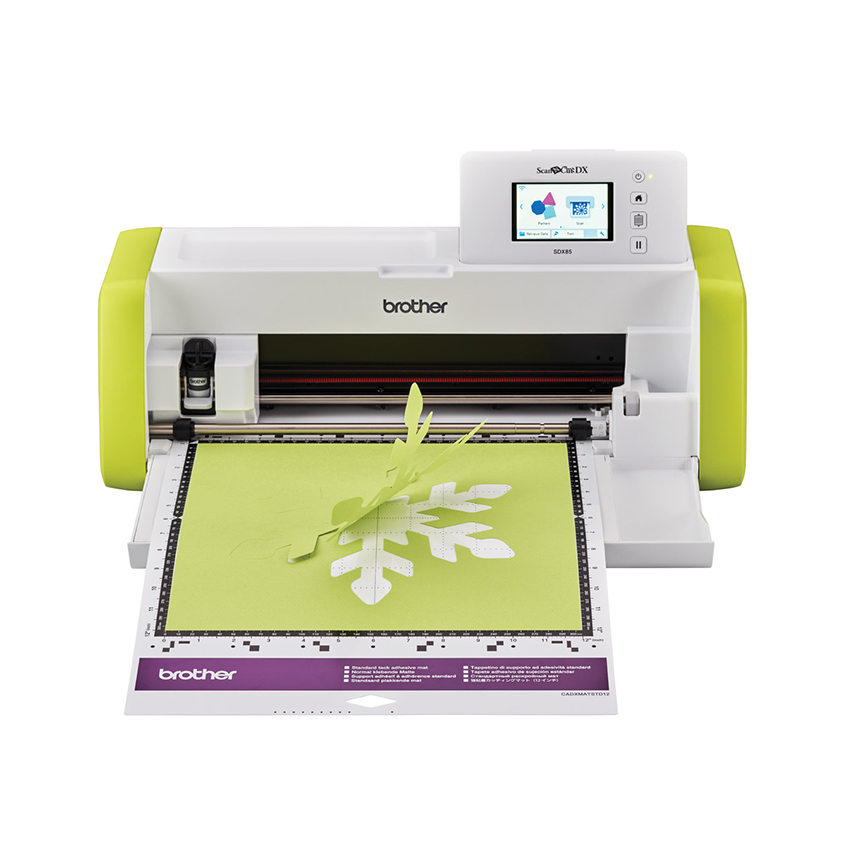
ScanNCut SDX85
- 251 Built-In Designs
- True Auto Blade, no manually adjusting blade pressure settings.
- Built-In Scanner; scan in hand-drawn creations and cut them out!
Related Projects
Stay Connected
Follow Us
Brother Support
Corporate Information
Partnership Opportunities
About This Website
