Holiday Decor: Holiday Garland
SUPPLIES
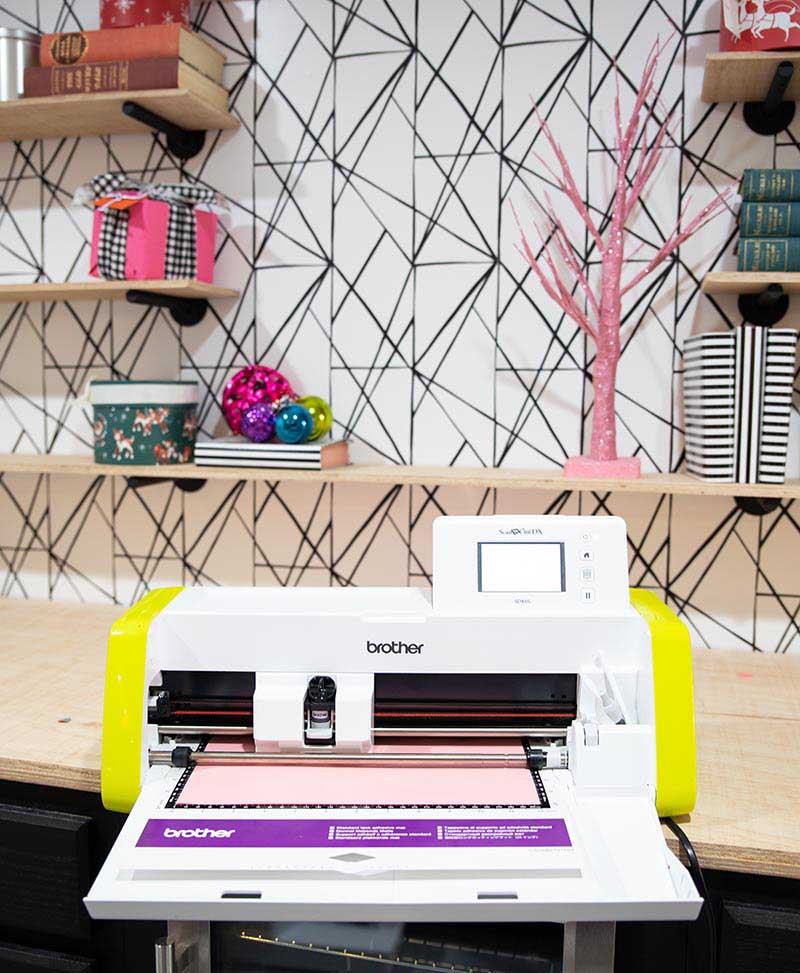
- Brother ScanNCut SDX85
- Brother ScanNCut Cutting Mat 24” Length
- Dark Pink HTV
- Light Pink HTV
- Black HTV
- Silver Holographic HTV
- Iron or Heat Press
- 2 yards Canvas Fabric
- 5/16” wide Dowel
- Saw
- String or Yarn
- Fabric Glue
- Pencil
- Ruler
- Heat Tape
- Teflon Sheet
The holidays are here, and lately, I've been experimenting with my ScanNCut, trying to figure out how to create some fun, eye-catching home decor. I found that the Brother ScanNCut is so versatile. There are so many things that you can do with it; You just have to keep playing with its many features to find out. The holiday season is the best time to do this and come up with fun projects to decorate your home with.
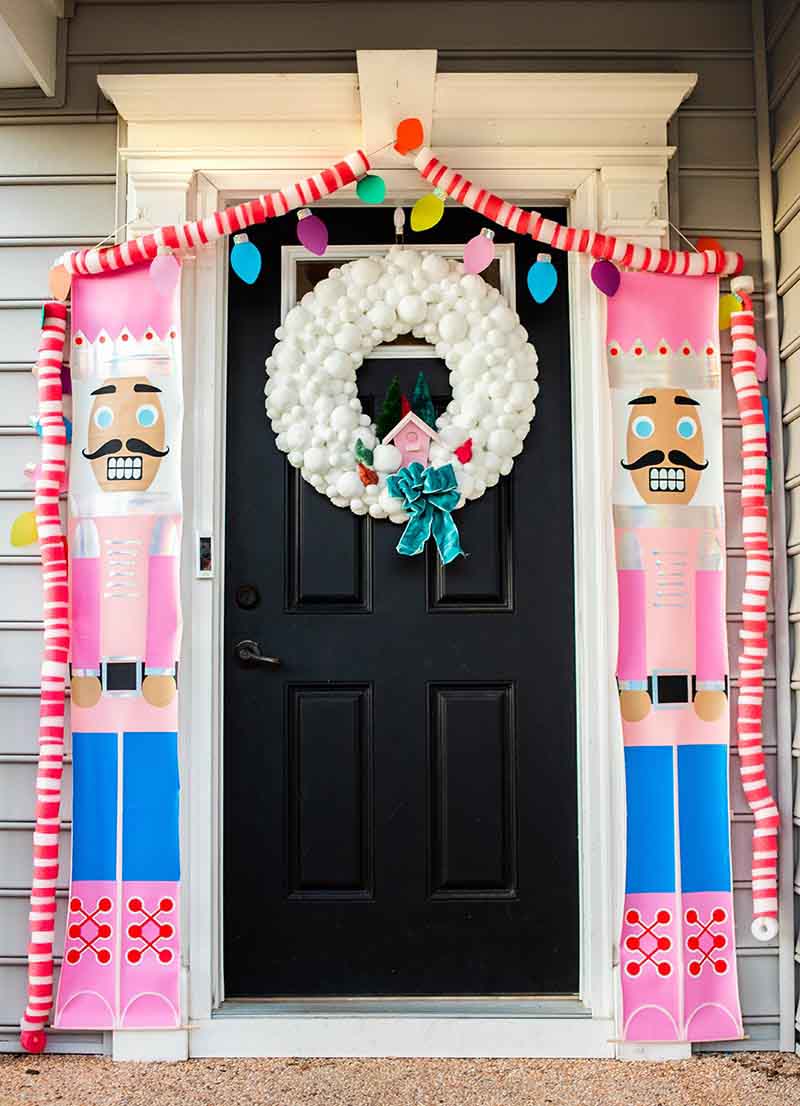
When decorating for the holidays, I wanted to create something with a wow factor, very affordable, and something that was easy to make. This project checks all the boxes. Standing at 8ft tall, with colors that are bright and fun, a nutcracker sounded like the perfect idea. I mean, who doesn’t love nutcrackers?! Here’s a secret about me, I absolutely love nutcrackers (you should see my collection). Seeing them standing at my front door would be so much fun.
One thing that I’ve learned while creating with the Brother ScanNCut is thinking outside of the box (or shall I say mat) is key. The longest mat that is provided for the ScanNCut is 24”. When it comes to creating the nutcracker, you’ll notice that some of the pieces (like the nutcracker’s pants) are longer than 24”. Because it’s longer than 24”, should that should stop me from making it? No! This simply means I’ll need to think outside of the box. Let me further explain what I mean. I hope this project inspires you. Let’s create a life-size nutcracker.
INSTRUCTIONS
- Using your Brother ScanNCut, cut out your files.
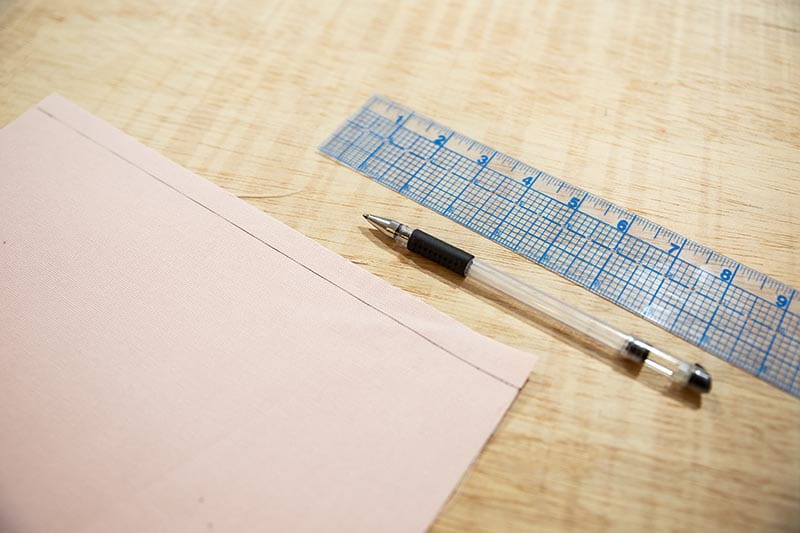
- While your files are cutting, take out your fabric and cut it in the following dimensions: 12” x 6 ft 9”
- Iron out all of the wrinkles from the fabric.
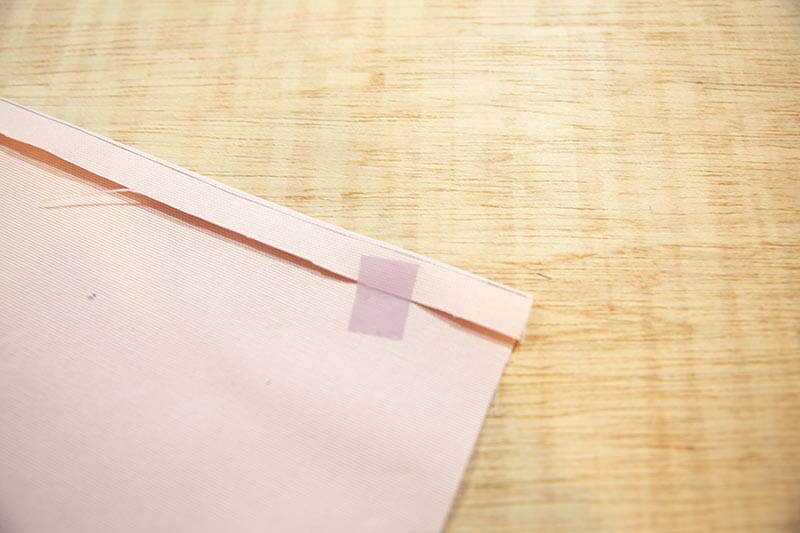
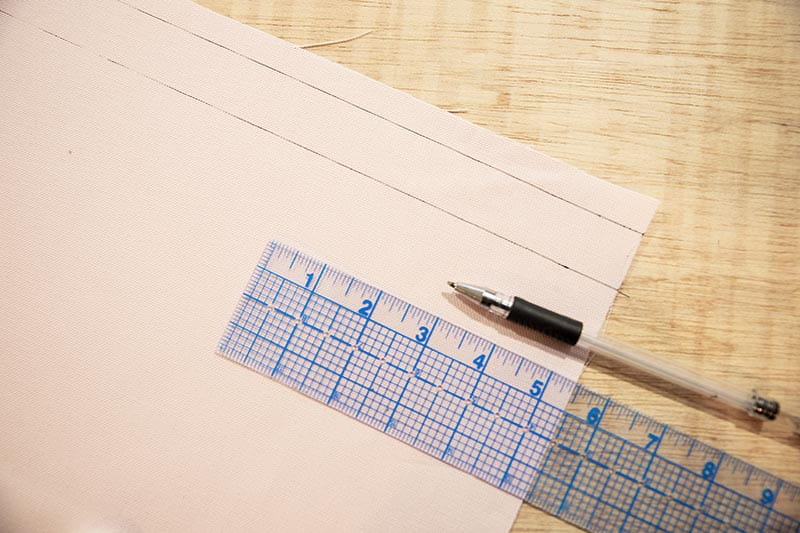
- At the top of your fabric, draw a line across the top ½” from the top edge. [Line A] This will be your seam allowance line.
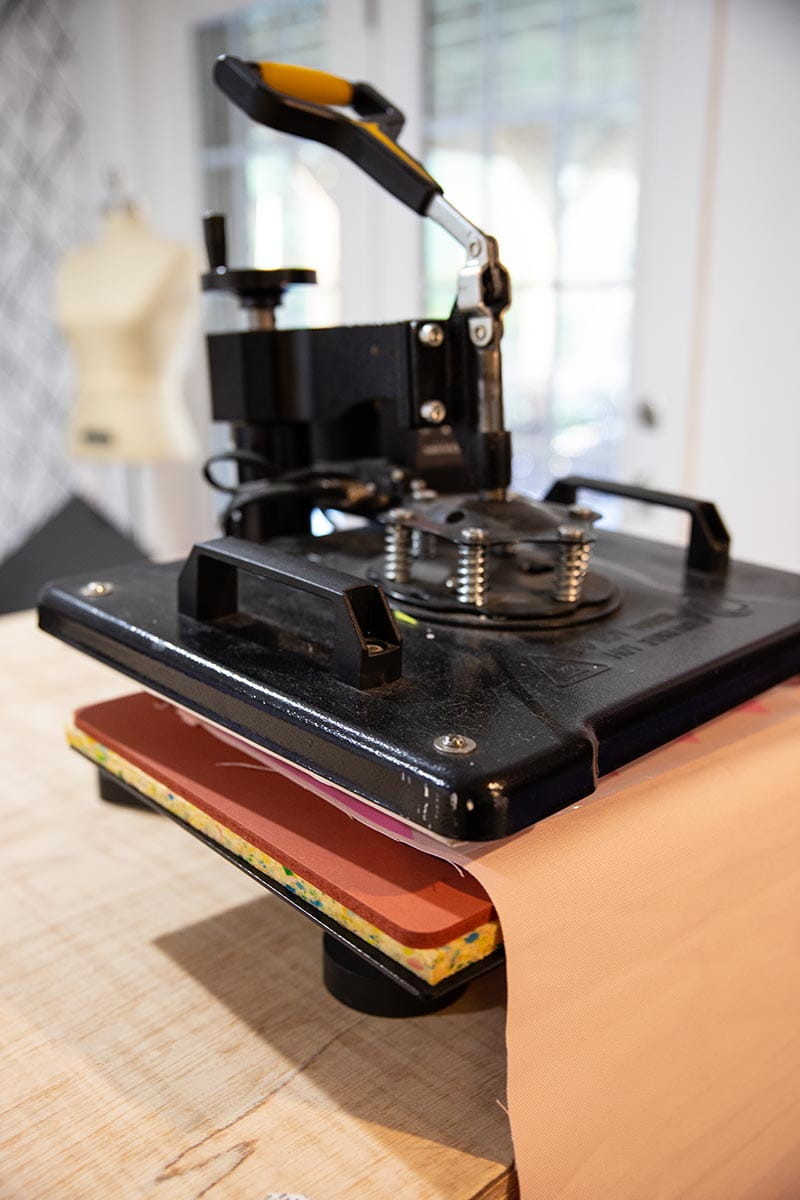
- Using your iron or heat press, press in place by folding fabric over towards the back.
- Draw another line 1” from the previous line you drew. [Line B] This will be the line you'll begin your press.
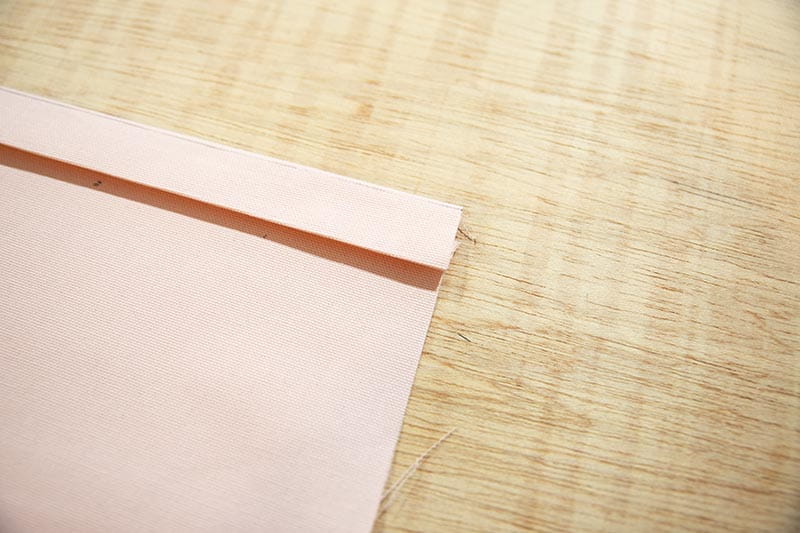
- Using your iron or heat press, press in place by folding fabric under again.
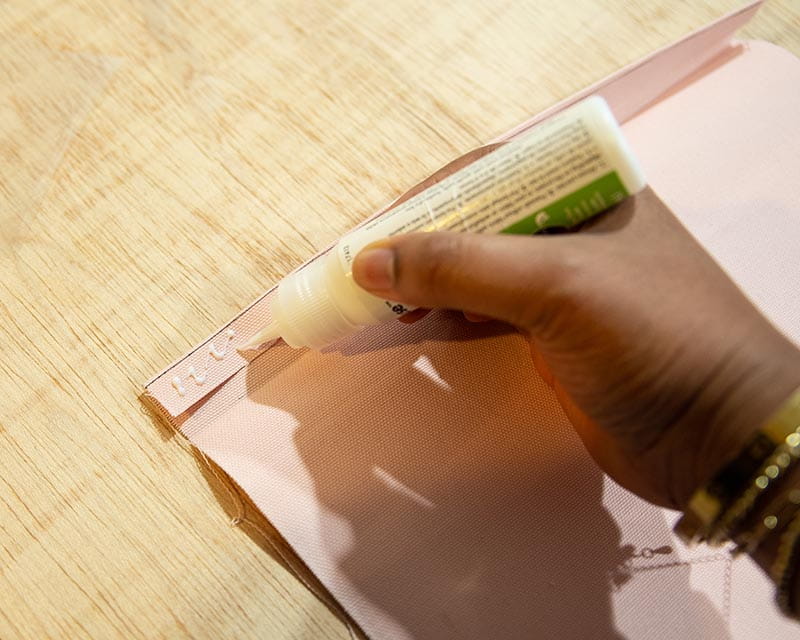
- Apply fabric glue to seam allowance (Line A) and adhere to the back of the fabric.
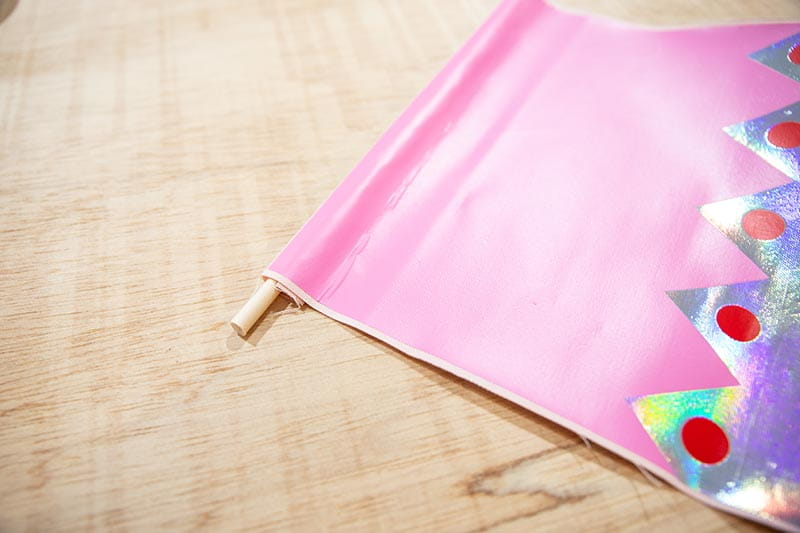
- You should have a pocket, to slide the dowel through. We will connect the dowel later.
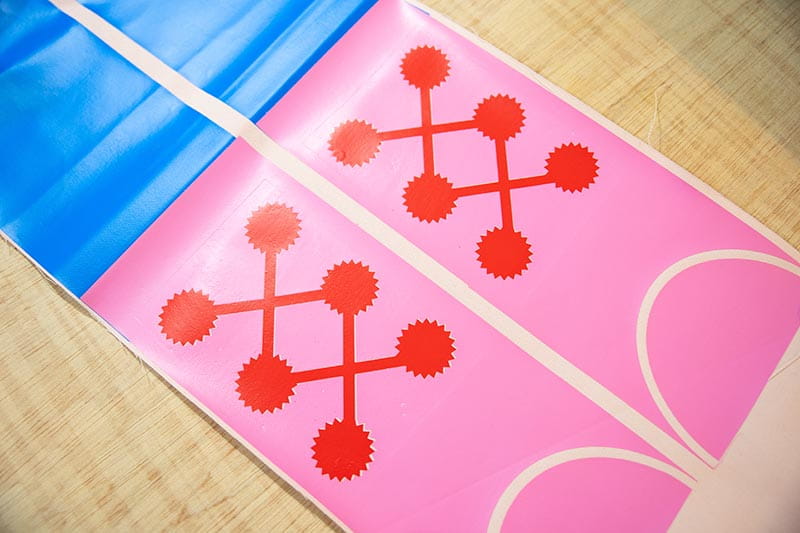
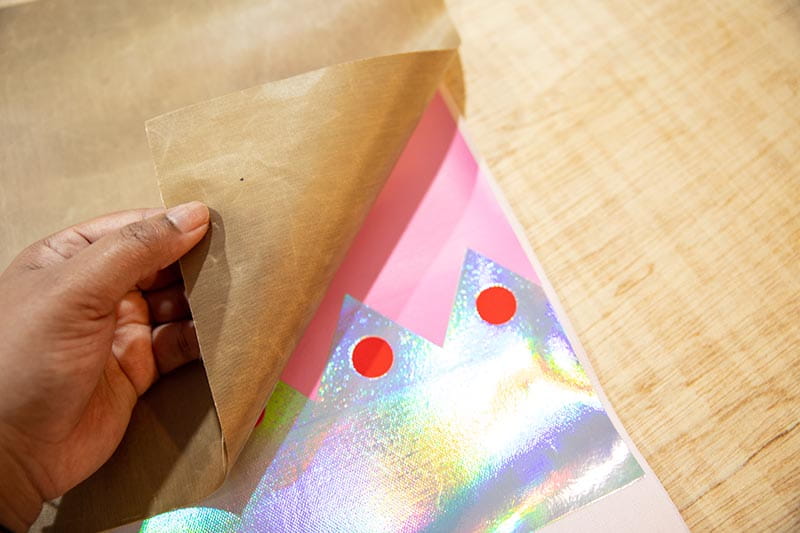
- Once all of your files have been cut, you’ll press each file in the following order:
- Hat
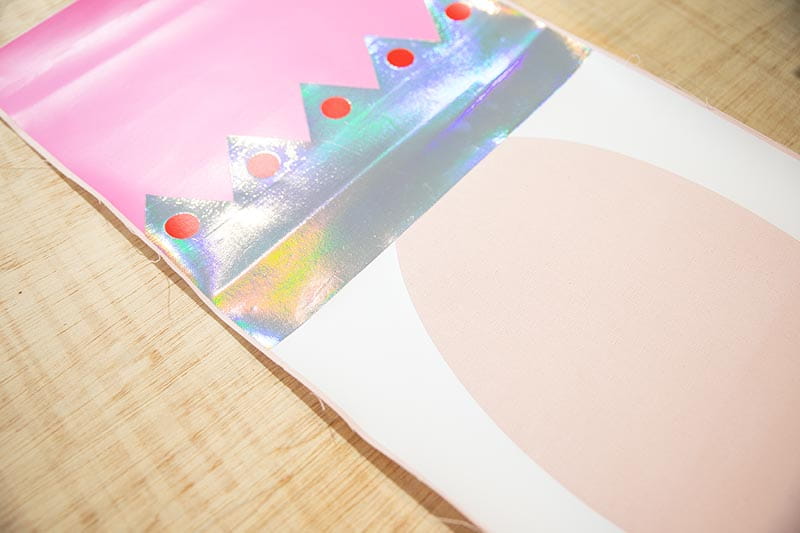
- Crown
- Crown Jewels
- Hair
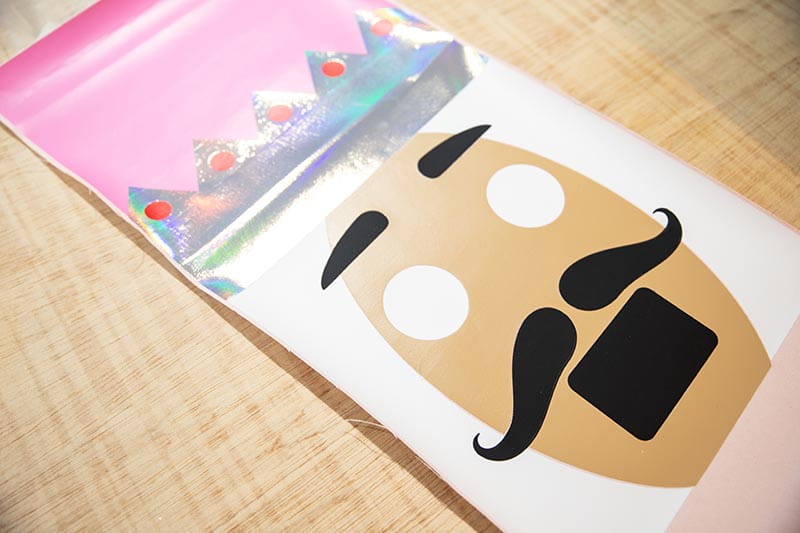
- Face
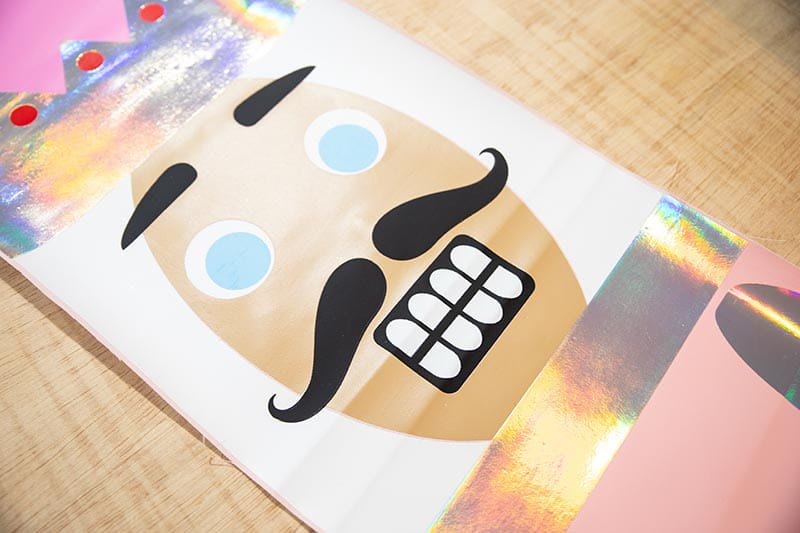
- Eyebrow, White Eyeballs, Mouth, Nose
- Blue Eyeballs, Teeth
- Jacket (when removing the excess vinyl, only remove the outer edges and the actual buckle).
- Collar
- Belt
- Buckle
- Shoulder Pads, Arms
- Hands
- Wristband
- Jacket decor
- Pants
- Boots
- Red Boot Puffs
- White Boot Puffs
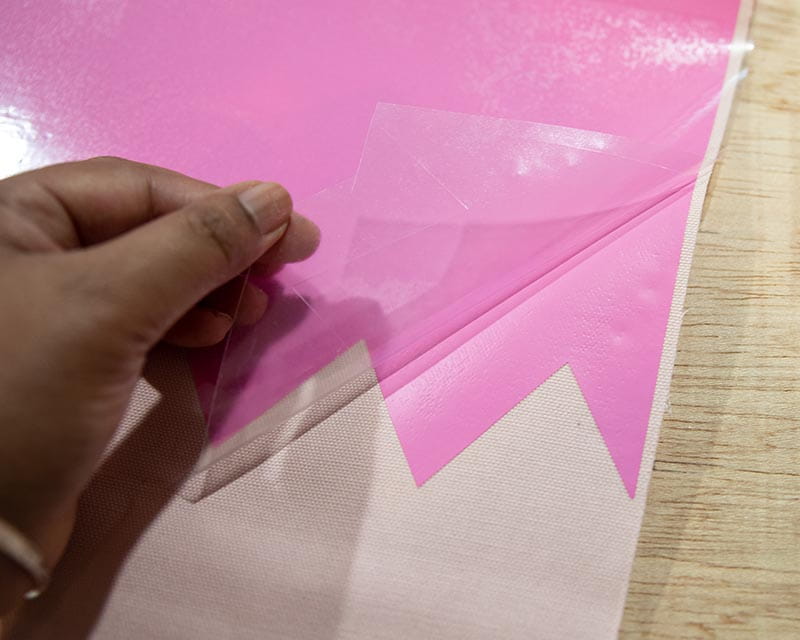
- Note: Be sure to use the heat tape to ensure your parts do not move around, and the Teflon sheet is important in preventing the vinyl from burning and melting to your heat press.
- Cut the dowel into two pieces measuring 14” in length.
- Cut string to a length that you find comfortable, depending on where you want to hang it.
- Slide dowel through the pocket at the top of your nutcracker.
- Tie a double knot at both ends of your dowel.
- Repeat Steps 4-9 at the bottom of your fabric. Be sure to slide the dowel into the pocket.
That’s it!
Tags
Shop this Project
No ScanNCut DX? No problem! Shop our full line of cutting products and get crafting!
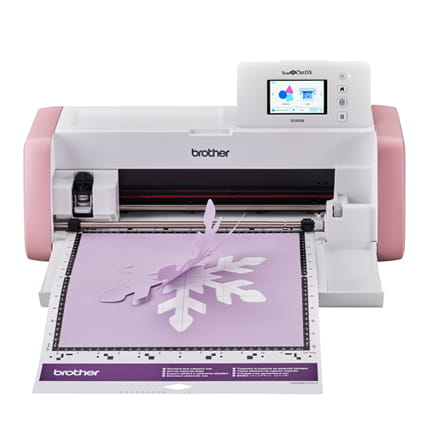
Brother ScanNCut DX
- 251 Built in Designs
- True Auto Blade, no manually adjusting blade pressure settings
- 600 DPI built-in scanner with on screen editing
Related Projects
Stay Connected
Follow Us
Brother Support
Corporate Information
Partnership Opportunities
About This Website
