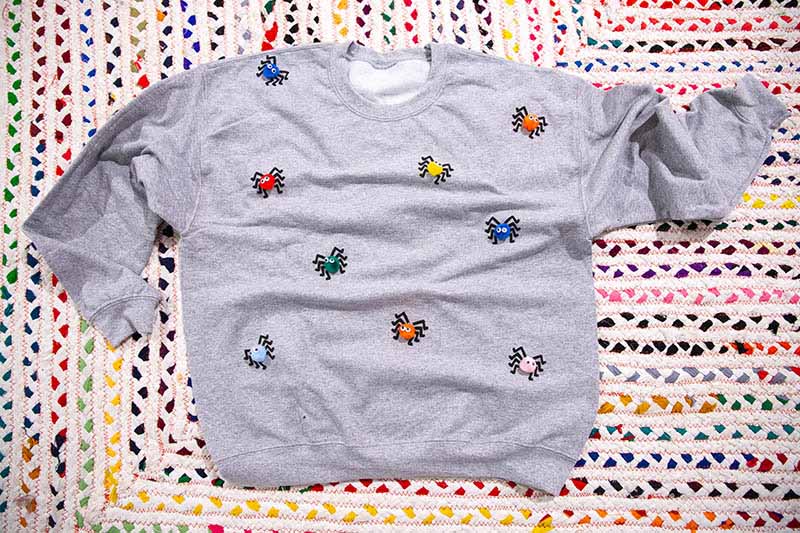
How To Make A Halloween Sweatshirt
This fun crafting project will teach you to make a spooky spider sweatshirt with pom-poms and a little creativity!
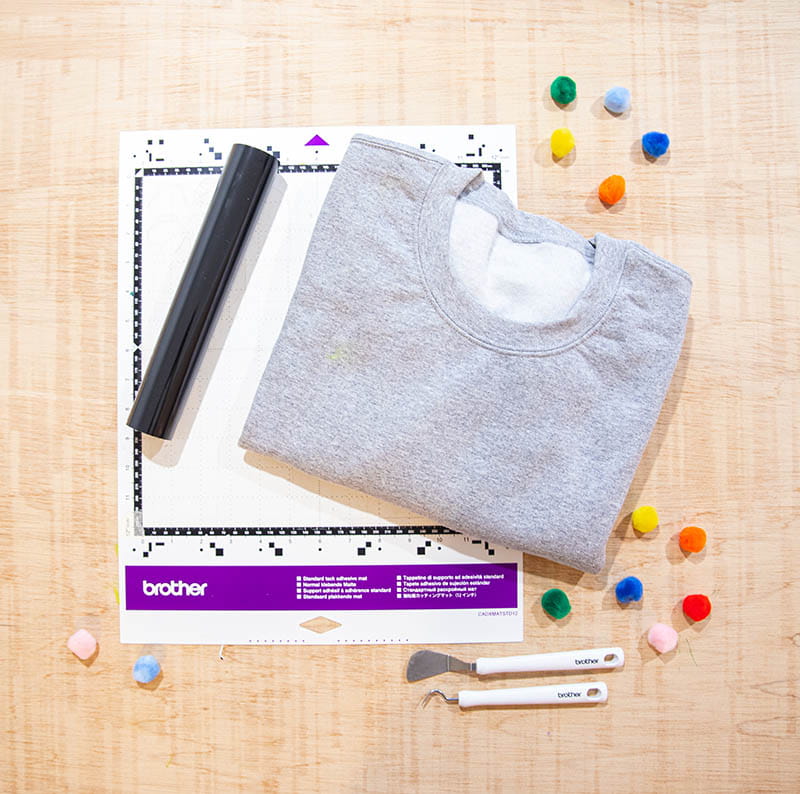
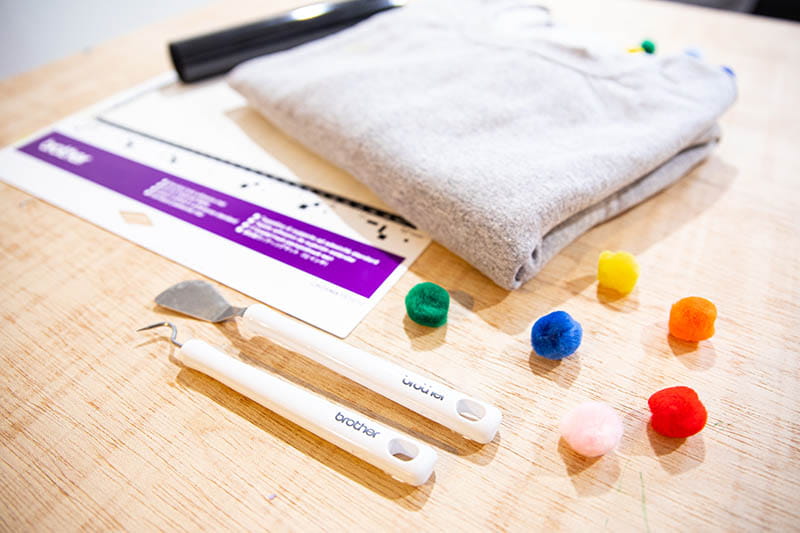
SUPPLIES
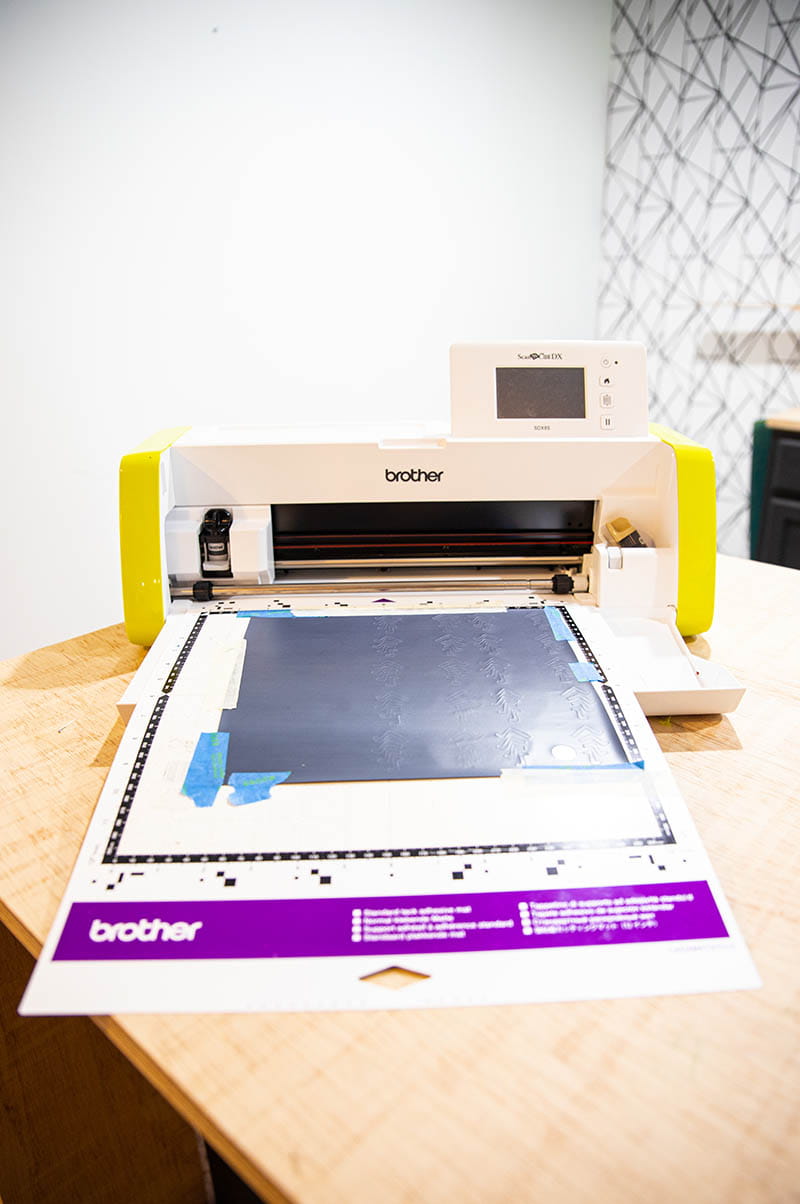
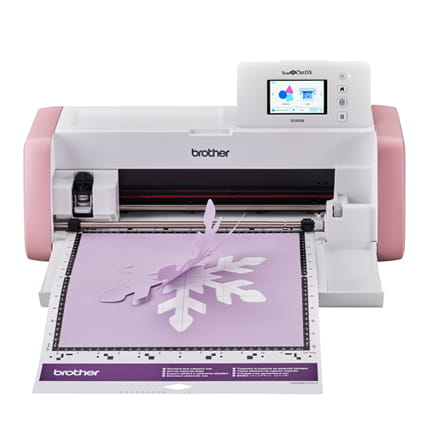
- Brother ScanNCut SDX85
- Gray Sweatshirt
- Black HTV (Flock or Puff vinyl are great options)
- ½ “ Pom Poms
- Fabric glue
- Iron
- Small Eyes (optional)
- Spider Legs Cutting Files
- Downloadable Cutting File :Spider Legs.fcm
Spiders can be scary. If we’re being honest here, I am deathly afraid of them. I won’t bore you with all the details of what makes them so scary, but I thought Halloween is around the corner, so I’d use them in a project. Spiders have a terrifying reputation, so why not make them friendly spiders!
This project is so stinking cute for teachers or young moms. You can make one just for yourself or if you have little kids, you can make one to match yours. It’s a great project for the season to get your little ones involved. With all the textures and different layers involved, this project will be a hit!
As I mentioned, there are different textures and layers to this project. The layers are what prevents the project from looking homemade. Let’s start by talking about HTV (Heat Transfer Vinyl). As you know, there are different textures of HTV. For this specific project, you can use a basic matte or shiny black if that’s all you have, but I’m here to elevate your projects. There are two other options that I would like to suggest to you; flock and puff. Let me explain:
- Flock Vinyl
- What is it? Flocked vinyl is a type of heat transfer vinyl that has a fuzzy or furry texture. The texture is similar to velvet or suede and is much thicker than regular heat transfer vinyl. The texture is raised, giving your design depth and dimension. Most importantly, it’s easy to use.
- This is a great option for your project because it gives the fuzzy texture that most spiders have.
- Puff Vinyl
- What is it? Puff vinyl is a heat transfer vinyl that expands or puffs up when you expose it to the heat of your iron or heat press. Once applied, it gives your design a unique 3D appearance. It has a smooth, grippy texture. Most importantly, similar to the flock vinyl, it is easy to use.
- This is a great option for your project because it’ll give your spider a raised 3D effect. I like the idea of it because it gives off a professional finish.
INSTRUCTIONS
- Gather your supplies.
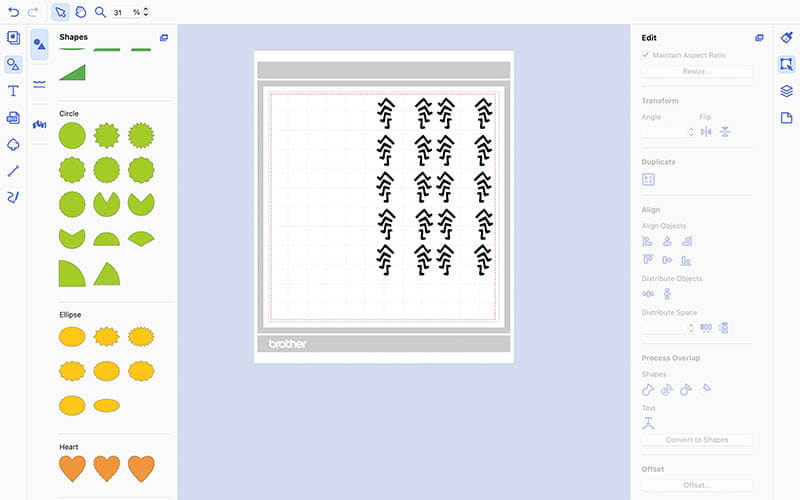
- Download the spider legs cut file and import into CanvasWorkspace. Duplicate the cut file to as many as you think you'll need and arrange the file to prepare for the cut.
- Using your Brother ScanNCut, adjust your settings to whichever htv you chose for this project. I always recommend that you do a test cut prior to cutting out the full project. I chose a puff vinyl. Cut out spiders.
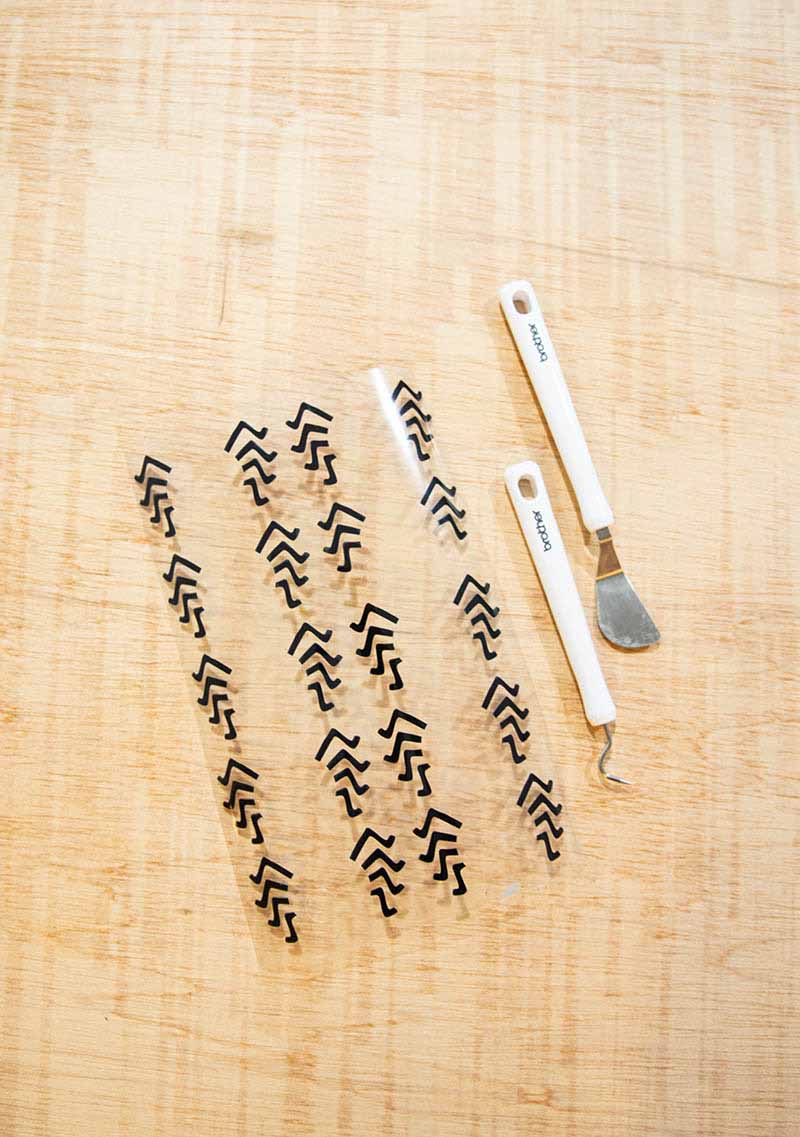
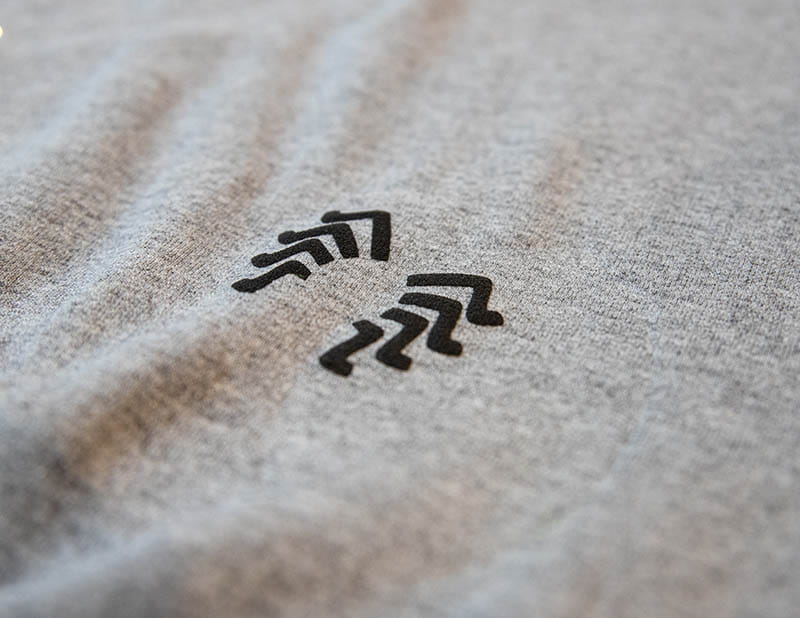
- Remove the vinyl from your machine and pull the excess vinyl off the sheet. You should be left with just your spider legs. (note: Turn your iron on while you complete this step to allow it to heat up.)
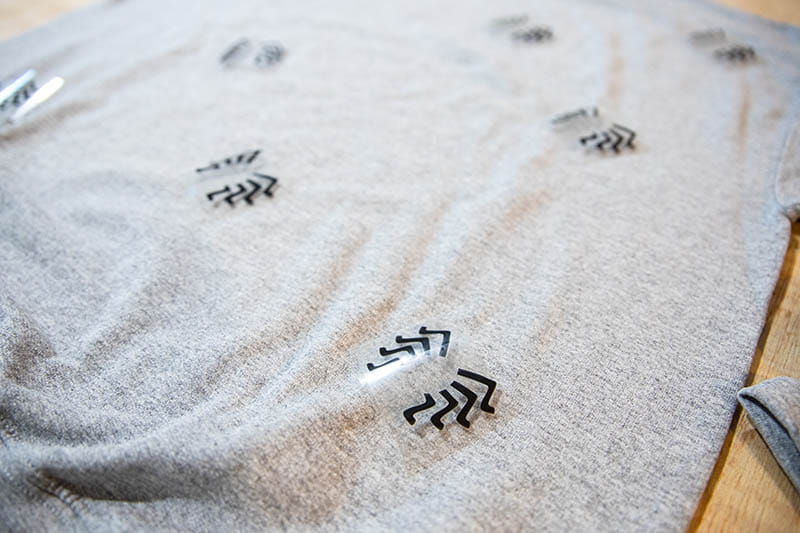
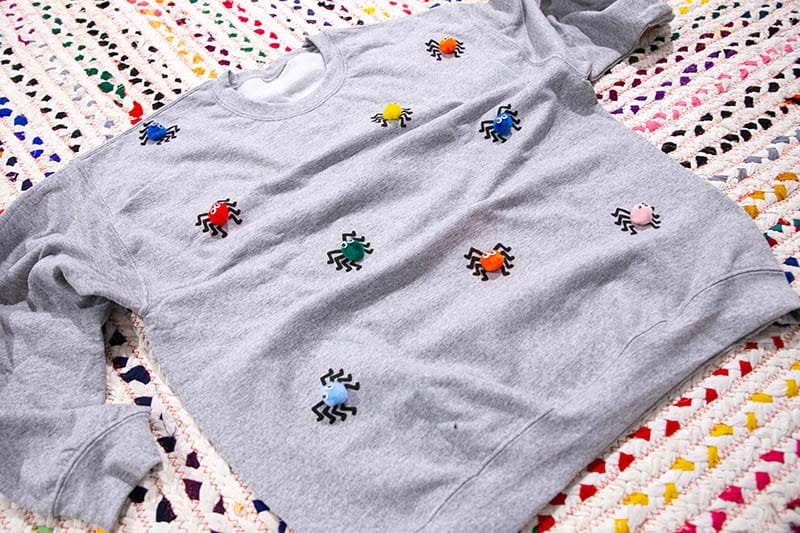
- Arrange the spider legs all over your sweatshirt.
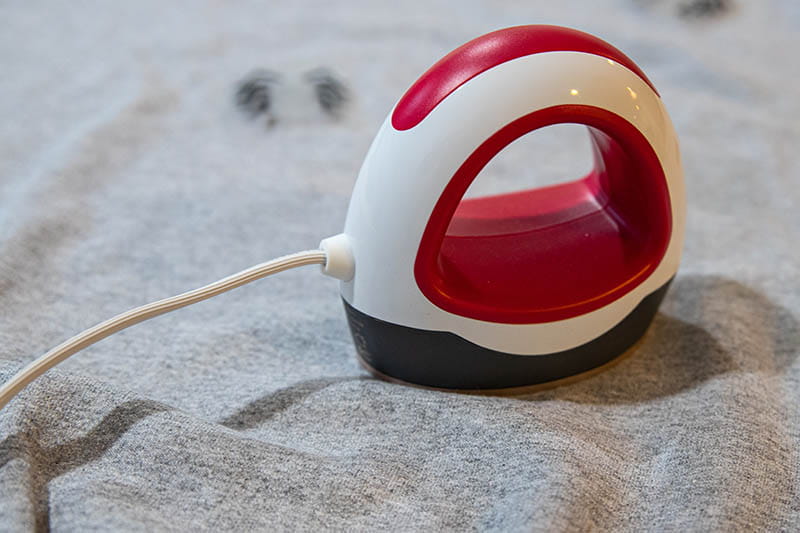
- Press spider legs in place with hot iron. If you are using puff vinyl, it will only take 8 seconds for each press. You should see the spider legs puff up and expand. Cool right?!
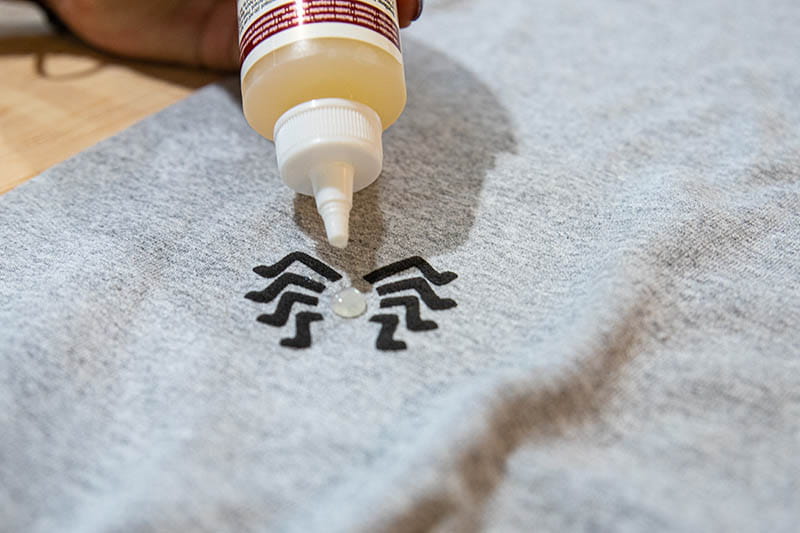
- Place a small dot of glue in the middle of the pair of legs.
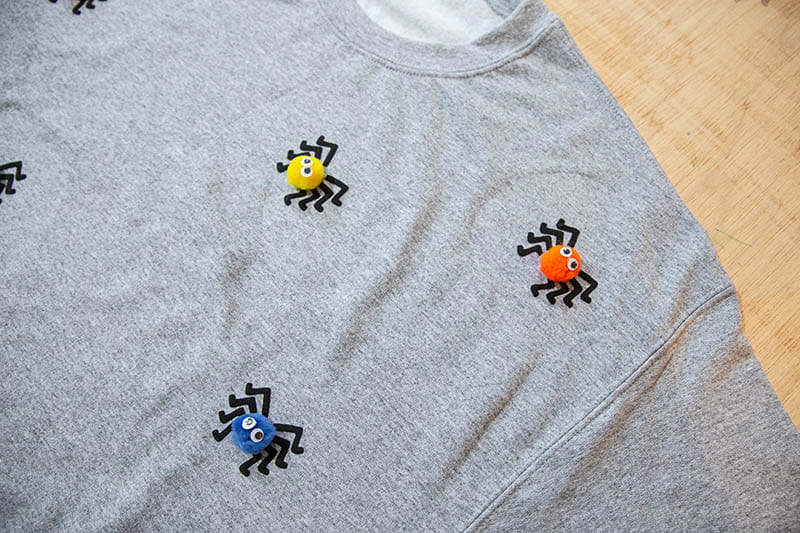
- Attach a medium size pom pom in the center. (Optional) Glue eyes to the center of body.
- Allow project to dry for 3-4 hours prior to wearing.
- You’re done!

Tags
Shop this Project
No ScanNCut DX? No problem! Shop our full line of cutting products and get crafting!
Brother ScanNCut DX
- 251 Built in Designs
- True Auto Blade, no manually adjusting blade pressure settings
- 600 DPI built-in scanner with on screen editing
Related Projects
Stay Connected
Follow Us
Brother Support
Corporate Information
Partnership Opportunities
About This Website
