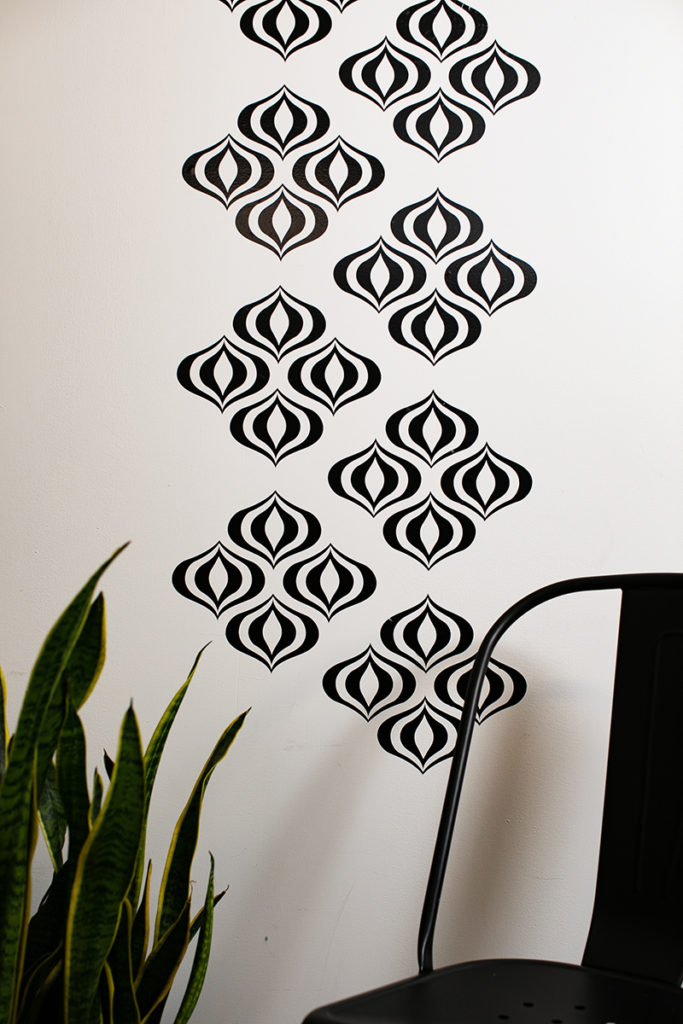
Roll Feeder Project: Retro Wall Decal
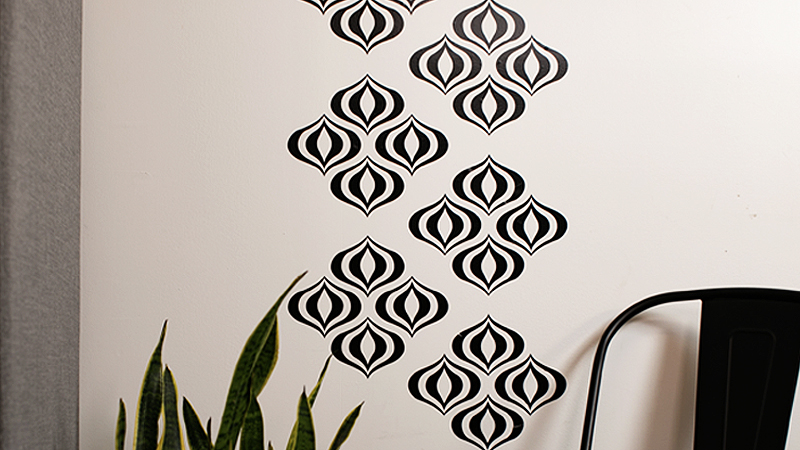
Add some vintage flair to any wall with the help from your ScanNCut.
You will need: ScanNCut DX Machine, roll feeder, Brother vinyl rolls (at least 2, depending on how many times you want to repeat the design), Brother transfer sheet rolls
Steps:
First, set up your machine with the roll feeder + vinyl.
2. Download the file Roll Feeder Wall Decal.fcm to your machine.
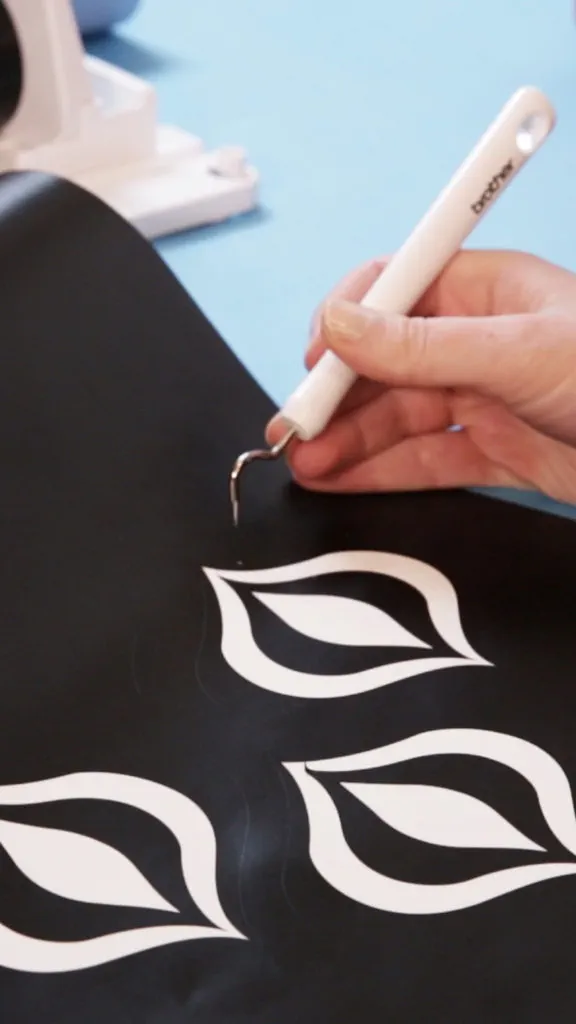
3. Cut out the pattern using the machine (cut settings should be automatically set to half cut).
4. Weed out all extra vinyl from the cut-out designs.
5. Roll out a length of transfer paper that matches the length of vinyl. Begin to separate the backing from the transfer paper and starting at one end, smooth the transfer paper over the top of the vinyl designs.
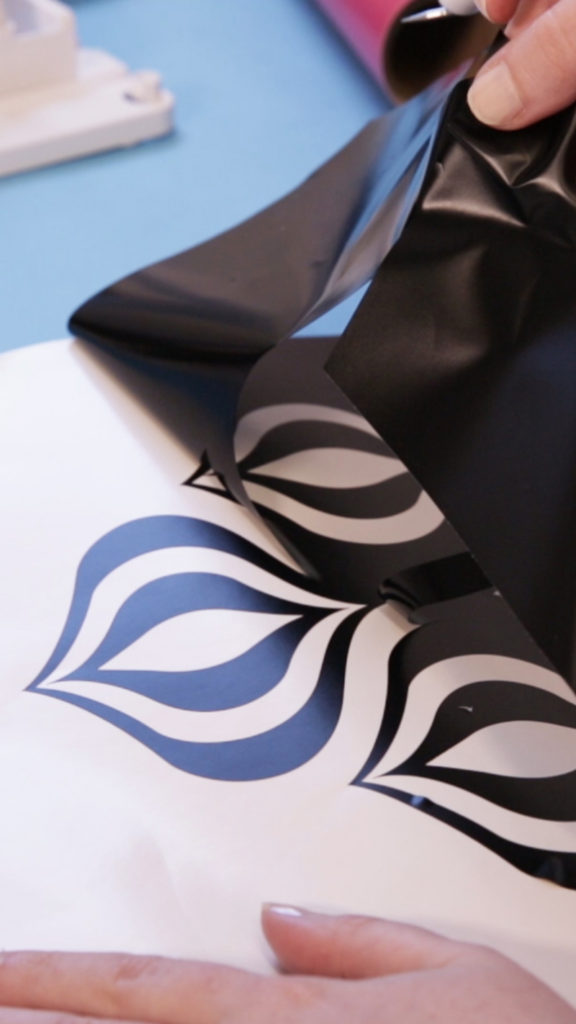
6. Carefully peel back the paper vinyl backing from the sheet, so that the adhesive side is exposed.
7. Align the transfer sheet with where you want to place the vinyl. Make sure that the wall is clean and smooth.
8. Place the transfer sheet and use a straightedge to smooth it down over the surface of the wall.
9. Peel off the transfer sheet, leaving the vinyl design adhered to the wall.
Repeat steps 1-9 to create a repeating design.
Related Projects
Stay Connected
Follow Us
Brother Support
Corporate Information
Partnership Opportunities
About This Website
