Travel Tips + Tricks: Luggage Tag, Suitcase Decals, & Passport Cover
Did you hear that? The 'open road' is calling so its time to get globe-trotting ready with a few fun travel savvy projects!
You will need:
For Luggage Tag:
Fabric (about one fat quarter), stiff felt, ScanNCut DX, sewing machine, thread, ribbon, standard tack mat, High-Tack Support Sheet, thin fabric auto blade, basting tool or scissors
For Suitcase Decals:
Brother Sticker Starter Kit, inkjet printer, ScanNCut DX, low-tack mat
Travel Stickers PRINT.pdfDownload
Travel Stickers.fcmDownload
For Passport Cover:
Faux Leather, heat-transfer vinyl, sewing machine, ScanNCut DX, standard tack mat + High-Tack Fabric Support Sheet, Iron
Steps:
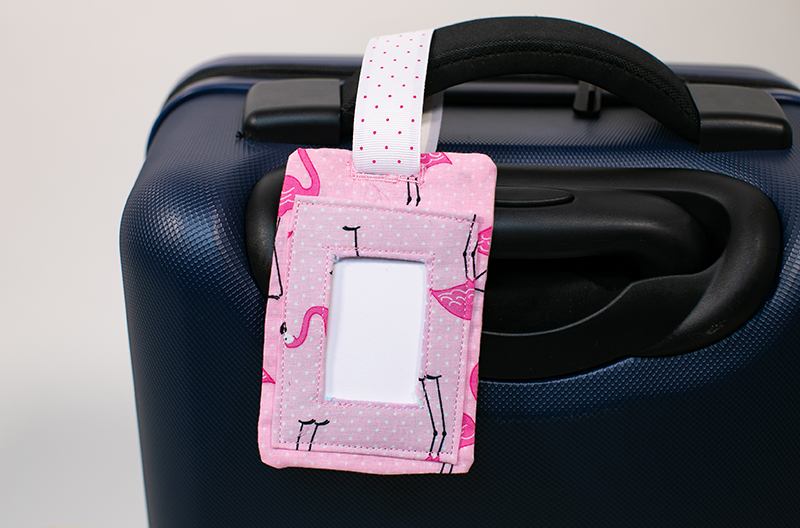
Luggage Tag:
- Using the ScanNCut DX, open up the built-in patterns section and select the vertical rectangle option. Resize the rectangle to measure 4” x 6” and create three rectangles on the canvas design area.
- Affix a 12” x 12” cut piece of fabric to a standard mat using the high-tack fabric support sheet.
- Use the thin fabric auto blade to cut out the three 4” x 6” rectangles. Set aside.
- Next, load luggage tag outer pocket.fcm to your machine.
- Lay down a piece of stiff felt onto the standard mat with the high-tack fabric support sheet.
- Cut out the felt piece and set aside.
- Flip two of the 4” x 6” rectangles so that the outside of the fabric is facing in and stack them on top of each other. Pin in place. Sew the rectangles like this with a ¼” allowance all the way around, except for a 1” hole at the top.
- Flip the pocket right-side-out and straighten all sides out. Use an iron to press down and make all creases sharp and straight. This will function as the back of the tag.
- Next, line up the felt rectangle window with the third 4” x 6” fabric rectangle, placing the felt on the wrong side of the fabric. Use a pencil to outline the inside of the luggage tag window and make an “X” connecting the 4 corners of the window. Use this guide to cut out the X shape of the fabric (but not the entire window itself). The goal is to use the remaining fabric triangles to fold and crease over the inside of the felt.
- Use an iron to crease all extra sides of the fabric around the back of the felt rectangle.
- Use a sewing machine to sew along the inner window, keeping as close to the edge as possible. This will secure the fabric onto the felt window.
- Next, sew along only the top side of the felt window, close to the outer edge.
- Align he felt window to the back of the tag and topstitch along the bottom and two sides of the tag to secure.
- On the top of the luggage tag, sew a 1” buttonhole in the fabric. Use a basting tool to punch out the center of the button hole.
- Loop a length of ribbon through the buttonhole and tie to your piece of luggage.
- Bon Voyage!
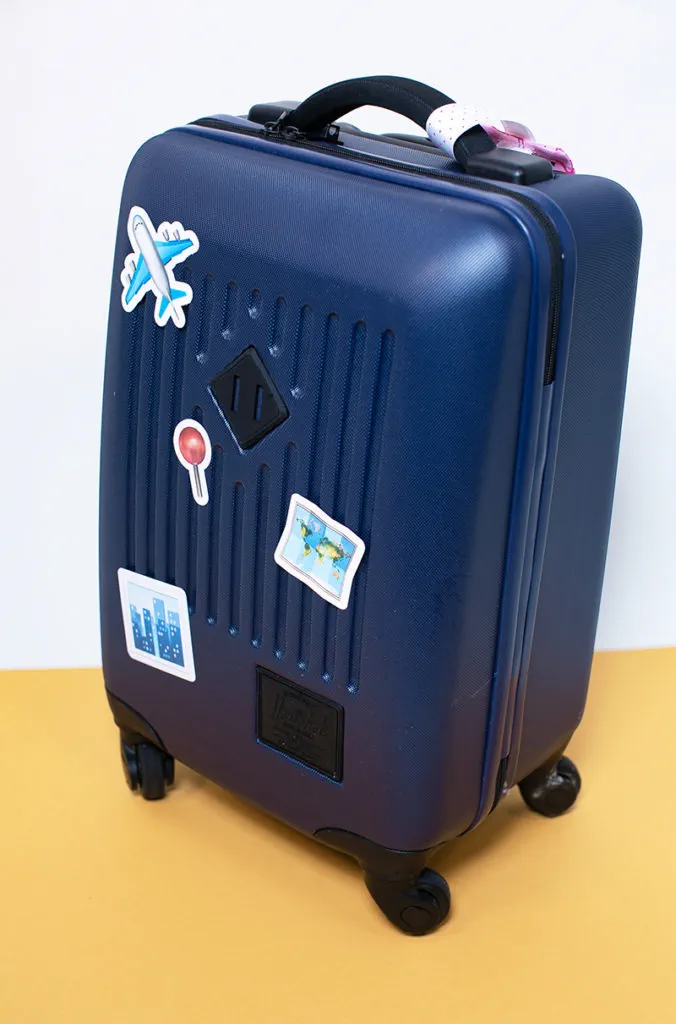
Suitcase Decals:
- Open up the Brother Sticker Starter Kit and review the instructions.
- Download the PDF (Travel Stickers PRINT.pdf) file with the sticker designs to your laptop and print out the PDF at full size on the sticker paper using an inkjet printer.
- Use the laminate sheet in the kit to laminate the designs onto the paper.
- Affix the laminated sticker sheet to a low-tack mat.
- Load Travel Stickers.fcm to your machine.
- Scan the laminated sheet to make sure the cutting lines are lined up properly with the designs. If not, make sure to adjust on-screen.
- Adjust the cutting function settings to “Half-Cut”
- Cut out the designs.
- Peel off each design and attach to your suitcase (or any other item).
- Voila!
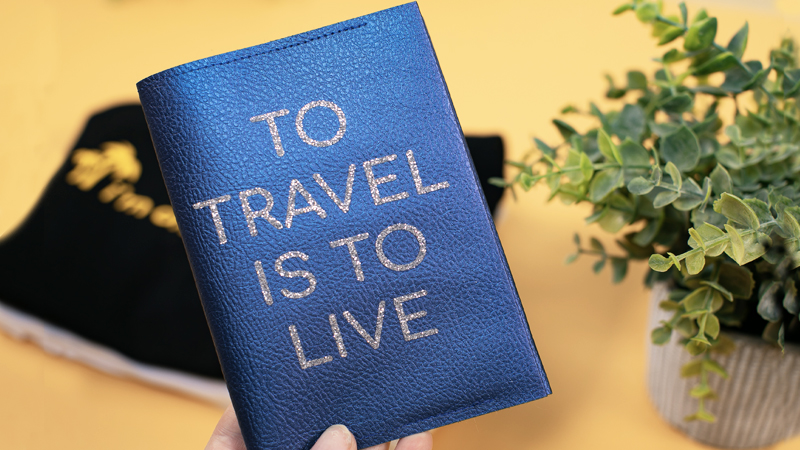
Passport Cover:
- Download passport_cover.fcm to your machine.
- Attach the faux leather to the standard tack mat using the High-Tack Fabric Support sheet.
- Cut out the passport shape using the machine.
- Measure out 1.5” from the left + right sides of the rectangle and use an iron to fold and lightly crease the faux leather inwards along these lines. This will be the start of the two “Pockets” that will hold the passport cover in place.
- Using a sewing machine and thread that matches the faux leather, topstitch along the top of the passport cover to secure the folded pockets down in place. Make sure to backstitch at the beginning and end of the row to secure the stitches. Leave about a ⅛” space between the line of stitches and the very top of the cover.
- Repeat step 5, but on the bottom of the passport cover this time. The pockets should be totally secure now.
- Next, download passport_cover_vinyl.fcm to your machine.
- Place a sheet of heat-transfer vinyl onto your mat, making sure to place the carrier (super shiny!) side down. Cut out the design.
- Peel away all excess vinyl. There should only be your design left on a sticky clear sheet.
- Place the vinyl sticky side down onto the center portion of the front flap of your passport cover.
- Lay a piece of scrap fabric over your design and use an iron on medium heat (no steam) and press the design firmly into the faux leather. Make sure all parts of the design are pressed down.
- Once the design is bonded to the material, let the faux leather cool for a few seconds.
- Peel off the clear backing and let cool for a couple of minutes.
- You’re done! Place your passport inside of the passport cover.

Safe Travels!
Related Projects
Stay Connected
Follow Us
Brother Support
Corporate Information
Partnership Opportunities
About This Website
