Valentine’s Day Crafts: Mailbox Project and XOXO Banner
Create a loving heart inspired mailbox and XOXO banner just in time for Valentine's Day!
For the XOXO Banner, you will need:
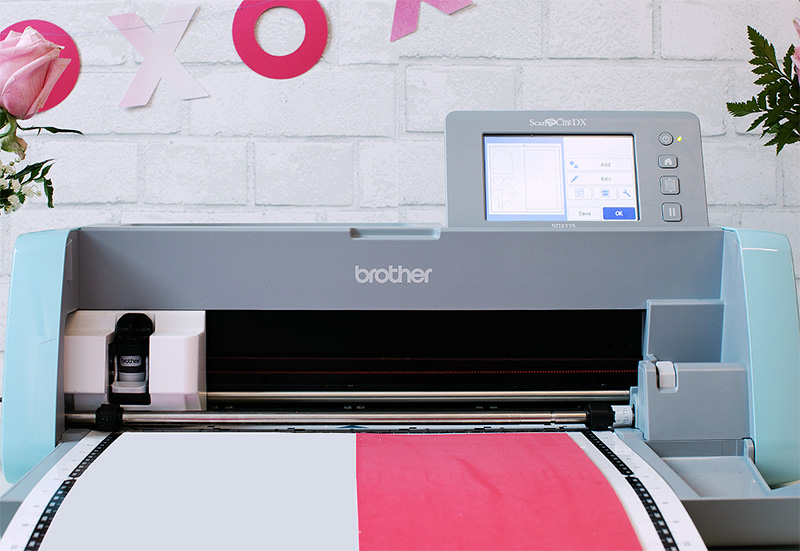
- Paper in varying shades of pink, sewing machine, thread, ScanNCut Disney Innov-ís Edition SDX230D, Low-tack mat
- XOXO Banner.fcm
For the Mailbox Project, you will need:
- Craft foam, chipboard or cardstock, 1 brad, hot glue or other adhesive, ScanNCut DX, Auto Blade, Low-Tack Mat
- Mailbox_Lid.fcm
- Mailbox_Foam.fcm
Steps for XOXO Banner
1. Download “XOXO Banner.fcm” to your machine.
2. Apply paper to the low-tack mat.
3. Cut out the pattern, repeating as needed to create your desired banner length.
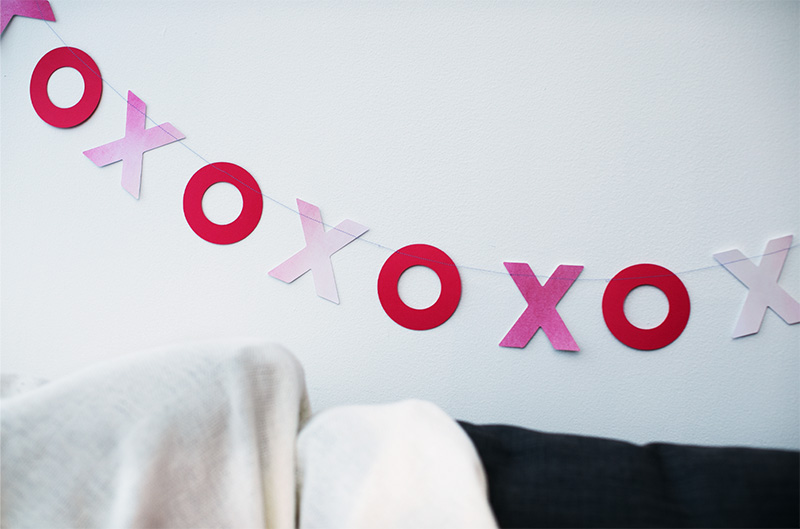
4. Use a sewing machine and matching thread color to begin sewing the cutouts together down the top centimeter or so of each letter, making sure to backstitch at the beginning to set the stitches.
5. Once you finish sewing one letter, don’t cut the thread. Let the machine continue sewing for about 4 inches, creating a stitched thread. Make sure to keep light tension on the thread by pulling on it from the back. Make sure to alternate X’s and O’s!
6. After there is a 4 inch string created, feed the next shape into the machine and begin stitching again.
7. Repeat steps 4-6 until you have created a chain of your desired length. Backstitch on the last letter and cut the thread, removing from the machine.
8. Secure each strand end by tying a knot.
9. Hang up your banner—you’re done!
Steps for the Mailbox Project:
1. Download “Mailbox_Foam.fcm” to your machine.
2. Apply your foam sheets in colors of your choice to the mat. Vary the colors if desired according to the pattern.
3. Cut out the foam pieces and set aside.
4. Next, download “Mailbox_Lid.fcm” to your machine.
5. Apply the chipboard to the mat.
6. Cut out the designs.
7. Take the curved foam piece and the long, thin chipboard cutout. Bend the edges of the chipboard cutout along the score lines inwards.
8. Curve the chipboard gently into the shape of the curved outer edge of the foam piece.
9. Use hot glue to secure the notched edges of the chipboard (and the straight, scored edges) along the edge of the foam piece. This will become the lid of the mailbox.
10. Next, take the large rectangular foam piece and the larger chipboard piece. Fold all score lines on the chipboard piece inwards.
11. With the right side of the foam piece facing outwards, secure the longest tabs on the chipboard to the inside of the foam piece, creating a curved mailbox shape.
12. Fold up the chipboard curved “back” side, using hot glue to secure the tabs to the underside of the foam.
13. Finally, take the lid you assembled earlier and use hot glue to secure its bottom tab to the inside of the mailbox floor.
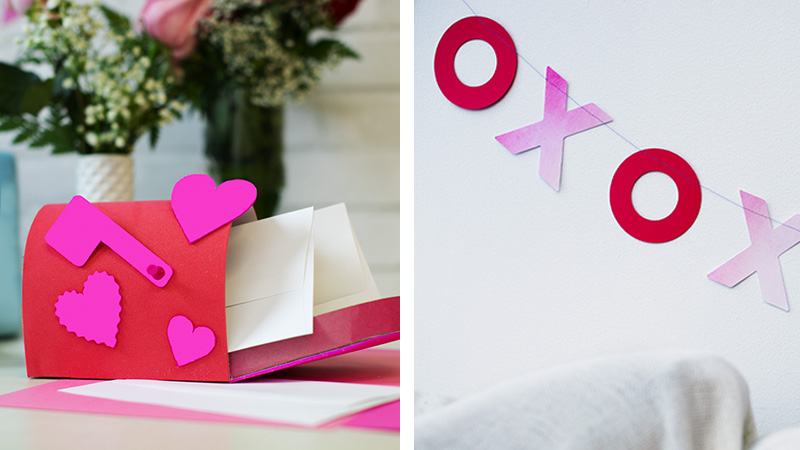
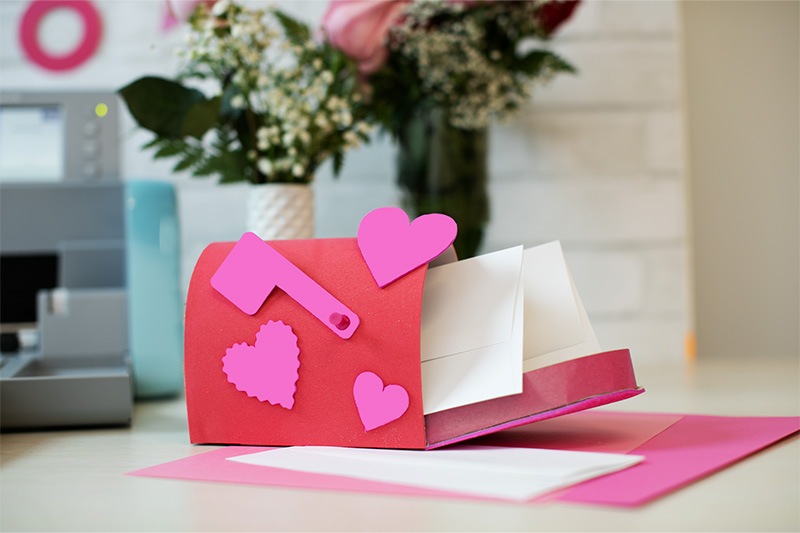
14. Use a brad to attach the mailbox flag to the foam mailbox at the small hold cutout.
15. Use hot glue to add the heart embellishments to the outside of the mailbox for a cute effect.
Related Projects
Stay Connected
Follow Us
Brother Support
Corporate Information
Partnership Opportunities
About This Website
