Make A Custom Wooden Sign With Your Cutting Machine
-Brother Crafts Blogger
Supplies:
- ScanNCut DX SDX230Di
- standard mat
- vinyl
- transfer material
- wood sign or canvas
- felt
- paper
- corrugated material
- acrylic paint
- glitter
- sealant (if desired)
- adhesive
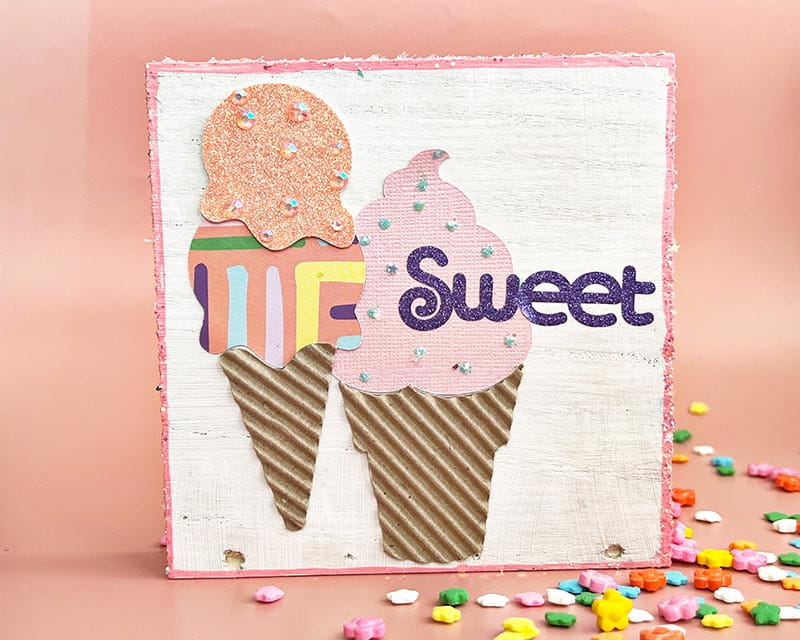
From display trays to party tables creating your own custom signs and décor is a wonderful way to get the most out of your ScanNCut DX electronic cutting machine! In this easy step-by-step tutorial, May Flaum will share how to create a wooden ice cream sign perfect for a cool ice cream party. Everyone will love this handmade wooden sign – and you’ll be amazed at how easy it is to create designs with your Brother electronic cutting machine. Time to pick out your color palette and get ready to craft!
1. Select and size your pattern built-in to the ScanNCutSDX230Di, and size at least ½” smaller than your surface area (approximately 4-5” for my project) and select the first piece to cut out. Select cut and cut – the auto-blade will determine the depth for you.
Tip: Using different materials? Cut each individually one at a time so that the auto-blade is able to sense the thickness and appropriately cut the pieces.
2. Repeat placing material on mat and cutting all remaining parts of the Ice Cream (both patterns used), cutting only one piece at a time if using different materials.
3. Select the “sweet” built-in file from the word files in the ScanNCut DX, and size to approximately 3” wide. Cut (with half cut turned on) sticker/craft vinyl and then weed the design out.
4. Using liquid adhesive, adhere each ice cream cone piece individually to the wood sign (or canvas). Allow to dry fully.
5. Transfer the ‘sweet’ vinyl to a piece of transfer material, and then press onto your project as desired. Rub gently, and lift transfer material to complete the transfer.
6. To add dimension to your project adhere rhinestones, glitter glue, or other embellishments to the ice cream cones to act as ‘sprinkles’.
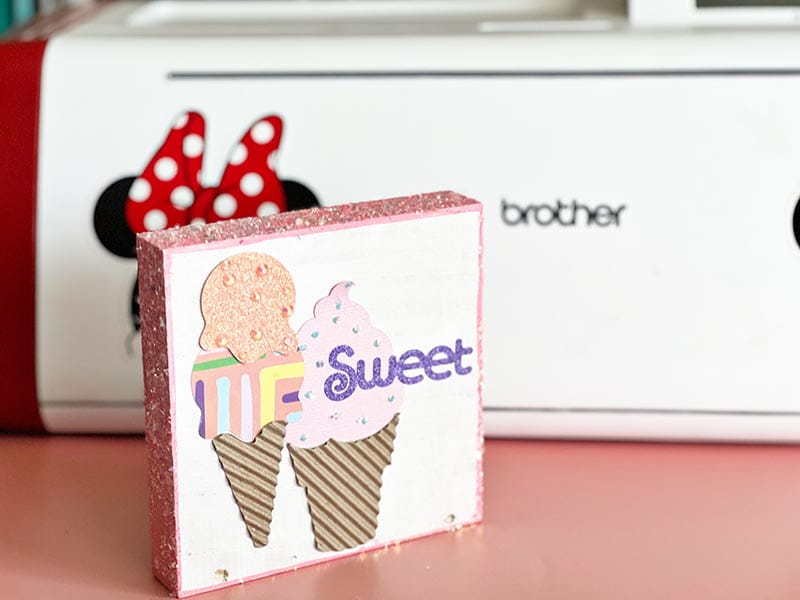
7. To complete the project mix acrylic paint and glue and paint the top and sides, then sprinkle glitter onto the sides. The bottom is left plain, as this stand is intended to sit flat on a shelf or table.
This project could be created in any color palette, and for any occasion as well! This sign could be used to hang on a wall or in some more permanent way. Handmade DIY signs make great housewarming parties too! When it comes to adding homemade touches to your décor and your parties, it’s easy to see the ScanNCut DX machines add a lot of possibilities to your crafting.
Related Projects
Stay Connected
Follow Us
Brother Support
Corporate Information
Partnership Opportunities
About This Website
