Sewing Curves, a Technique Filled Tutorial
Sewing Curves
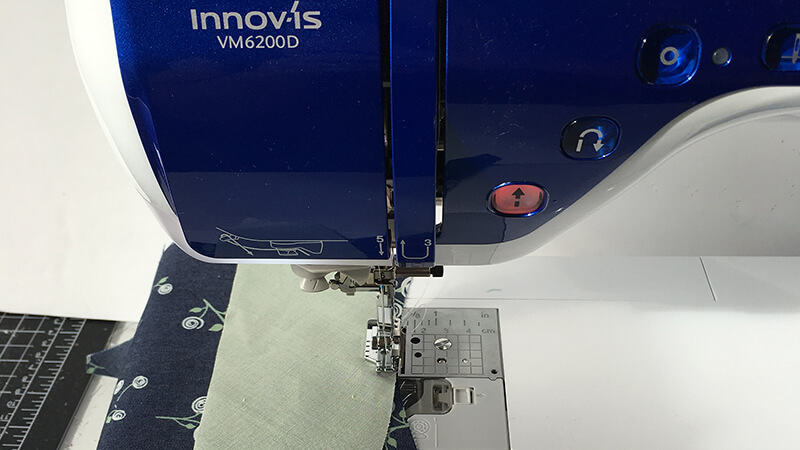
Recently, I embarked on a journey into quilty curves. I’ve done a bajillion shirt and jacket armholes, so, in my head, even the most daunting curves would be cake. So, thinking I got this, I used a die cutter to cut some larger wedding ring melon quilt parts and 4 1/2” clam shells to make some pillows. And then without pinning or basting or anything I just jumped right in, quickly realizing that wonky curves weren’t what I was aiming for. So, I slowed down and sifted through the filing cabinets of information in my head to come up with a plan. And this plan involved two things: my ¼” foot and glue.Machine used:
DreamWeaver™ XE VM6200DSupplies:
Curved quilt pieces cut out and ready to sew together such as the wedding ring or clam shell Fabric glue stick Sharp fabric scissors Piecing thread of your choice Tweezers (optional)Gradual Curves
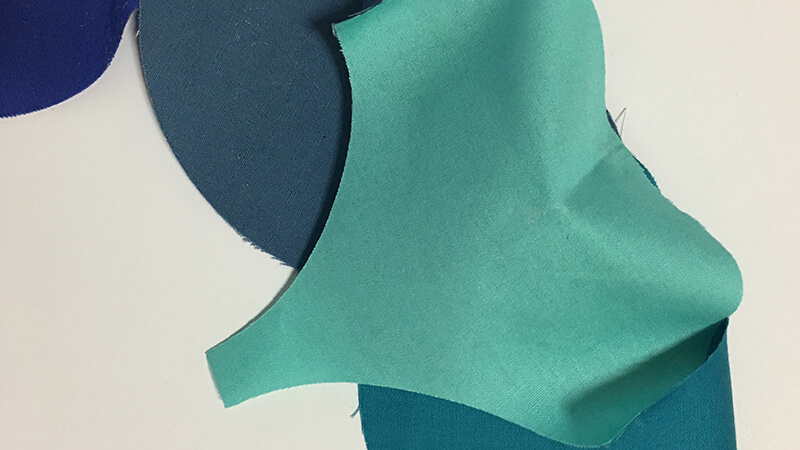
- Starting with the gradual curves of the double wedding ring die cut pieces, I folded one side of the center piece and one piece of the sliced melon in half to find the center points.
- With right sides together, I glue basted the two pieces only at the midpoint, making sure the edge of both curves was flush at this point.
TIP: When glue basting is to make sure to make sure to place the glue on the inside of the seam allowance and heat set with an iron to avoid getting glue on your needle.
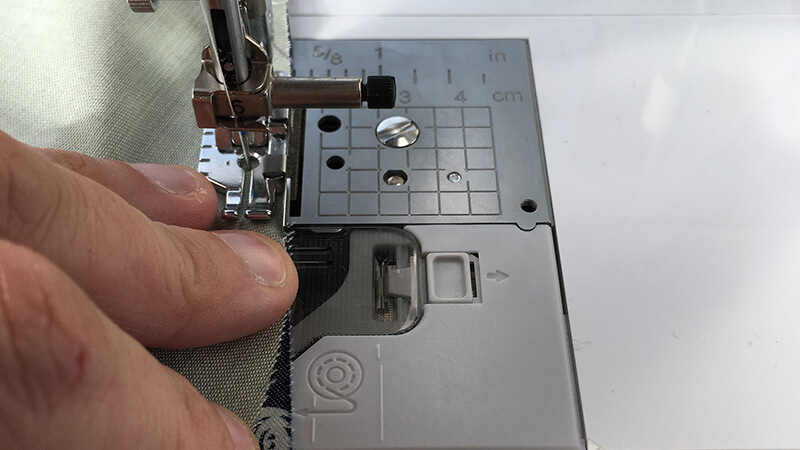
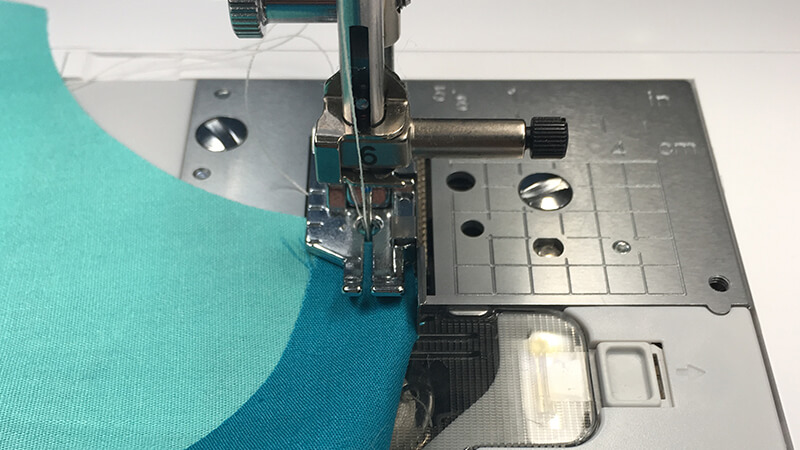
- On to the sewing… Yaaaay! With ¼” foot ready to go and speed set at a relatively slow speed, start at the midpoint and use your fingers to adjust the two fabrics every ½” or so to make sure they are both flush by the time they hit the needle.
- Beware: when matching the edges of opposite curve pieces, try not to stretch the fabric beyond what you need to match up the edges. Keep going until you finish sewing down the edge.
- Then flip it over and, starting at the midpoint, sew down the other half using the same technique.
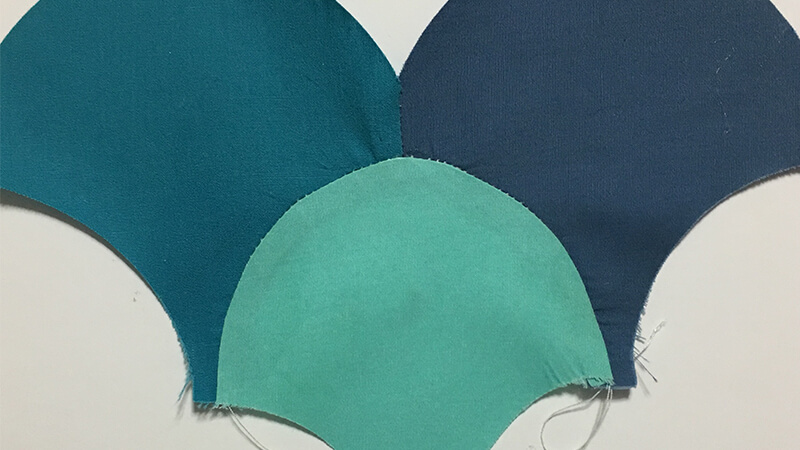
- Once one side it complete, press the seam allowance toward the center and repeat the process with the other three side pieces and boom you're done. Woop!

Sharp Curves
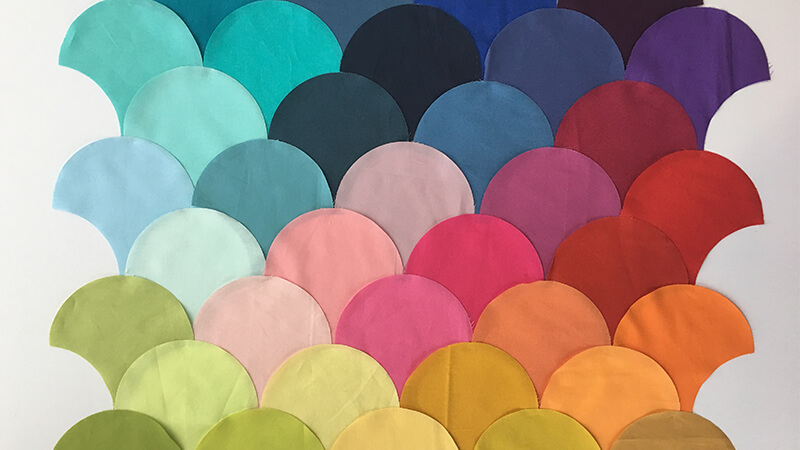
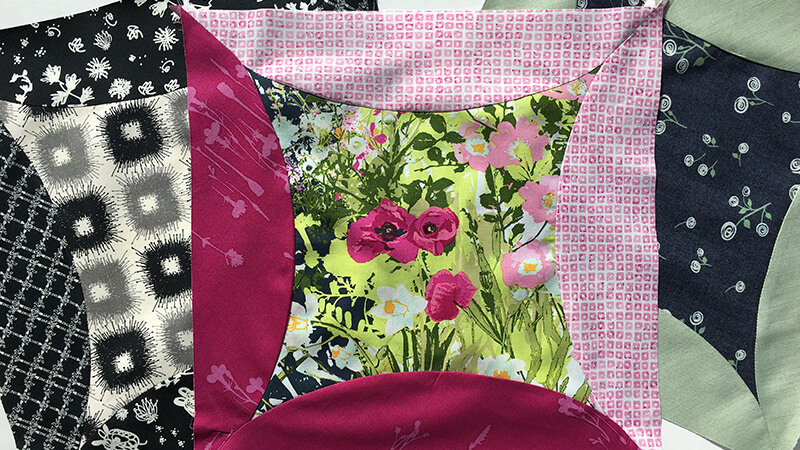
Okay so first, I don’t know what I was thinking deciding to use 4 ½” clam shells, but I did and I’m grateful that I did a test run before I jumped into the actual project. And even after my tragicomic first go, I was determined to machine piece these clam shells together because I wanted to develop this skill and so I once again regrouped and went for it. Basically, I used the same technique as above, but also glue basted the ends. And if you’re all like huh, then here’s a step-by-step.
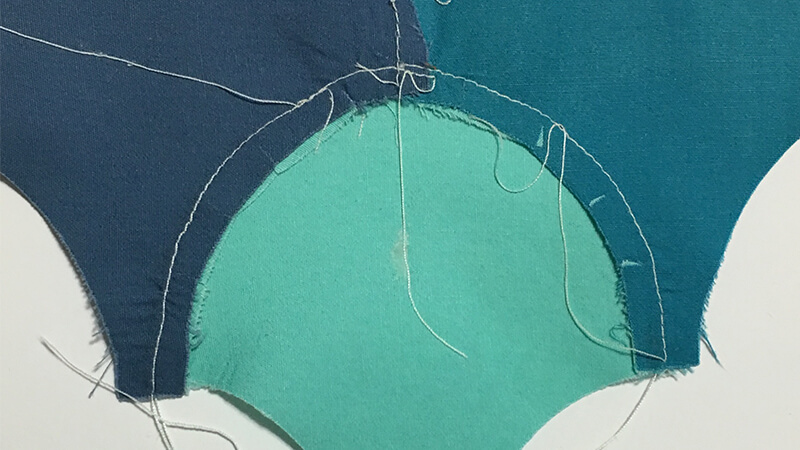
- With clam shells, the midpoint of the main piece is the seam, so you only have to fold the lower clam in half to find the middle of the curve.
 Once you have that, then, with right sides together, glue baste the two curves together at their midpoints making certain that the edges are flush. I also basted the last ¼” of each curve together. Like it looks totally weird, but this was one of those trust-the-pattern moments with me and since geometry is pretty much absolute, I had a good feeling this was going to work out if I focused and went slowly.
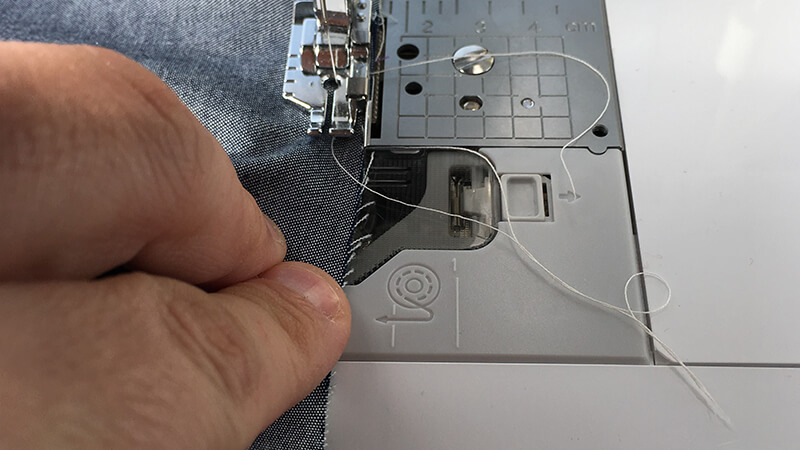
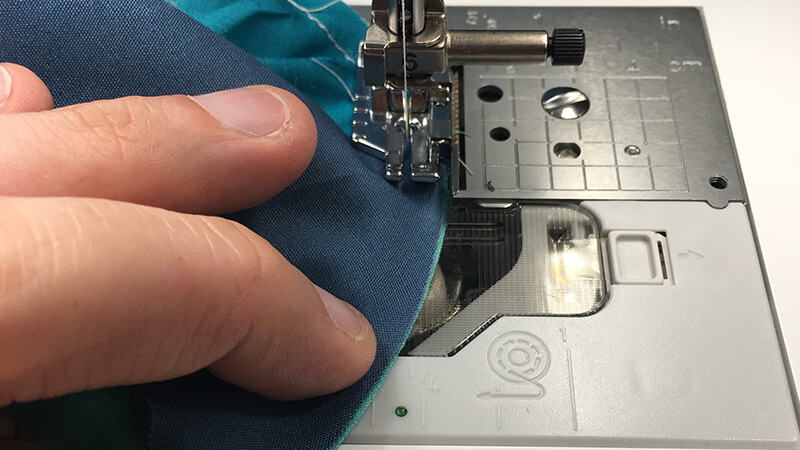
- With the new clam shell on the bottom, I started sewing on one edge of the curves, constantly adjusting with either my fingers or my tweezers to make sure that the edges were flush as they entered the sew zone.
 And low and behold, it worked. Yaaaaay!
- And since these curves were all dramatic, I snipped the curve inside the seam allowance every half inch or so before I pressed it all toward the new clam shell.
My Curvy Take Away
I know that not all curves are wedding rings and clam shells, but I have walked away from this experience with a few takeaways for all curves:- Glue is my friend for either matching tabs in a pattern or the middle and/or ends of a curve.
- Slow and steady wins the race.
- Test it first.
Related Projects
Stay Connected
Follow Us
Brother Support
Corporate Information
Partnership Opportunities
About This Website
