Home Is Where the WiFi Is: Create Your own DIY WiFi Password Sign
-Brother Crafts Blogger
How many times have you heard guests ask, “What’s your WiFi password?” Well, what better way to share than creating your own DIY password sign to decorate your home and answer the question in style. It is q fun way to share your password – plus you won’t have to worry about losing it.1 It is also a great idea to customize as a thoughtful housewarming gift.
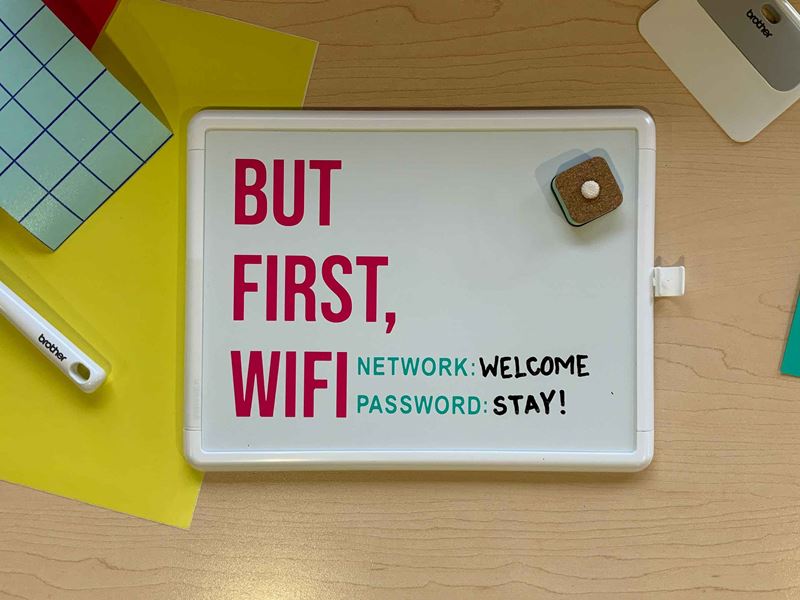
I decided to create one on a dry eraser board. This lets you write your network name and password with a marker so that you can update it as needed.
Let’s get started!
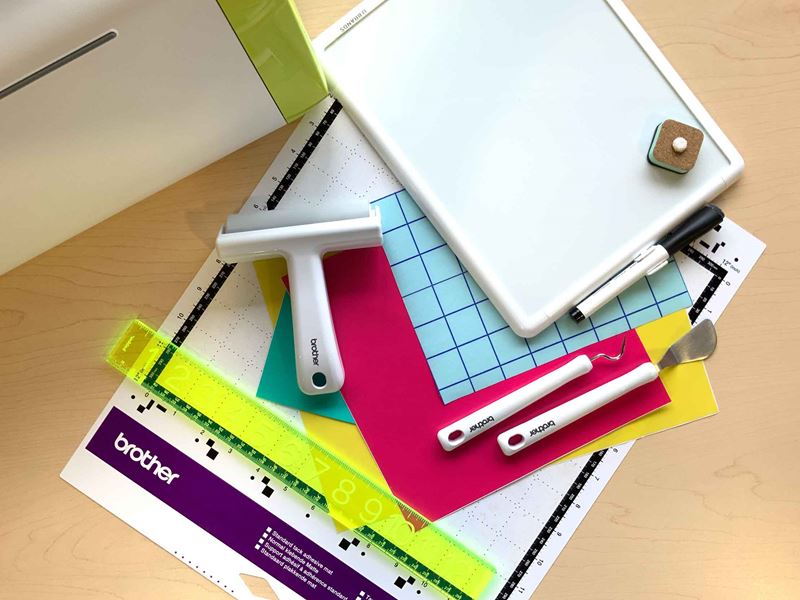
Materials:
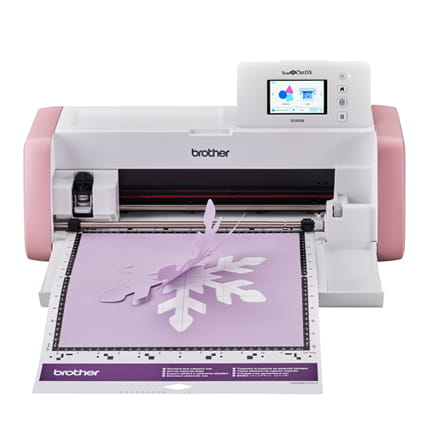
• Brother ScanNCut DX SDX85
• Brother ScanNCut DX standard mat
• Dry erase board
• Adhesive vinyl
• Transfer vinyl
• Ruler
• Scissor
• Scraper (optional)
• Roller Tool (optional)
• Pick Tool (optional)
• CanvasWorkspace
• Lettering font of your choice
Steps:
1. Measure the area you would like the design to appear on the dry erase board. I went with a width of about 3- 4” wide. This way I could save some space on the board for writing or decorating.

2. Create / size to the area on the board with the font / design of your choosing via CanvasWorkspace
***image missing
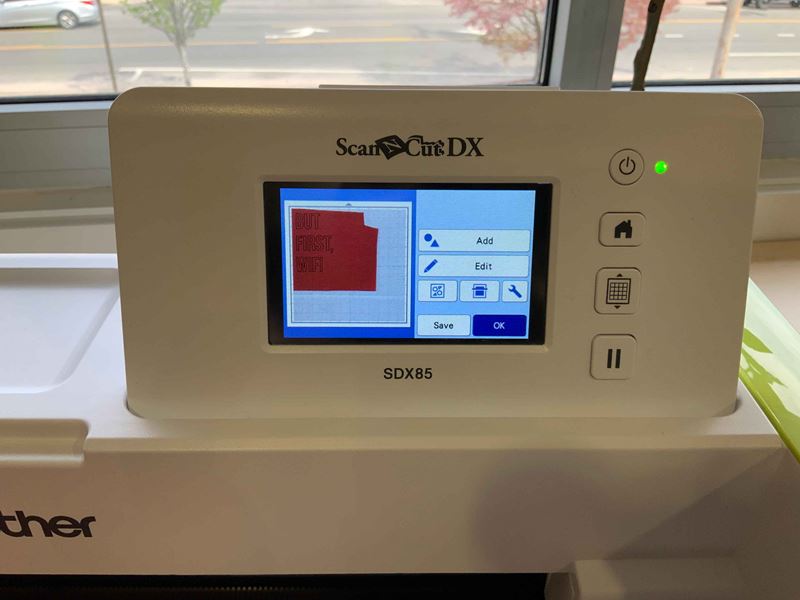
3. Retrieve data on the Brother ScanNCut DX SDX85 machine to select the design created.
***image missing
4. Place the adhesive vinyl facing up (color vinyl should be facing up and backing on the mat) on the standard mat
5. Scan in background to locate exact placement of the material on the mat
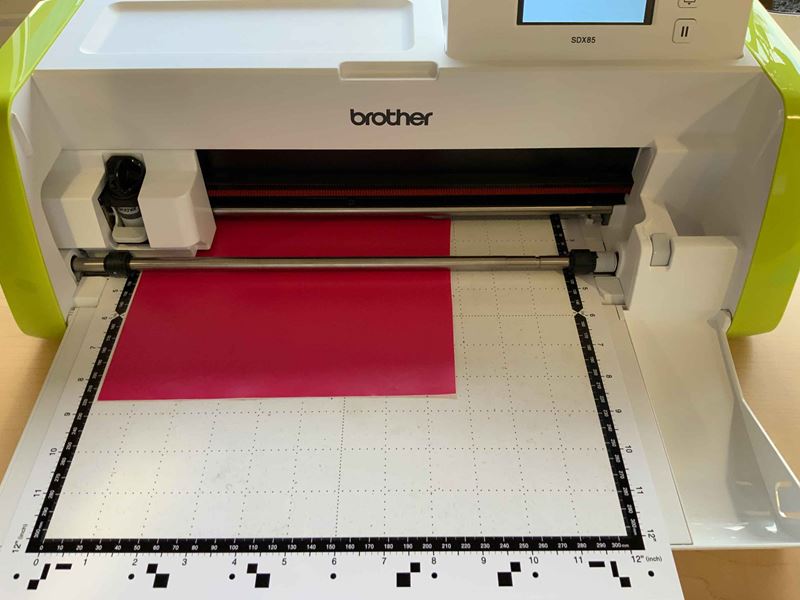
6. Drag and place design over the material
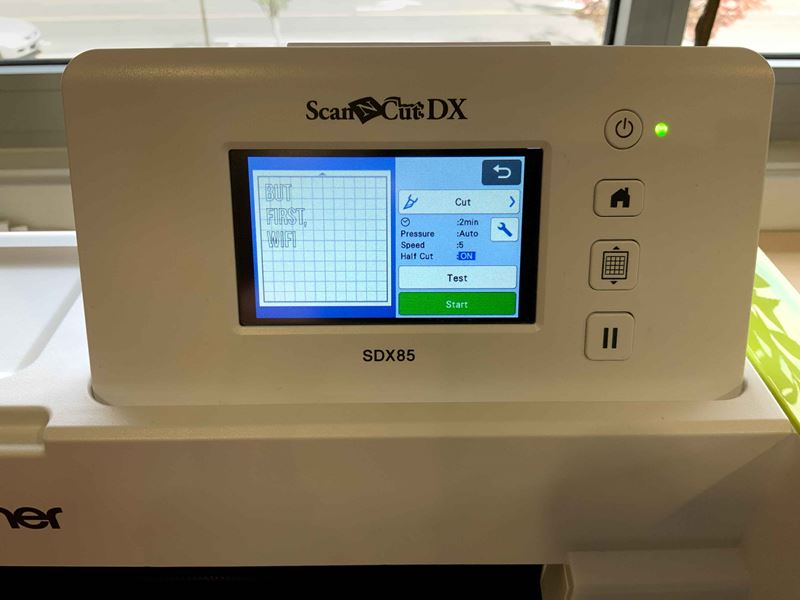
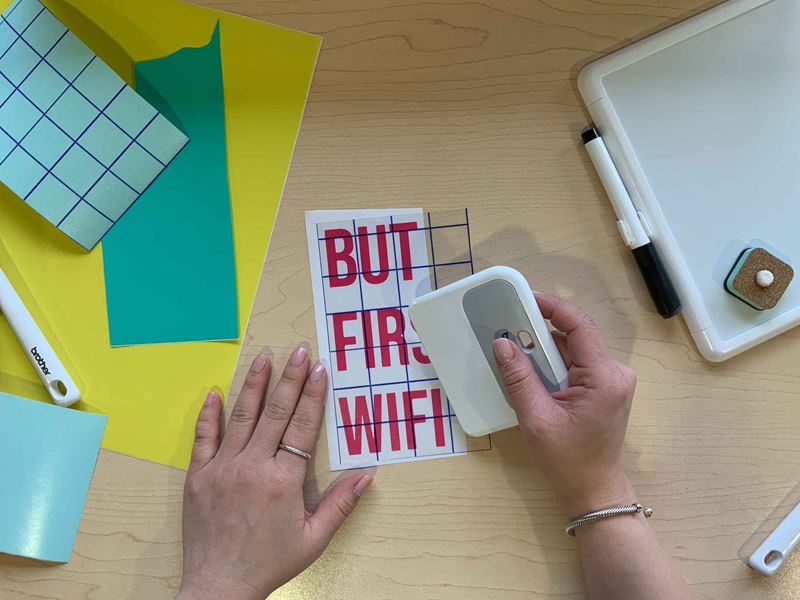
7. Select the half cut setting to only cut through the backing of the vinyl, leaving the plastic in tack
8. Select cut
9. Remove the cut vinyl from mat
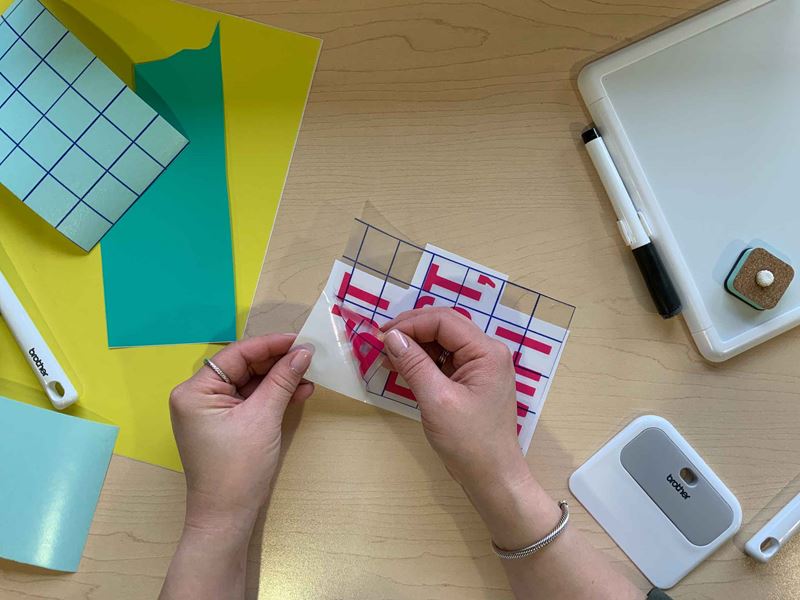
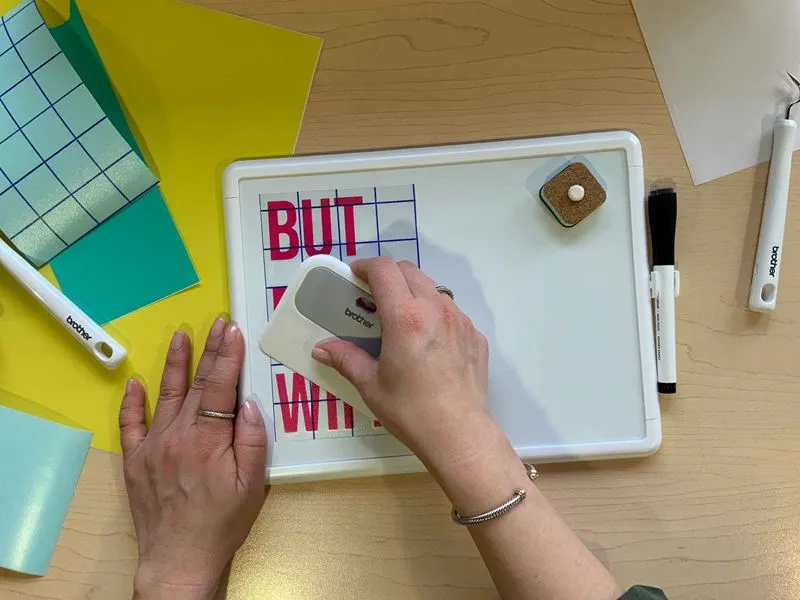
10. Peel vinyl to reveal cut out design
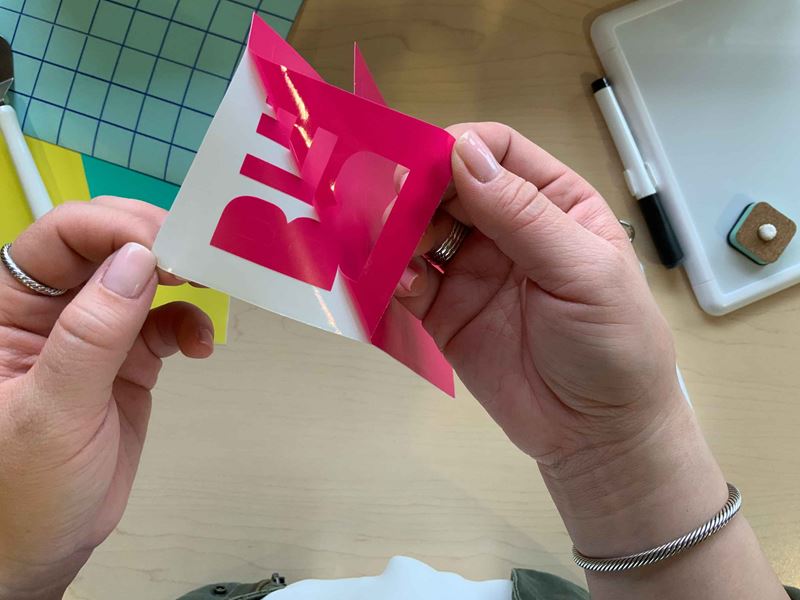
11. Weed out additional vinyl
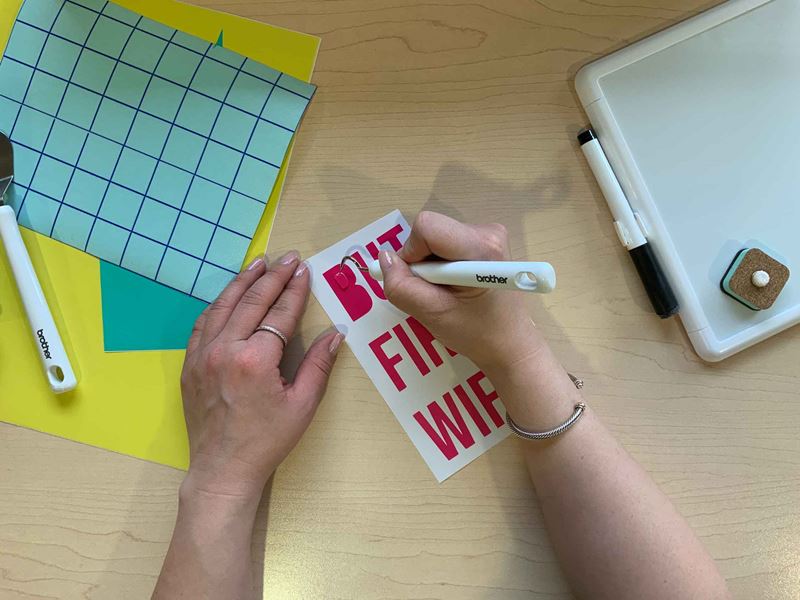
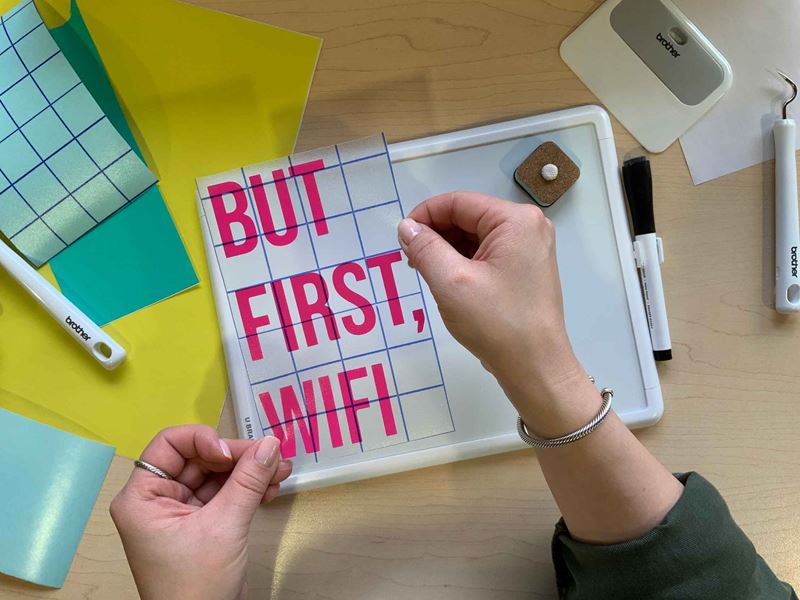
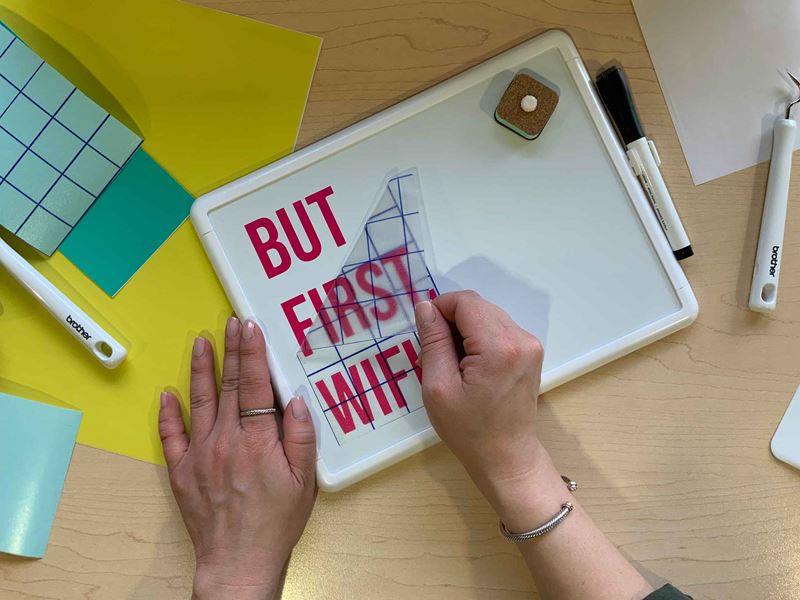
12. Size / cut transfer paper
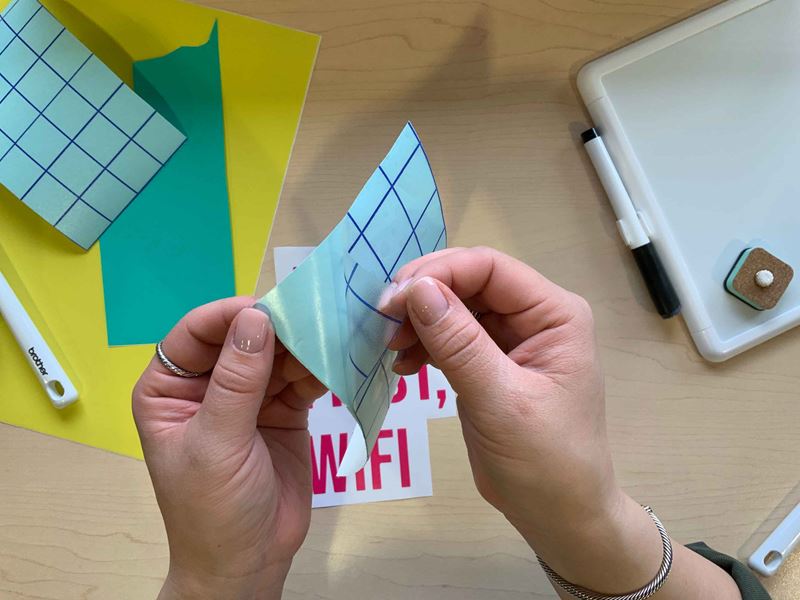
13. Place transfer paper over design and lift design
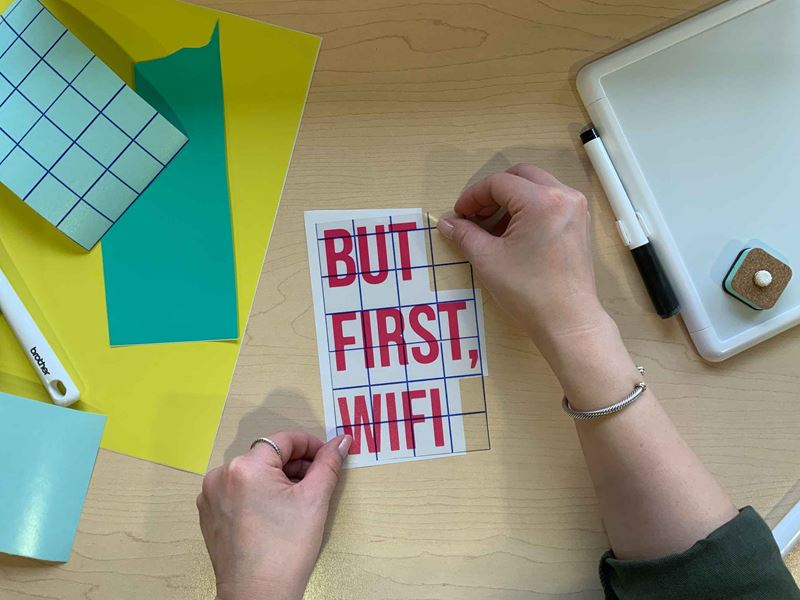
14. Place transfer paper with design over desired position on the dry erase board
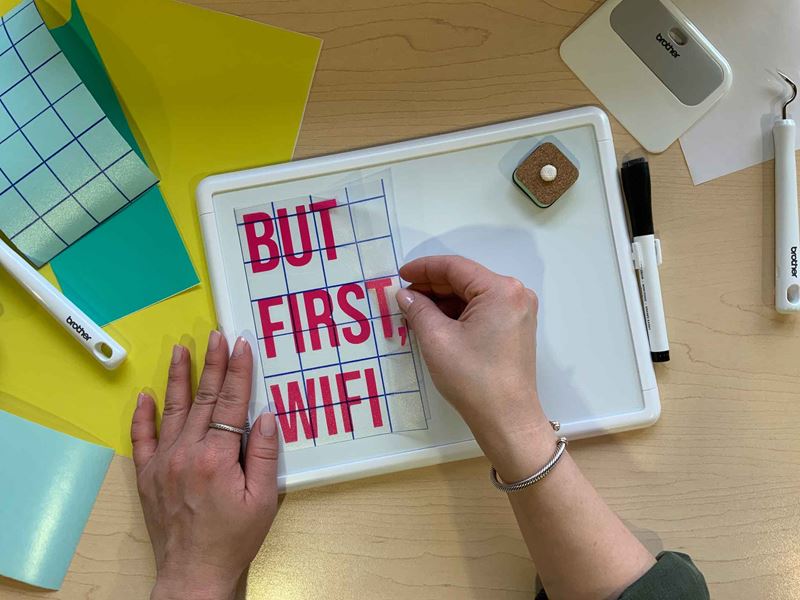
15. Stick in place
16. Remove transfer paper leaving behind the cut out design
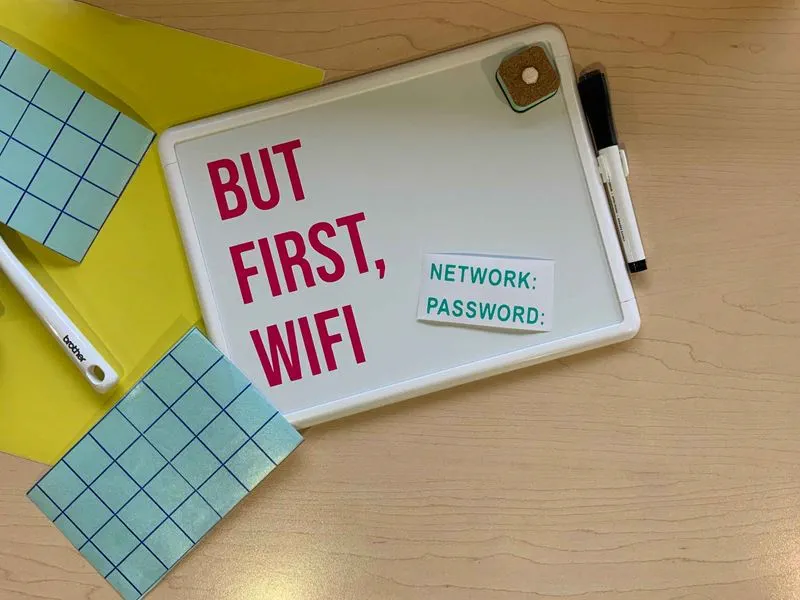
Display!
Tags
Shop this Project
No ScanNCut DX? No problem! Any products mentioned in this project are available to buy here.
Brother ScanNCut DX
- 251 Built in Designs
- True Auto Blade, no manually adjusting blade pressure settings
- Built-in Scanner; scan in hand-drawn creations and cut them out!
Related Projects
Stay Connected
Follow Us
Brother Support
Corporate Information
Partnership Opportunities
About This Website
