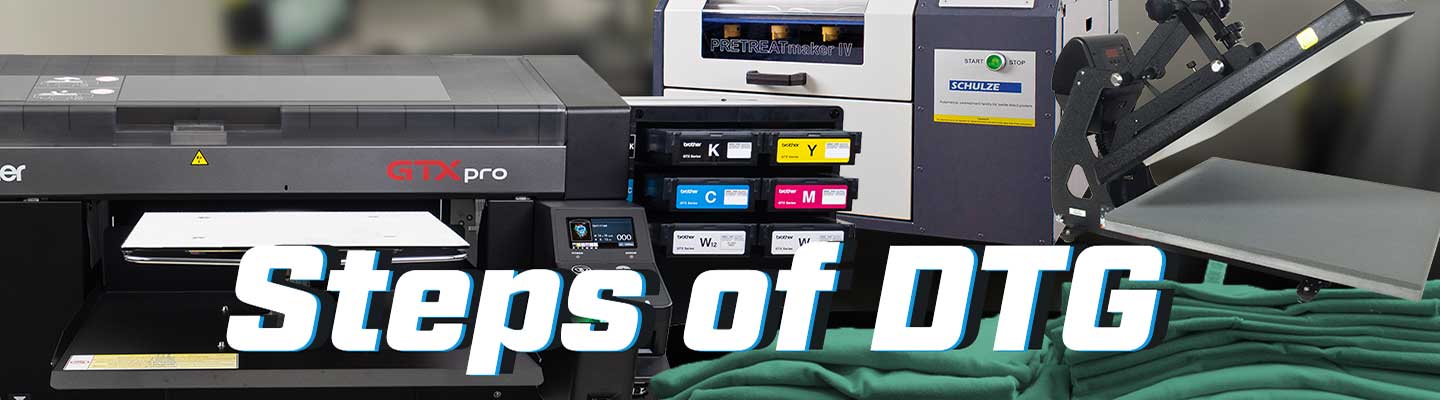
Thinking About Getting into DTG?
Direct to garment printing is easy to learn. Each garment, no matter how big or small, follows a fundamental process of four easy steps.

Step 1 – Pretreat and Cure the Garment
A pretreater is used to spray an even coating of pretreatment solution on your garments. This solution becomes a base layer that brings out the vibrancy of white and CMYK inks on darker garments. When printing with white ink, apply the proper amount to your garment. Cure the pretreat solution with either a heat press or air dryer to ensure a flat printing surface. (Note: if you are printing on light colored garments with artwork that is darker than the color of the garment, you can skip to step 2.)

Step 2 – Prepare the Digital Art
Load your artwork into your digital graphics program of choice. With the purchase of a GTXpro series printer, we offer a free software package called GTX Graphics Lab, that makes loading your images, adding text and adding effects a snap.
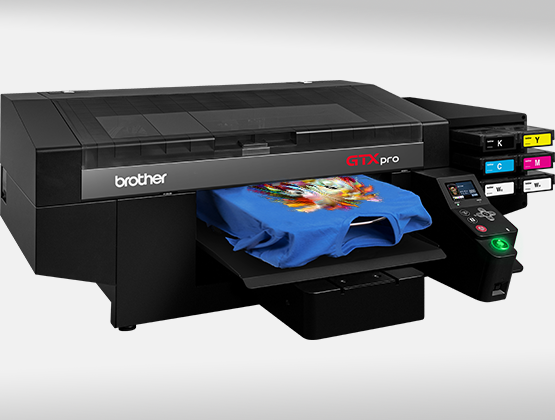
Step 3 – Print on the Garment
Dress the platen of your printer with the garment of your choice. Pick the print settings that work best for you, and press that print button.

Step 4 - Cure the Ink on the Garment
To cure the ink, place your newly-printed garment back on the heat press or run it through a forced air dryer of your choice. This will ensure that your ink is fully fixed to your garment and will survive multiple washes.