Your session has timed out. Please log in again
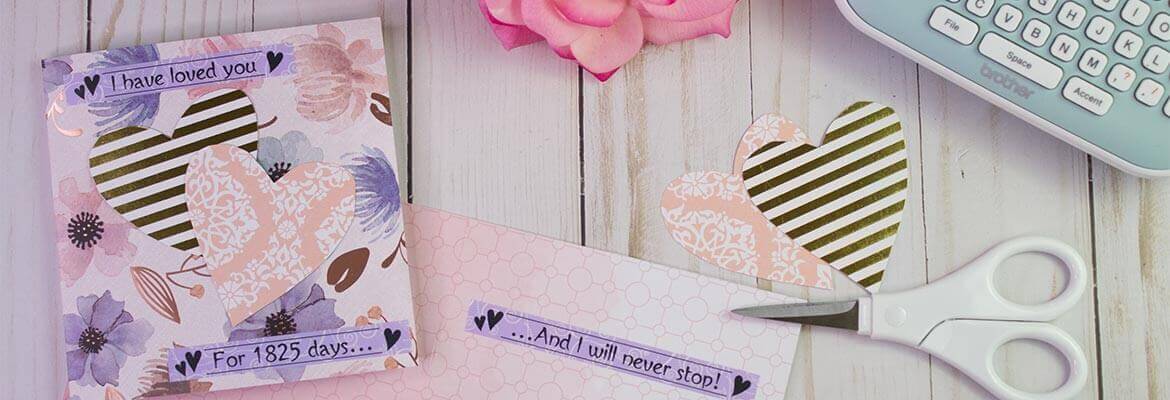
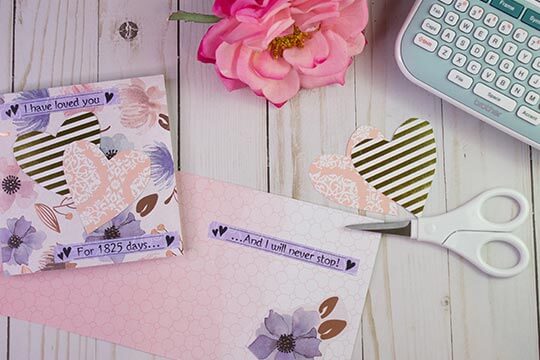
For this project, we used two pieces of colored cardstock to create the body of the card, floral for the front and back, and a patterned pink Ombre for the inside. Cut each piece of cardstock into a rectangle shape and fold in half to make the card.
Using two contrasting pieces of cardstock, cut out the shape of two hearts. For this project, we used a metallic stripe and decorative pink to add contrast to the floral background. Using the P-touch Embellish, create the front message for the card. For this project, we wrote "we have loved you for 1825 days..." for the outside. We used purple floral tape with black writing, with the Bolivia font and Frame # 20. Glue the hearts in an offset way in the middle of the front of the card and place the printed tape above and below the hearts.
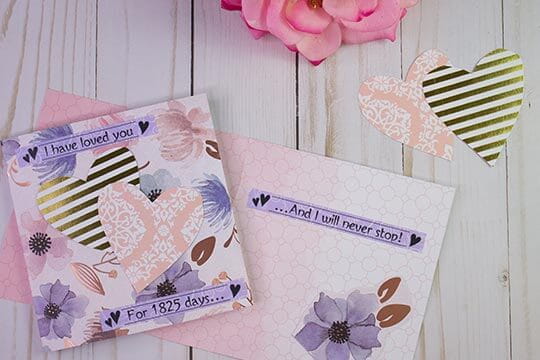
Now it’s time to create the inside message and the inside decor of the card. The inside of the card has the words "...And we will never stop!" written in the same way as the front. We used purple floral tape with black writing, with Bolivia font and Frame # 20. We also cut out a flower from another piece of the same floral cardstock used for the front of the card and pasted to the bottom corner to create a whimsical decor to the inside of the card.
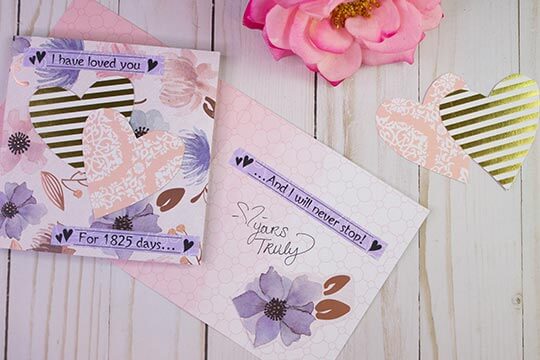
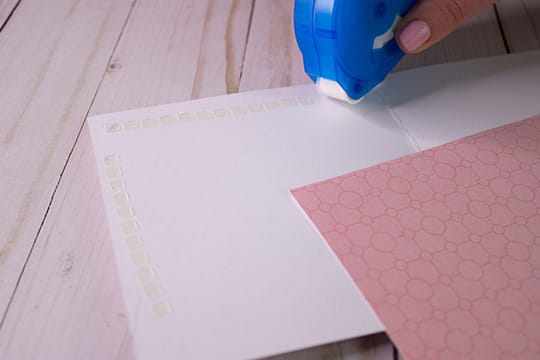
Once both the inside of the card and the outside of the card are complete, glue both sheets together to create your full card.
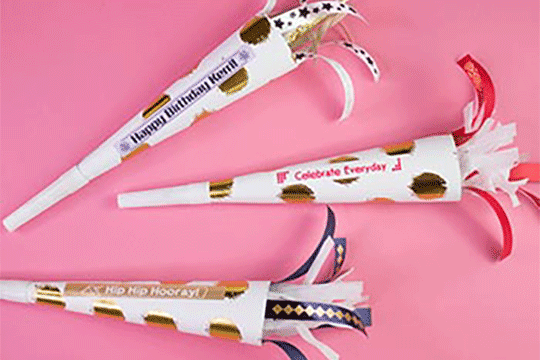
Ready to be loud and proud with this DIY party horn? Stand out and personalize any occasion with the P-touch Embellish.
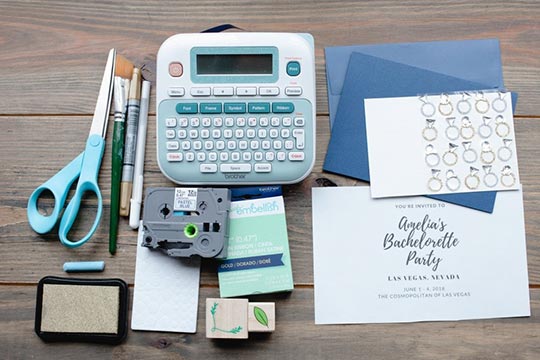
When it's time to send out the invitations, set the tone for an extravagant weekend with a classy DIY invitation. This decorative invitation can be made using some basic crafting supplies and the Brother P-touch Embellish ribbon and tape printer.
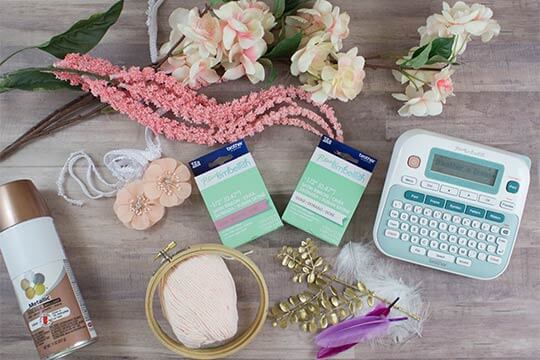
Dream Catchers are the perfect addition to any room and will hopefully bring sweet dreams! Add a personalized touch to your dream catcher with a few easy steps using the P-touch Embellish.