Make a Unique Quilt Block with ScanNCut
Brother Crafts Blogger
One of the quilt guilds that I belong to is gathering 100 Ruby Red Blocks. The basic idea is to create a small quilt or quilt block -- made up of red and white fabrics only -- which will be attached to a canvas. Each of these blocks will be sold at the show to benefit the guild. I decided to spend an afternoon putting mine together.
I started by creating an owl file by importing a free clip art design (just do a web search for "free owl clip art" to find your own owl!) into ScanNCutCanvas. I edited the file and pulled apart the various pieces of the owl so that I had a series of shapes to cut.
The process is similar in this video:
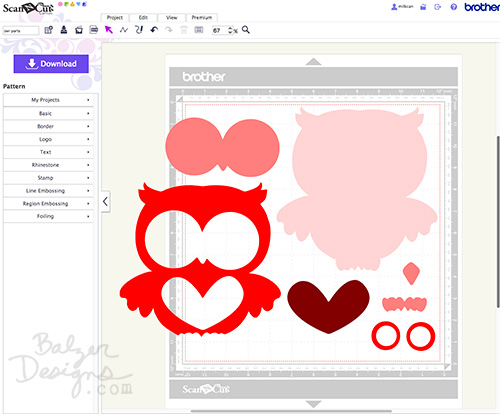
As you can see, my pieces didn't all fit on the mat, so I ended up cutting the pieces in several passes. This was a fine choice because I needed to use a bunch of different fabrics to make my owl.
I first cut some commercial fabrics:
The ScanNCut did a great job cutting out all those little pieces for the owl. However, after looking at it, I decided that I had cheated. There were blacks and golds and nothing was really white except for the background. The problem was, I just didn't have enough red fabrics....what to do?
I could have gone shopping, but you know how it is when you're in the middle of a project. Who wants to leave the house?!
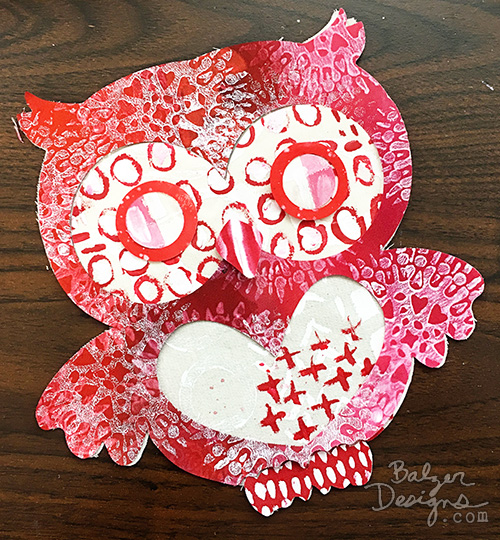
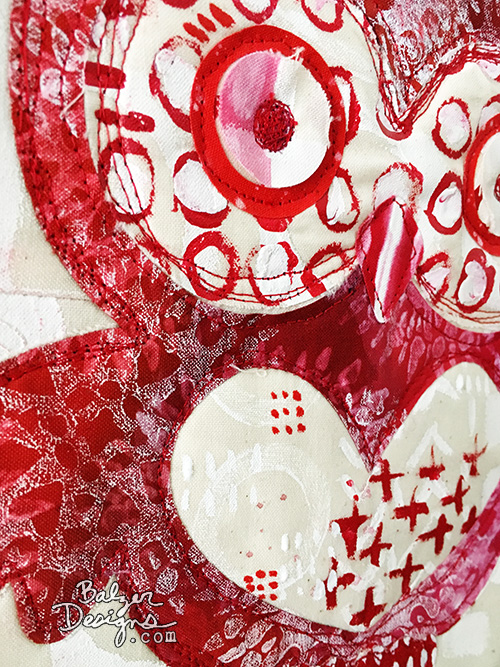
So, I painted some plain white fabric with red and white paints and cut out my owl parts once again:
Much better!
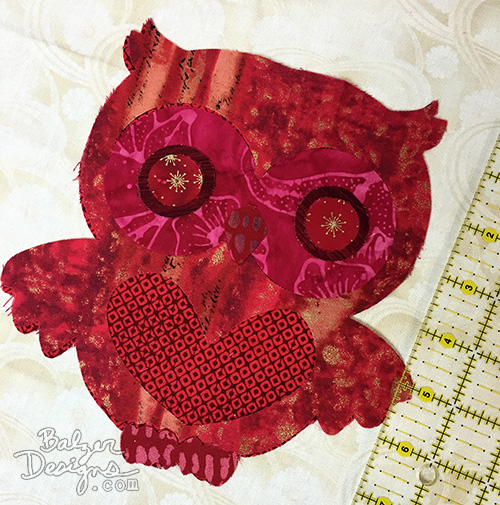
I even painted some white-on-white fabric pieces and pieced four patterns together to create my background:
Then, I did a bit of raw edge applique and added some borders of commercial fabric, according to the guild instructions for the blocks.
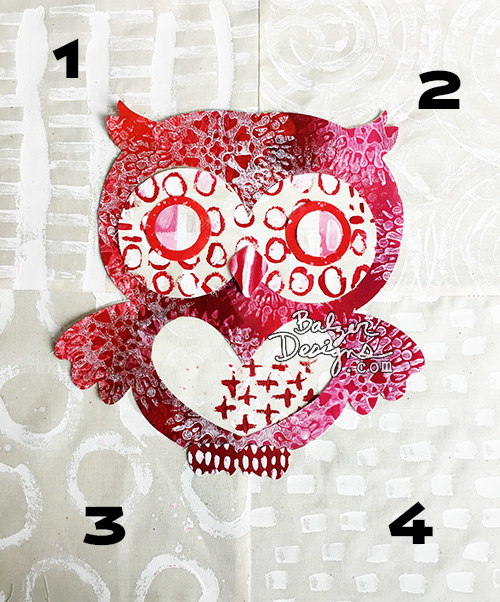
You can see the stitching a bit more easily in this photo:
I think it turned out super cute! The painted fabric makes this project totally "me." And the ScanNCut made the whole thing quick and easy.
Related Projects
Stay Connected
* Required fields