Welcome Fall with a Leaf Inspired Sign
ScanNCut Specialist May Flaum creates a wonderful 'Welcome Fall' sign for decorating the home during autumn.
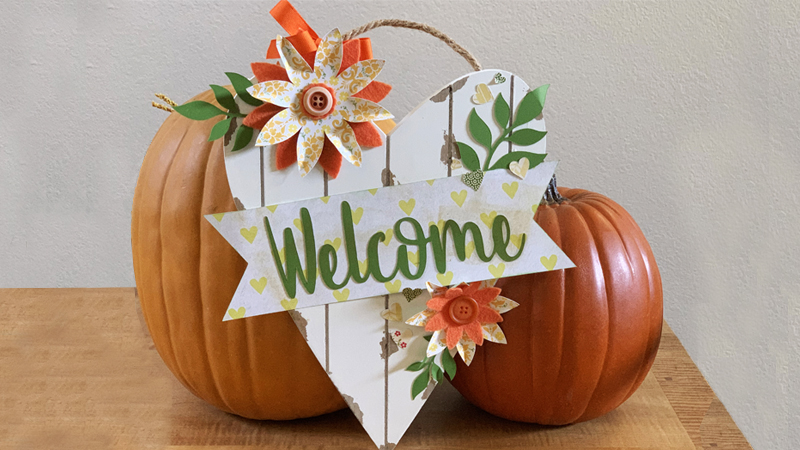
Welcome Fall Sign
When it comes to welcoming fall, I’m the first in line! One way I like to do this is with both long term and single season décor. One of my biggest tools? The ScanNCutDX! My ScanNCut allows me to cut a wide variety of materials, shapes, and sizes quickly and easily so I can get the halls decked out, and still have time to bake apple pie and enjoy the crisp fall air. There are many variations and alterations you could make to a project like this, and I hope you give it a try. Working with a wood base that is pre-painted means that you can get right into decorating and save a lot of time – and it will be a lot of fun!
Supplies Needed:
ScanNCutDX, standard mat, assorted papers, hot glue and dry adhesive, felt, and wood sign
Project Instructions:
1. Scan in any designs you wish to use using the “scan to cut data” function on the ScanNCutDX. Use greyscale or color (depending on image), edit, and save to either a USB or your machine. Repeat for any image files you wish to create.
2. Beginning with the banner file, size (approx. 10” wide for mine, 3” high) and cut out your designs.
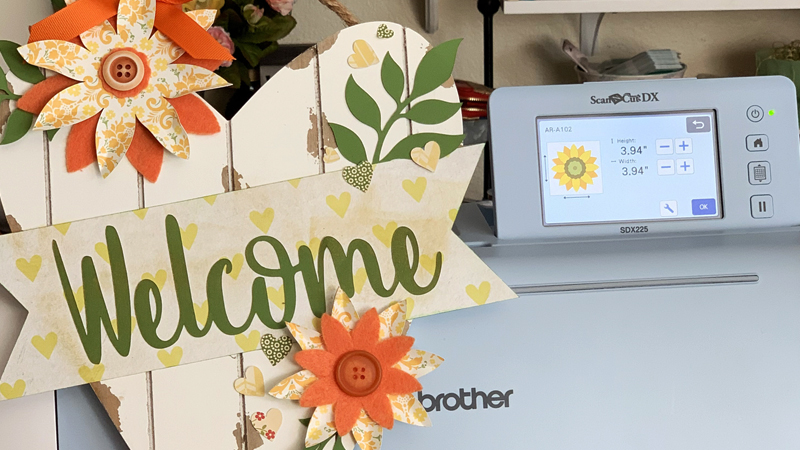
3. Repeat the cutting process with the flower file built in (I used AR-A102, any would work) in the paper(s) that you would like. Continue with felt, cork fabric, wood veneer paper, or any other materials you wish to work with. I like to make a note of the size I selected so that if I accidentally exit out of the pattern, I can easily recreate it.
Note:
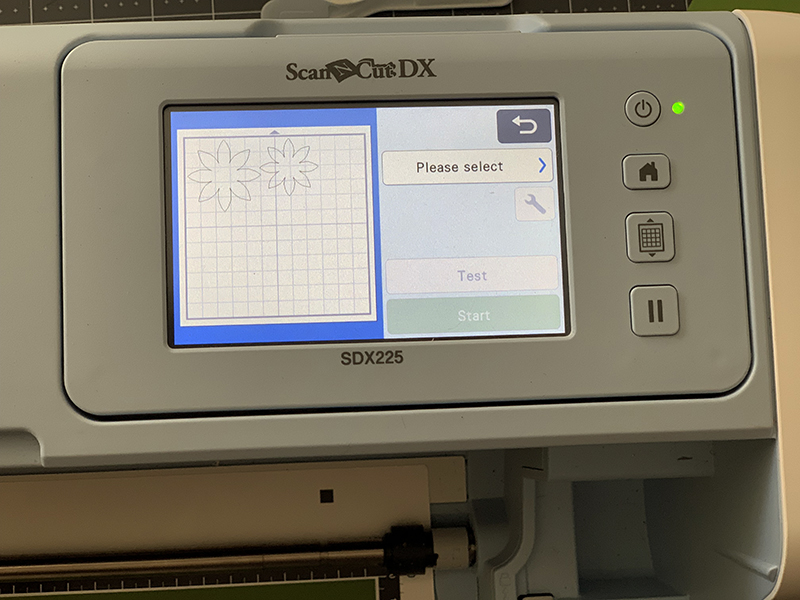
On layered files you will select one piece at a time. You can continue to add as needed or desired. After cutting you can also go right to “select next part” or you can say finish, which will allow you to cut more out of the already selected and sized parts.
4. Going to retrieve data, retrieve the “Welcome” cut file and in edit select all (red boxes), unify, and resize as needed. Once satisfied, cut to fit inside your banner.
Tip:
Selecting the pieces and unifying allows you to quickly move and resize an entire image instead of one cut. This saves time and frustration and is a great tool!
5. Cut out any remaining files, then gather supplies to assemble.
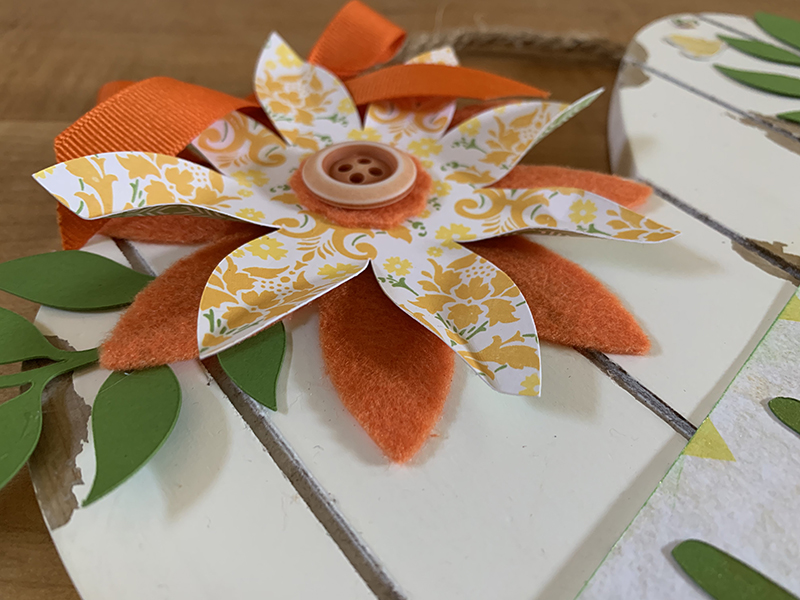
6. Using the adhesive of your choice, layer and adhere the banner to the wood piece. Then add the hearts, flowers, and other designs as desired.
7. If you have extra pieces, save them for future fall décor projects! Otherwise go ahead and hang up your creation and enjoy.
Related Projects
Stay Connected
* Required fields