How to Craft Custom Modern Boho Earrings
- Brother Crafts Blogger
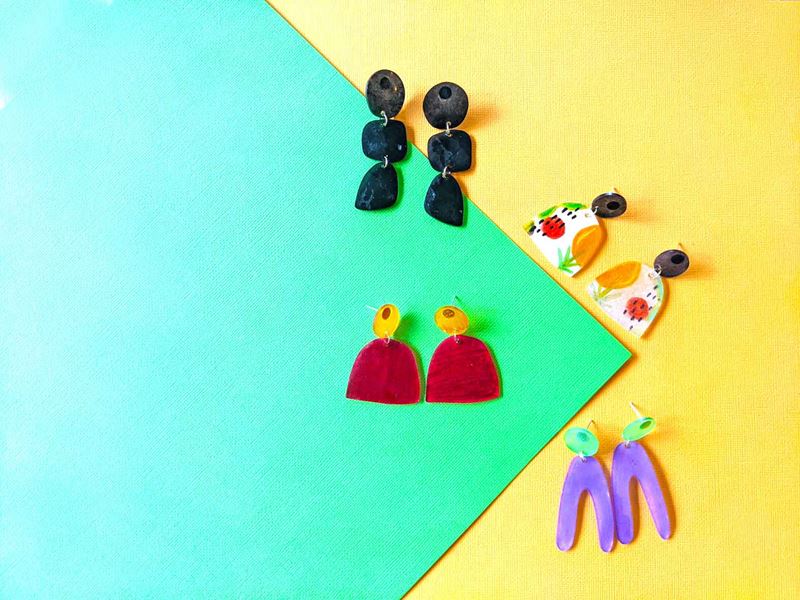
Acrylic earrings have been trending the past couple of years and I’m here for it. They are super stylish, they are lightweight, and most importantly, they’re so fun! They come in a huge range of colors, textures, and shapes. I don’t know about you, but I want them all.
As a creative, I’ve always had a strong desire to make these earrings. Unfortunately, because of the acrylic material they are typically made from a laser cutting machine. We all know that these machines cost several thousand dollars. Yeah. It's that expensive. No need to worry, however. I discovered an inexpensive way to make these earrings, and it’s even more customizable than creating them with a laser cut. In comes the Brother ScanNCut DX to the rescue!
With the Brother ScanNCut DX, you’re able to reimagine ways to create the things our little crafting heart’s desire. You simply have to dream it up and know what resources are readily available. No, the ScanNCut DX cannot cut acrylic, but the next best thing is shrinking plastic. Shrink plastic can be easily cut into fun shapes using your Brother machine. And with the magic of heat, the shrink plastic transforms into a thick plastic shape that mimics the acrylic earrings we want to create. You can color this material and/ or draw fun prints on it. The sky's the limit.
This project is quick, easy, and fun. If you have a shape you want your earrings to be made in, let’s bring your idea to life! If you don’t have a design in mind at the moment, no worries, I’ve got you covered. I’ve created a couple designs for you to start with. You’ll just need to be creative with colors and/or prints you want them in.
If you are a visual learner, visit my Instagram page, @tabithasewer to watch a tutorial on how I make this project.
SUPPLIES & TOOLS
- Brother ScanNCut DX
- Shrink Plastic
- Markers
- Oven
- Jewelry Pliers
- Jump Rings
- Earring Backings
- Jewelry Glue
- Wax Paper
- Baking Tray
INSTRUCTIONS
1. Design your earrings. You have two options:
a. Design your earrings by using the shapes within the Brother Canvas workspace. Brother provides so many different shapes to choose from. Be creative and have fun. Don’t forget to add the holes to connect your jump rings if you are designing dangly earrings. Also, don’t forget to mirror one of your earrings.
Designing your own will take a bit of trial and error to get the size just how you want it. Remember, your design will shrink, so consider that when you are creating your shapes. Start out larger than you’d want your final design to be. Continue to test the shrinkage by placing it in the oven until you have reached your desired size.
b. If you want to start off by using the designs I created, download them using the link below.
2. Once we have our design created, let’s attach the shrink plastic to the cutting mat. I like to use washi tape to ensure my shrink plastic stays in place.
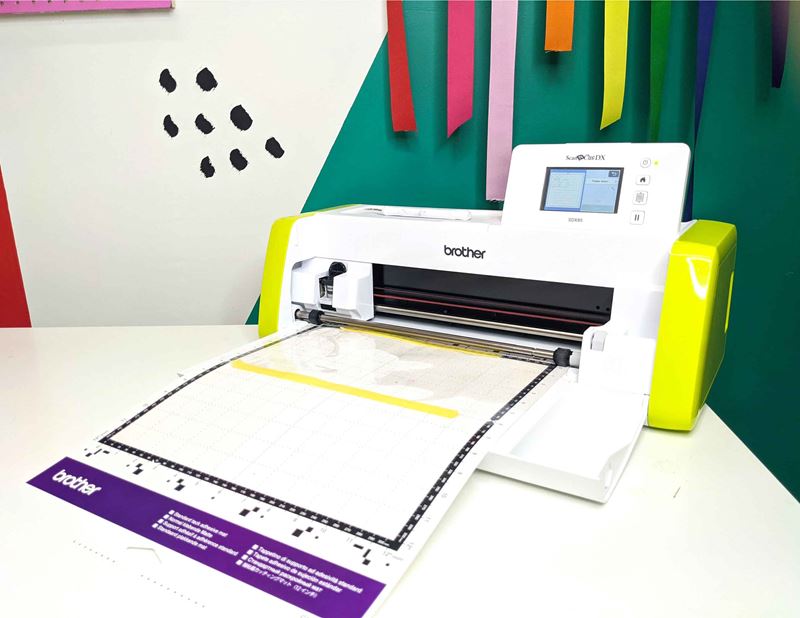
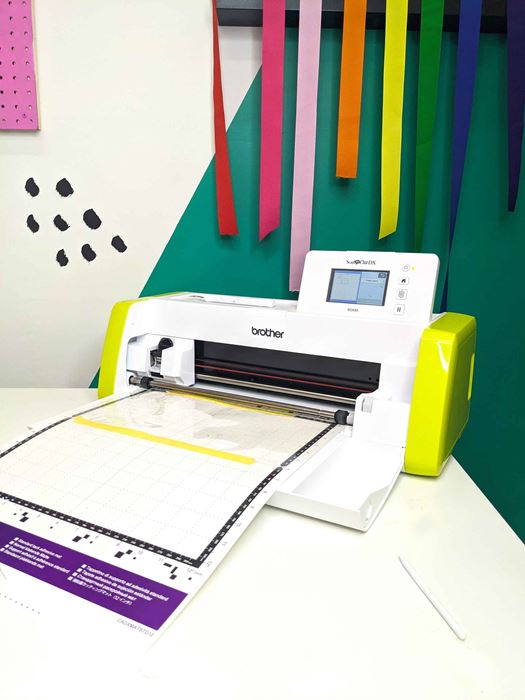
3. We are doing a full cut. Before you start cutting the design, do a proper test cut to ensure the design will cut properly the first go around. If the test cut comes out perfect, move forward with cutting your design. If not, make proper adjustments. Make sure the machine isn’t cutting on a half cut, adjust the pressure if need be.
4. While your design is cutting, preheat your oven. Check the packaging on your shrink plastic for proper oven temperatures. If you are unsure, start out with 350 degrees and adjust from there if needed.
5. Remove your cut outs from the cutting mat. Remember to punch the jump ring holes if you have them.
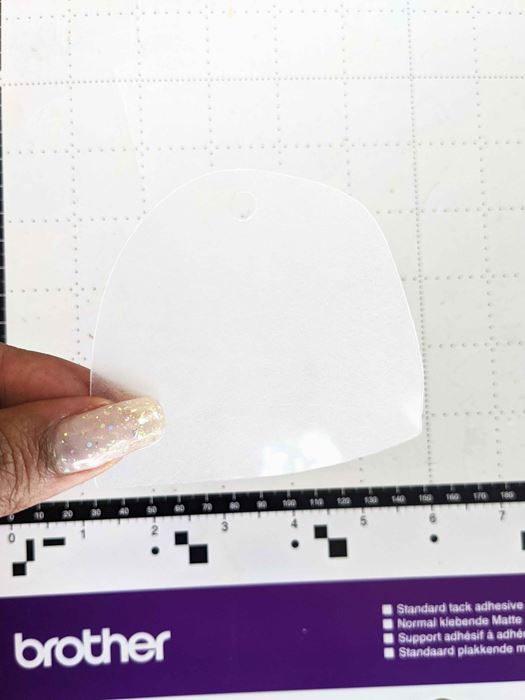
6. Using your illustration markers, draw a fun print or color the entire shape a solid color. (Note: There is a shiny and matte side. Color on the matte side of the plastic.)

7. Place your cutouts on a wax paper lined baking tray and place in the oven. Stay put! The shrinking only takes 2-3 minutes. Its a really quick process.
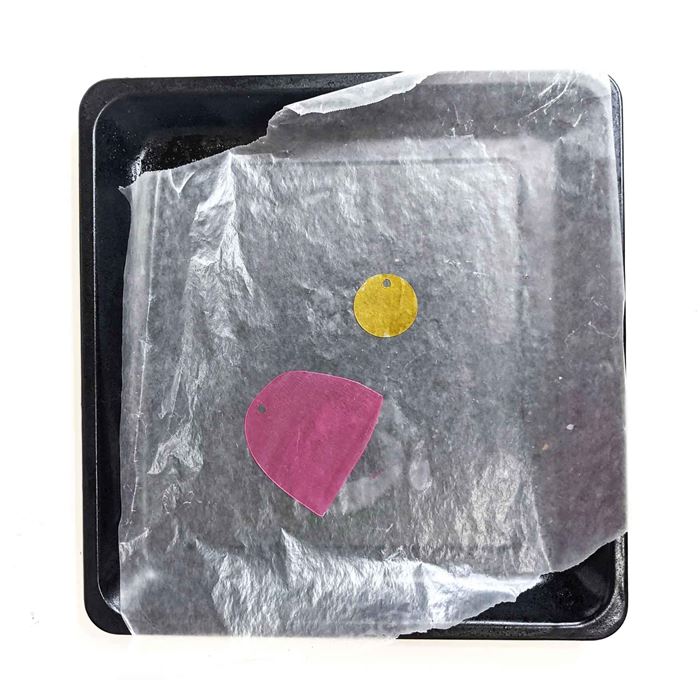
8. Once you see that the plastic isn't shrinking anymore, remove from the heat and allow to cool. If your shape isn’t perfectly flat, place a weighted object on it to flatten it before it cools fully.
9. Assemble your earrings using your jump rings and earring backings. Allow to fully dry for 12 hours + before use.
10. That’s it!
Tags
Shop this Project
No ScanNCut DX? No problem! Any products mentioned in this project are available to buy here.
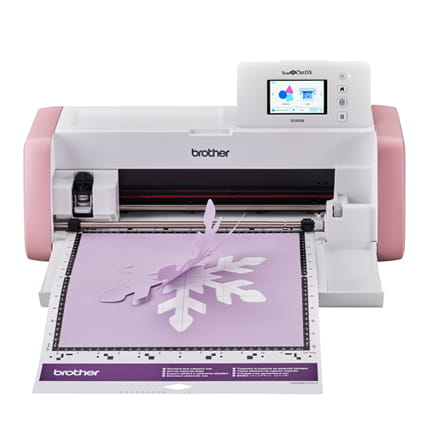
Brother ScanNCut DX
- 251 Built in Designs
- True Auto Blade, no manually adjusting blade pressure settings
- Built-in Scanner; scan in hand-drawn creations and cut them out!
Related Projects
Stay Connected
Follow Us
Brother Support
Corporate Information
Partnership Opportunities
About This Website
