Crafting Essentials: Bright Blooms Table Runner

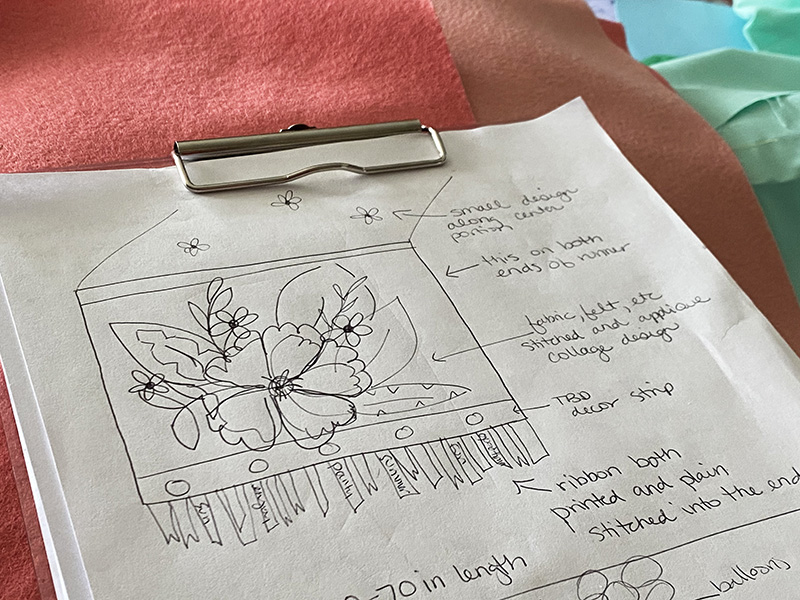
When it comes to parties, whether a small gathering for family or a large BBQ I do love a good theme, and I adore a happy table runner pulling the look together. For this project tutorial I will be walking you through the steps needed to create a bright and fun table runner with all of my favorite Brother crafting tools.
Supplies Used:
- ScanNCut DX, Brother SE1900 Sewing Machine, P-touch Embellish Ribbon & Tape Printer (with white, pink, and green ribbons), thread, buttons, ribbons, fabric and assorted felt, iron-on stabilizer/backing, and a standard ScanNCut mat
Instructions:
1. Cut two pieces of fabric approximately 24” x 60” (Note – you’re welcome to make your table runner any size that you like!). Set one aside, keep the other close as this will be your table runner top piece that you embellish.
2. Prepare any fabrics or felts you will wish to cut by backing with iron-on stabilizer. The purpose of this is that it will both hold your material firm while cutting but also allow you to iron-on the materials to pin them more easily into place for sewing later.
3. Select files from built-in designs on your ScanNCut, and cut from the desired material. Using the edit function on your screen, adjust sizes, add additional pieces, and then select cut. Repeat this step for all flowers and leaves desired until all pieces are cut out.
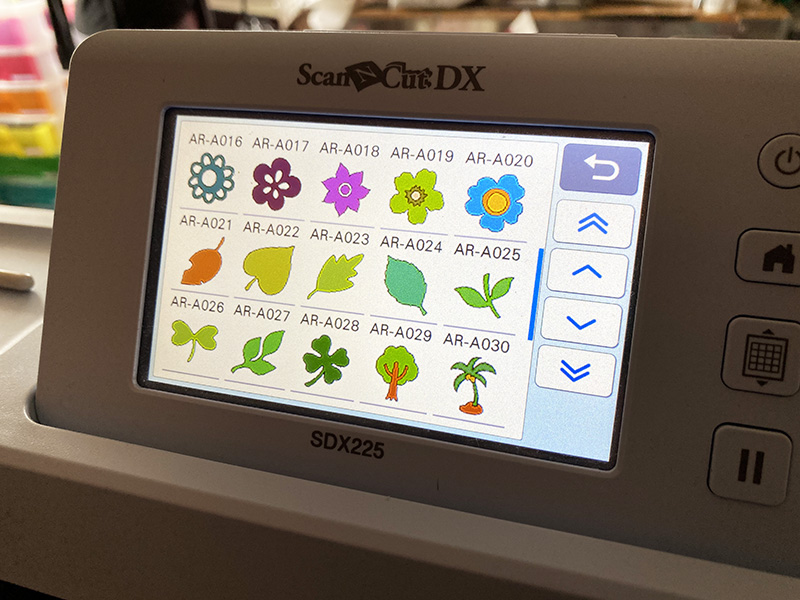
Note: You can add custom designs, SVG files, and any others that you wish to use.
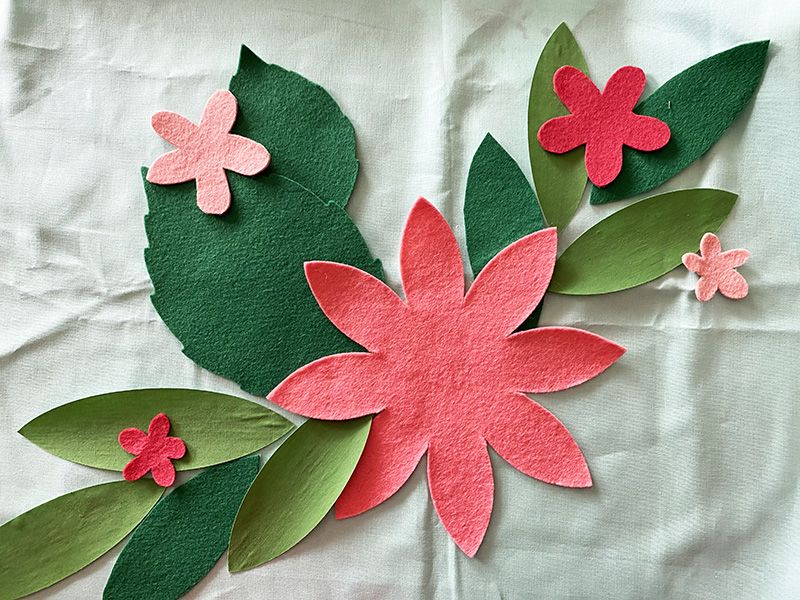
4. Lay out all of the pieces that you have cut onto one of the fabric-ends. Is it enough? Do you need more or different sized pieces? If so, repeat steps 2 and 3.
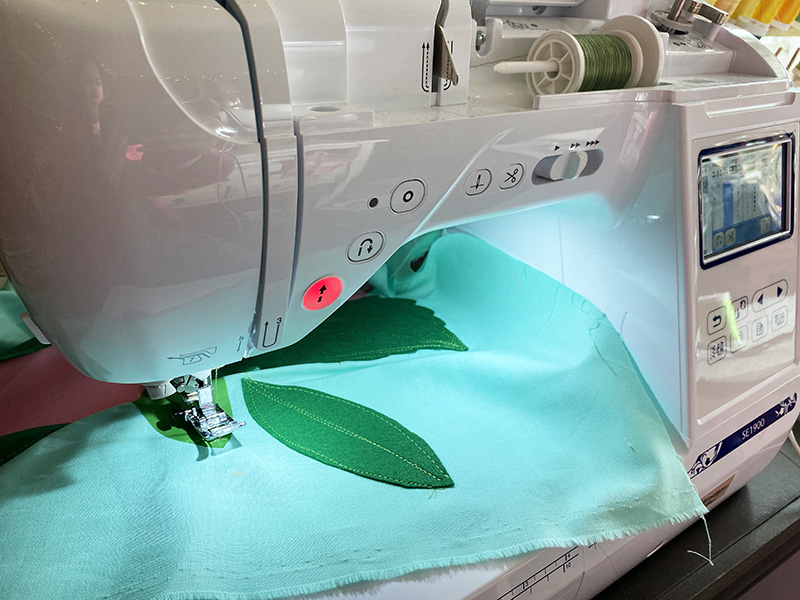
5. Beginning with the bottom layer on your collage of leaves and flowers, heat set it with an iron and then stitch into place with a Brother sewing machine. For the large flower and any materials that are prone to fray, use a stitch around the edge that will help prevent this.
6. Add pieces one at a time, heat set, and then stitch into place. For the leaves shown here, a simple straight stitch but moved around in a freestyle way created fun details and veins to the leaves. There is no wrong way to approach the stitching – do as much or as little as you’d like!
7. Once all leaves, flowers, or other elements are stitched into place, add any other elements you would like such as buttons, sequins, or hand stitch details. With this done, if you would like any decorations in other places now would be the time to place them.
8. Place the finished design fabric face down onto the back side of the table runner piece of fabric. “right sides facing in” and clip into place.
9. Stitch the two long sides and one short side (the one with no decoration) together leaving the short end of the table runner (the end with the decorations) open. When complete, turn right side out and iron.
10. Press the two sides of the open end so that the raw ends are tucked inside the table runner.
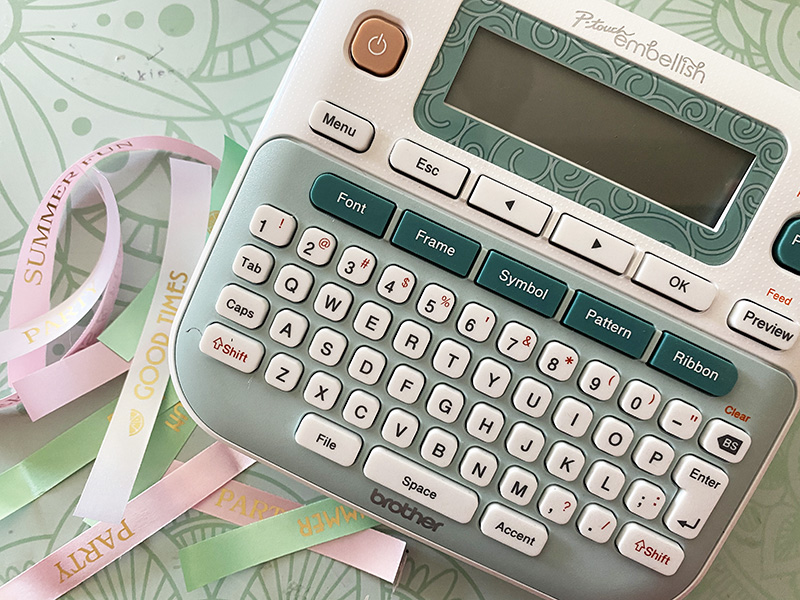
11. Using your P-touch Embellish, print assorted words and symbols onto ribbon. Add a few spaces before and/or after the words to ensure extra space printed.
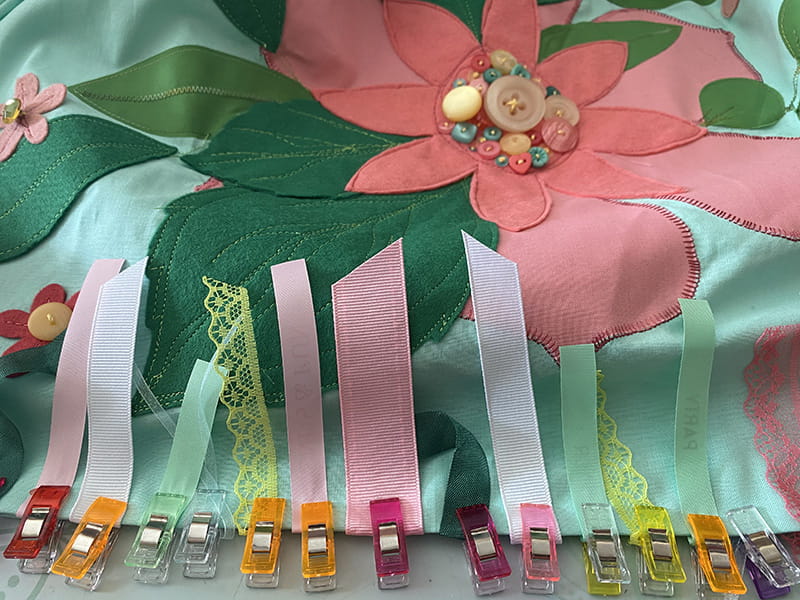
12. Using clips, secure the P-touch Embellish printed ribbons as well as other trims and ribbons as desired along the end, tucking one end inside of the open fabric pieces.
13. Stitch the end closed, using a straight stitch and working slowly so that you remove each clip and check each ribbon as you go.
14. Add any decorative stitches you might like to add to the finished piece, iron once more, and enjoy!
See the video here:
Related Projects
Stay Connected
* Required fields