Create A Custom Appliqued Patch with ScanNCut
Brother Crafts Blogger
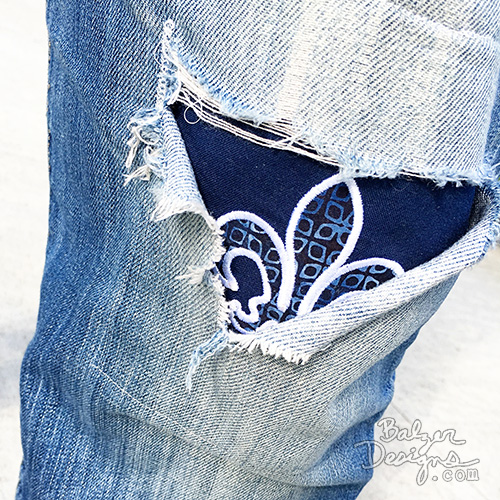
My boyfriend asked me to repair a giant rip in the knee of his favorite jeans. However, instead of stitching the hole up, I decided to create a peek-a-boo patch with an applique fleur-di-lis. Tada!
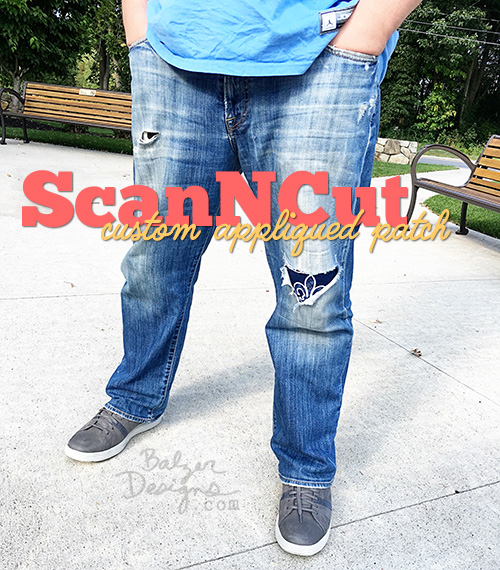
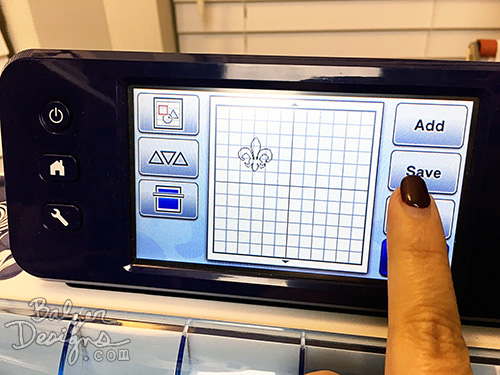
The jeans turned out better than I even thought they would. It's such a fun way to make a repair. This is the process I followed: ONE: I chose the fleur-di-lis design from the built-in designs in my ScanNCut...
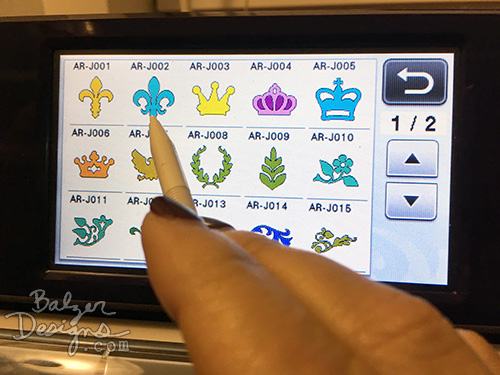
...and sized it so it would fit the hole in the jeans.
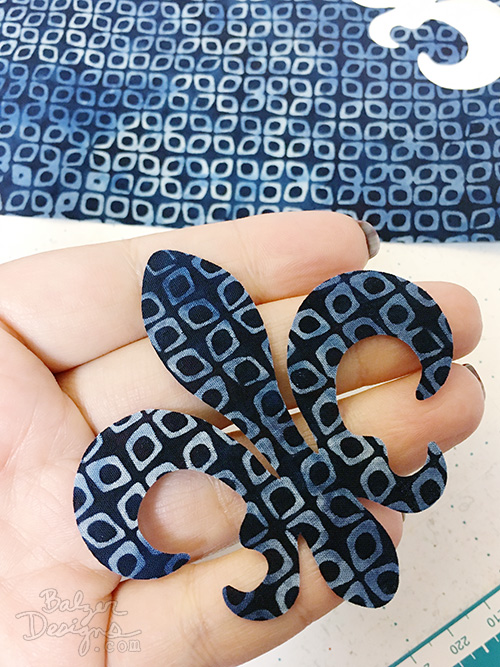
TWO: I used the ScanNCut to cut the fleur-di-lis design from fabric that had a fusible web on it.
THREE: I saved the fleur-di-lis design to a USB thumb drive.
FOUR: I used the Simply Applique computer program to transform that saved cutting file into an embroidery file.

If you're unfamiliar with Simply Applique, this is a video that Cindy Hogan made showing the basics of taking a scanned design from your ScanNCut and turning it into an applique file using Simply Applique.
Cindy starts with a scanned design. I started with a built-in design.
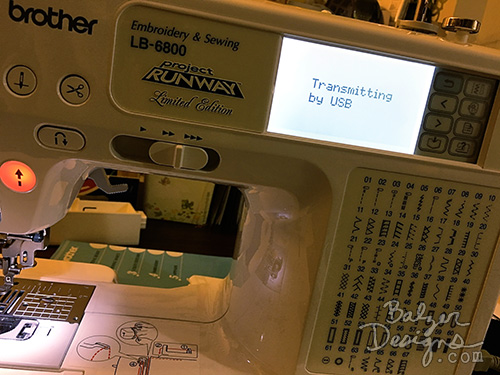
FIVE: I used the computer cable (which came with my sewing & embroidery machine) to transfer the new custom embroidery file to my sewing & embroidery machine.
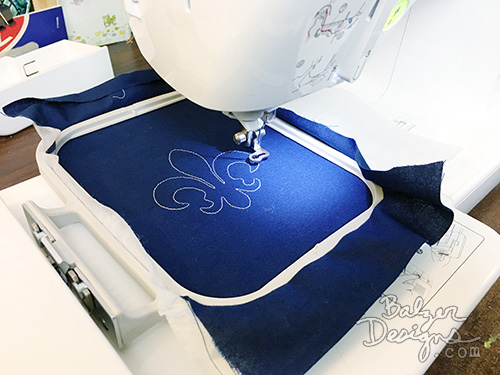
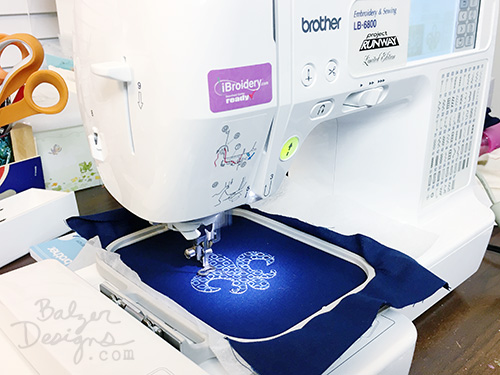
 SIX: My sewing & embroidery machine stitched out an outline of my design.
SEVEN: I removed the hoop from the machine and brought it over to my ironing board where I used the stitched outline to perfectly place the fabric piece I cut with my ScanNCut. And then I ironed the fabric with a small iron...
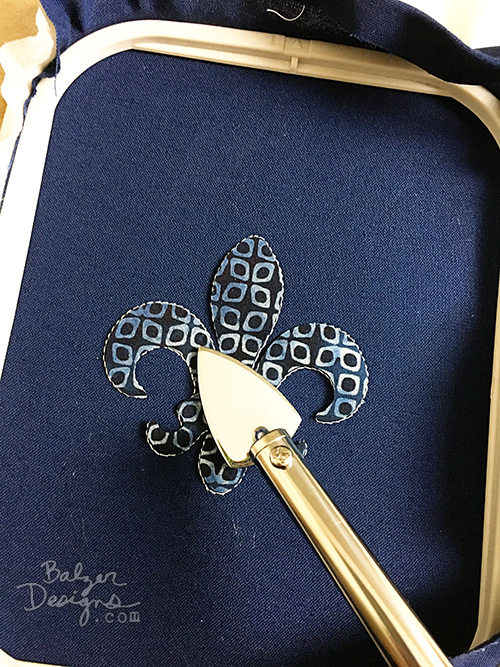
...melting the fusible web on the back, thus ensuring that the fabric would stay put.
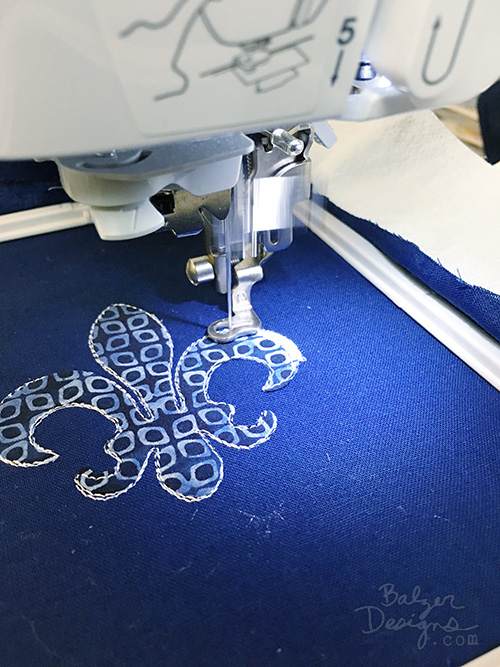
EIGHT: I placed the hoop back into the sewing & embroidery machine. The sewing/embroidery machine stitched another outline.
All that was left was to have the sewing and embroidery machine satin stitch around the design.
To be clear: all I did was press a button and the machine itself took the file from Simply Applique and stitched around the design perfectly. I did nothing. In fact, I think I may have left the room while it was all stitching out!
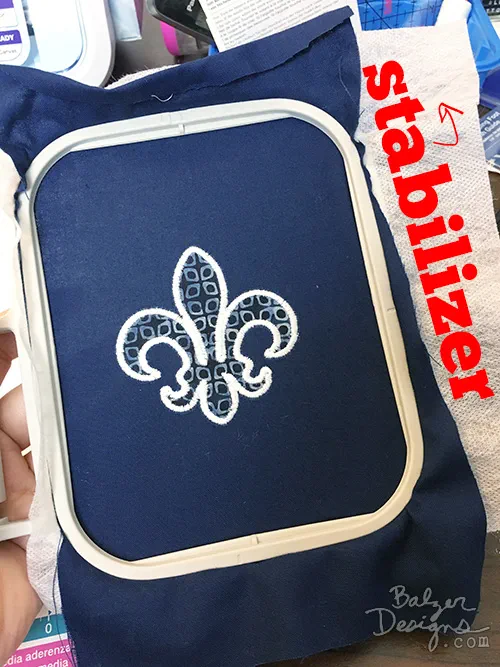
You'll notice that in the photo above I've written the word "stabilizer" in red. That woven white material is a water soluble stabilizer. Embroidery and applique are always done on top of a stabilizer.
NINE: I removed the design from the hoop, rinsed the fabric to remove the stabilizer (it's water soluble, so it melts away with the addition of water), and stitched the patch behind the hole in his jeans.
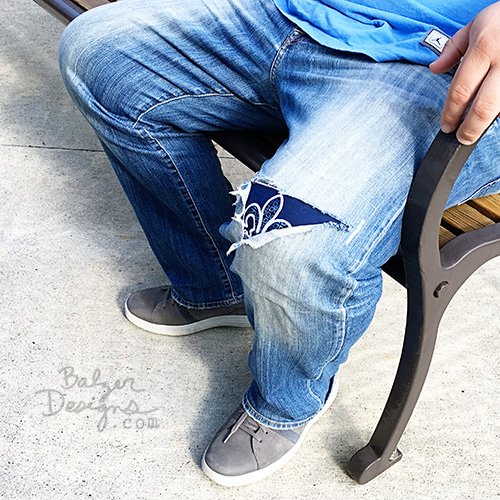
I love the way it turned out. I almost want to rip a pair of my own jeans just so that I can patch them!
Have you tried using your ScanNCut with your Brother sewing and embroidery machine? It’s a match made in heaven!
Talk to you next week!
Related Projects
Stay Connected
* Required fields