Create Custom Envelopes with the Calligraphy Kit
You will need:
- Calligraphy Starter Kit, white paper or cardstock, Auto Blade, ScanNCut DX225, utility knife, adhesive
- envelope.fcm
Steps:
1. Open up the Calligraphy Starter Kit and read the instructions. Make sure that the function is activated with your machine.2. In CanvasWorkspace, navigate to the Pattern Collection screen and select “Calligraphy Starter Kit.” Download the embellishment pattern titled “CLGITALICP02” to your computer, expand the file, and transfer the file to a USB thumb drive.

3. Download “Envelope.fcm” to your machine.
4. Use the “add” button in the cutting file view screen to add the Calligraphy kit pattern from the USB thumb drive.
5. Adjust the pattern size as necessary and move the pattern to align with the center of the envelope shape on the machine’s screen.
6. Set up the Calligraphy pen, following the instructions from the Starter Kit.
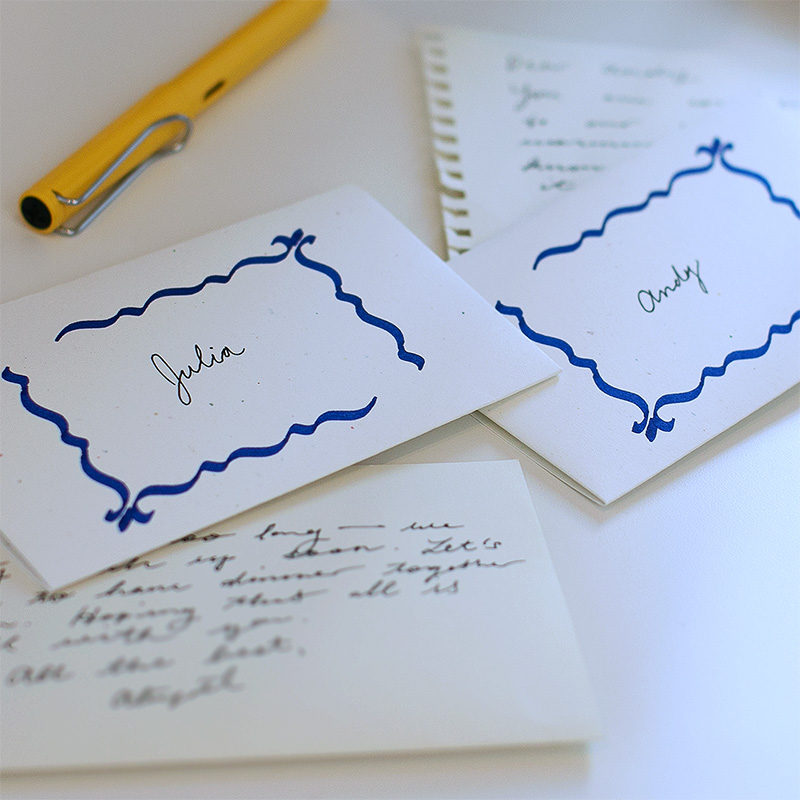
7. Use the Drawing function with the calligraphy pen (we used a pen with a wider 0.8mm tip) to draw out the calligraphy pattern.
8. Once the drawing function is complete, swap in the Auto Blade and use the Cutting function to cut out the envelope template shape.
9. Use a small utility knife or similar tool to lightly score the fold points of the envelope. Use adhesive of your choice to make sure the envelope is sealed and secure.
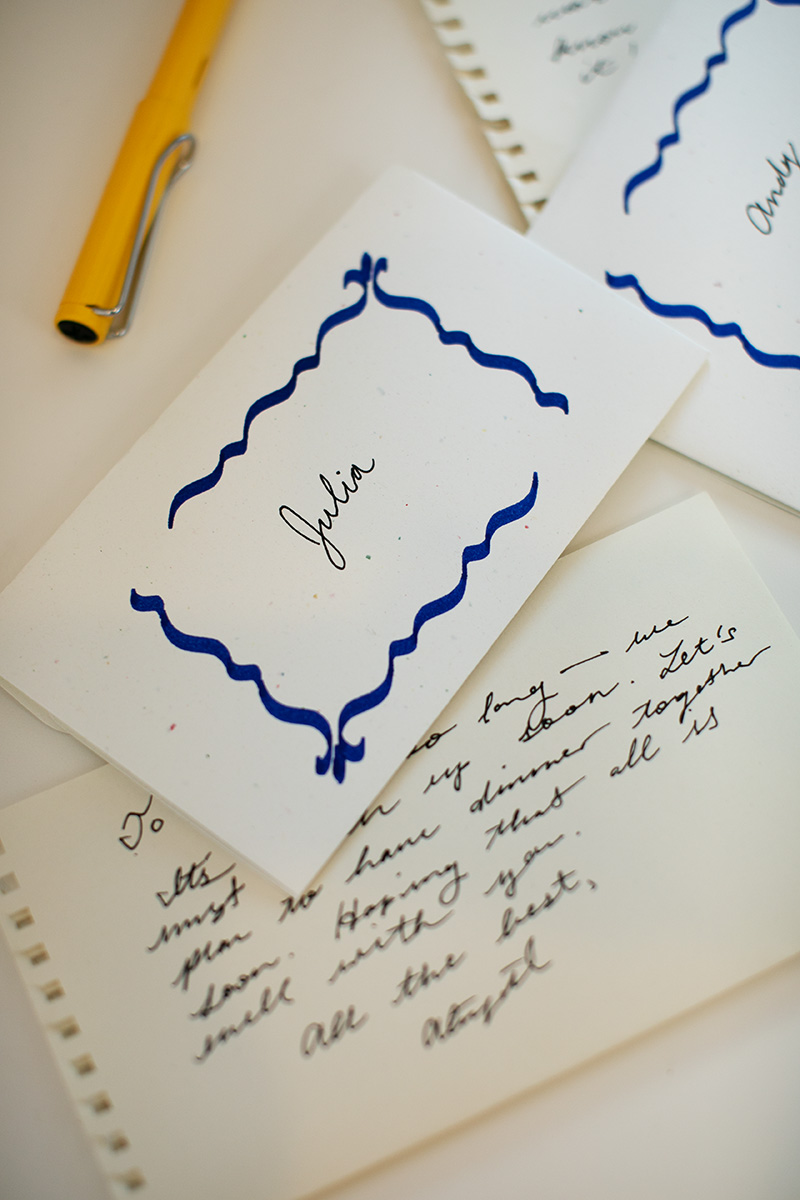
10. You’re done! Repeat as needed to get your desired number of envelopes.
Related Projects
Stay Connected
* Required fields