DIY Quilt Block with SDX225 Built In Patterns
You will need:
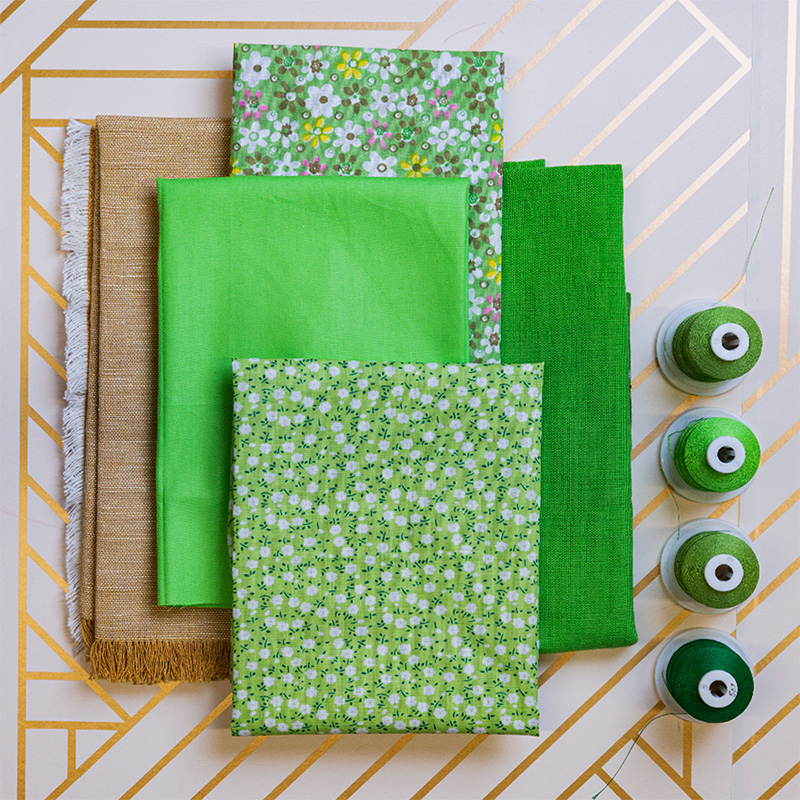
- Fabric in 2 contrasting colors, ScanNCut SDX225, High-Tack Fabric Support Sheet, Thin Fabric Auto Blade, thread, sewing machine
Steps:
1. Open up the built-in quilting patterns in your SDX225 and select one that you like.
2. Specify your seam allowance amount as well as the size you’d like your quilt block to be.
3. Trim your fabric to a 12” x 12” size. Apply to a Standard Mat using a High-Tack Fabric Support Sheet.
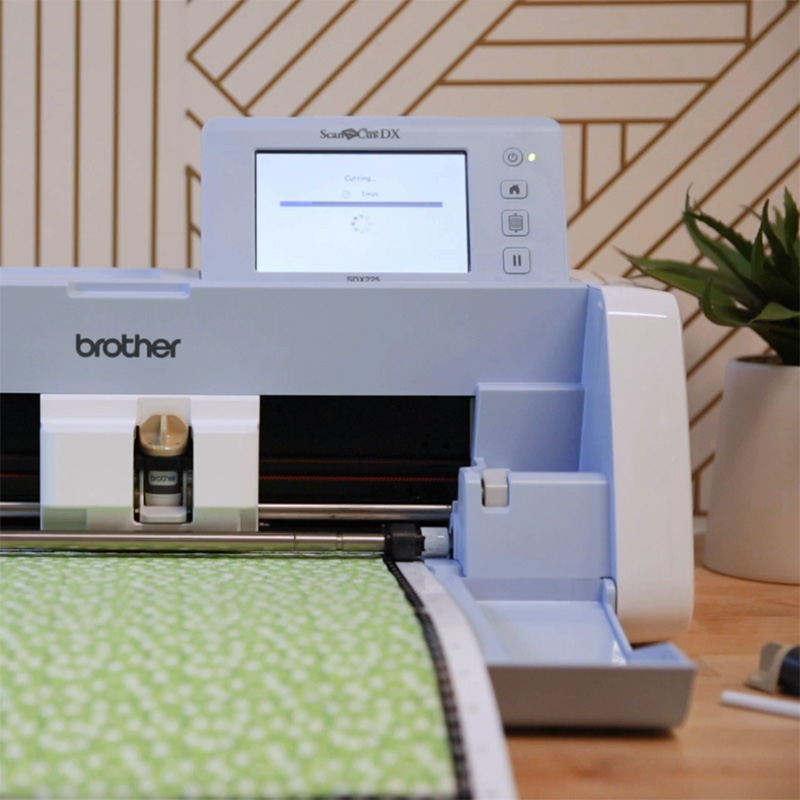
4. Cut out the first part of the design.
5. Repeat step 4 with all parts of the design that you want to be the same color. Remove all pieces from the mat carefully and set aside.
6. Repeat steps 3-5 with the contrasting color.
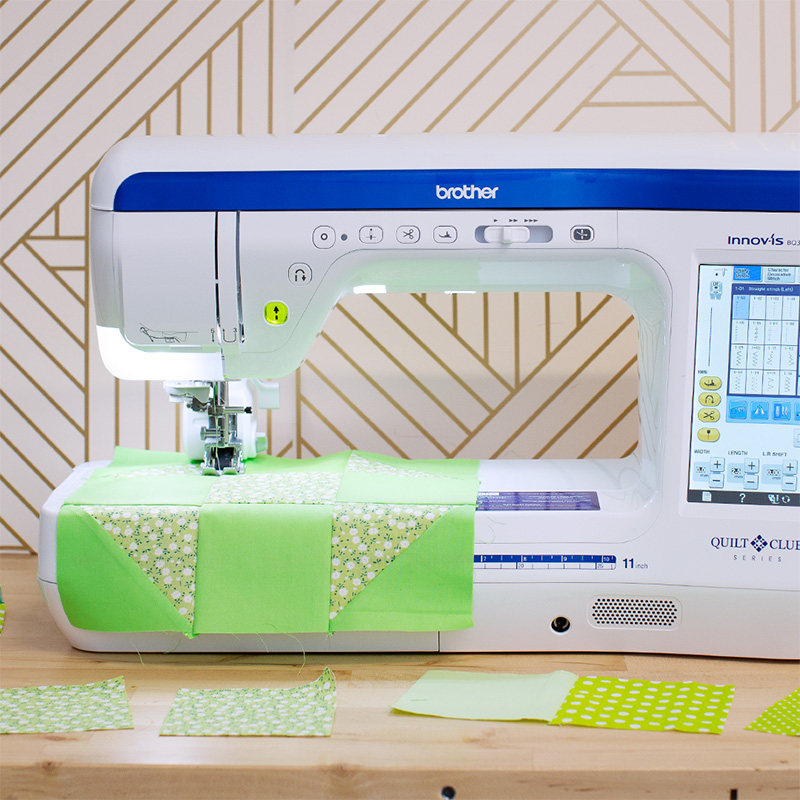
7. Once you have all the quilt pieces, head to your sewing machine.
8. Arrange all of your quilt pieces in the pattern displayed on your ScanNCut, making sure the back side of the fabric is facing up.
9. Begin to sew each piece together using a ¼” seam allowance, or the seam allowance that you specified in the machine. Make sure to backstitch at the beginning and end of each row of stitches to set the thread.
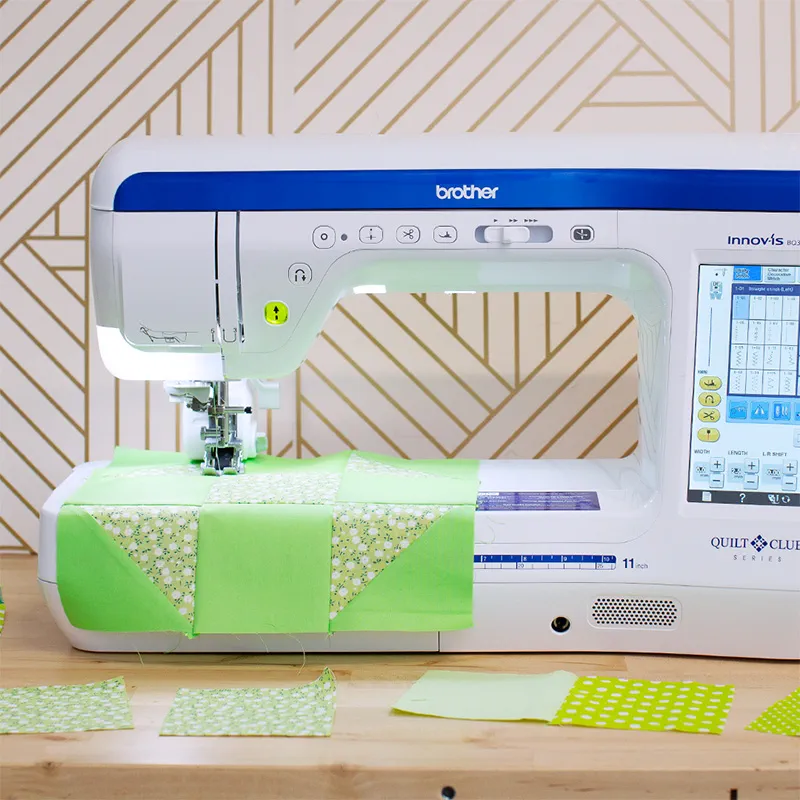
10. Once all of the pieces are sewn together, you have a finished quilt block! Make sure to press all seams down to keep your final quilt looking neat.
Related Projects
Stay Connected
* Required fields