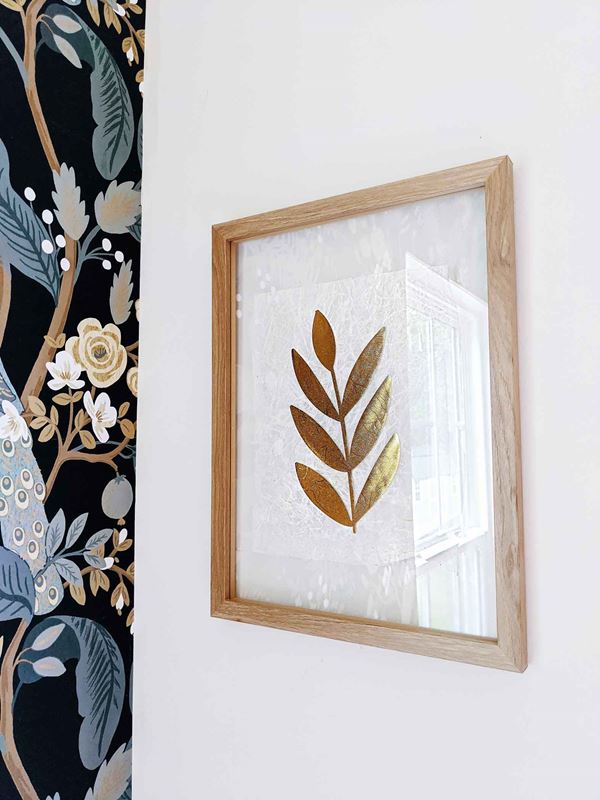
How to Create Floating Metallic Leaves Wall Art
- Brother Sews Blogger
When it comes to home décor, I love a good mixture of texture within a space. I believe that every room (with the exception of your bathroom) should include a good mix of about 4-5 textures. Texture adds a bit of interest and sophistication to the vibe of the space. It keeps the eye moving to find other cool visuals throughout the décor.
One of my favorite textures that I add to every single room I’m designing is some type of metallic element. Everyone has their favorite - I lean more towards gold. For me, it’s warmer and it feels expensive. Now, who doesn’t want a home to look and feel expensive? A metallic element can come in several forms, whether it be a statue, curtain rod, piece of furniture, drawer handles, or paint -you name it.
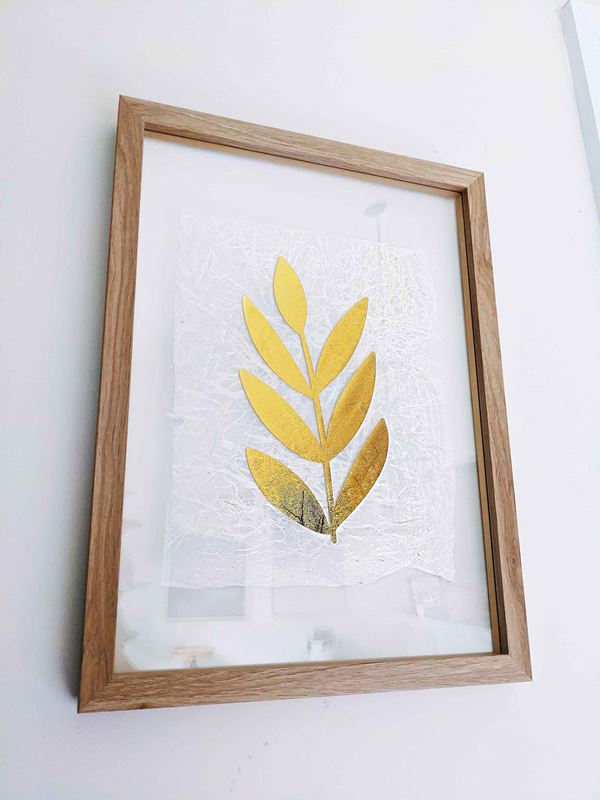
The project that I’m sharing with you today was inspired by the wallpaper in our family dining room. It’s a great project because it is fast and easy, yet the subtle touch of metallic finish adds a modern, chic look to any room in your home. Craft with me!
SUPPLIES & TOOLS
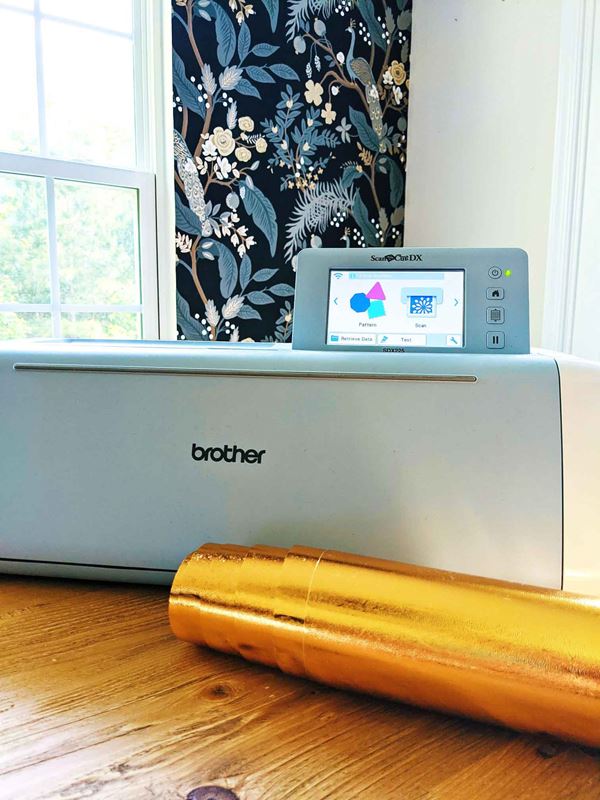
-Brother ScanNCut SDX225
-Textured Foil Craft Vinyl
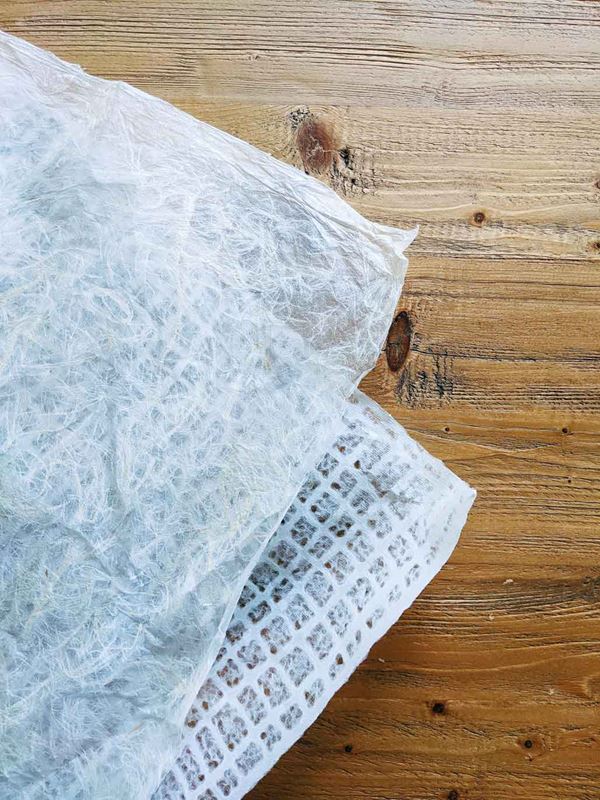
-8.5 x 11 Textured/ Handmade Paper
-16x20 Floating Frame
-Vinyl Weeding Tool
-Transfer Tape
-Pencil
INSTRUCTIONS
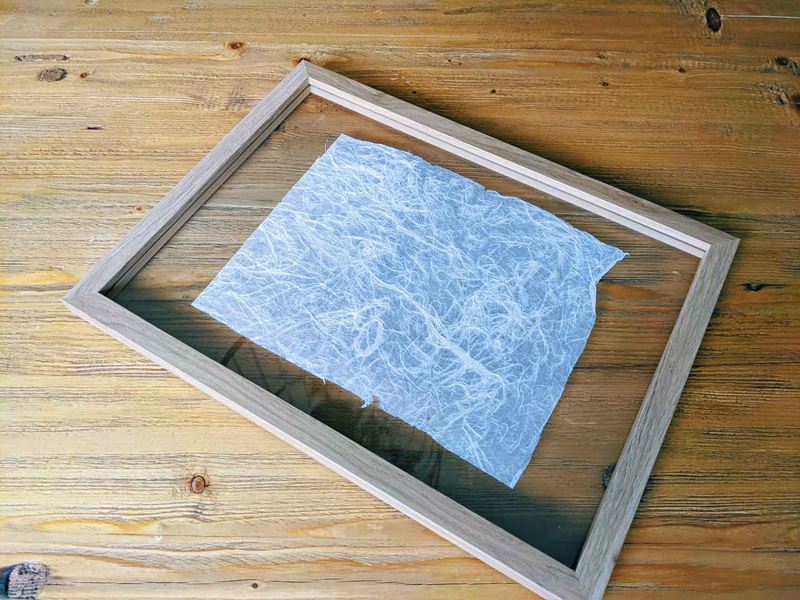
1. Using soft pressure, draw an 8” x 10” rectangle on your paper. Tear the rectangle out with your hands. You want the textured edges. Erase any pencil marks that are visible.
2. Place in between the glass of your floating frame and put the frame back together.
3. Download both leaf files from link below
leaf2 ScanNCut DX file
4. Attach vinyl to Brother standard tack adhesive mat with the gold side facing up.
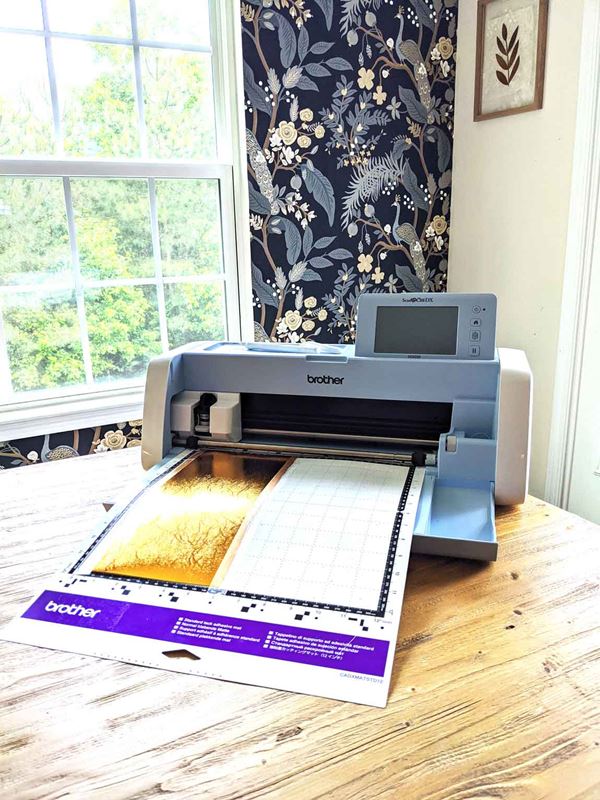
5. Import into Brother Canvas workspace and resize to 8.5” in length.
6. Cut out your image using a half cut. [Note: Always do a test cut prior to cutting. If the test comes out clean, proceed with cutting out the leaves.]
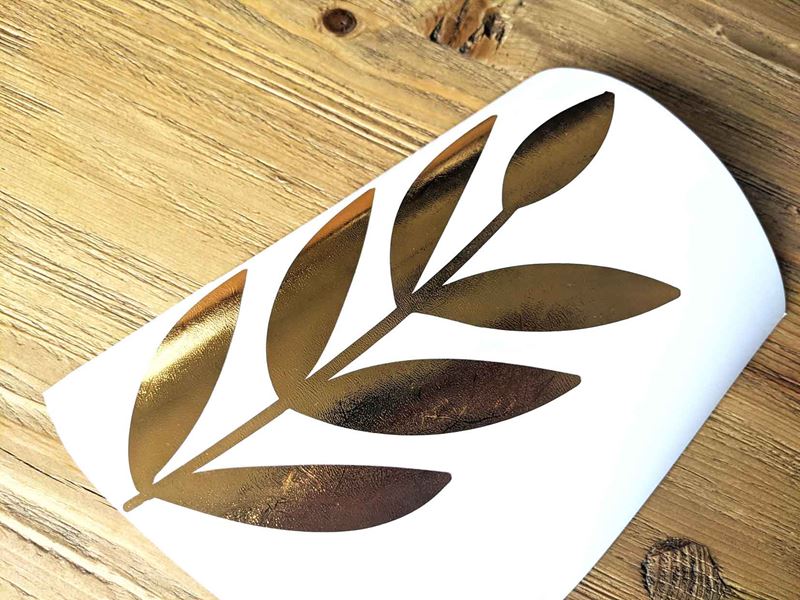
7. Weed the excess vinyl away the leaf cut-out.
8. Transfer cut out to transfer paper.
9. Align the image to the center of your frame and adhere to glass.
Tags
Shop this Project
No ScanNCut? No problem! Any products mentioned in this project are available to buy here.
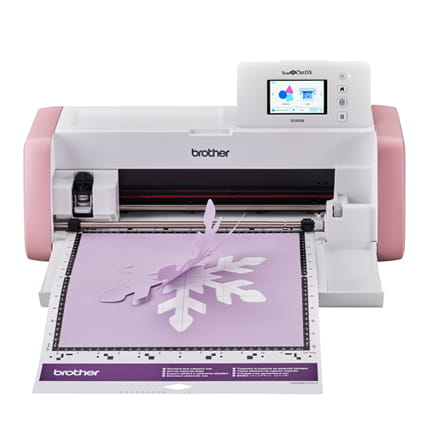
Brother ScanNCut DX
- 251 Built in Designs
- True Auto Blade, no manually adjusting blade pressure settings
- Built-in Scanner; scan in hand-drawn creations and cut them out!
Related Projects
Stay Connected
* Required fields