How To Make A Holiday Coaster Gift Set
Using the ScanNCut DX SDX325 or SDX330D and the Artspira app, learn how easy it is to make a fun set of Holiday coasters. Use the coasters to decorate your own home for the holidays or give them as gifts to family and friends.
Supplies & Tools:
List ALL supplies and tools used to create this project. Do not name third party products or supplies, instead use generic terms if not a Brother manufactured supply.
- ScanNCut DX SDX325 or SDX330D
- Including Spatula and Stylus
- Standard Tack Mat 12” x 12” (CADXMATSTD)
- Spatula and Precision Hook Basic Tool Set (CASPHK1) (Optional)
- Brother 4” Brayer (CABRY1) (Optional)
- Brother 3.9” Scraper (CASCP1) (Optional)
- Brother Rotary Auto Blade Kit (CADXBLDR1) (Note: the SDX330D comes with the Rotary Auto Blade Kit)
- Brother Adhesive Craft Vinyl
- White (CAVINYLWT)
- Gold (CAVINYLGD)
- Dark Red (CAVINYLDKR)
- Red (CAVINYLRD)
- Green (CAVINYLGR)
- Hunter Green (CAVINYLHGR)
- Coral (CAVINYLCOR)
- Brother Adhesive Transfer Paper with Grid (CAVINYLTPG)
- Permanent Adhesive Spray or Glue
- 4 - 4” ceramic tiles
- 1 – 9” x 12” wool felt sheet
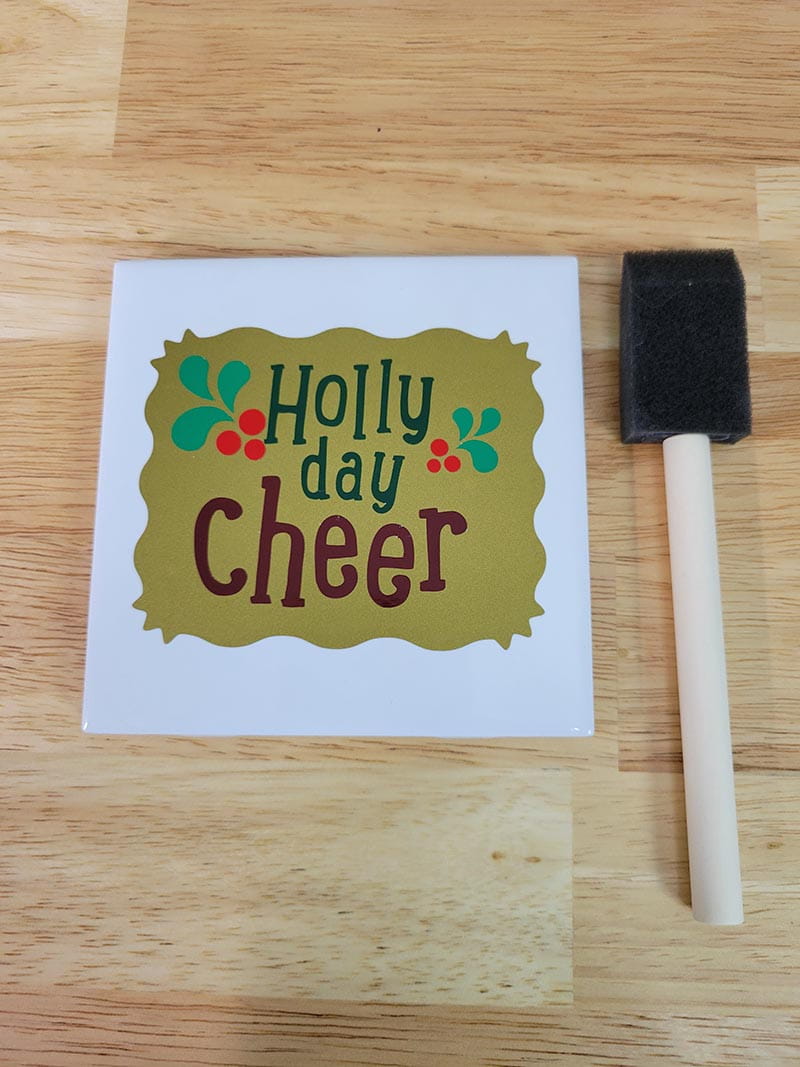
- Foam Paint Brush
- Clear Gloss Acrylic topcoat/Resin
- Rubbing Alcohol or Alcohol Pads
DIRECTIONS/ BODY:
List each step taken to complete project with corresponding images within step out as needed to tell the full story of your unique project. Images and comments must be placed in the corresponding place within the blog or the blog may be deemed incomplete.
- Open the Artspira App and select Cutting Designs. Scroll and select the Holidays category and select the design you wish to transfer.
- Select Create at the bottom of the screen.
- Touch “Cutting Machine.” Select your ScanNCut from the list (if you have more than one ScanNCut linked to your Canvas Workspace account).
- Select Transfer. Touch Ok when you get the message “Data transfer is complete.”
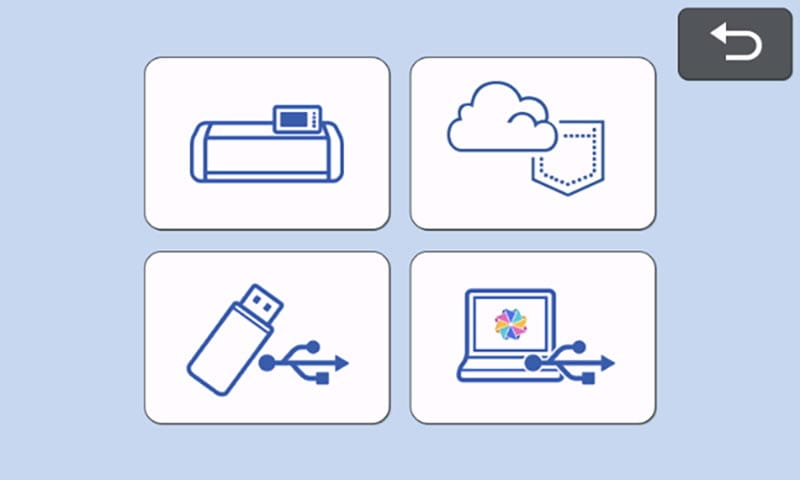
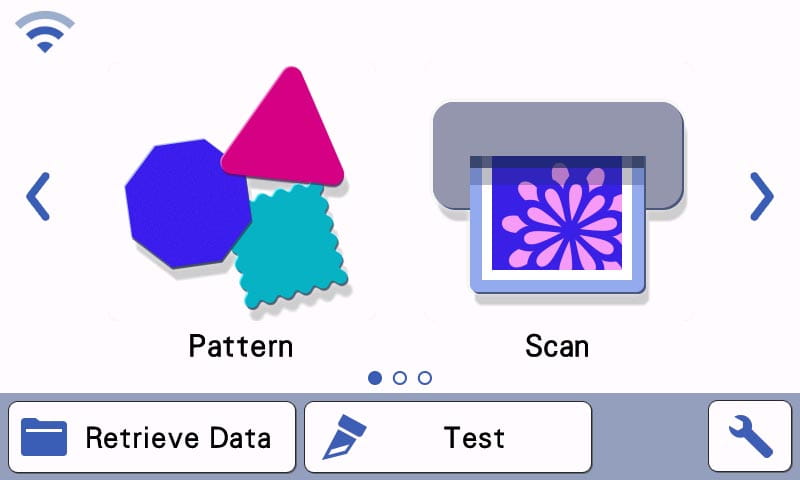
- From the HOME screen of your ScanNCut, select “Retrieve Data.”
- Select the Wireless Icon.
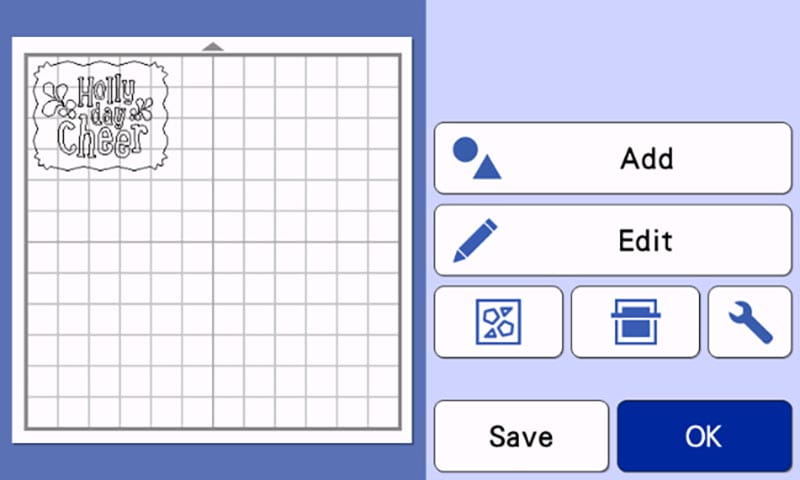
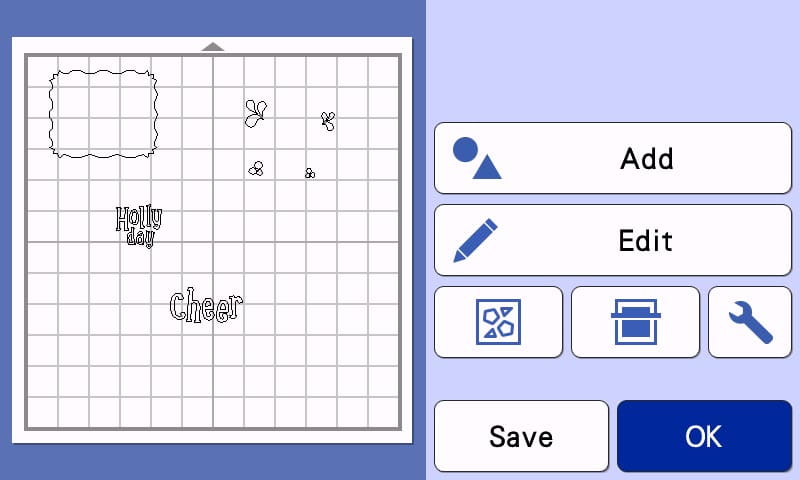
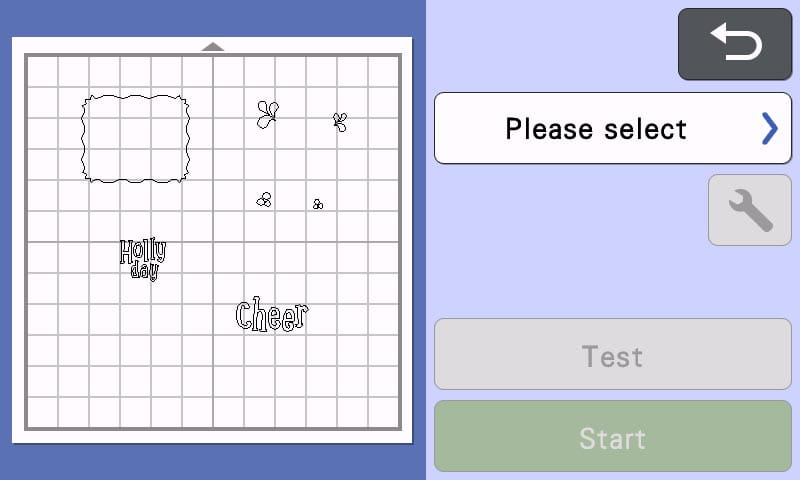
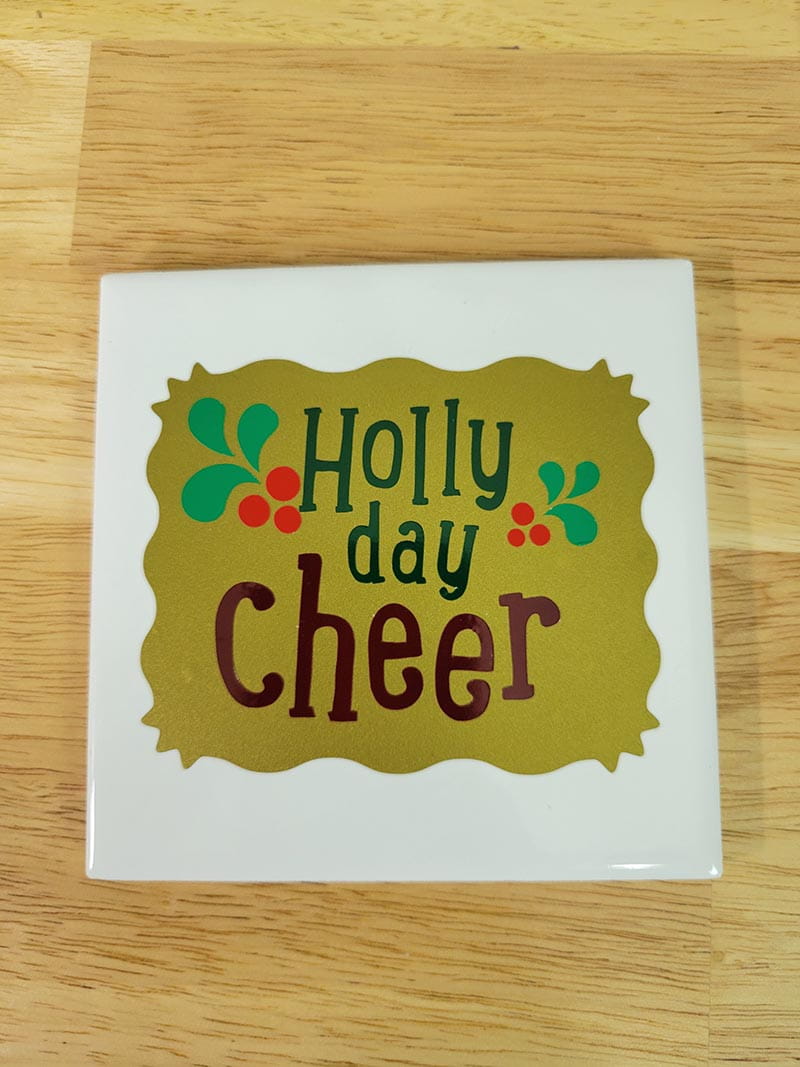
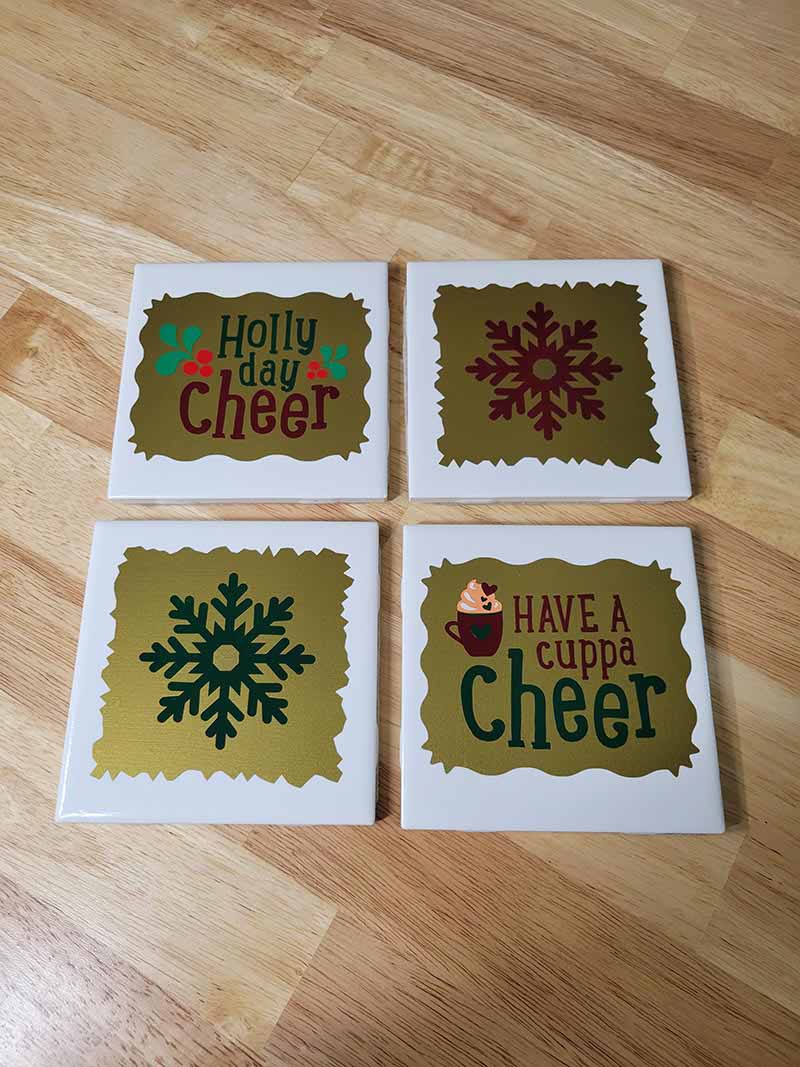
- The design appears on the ScanNCut screen. In this tutorial we choose “Holly Day Cheer.” Touch OK.
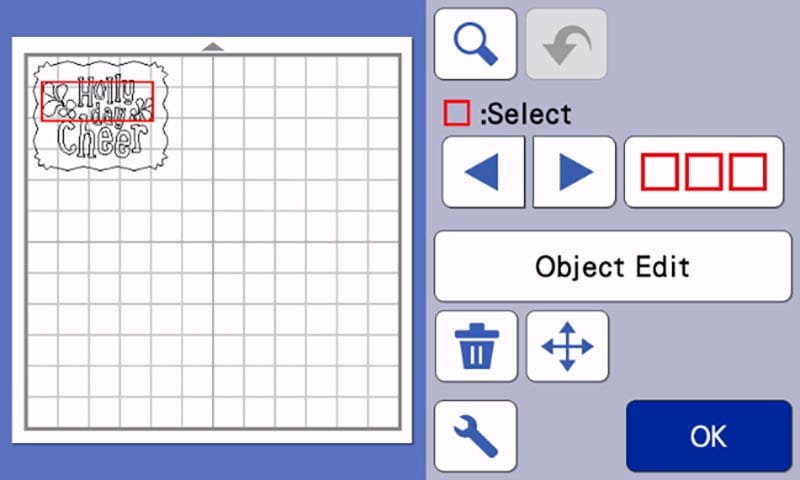
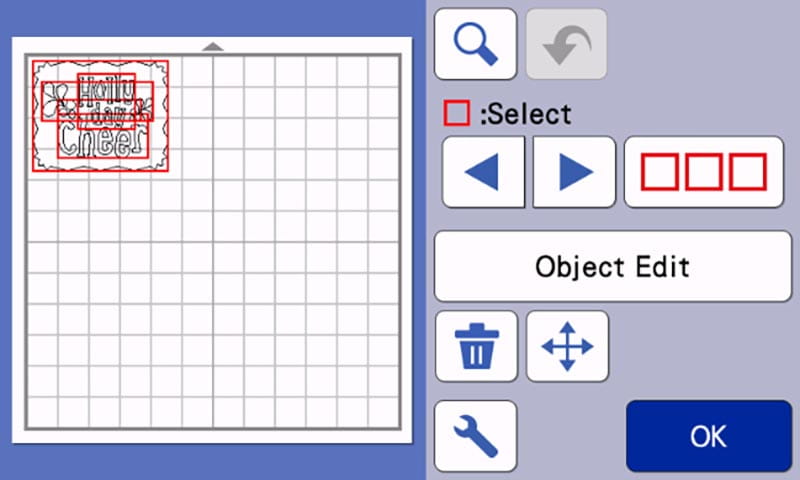
- Select Edit.
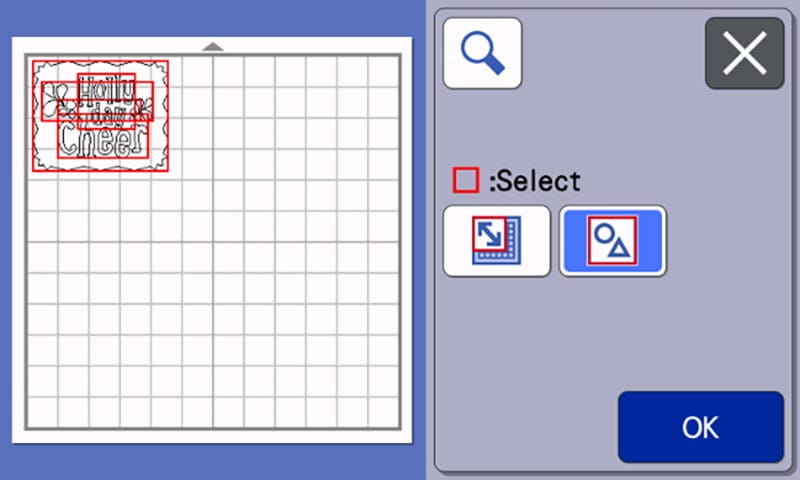
- Touch the Multiple Selection Key.
- Choose Select All. Touch OK.
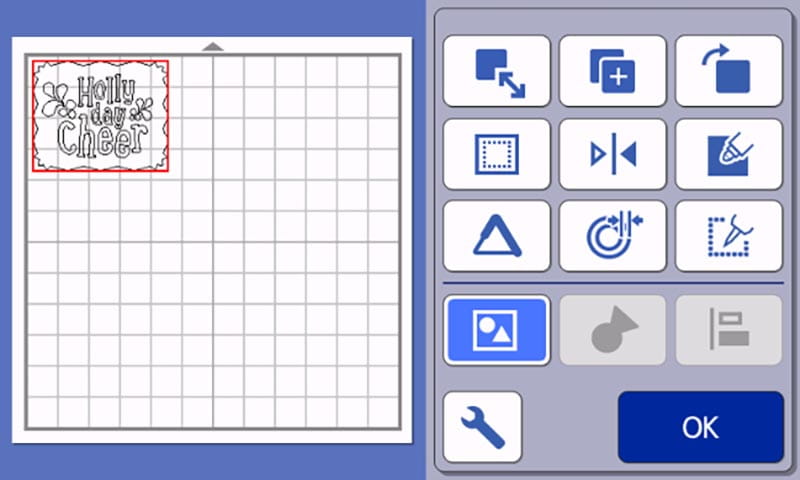
- Select Object Edit.
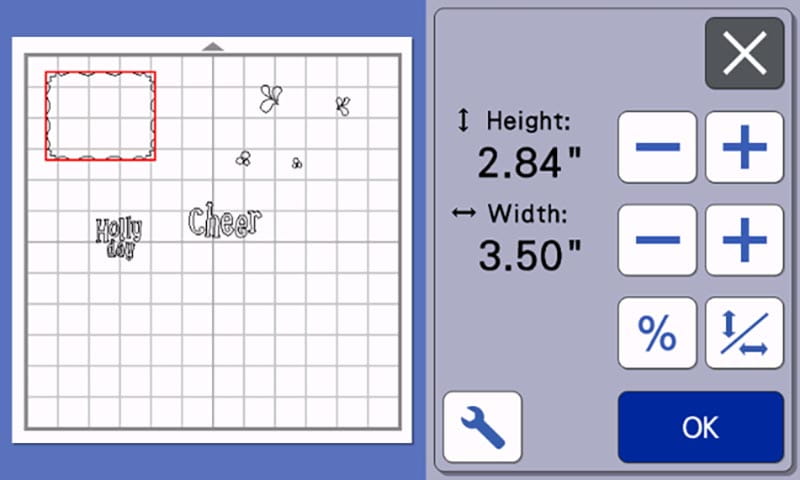
- Touch the Group Key. Select Size.
- Using the Plus and Minus Keys, size the whole design to 2.84” x 3.5.” Touch OK
- Touch the Group Key again to ungroup the design.
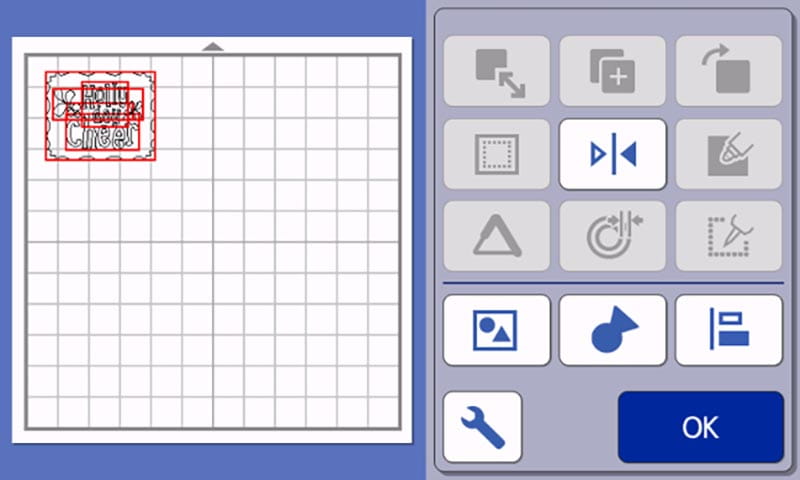
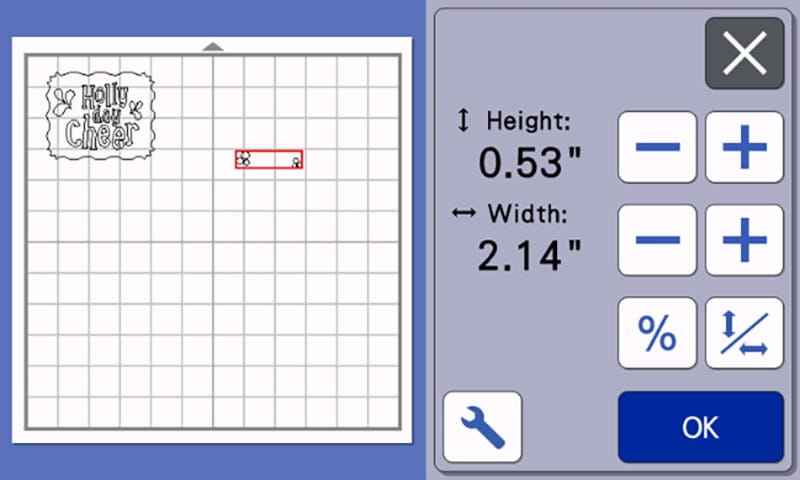
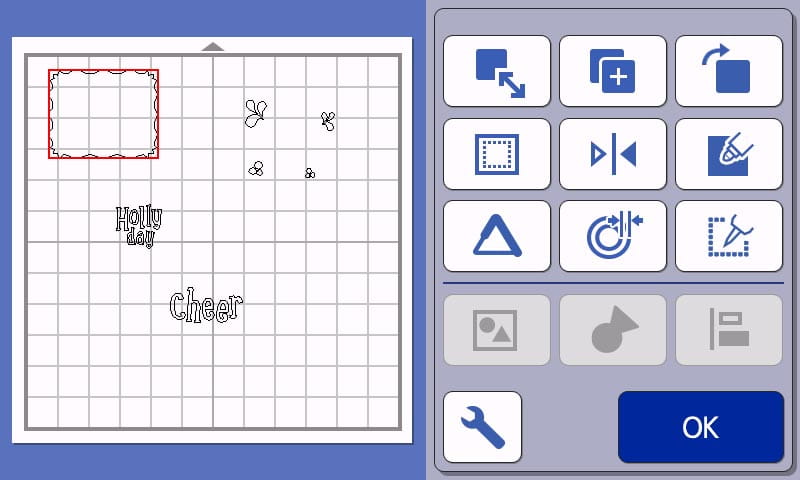
- Select the berries (the stylus is best for this) touch the Size Key.
- Move the berries to the right side of the mat using the stylus and make note of the size of that part of the design.
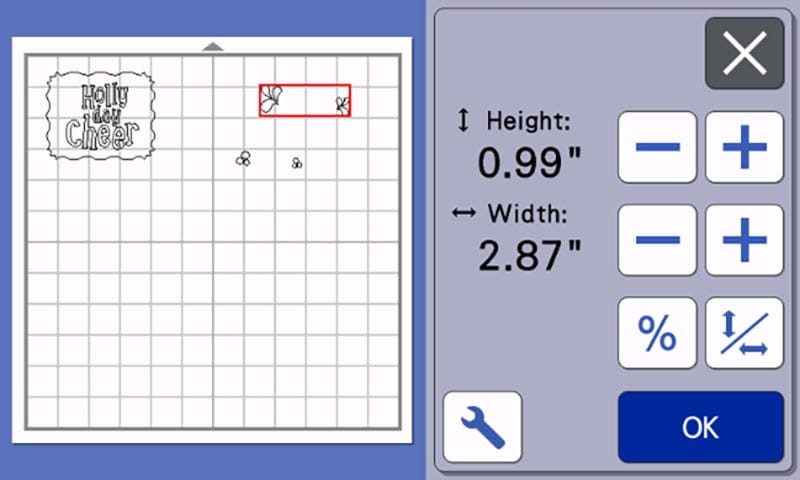
- Now select the leaves and move them to another area of the mat, noting the size.
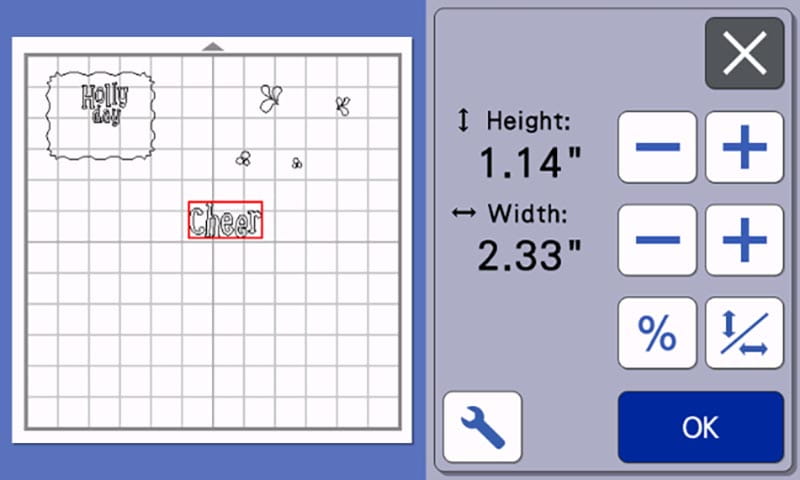
- Repeat with the word “Cheer.”
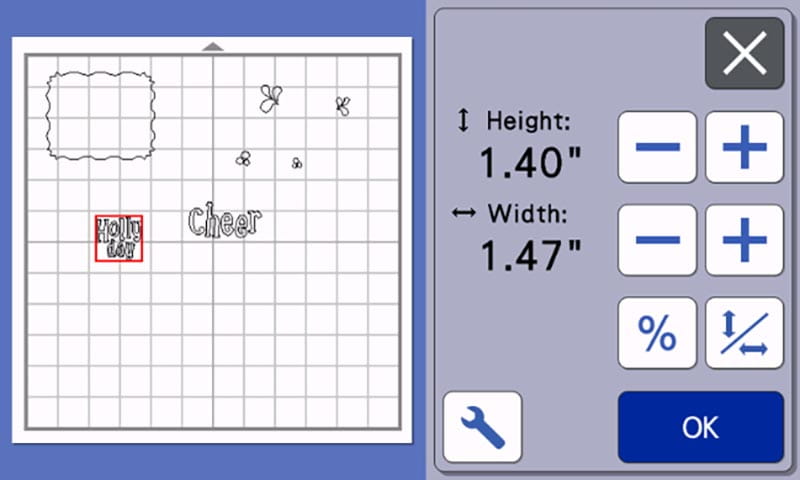
- Repeat with the words “Holly Day.”
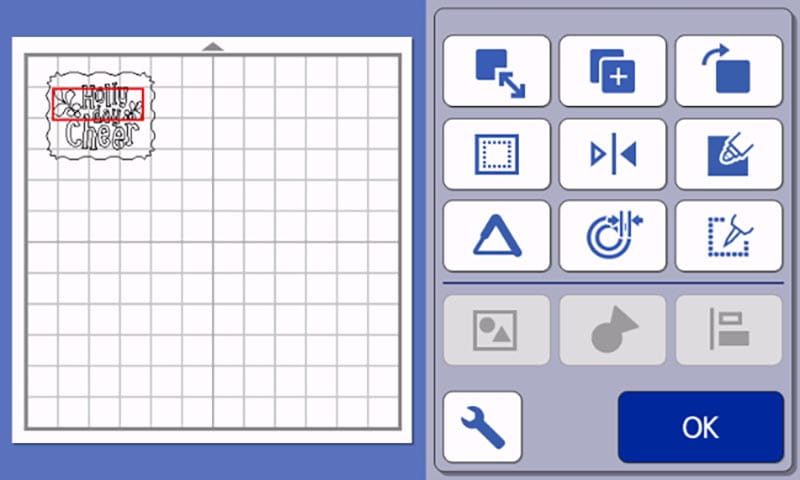
- Finally select the background and make note of the size. Touch OK.
- Select OK again.
- Touch OK one more time.
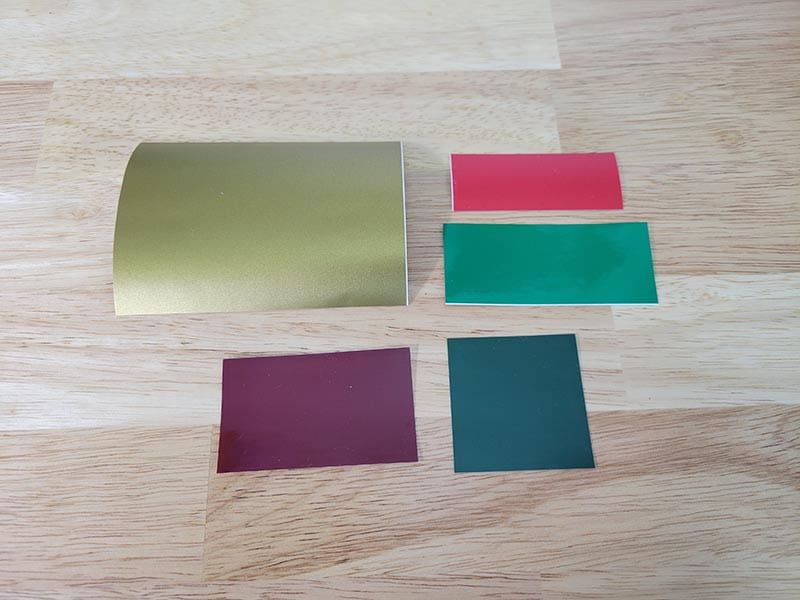
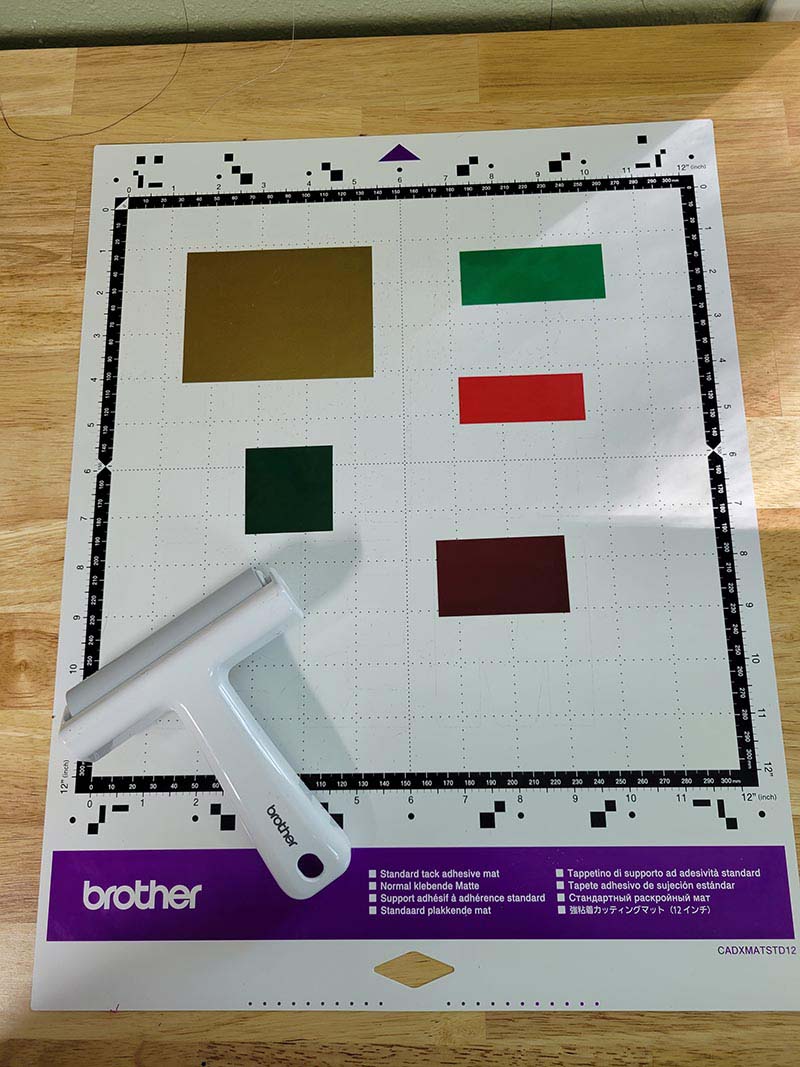
- Using the measurements taken above, cut out the adhesive vinyl as follows:
- Red: 1” x 2.5”
- Green: 1.25” x 3”
- Dark Red: 1.5” x 2.5”
- Hunter Green: 1.75” x 1.75”
- Gold: 3” x 4”
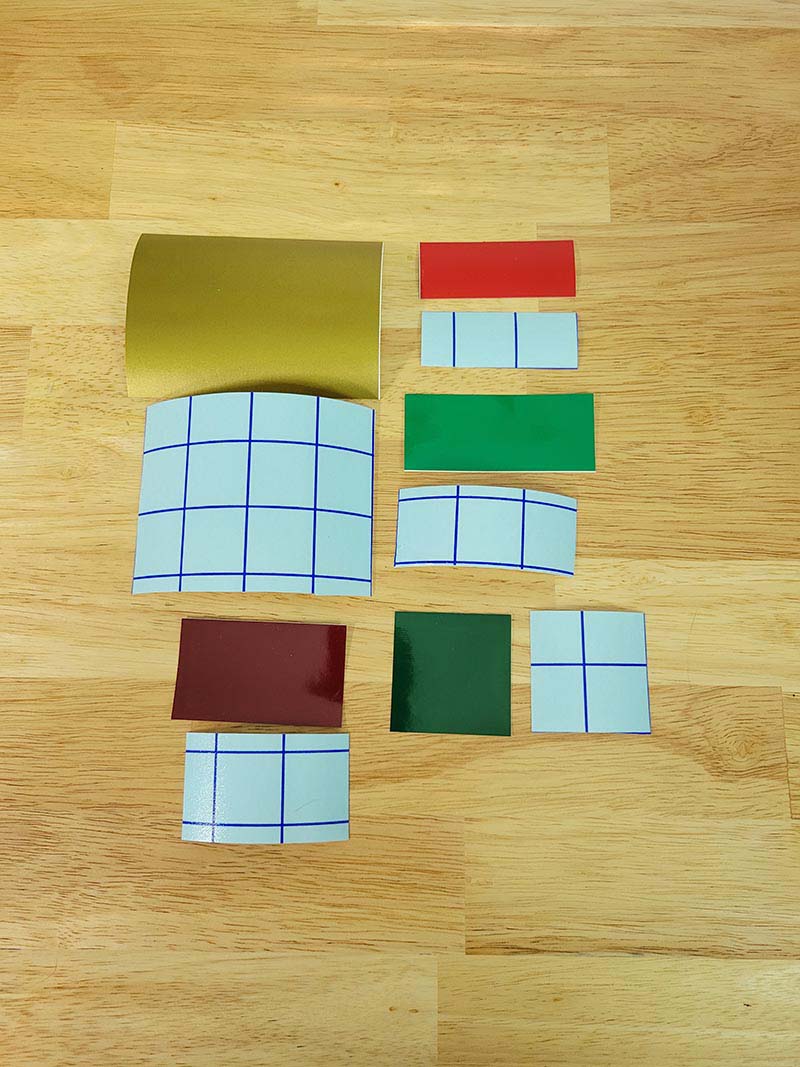
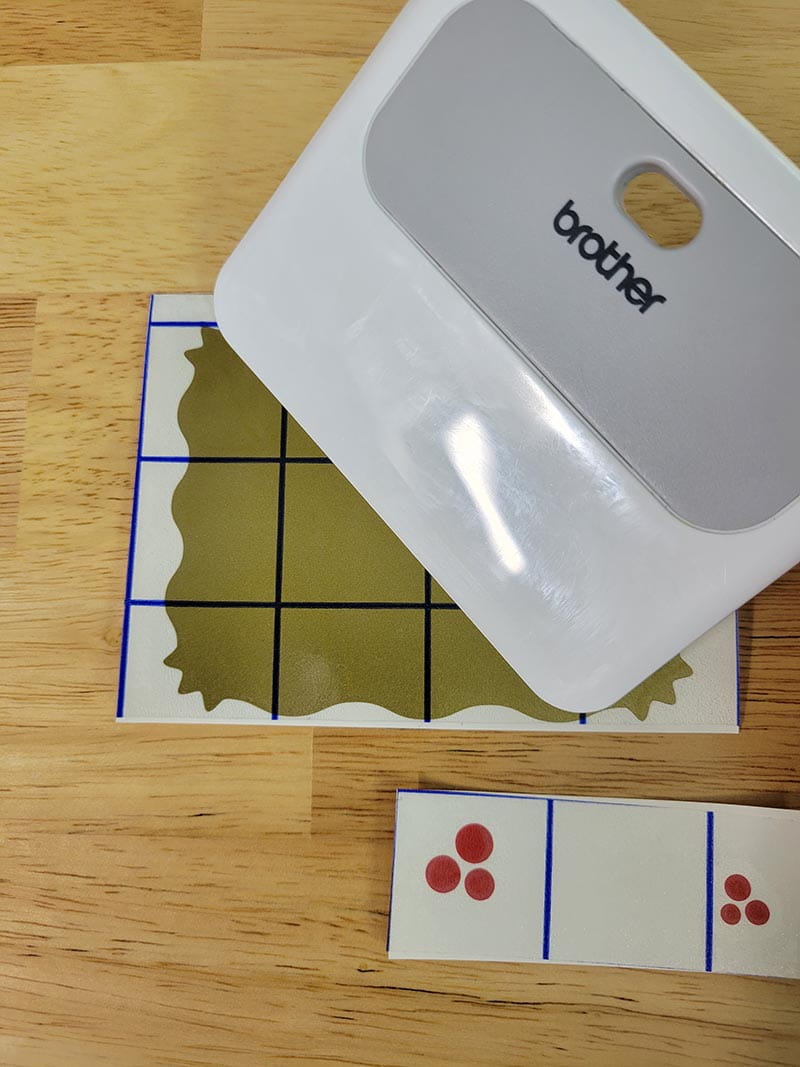
- Cut pieces of the Brother Adhesive Transfer Paper the same size as each of the adhesive vinyl pieces.
- Place the adhesive vinyl down on the Standard Mat, paper side against the mat. The Brother 4” Brayer is great to use to ensure the material is stuck to the mat.
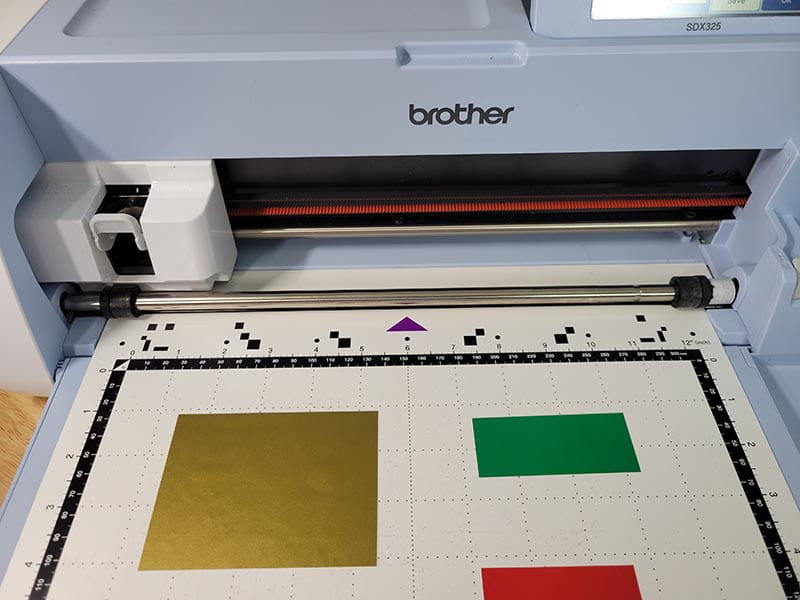
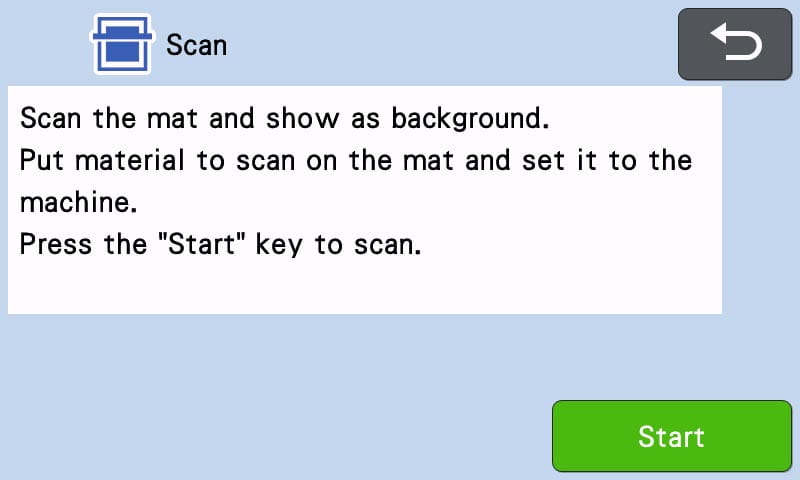
- Insert mat into the ScanNCut DX machine in between the guides at the front of the ScanNCut.
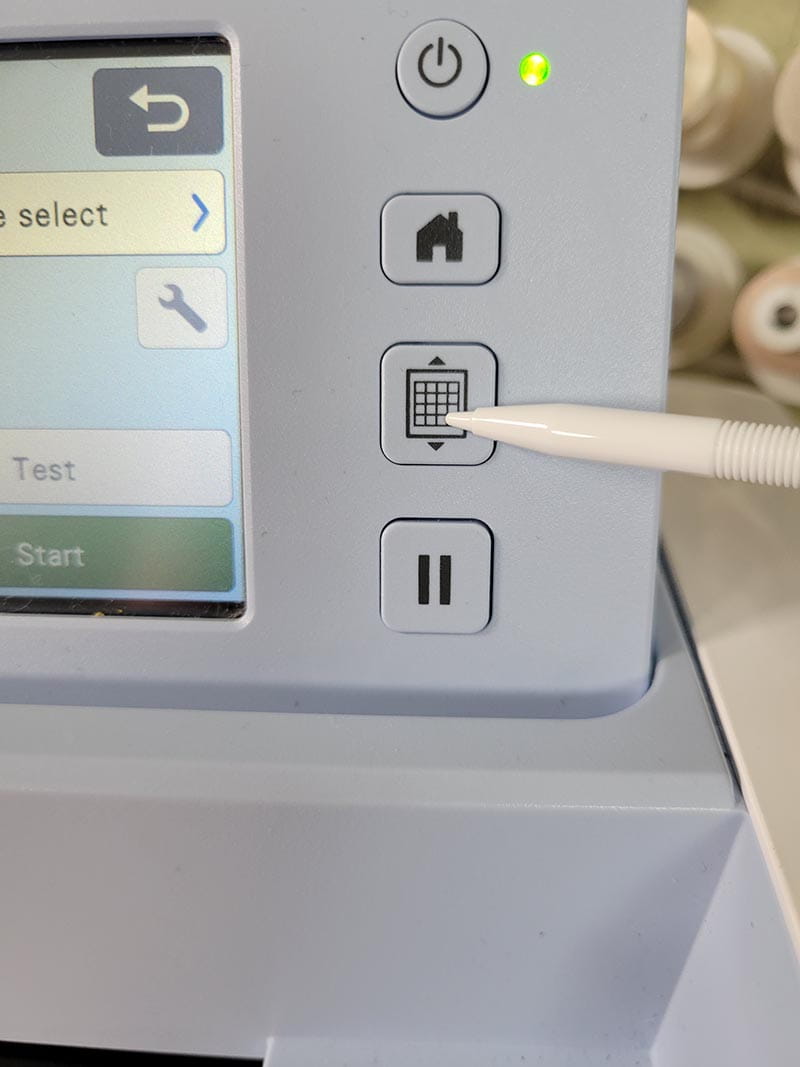
- Press the “Load” button.
- Touch Scan.
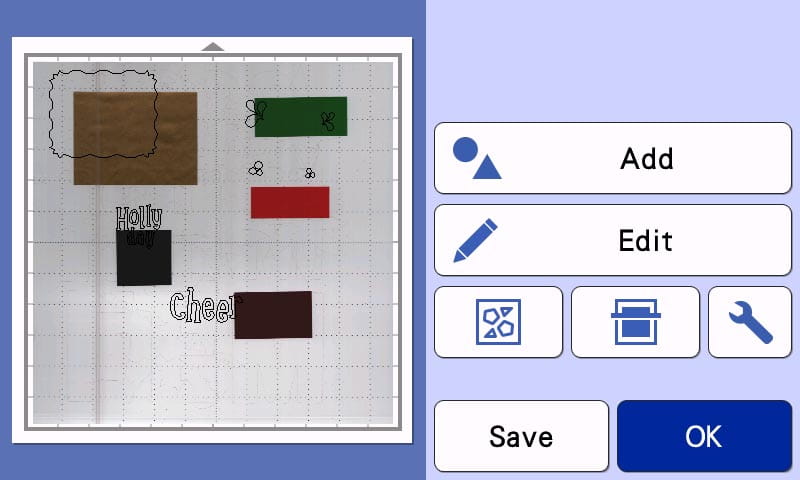
- Press Start. The ScanNCut will scan the mat. An image of the mat with the adhesive vinyl will appear on the screen.
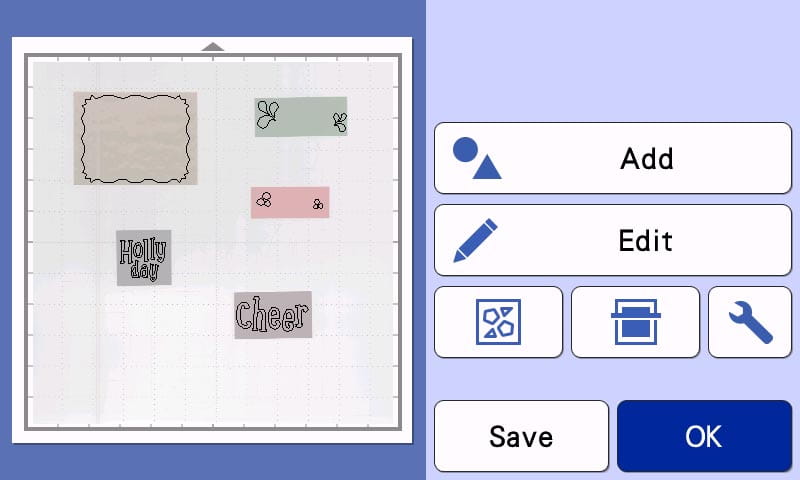
- Using the Stylus, move each element of the design over the corresponding color of adhesive vinyl on the screen.
- Once the design is positioned, Touch OK.
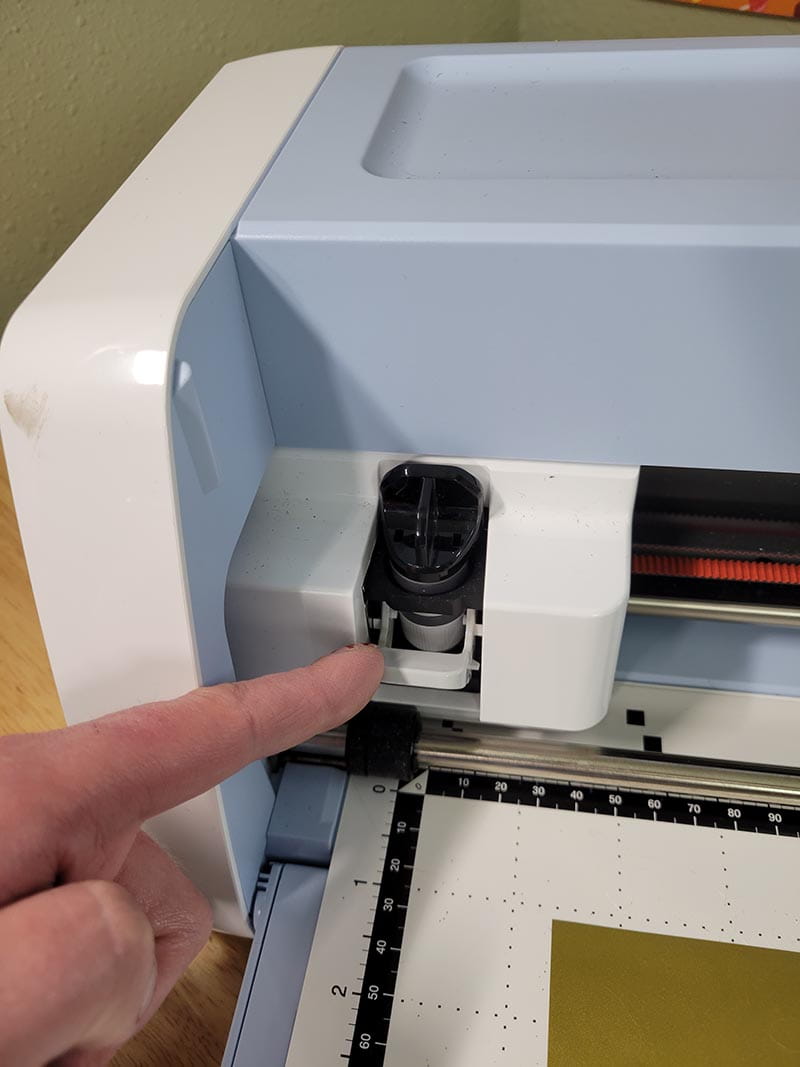
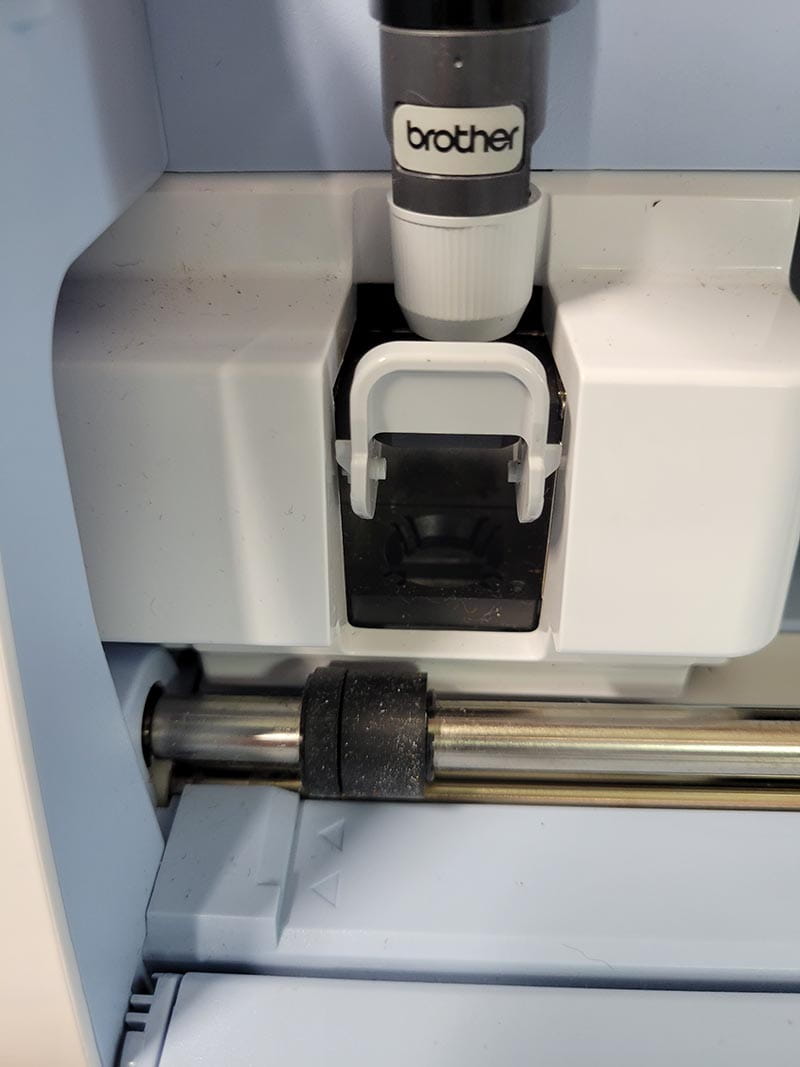
- Insert the Standard Auto Blade into the ScanNCut. Lock it in place with the lever.
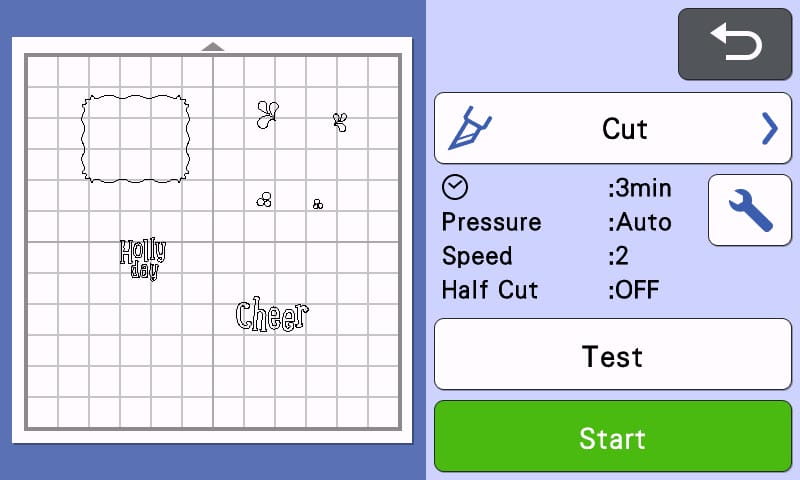
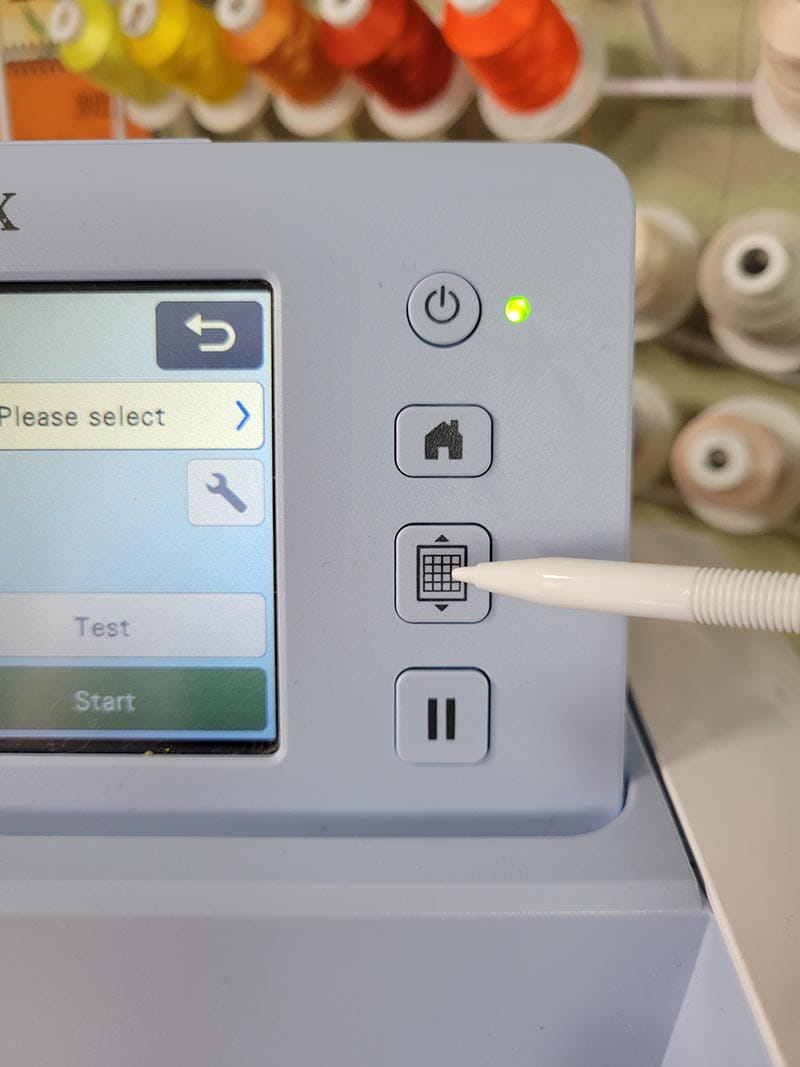
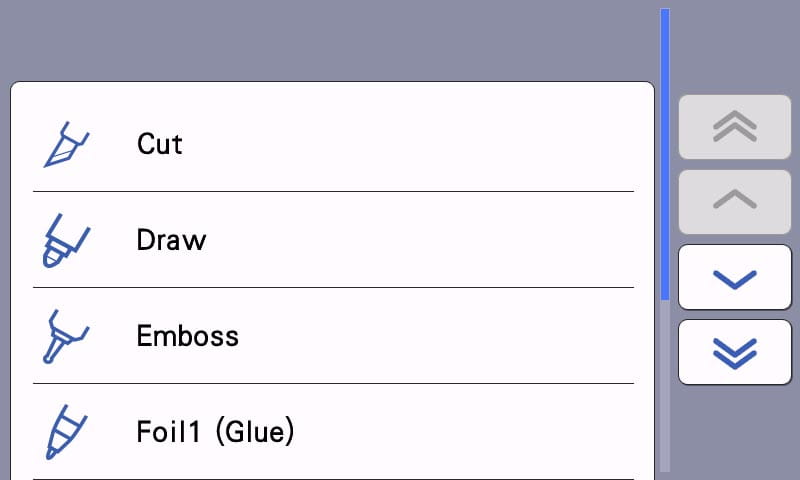
- Press “Please Select.”
- Choose “Cut.”
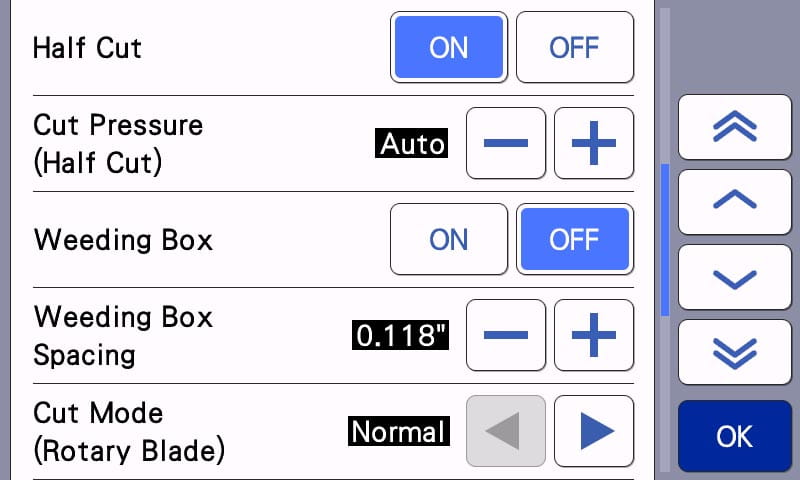
- Open the Tools Menu.
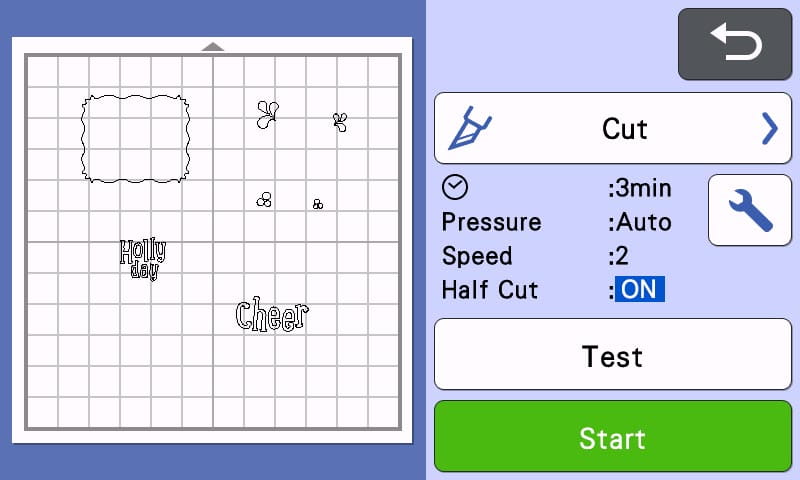
- Scroll down to Page 2 and set “Half Cut” to on. Touch OK
- Touch Start.
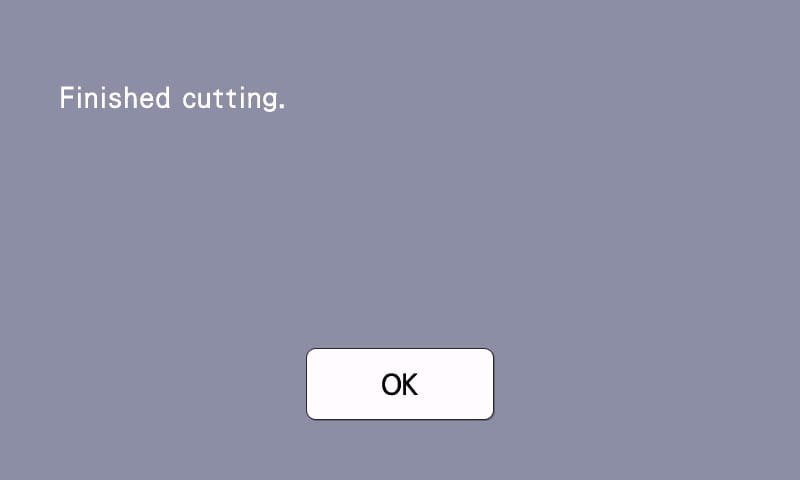
- Once the ScanNCut finishes cutting, Touch OK.
- Press the LOAD button to unload the mat.
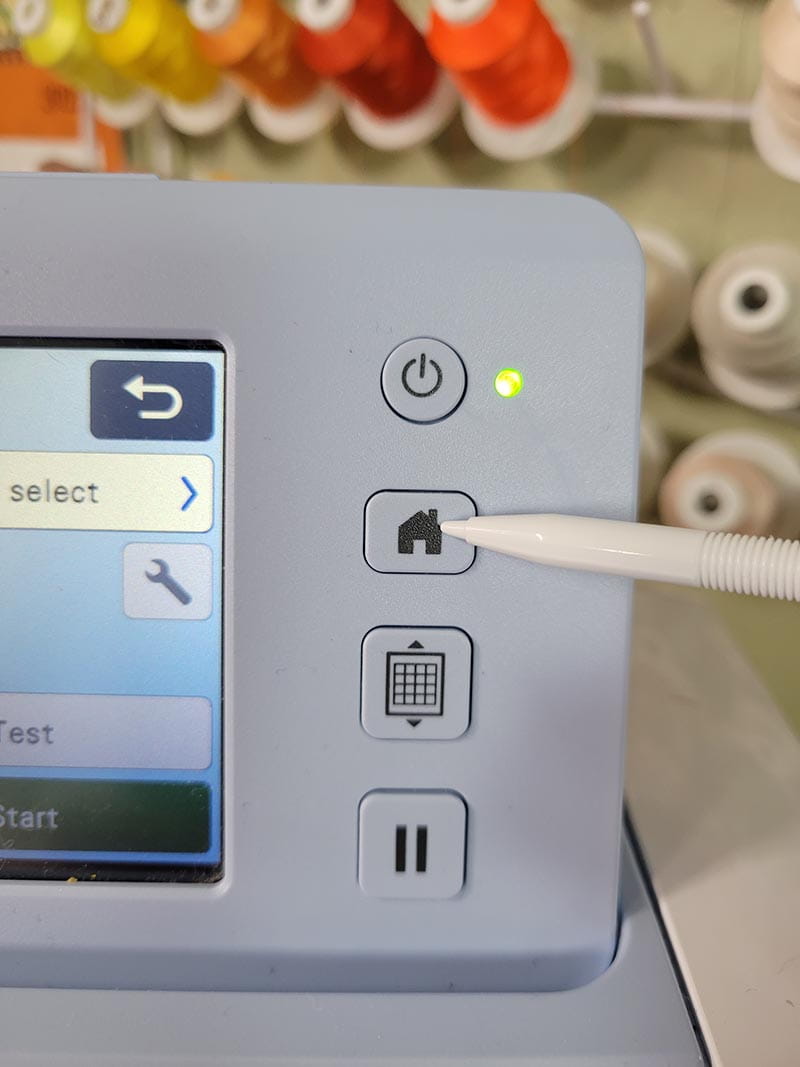
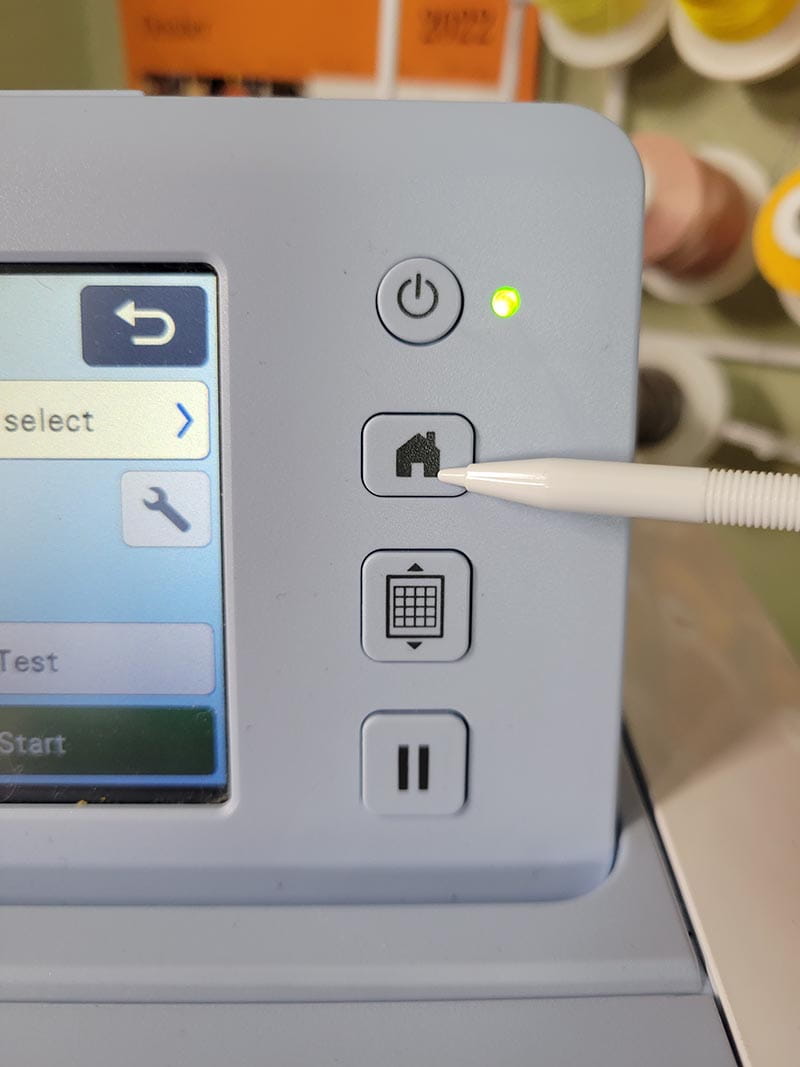
- Press the Home button.
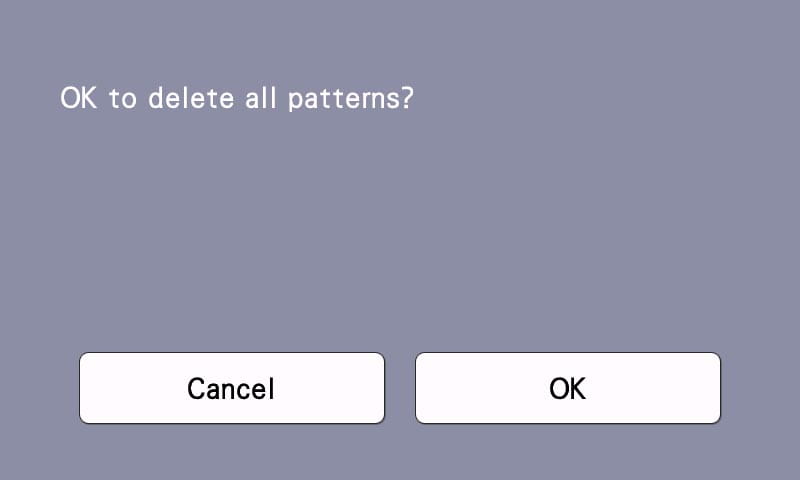
- Touch OK to delete the design.
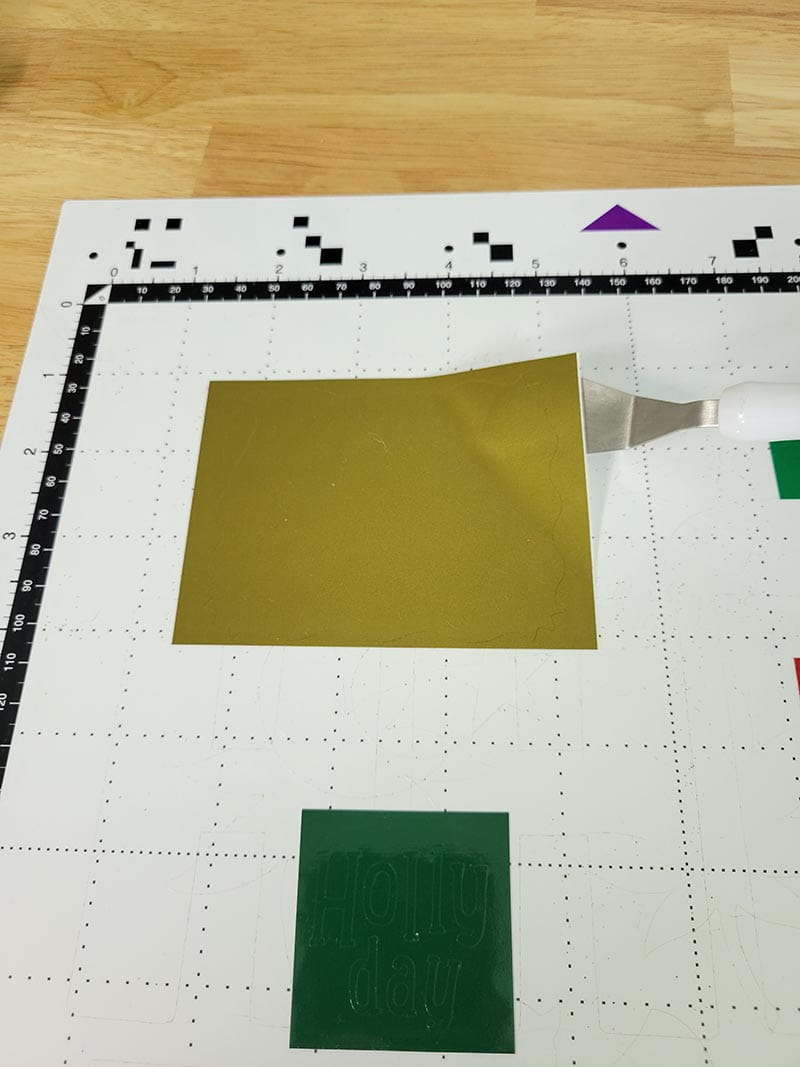
- Carefully remove the adhesive vinyl from the mat leaving the vinyl attached to the carrier sheets. The Brother Metal Spatula is helpful for this task.
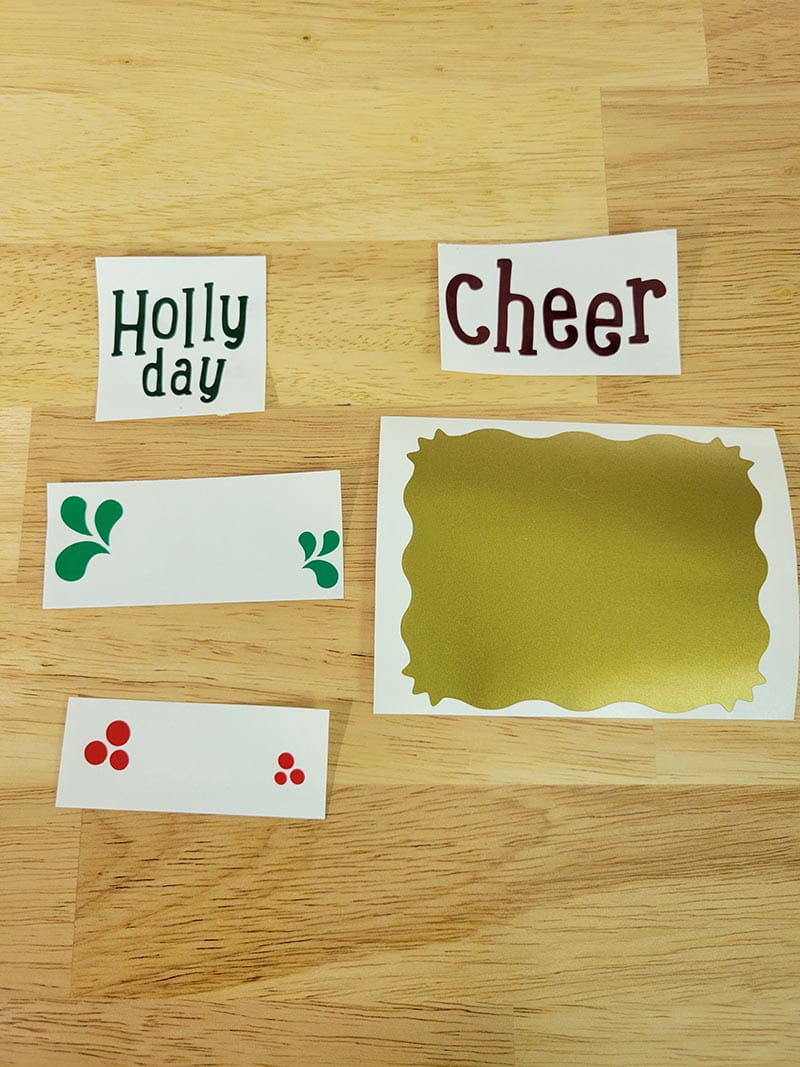
- Using the Brother Hook tool, carefully “WEED” and remove the adhesive vinyl around each part of the design that is not needed.
- Repeat with all five pieces of the cut adhesive vinyl.
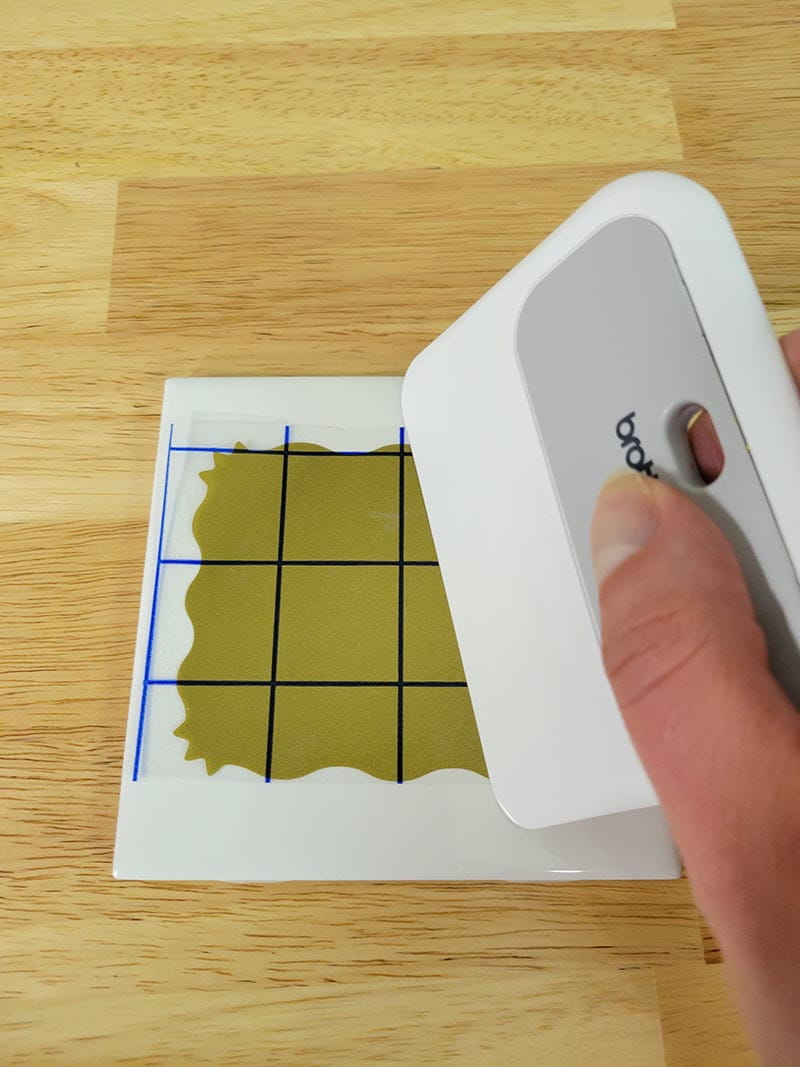
- Peel each of the Brother Adhesive Transfer Papers from the paper backing and layer them over the each of the corresponding sized vinyl design parts.
- Use the Brother ScanNCut Scraper to rub the top of the Transfer Paper over the adhesive vinyl to ensure that the vinyl clings to the Transfer Paper.
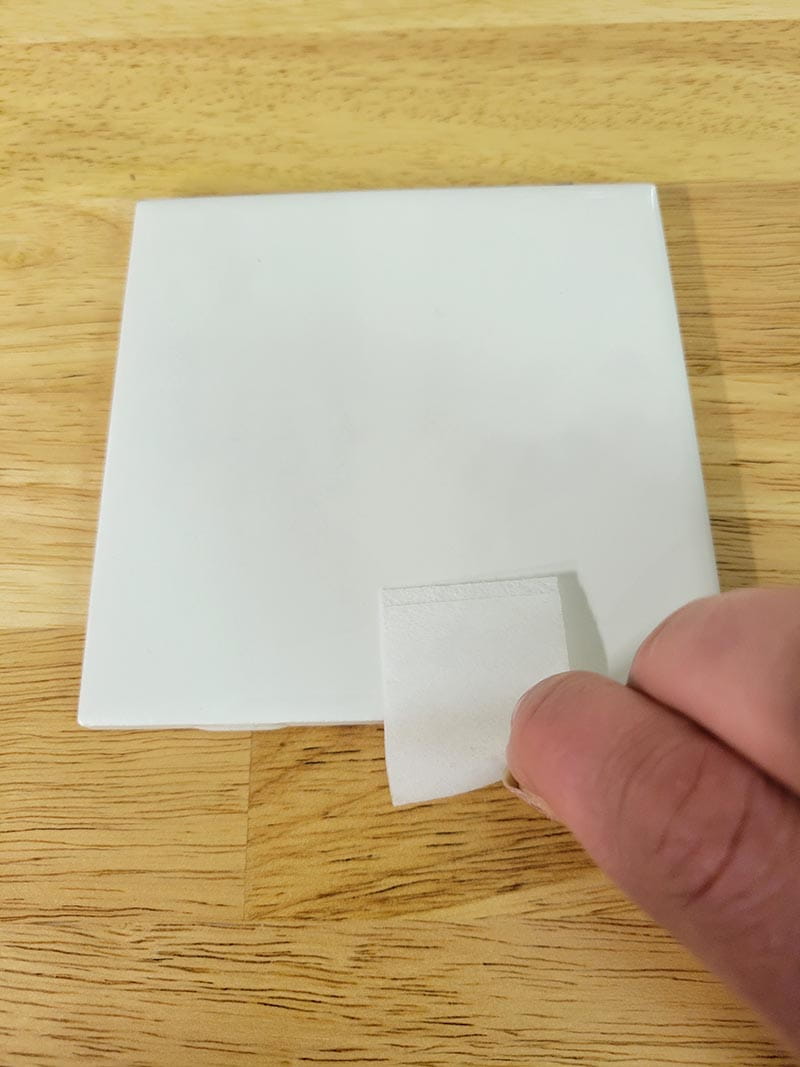
- Use a cotton ball and rubbing alcohol or an alcohol pad to clean the surface of the ceramic tile. This will remove any oil or dirt on the tile, ensuring a strong bond with the adhesive vinyl. Let the tile dry completely before attaching the vinyl.
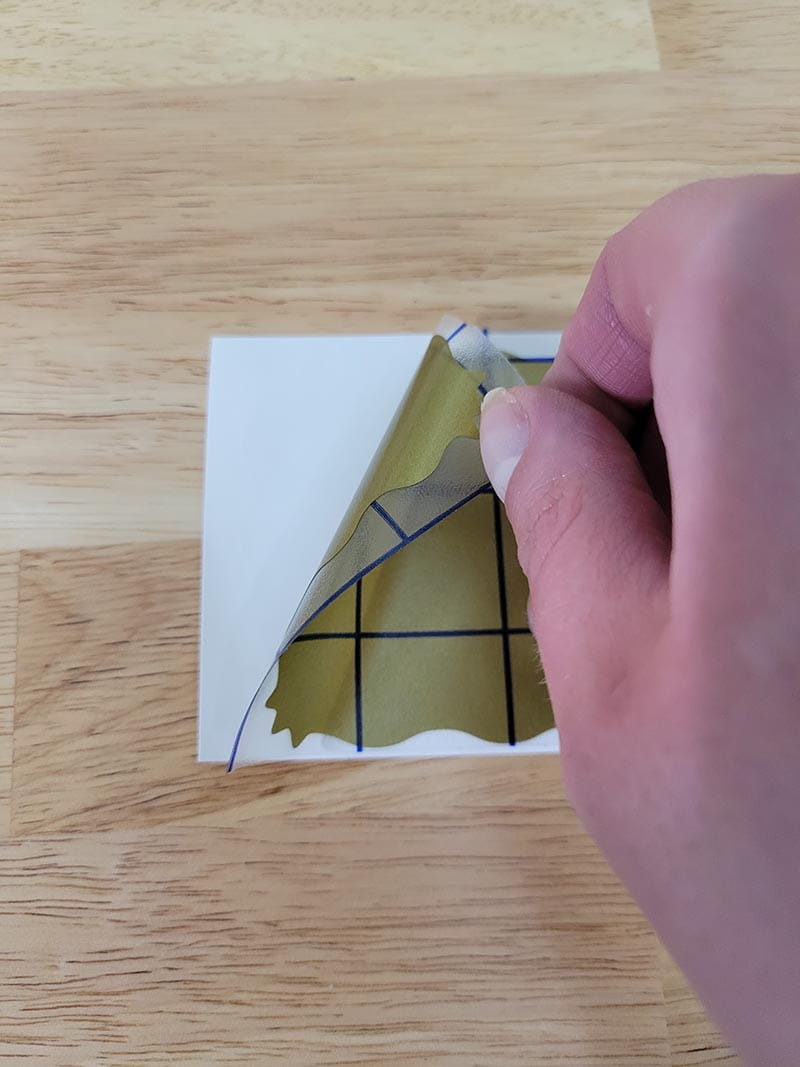
- Starting with gold background, carefully peel the Transfer Paper away from the vinyl carrier sheet. The gold background should stick to the transfer paper and peel easily from the carrier sheet.
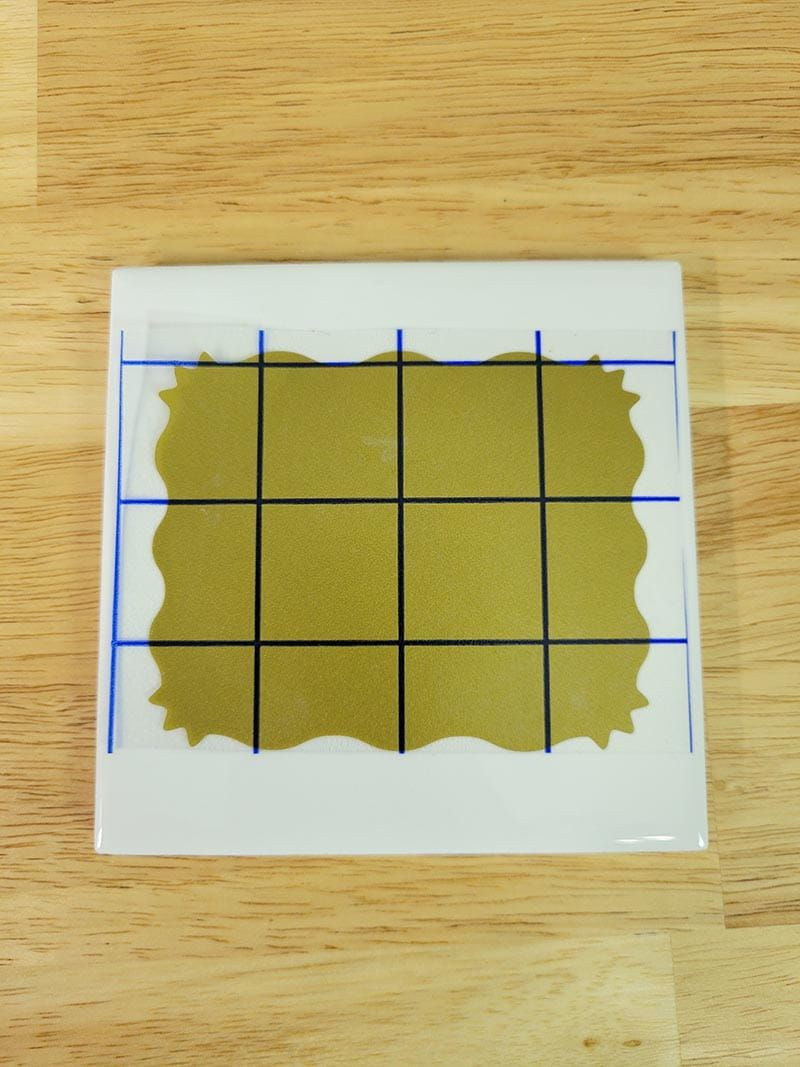
- Using the grid on the Transfer Paper, align the gold background over the top and centered on the ceramic tile. Press into place.
- Rub the top of the Transfer Paper using the Brother Scraper over the vinyl. This will help the vinyl to stick securely to the tile.
- Carefully peel the Transfer Paper away, leaving the gold background in position on the tile.
- Repeat steps 48 through 51 using the remaining adhesive vinyl design elements, layering each element one on top of the other until the design is complete.
- Remove the Standard Auto Blade from the ScanNCut by first unlocking the lever and then pulling up.
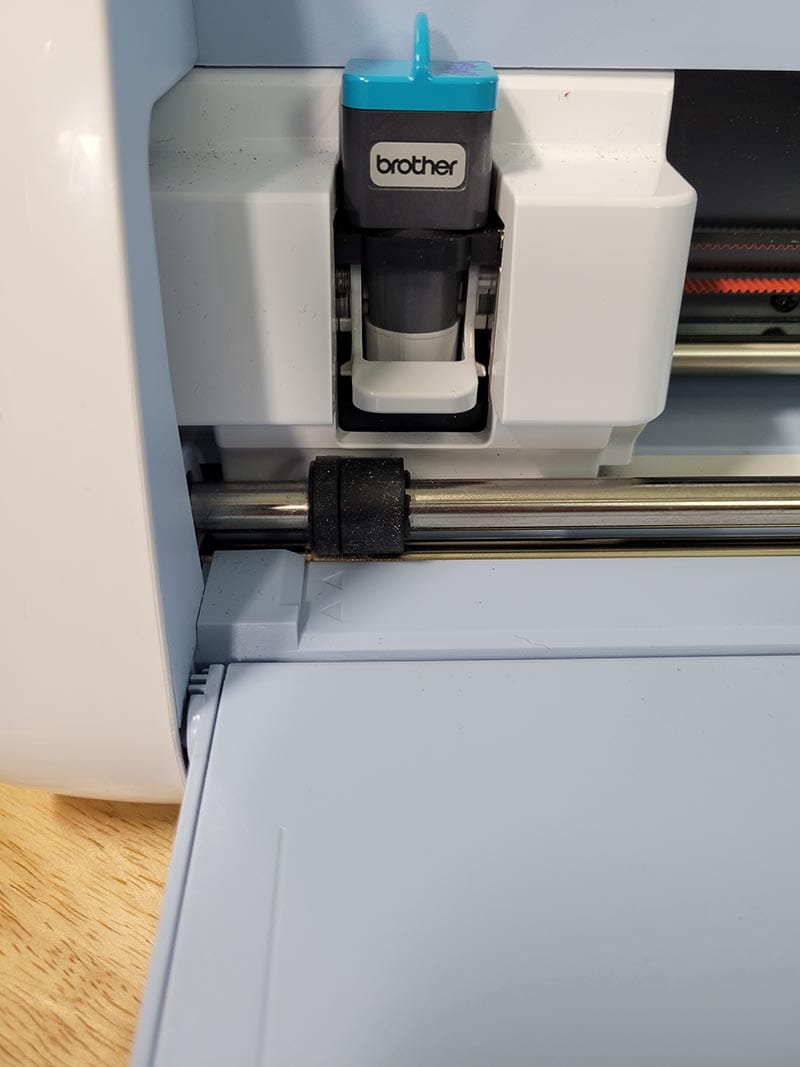
- Insert the Rotary Auto Blade into the ScanNCut and lock it into place.
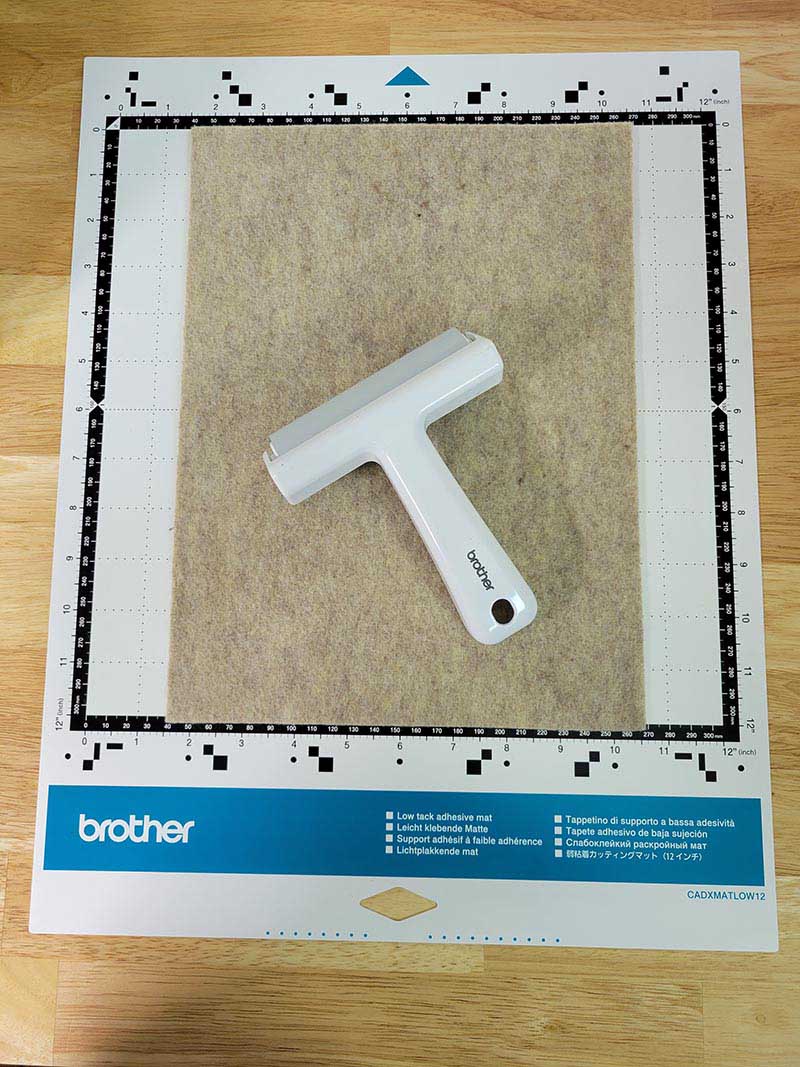
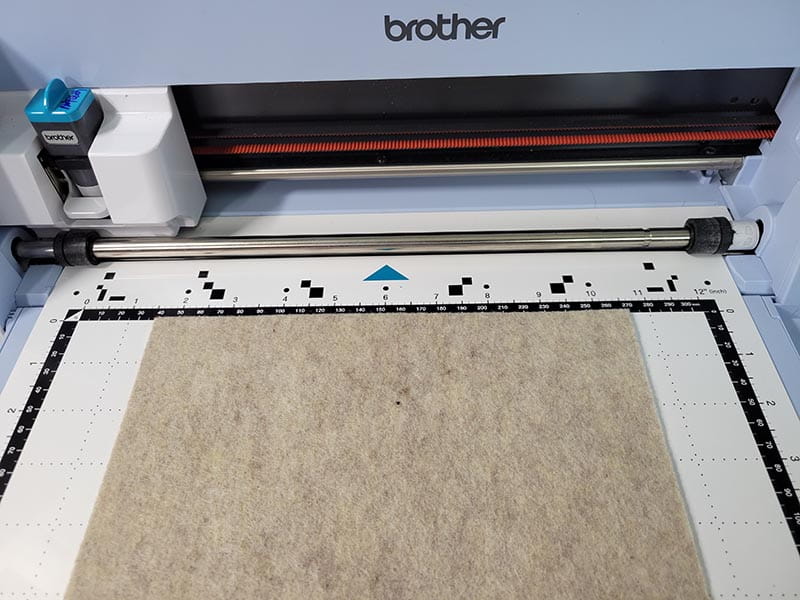
- Place the sheet of craft felt on the Low Tack Mat and use the Brother ScanNCut Brayer to ensure a good stick to the mat.
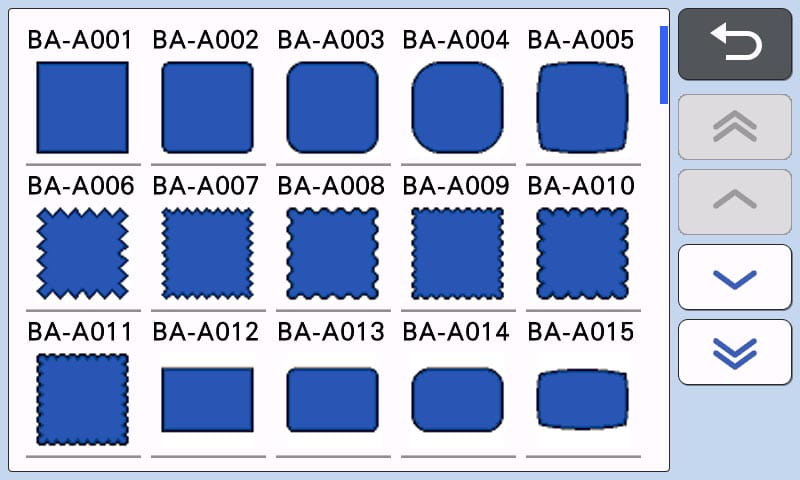
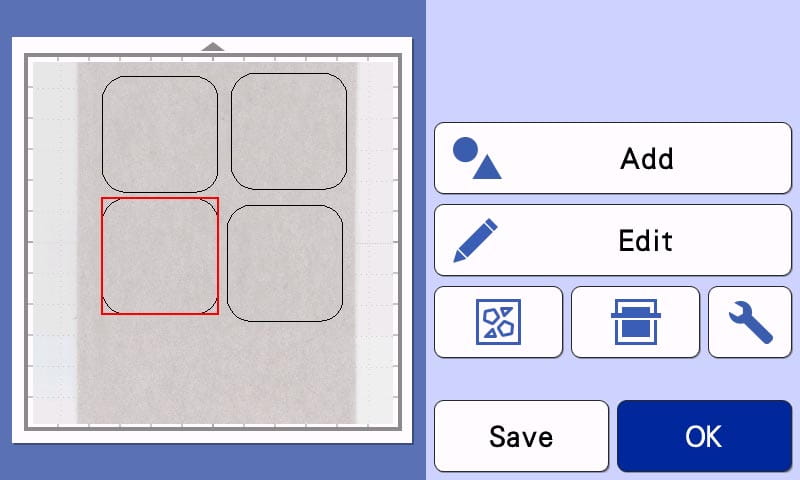
- Select Patterns.
- Choose Subcategory 1 – Shapes
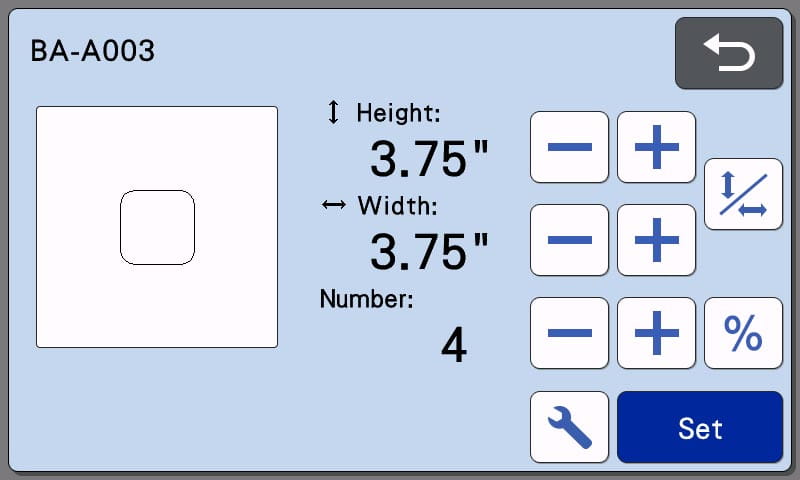
- Select Shape BA-A003.
- Using the Sizing arrows, set the shape size to 3.75” x 3.75”. Set the Number of shapes to 4. Touch Set.
- Raise the Scanner Bar on the left side of the ScanNCut to position 2.
- Insert the mat between the guides at the front of the ScanNCut.
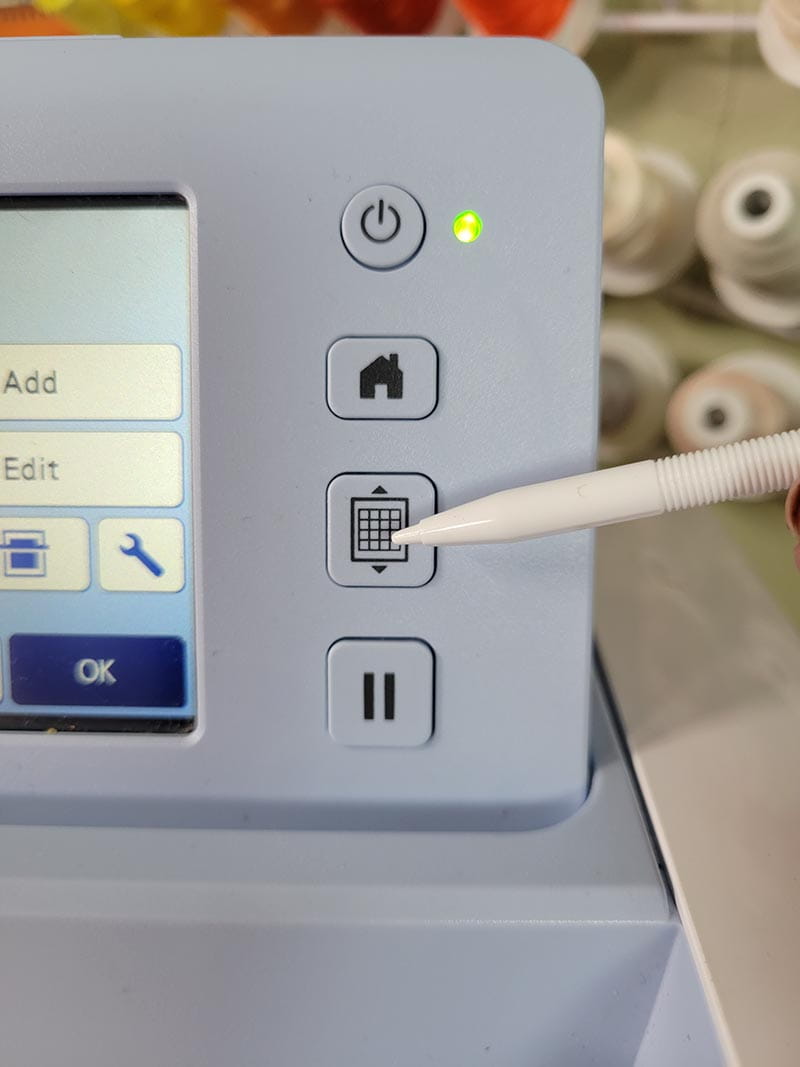
- Press the LOAD button.
- Touch Scan.
- Touch Start.
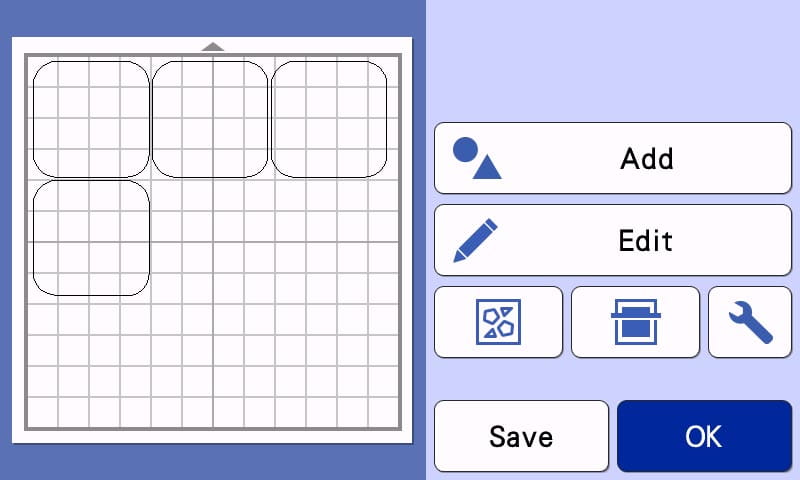
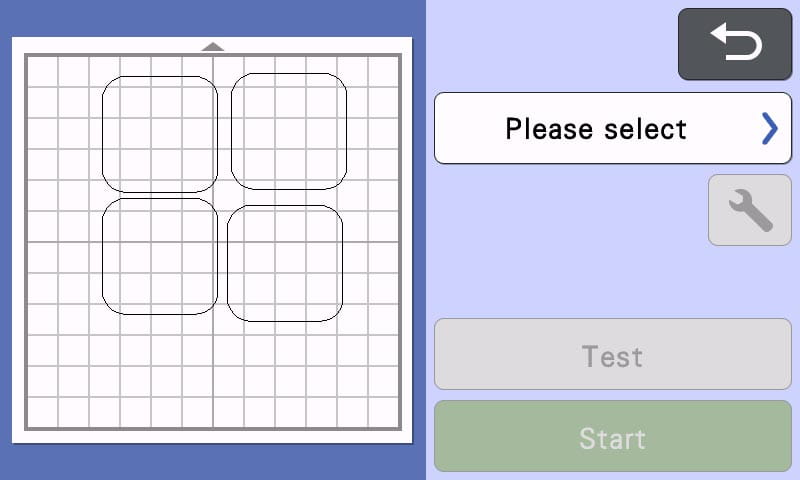
- Move the four shapes on the screen so that they fit over the felt on the mat.
- Touch OK
- Choose “Please Select.”
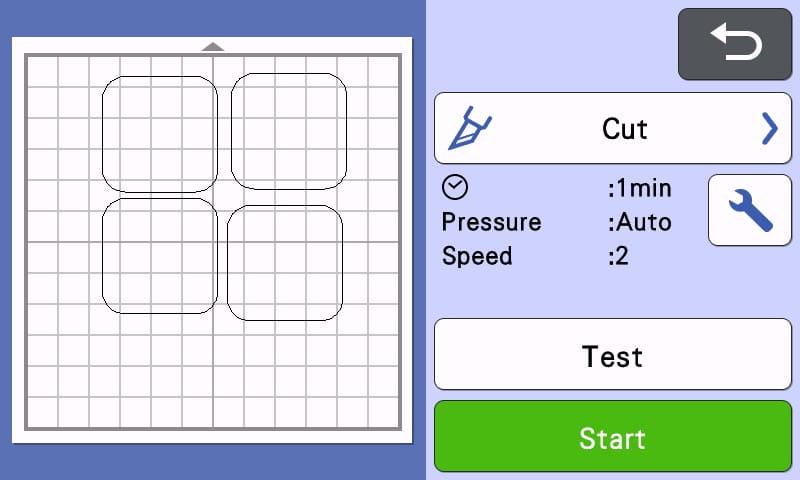
- Select “Cut.” Notice that the half cut setting is no longer on the screen. The ScanNCut knows that it cannot perform a half cut using the rotary blade, therefore it turns that function off.
- Press Start.
- Touch OK when the ScanNCut finishes cutting.
- Press the LOAD button to unload the mat.
- Press the Home button to clear the design from the screen.
- Select OK.
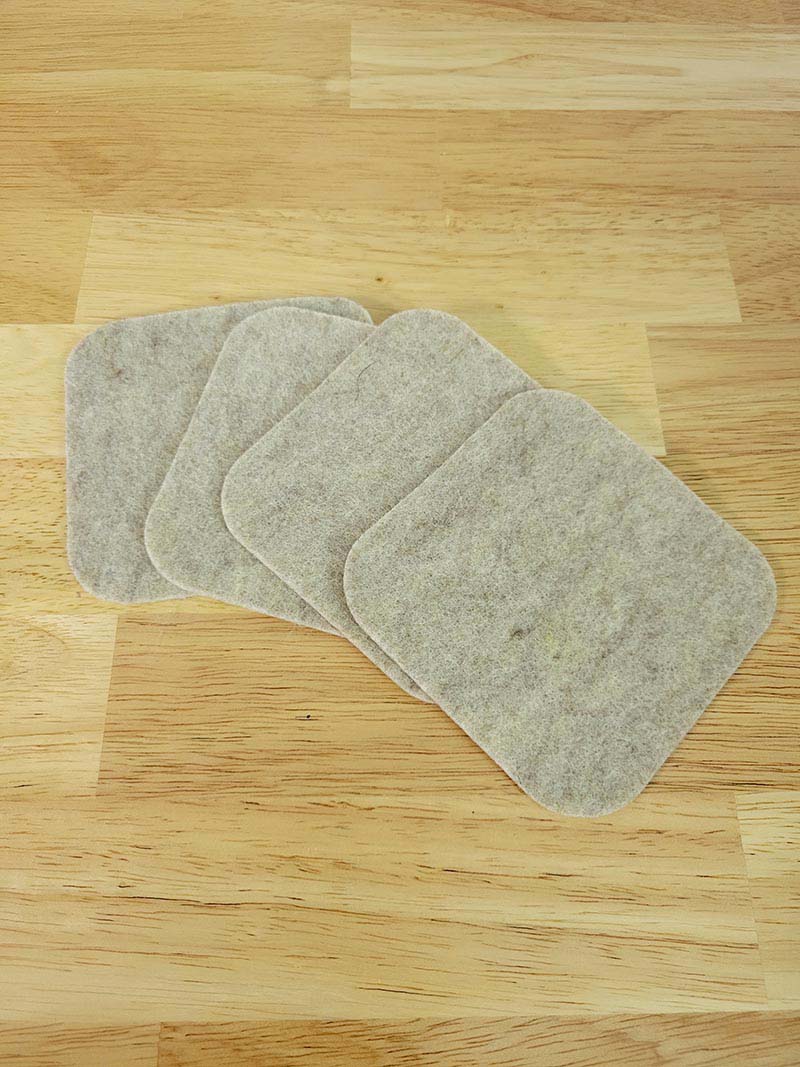
- Remove the felt shapes from the mat.
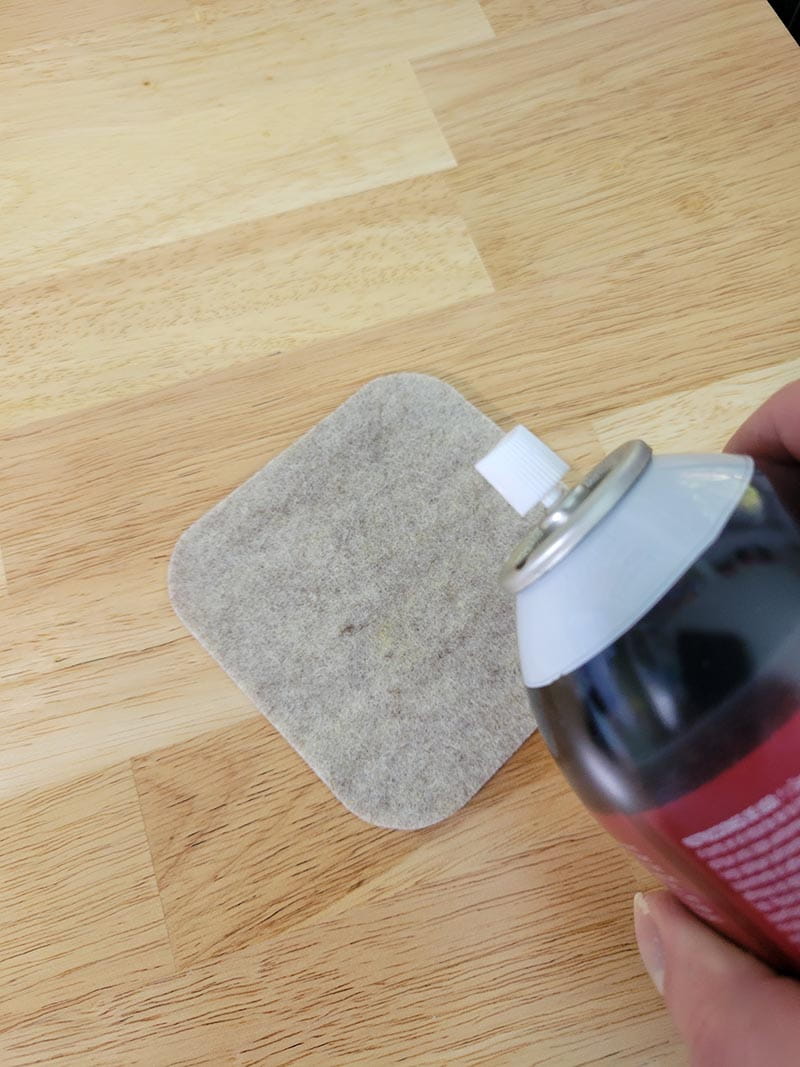
- Using the adhesive of choice, glue the felt to the bottom of the tile coaster.
- Final step: Using a foam brush, paint a clear acrylic or resin topcoat over the top of the coaster/adhesive vinyl. This will seal the vinyl to the tile.
- The coaster is COMPLETE! Repeat the above process for the remaining three coasters. Note that the felt bottoms have already been cut for them.


Related Projects
Stay Connected
* Required fields