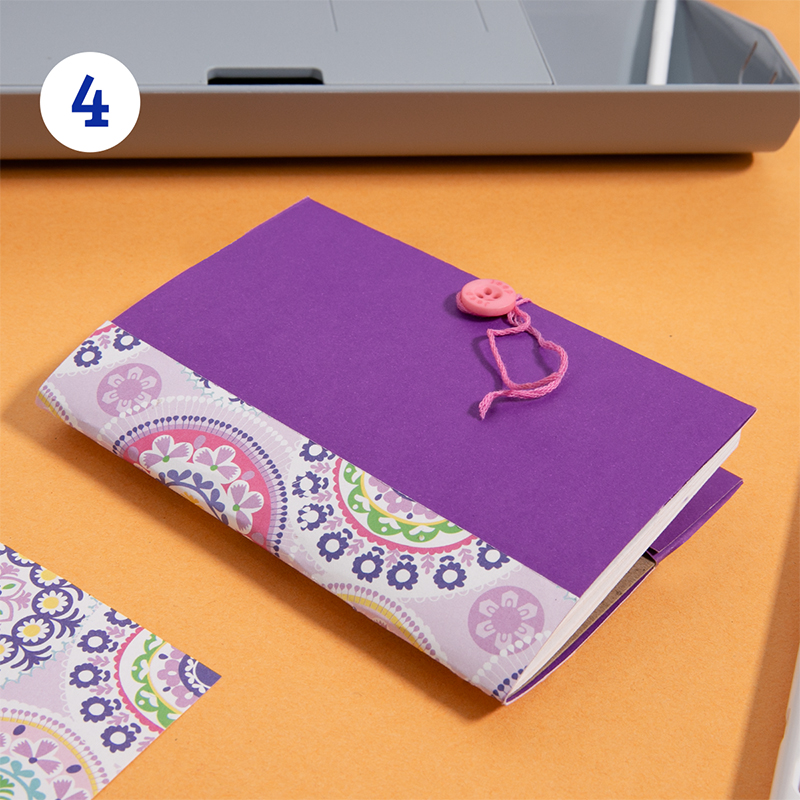
Mini Journal Cover
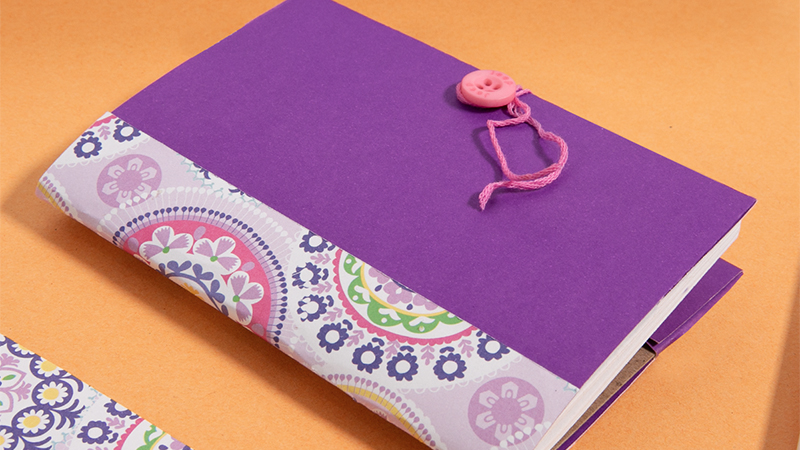
Create a unique Mini Journal for yourself or to give to friends!
Supplies: ScanNCut, FCM file, paper, decorative card stock, hot glue.
NOTE: This project is designed to fit a 3” wide by 5” tall miniature thread-bound notebook.
Load the .fcm cutting file into your machine.
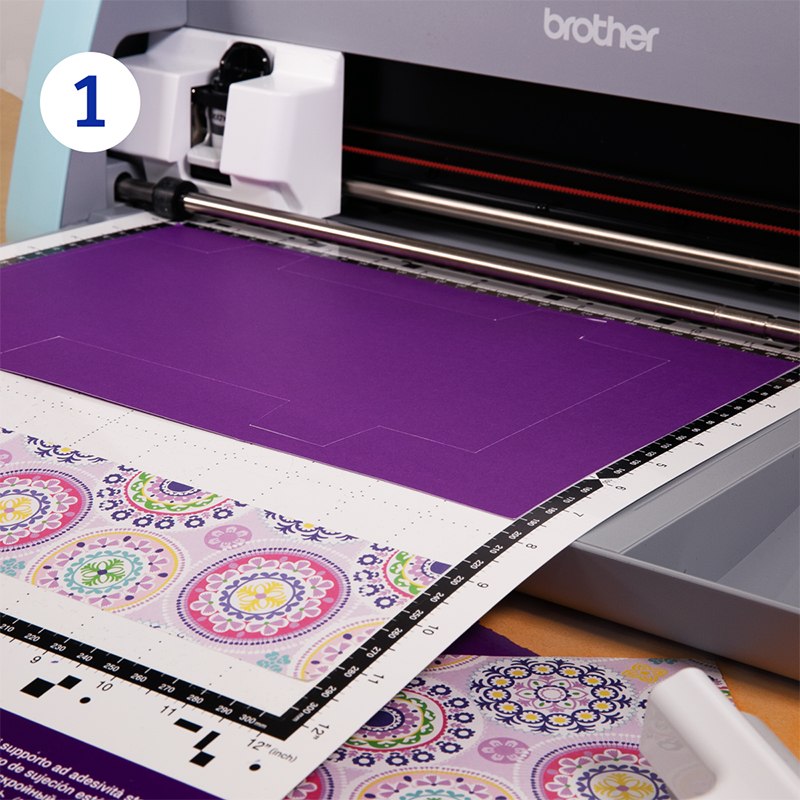
Choose 2 colors of cardstock/decorative paper that you’ll be using for the project and stick pieces of paper that are trimmed down to size onto the machine’s mat.
Use the scanning function to ensure that the paper is located on the correct area of the mat for the cutting files.
Cut the paper.
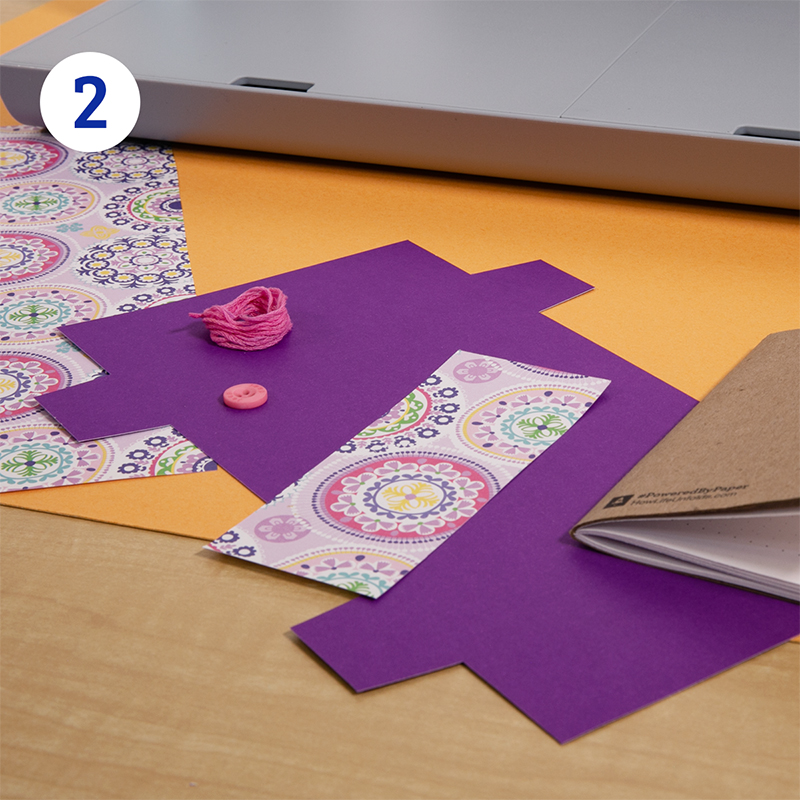
Attach the smaller cut portion (the patterned paper in the photo) to the center of the larger template, where the spine area of the notebook would be. Use a small amount of glue and make sure all parts of the paper are smoothly and firmly stuck down.
Score the folding edges of the template along the inside. (Along the red lines of this diagram: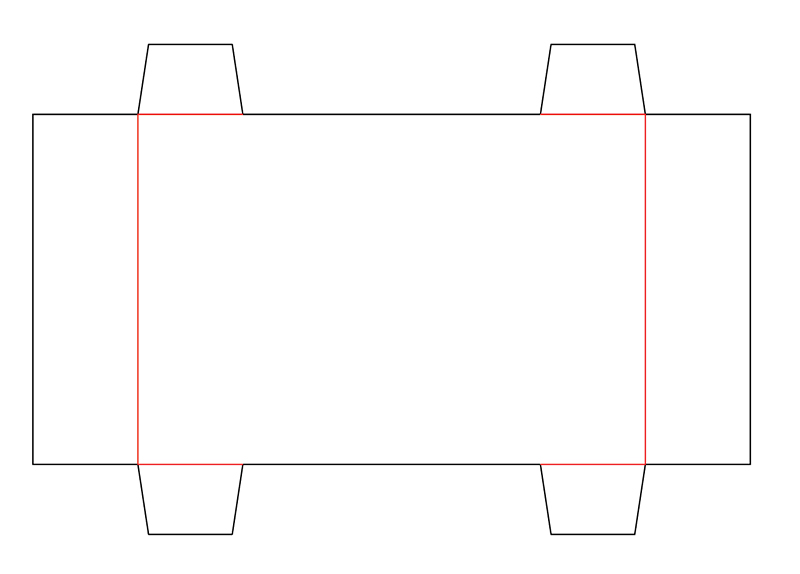
Fold the template around the journal cover, folding down the smaller flaps first. Use glue or sticky tabs to stick the flaps together and secure the cover to the notebook.
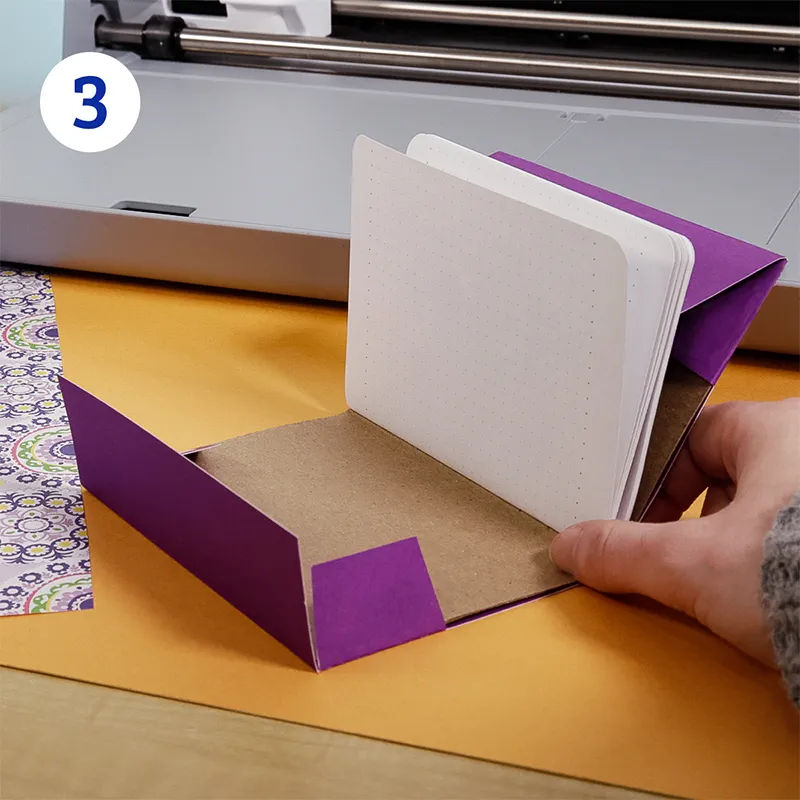
Get a button and a small amount of embroidery thread (around 6 inches). Fold the thread in half and use hot glue to stick the folded end on the inside cover of the notebook. You can tuck the thread underneath the flap of the notebook to hide it.
Hot glue the button onto the front of the notebook. When it’s dry, bring the thread around the front of the notebook, wrap the ends around the button and tie the ends to secure.
Done!
