Personalize a ScanNCut 3D Papercraft Design
Brother Crafts Blogger
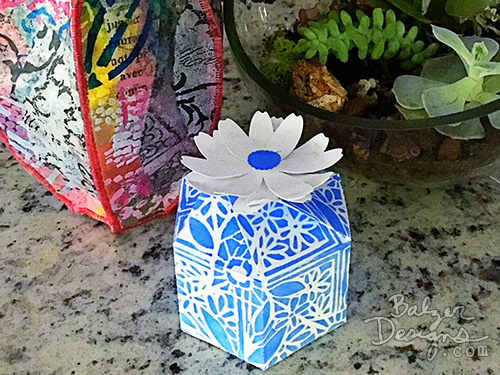
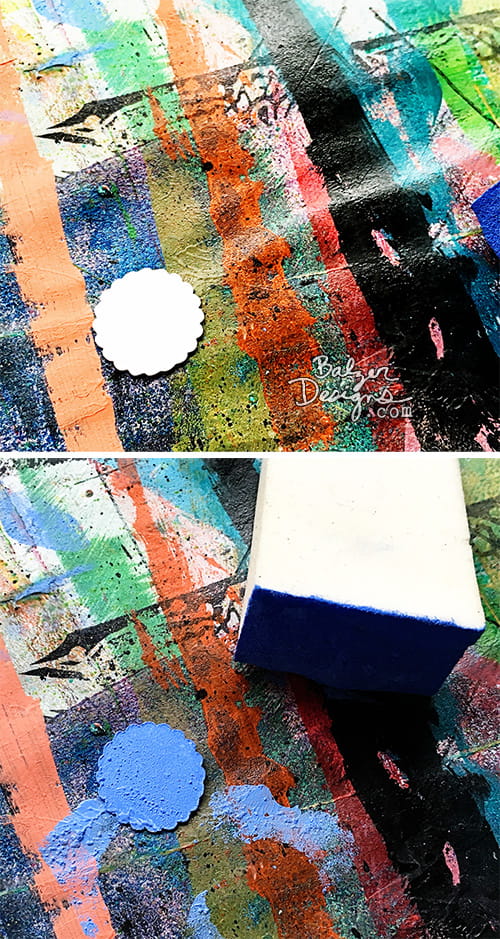
Stenciling is a quick and easy way to dress up any little gift box or favor box.

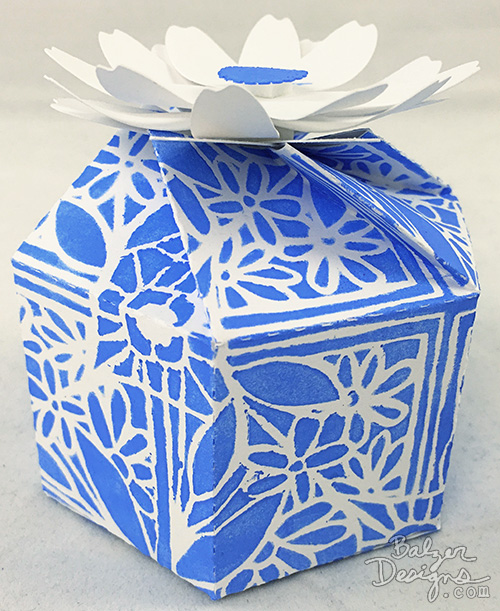
I started with a design from the Brother ScanNCut USB 4: 3D Papercraft and cut it out of plain white cardstock.
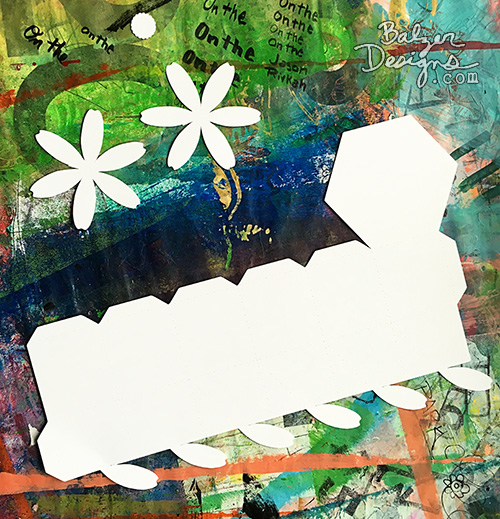
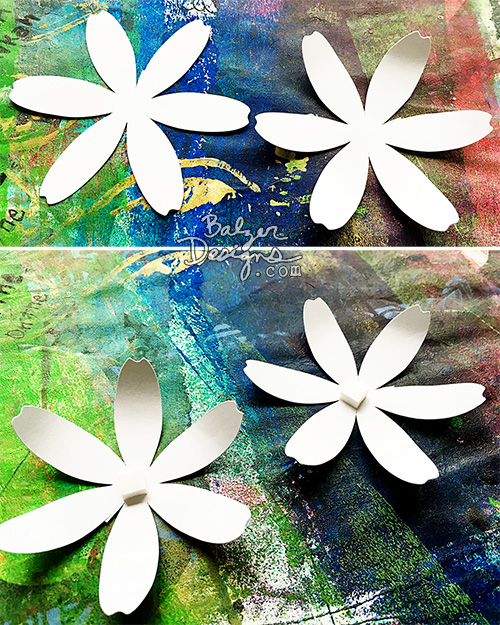
As you can see the design consists of a box, a center circle, and two flowers. I wanted to protect the “petals” on that bottom edge of the box shape from getting covered by stenciling, so I used painter’s tape to protect them.

Then it was time to stencil! (For a how to video on seamless stenciling on my YouTube channel, click here.)
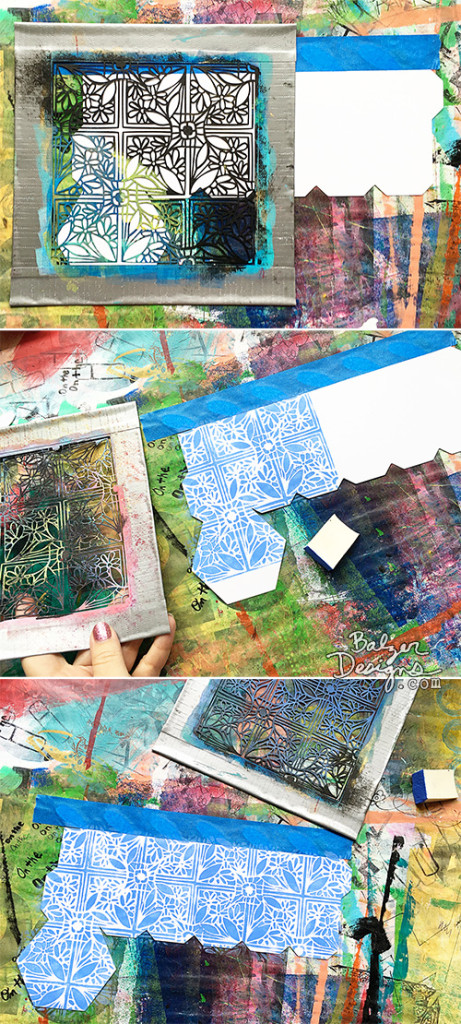
Then it was time to pull off the tape…
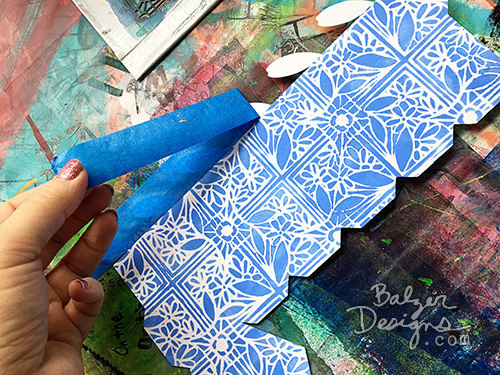
…and assemble the box:
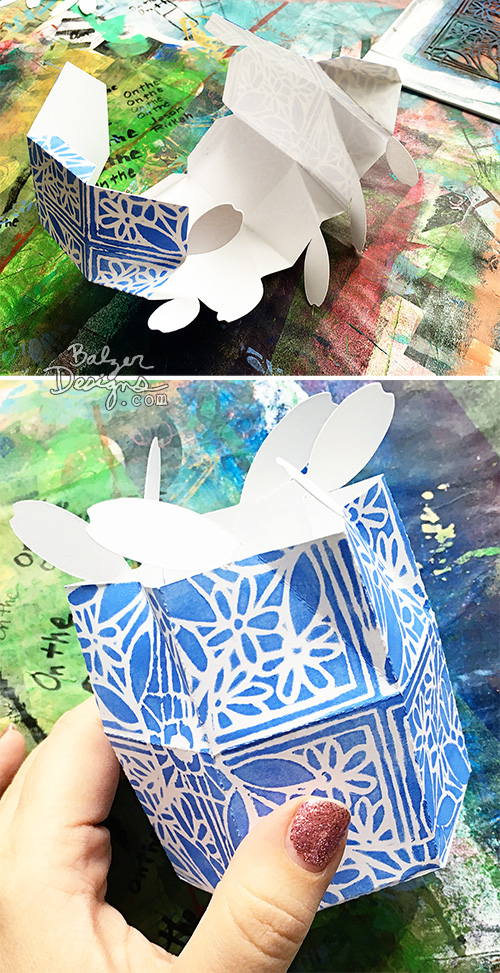
This box file is awesome because it’s all perforated for you! I simply folded on the perforation lines and brought the “petal” pieces together.
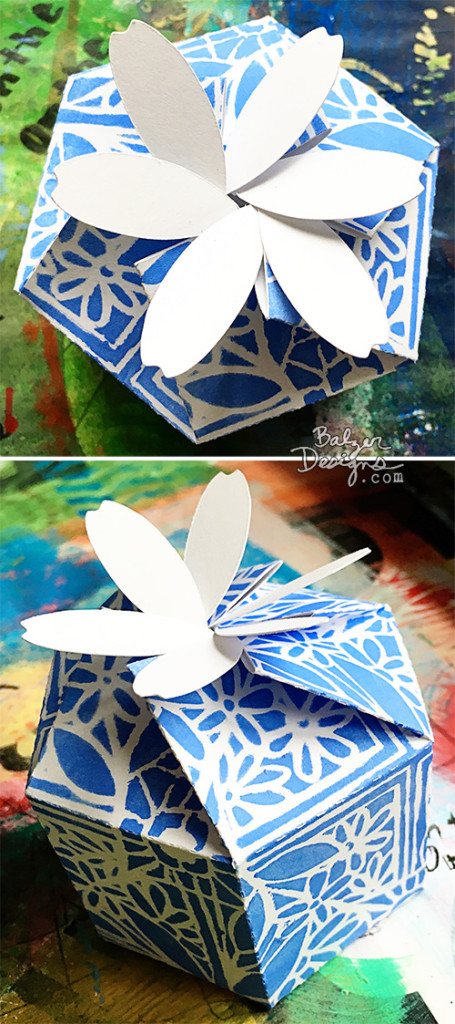
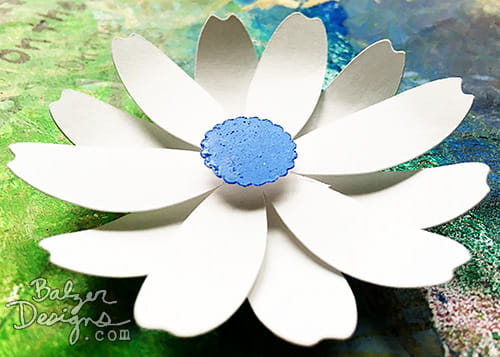
While I wanted the flower pieces to be white, I also wanted some contrast, so I painted the center bit with a cosmetic wedge sponge.
To make the flowers a little bit fancier, I curled the petals to create dimension (just roll them around a pen or marker)…
…and used foam adhesive to separate the layers and create even more dimension.
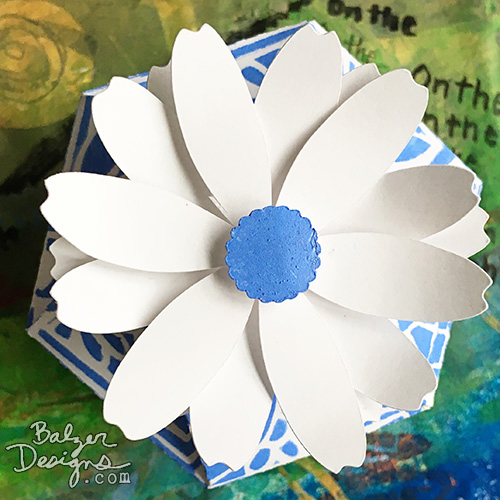
Then I stuck the flower on top of the box and voila! A beautiful stenciled favor box!
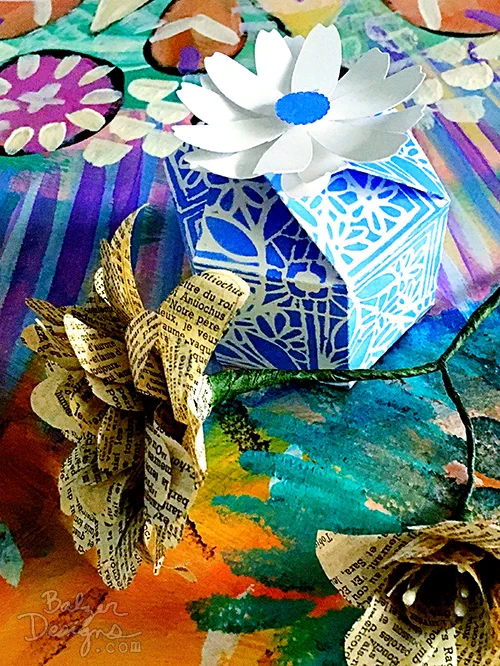
I hope you’ll give this idea a try! It’s quick and easy with beautiful results!
Talk to you next week!
Related Projects
Stay Connected
* Required fields