How To Use Your ScanNCut DX for Placing HTV on T-Shirts
-Brother Crafts Blogger
Supplies:
• ScanNCut DX
• Auto Blade
• Cardstock
• ScanNCut DX Pen Holder & Pen
• Computer with CanvasWorkspace for Mac & a wireless connection
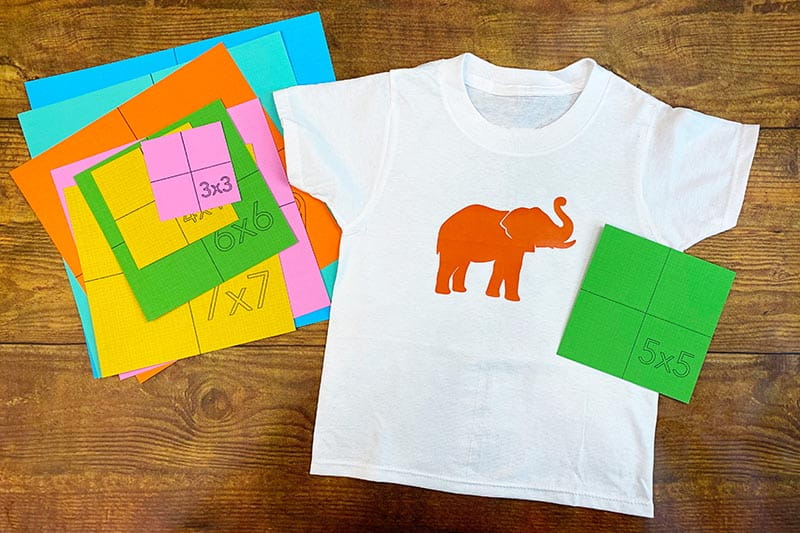
One of my favorite things to do with my ScanNCut DX is to make custom t-shirts. It’s quick and easy and they make great gifts. People are always surprised and delighted by a custom t-shirt. It’s a wonderful feeling as a gift giver.
As you may know, Heat Transfer Vinyl (HTV) is easy to cut with the ScanNCut DX (especially with the Vinyl Auto Blade). However there is one part of the process that I have messed up a few times, much to my chagrin. And the worst part of this mistake is that it really makes the whole project look bad. So here’s my true confession: I don’t always get the sizing and placement right. But the good news is that I’ve found a great solution and I’m excited to share it with you today.
Watch the video for more:
As you can see from the video, making the sizing/placement guides is fairly straight forward. A few quick notes before I go:
ONE: I made my templates multi-colored…
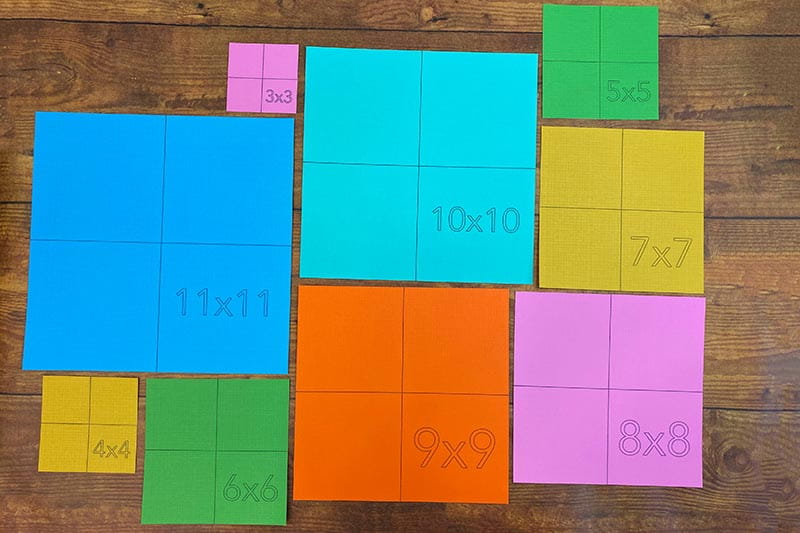
…because (a) I like color, but (b) I wanted to be able to see the templates on top of black and white t-shirts (my two most used colors of tees).
TWO: If you take one skill away from this tutorial – regardless of whether or not you’re going to do this project – I hope it’s how to switch the lines and labeling from “cut” to “draw” in CanvasWorkspace for Mac.
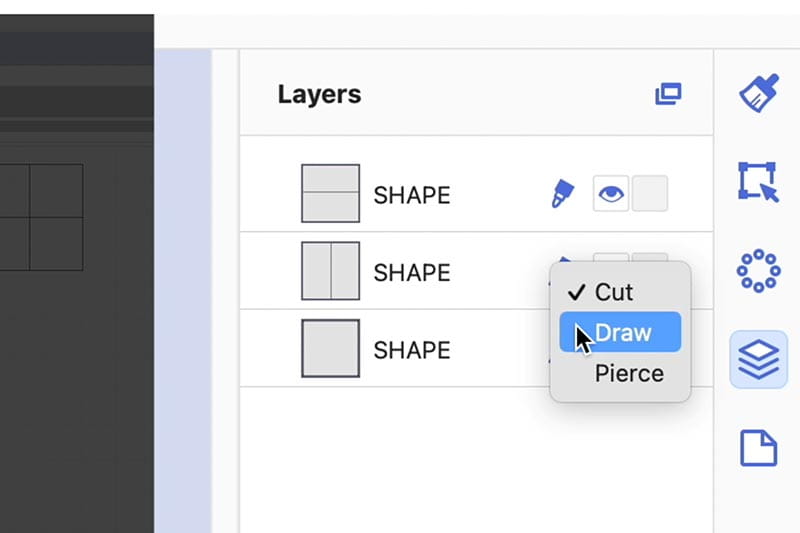
This is a really useful skill for many projects.
THREE: I used the black pen and pen holder for my drawing lines…
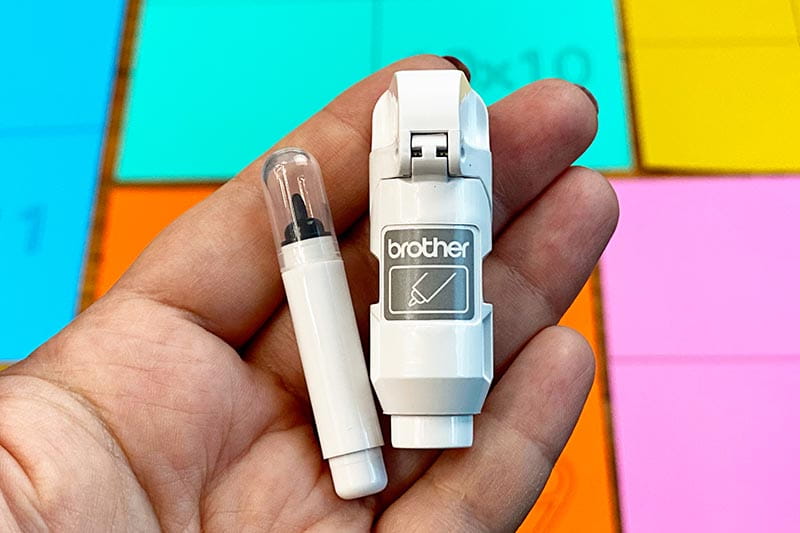
…but you could also use the Universal Pen Holder and your favorite pen. Customization is one of the hallmarks of the ScanNCut DX and so I hope you remember that you can also customize any tutorial to fit the supplies you have on hand!
I hope you’ll give this project a try!
I love that I no longer have to guess at the correct size or where to place my custom HTV designs
Tags
Shop this project
No ScanNCut? No problem! Any products mentioned in this project are available to buy here.
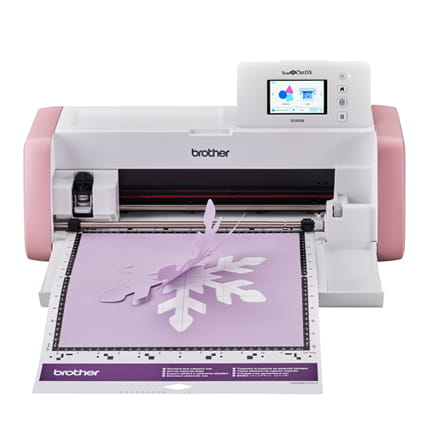
Brother ScanNCut DX
- 251 Built in Designs
- True Auto Blade, no manually adjusting blade pressure settings
- Built-in Scanner; scan in hand-drawn creations and cut them out!
Related Projects
Stay Connected
* Required fields