Brother ScanNCut DX & Machine Embroidery: How To Turn A Drawing Into A Fabric Applique
-Brother Crafts Blogger
Supplies:
• ScanNCut DX
• Fabric Dedicated Auto Blade
• Scanning Mat
• Fabric Mat
• PC with Simply Applique software
• Brother Embroidery Sewing Machine
• USB Thumb Drive
• Fabric with both Fusible Web & a Strong Starch
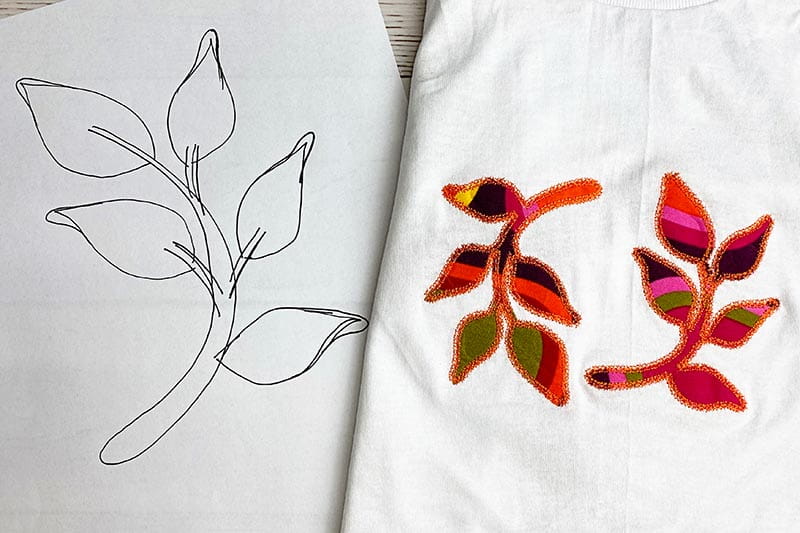
What a transformation!
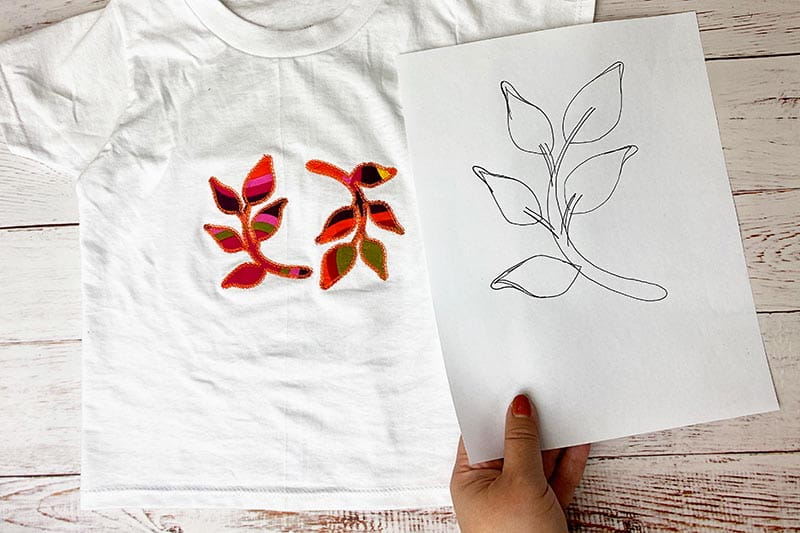
The magic of the Brother ScanNCut DX is in its name: SCAN. The ScanNCut DX is the first and only home & hobby cutter with a built-in scanner. That scanner makes using your own designs so very easy! In this video I’m sharing a technique that anyone who does machine applique will love. It’s all about how to take a drawing and turn it into both an FCM file to cut with the ScanNCut DX as well as a PES file to stitch with. It all starts with the scanner. You can watch the video for all the details:
This video contains tons of vital ScanNCut DX skills. Here’s a quick review:
• A Scanning Mat is a great investment. You buy it just once and use it over and over again. Because it’s non-adhesive, it never wears out. It also makes for the cleanest scans, in my opinion.
• For the most detailed cuts, I recommend pre-treating your fabric with an aggressive fabric starch and then adding fusible later, if you wish. Remember, to work with the ScanNCut DX, it has to be a heat activated fusible web. It can’t be a sticky back fusible web.
• An alternative to fusible web when doing machine applique, is using a water-soluble glue stick.
• Not everybody cuts fabric the same way and you should test what works best for you, but for me, I have always used a super sticky mat, like the Fabric Mat, and cut my fabric with the fusible web side up.
• Mirror imaging is a vital skill to master, especially if like to work with Heat Transfer Vinyl (HTV).
• Background scan is another great way that the built-in scanner makes your life easier. You can see what you’ve put on the mat and exactly where it is.
• Simply Applique is for PCs only. Unfortunately, I do not know of a similar program for Mac.
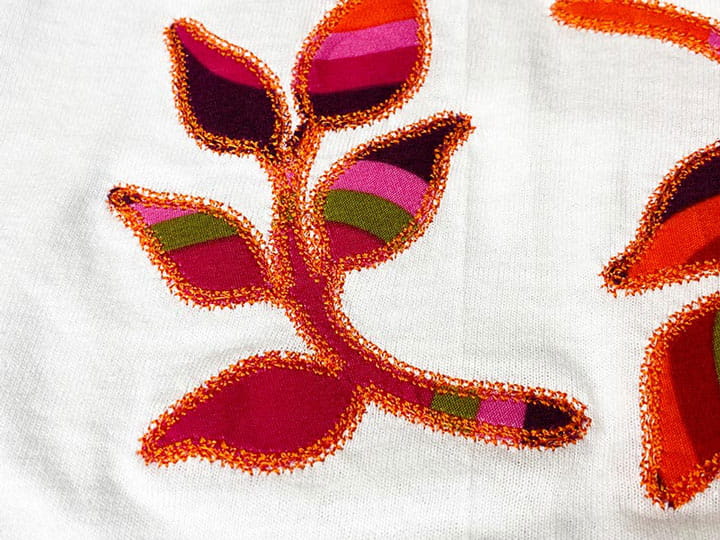
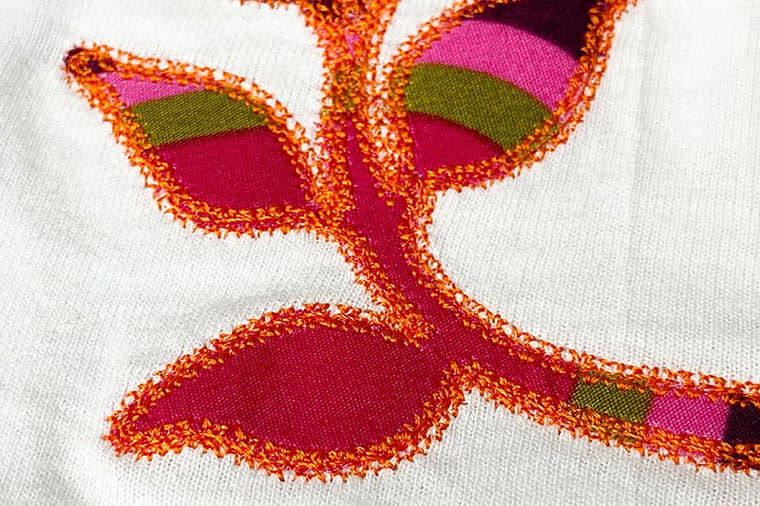
Here are a few more detailed photos of this beautiful project.
I hope you’ll give this technique a try!

Tags
Shop this Project
No ScanNCut DX? No problem! Any products mentioned in this project are available to buy here.
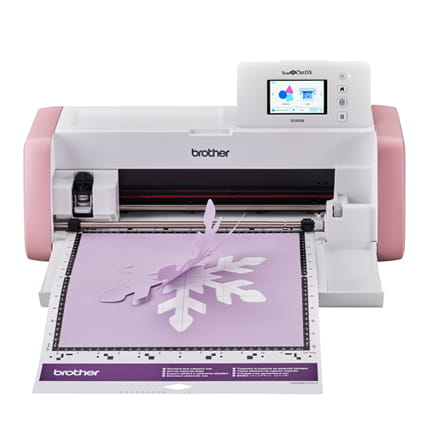
Brother ScanNCut DX
- 251 Built in Designs
- True Auto Blade, no manually adjusting blade pressure settings
- Built-in Scanner; scan in hand-drawn creations and cut them out!
Related Projects
Stay Connected
* Required fields