Creating A Family Canvas
Brother Crafts Blogger

Vinyl artwork acts as a great way to add a custom look to your home, but don’t let vinyl be limited to your walls! For this project, we’re showing you how we added beautiful vinyl cutouts to a simple blue canvas.
What’s great about the ScanNCut machine is that you aren’t limited to cutting from only the built-in designs. With the assistance of the 300dpi built-in scanner, you can scan in virtually any design you’d like to have cut out by the machine.
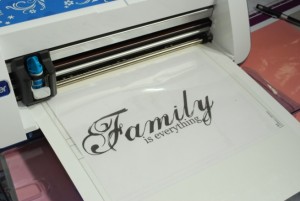
We decided to go with a combination of a script font and a plain font that we came across in Microsoft Word. The combination of these two lettering styles allows for a great balance between the elements. Then, we scanned the printed words into the ScanNCut machine to create a one-of-a-kind cut file.
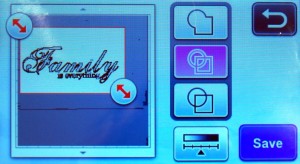
As always, we recommend testing your material before you start to cut out your designs, especially when working with a material such as vinyl. It’s best to do so at the bottom corner of your material, so that the test cut will not interfere with your design. Start with a low blade depth and work your way up from there. You will also want to check to make sure that your test cut does not cut through the backing of your vinyl- or even your cutting mat. Once you have your blade ready to go, you simply need to load in your design and press cut. It’s that simple!
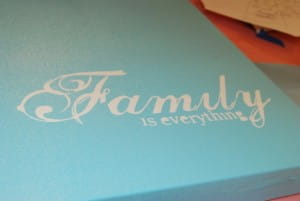
Did you ever think that vinyl could work well on more than just walls? Tell us other unique ways you've used vinyl in the past! Don’t forget to visit our project page to download step-by-step instructions on how to create your very own family canvas.
Related Projects
Stay Connected
* Required fields