Create A Papel Picado with ScanNCut
Brother Crafts Blogger
If you're a last minute decorator, like me, I have a quick and easy project you can have ready in less than an hour!
I have always loved papel picado. Those beautiful brightly colored cut paper banners fluttering in the air. If you’re not familiar with papel picado, it’s a form of Mexican folk art where tissue paper is cut into lacy banners using small chisels. The term “papel picado” roughly translates to “pecked paper.”
I knew that I wanted to use the same rectangle format as papel picado to create a pretty banner. However, I wanted to create a more linear finished design that had a more modern feel.
Cutting all those flags by hand seemed like it could be fun, but time consuming. I wanted fast. Remember, I'm a last minute kind of gal! So, I designed a cut file for my ScanNCut machine. You can see it here in ScanNCutCanvas (Brother's free online editing program):
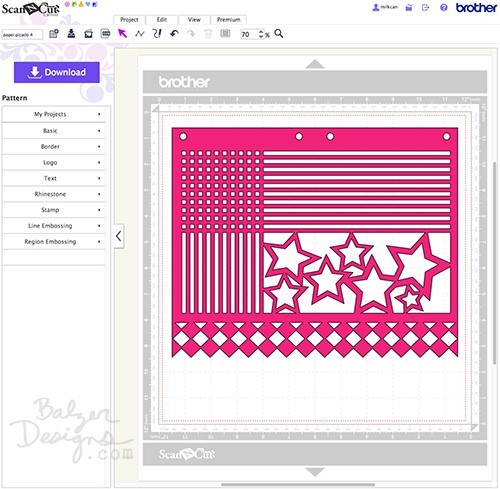
It was pretty easy to do. I simply started with a rectangle and then added and subtracted bits as I needed. Watch my video on Process Overlap (previously approved, link to brother youtube)to learn how to weld and subtract images.
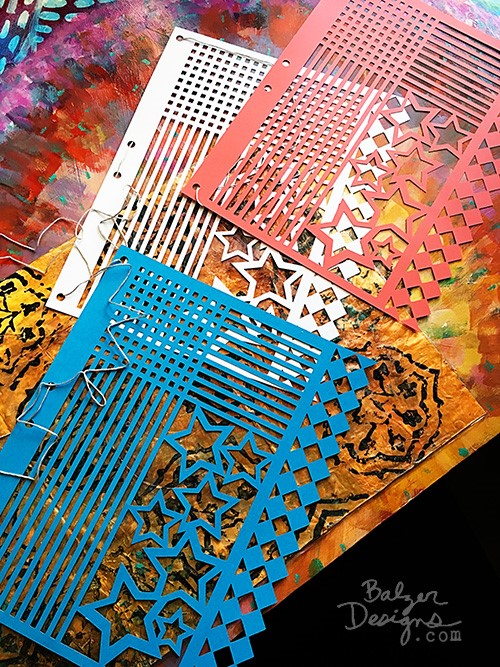
I used my ScanNCut machine to cut the pattern 5 times. For ease of workflow, I used two mats and while one was cutting, I was cleaning and prepping the other mat (it takes about 6 minutes for each of these flags to cut). After that I strung the paper cuts together on a piece of embroidery floss.
Then I hung my fabulous new banner in the window!
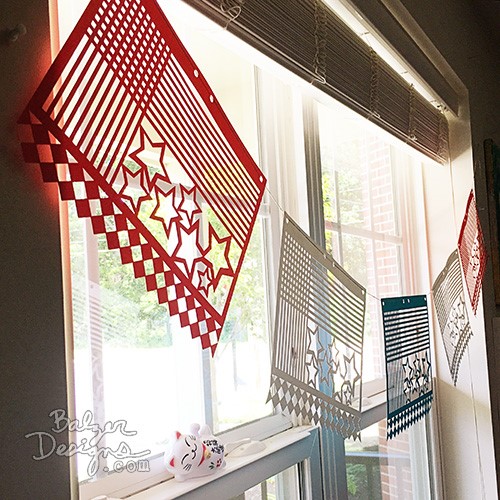

Even without color, that lacy paper looks so fantastic against the window:
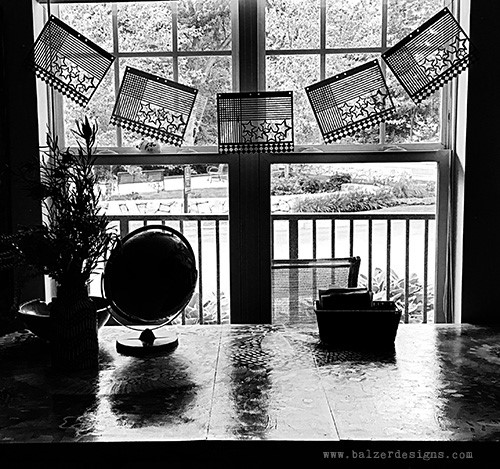
I love it! I think this banner looks awesome and says celebration!
If you'd like to make your own, you can download the .fcm file for FREE, right HERE.
Talk to you next week!
Related Projects
Stay Connected
* Required fields