Create Stencils for Cookie Decorating with ScanNCut
Brother Crafts Blogger

Julie Fei-Fan Balzer, crafting expert and host of the PBS Series Scrapbook Soup, is a paid consultant of Brother ScanNCut USA.
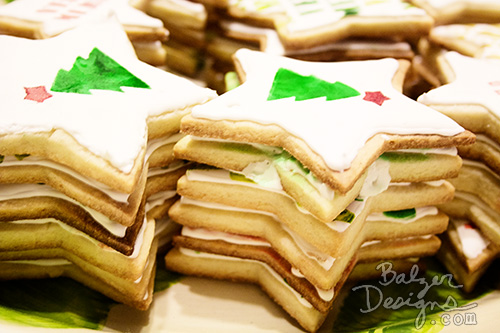
I recently made a batch of homemade cookies for the holidays. And I used my ScanNCut to make them beautiful! This is an idea that would work for any occasion – birthday, anniversary, Easter, baby shower, etc.
STEP ONE: Bake the Cookies
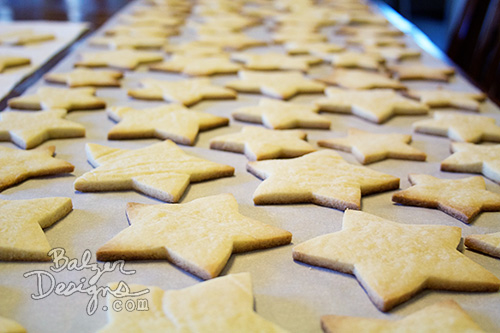
I used two sizes of star cookie cutters (use cookie cutters – please don’t put food into your ScanNCut) to create a little variety.
STEP TWO: Frost the Cookies
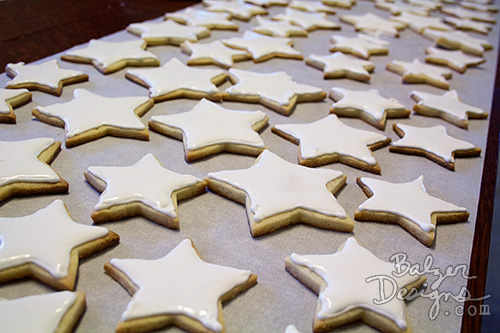
Otherwise known as Adventures in Royal Icing! Essentially, you pipe around the outside of the cookies…

…and then flood the interior with a thinner version of the same icing:

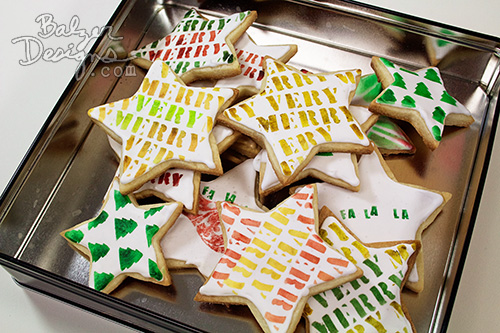
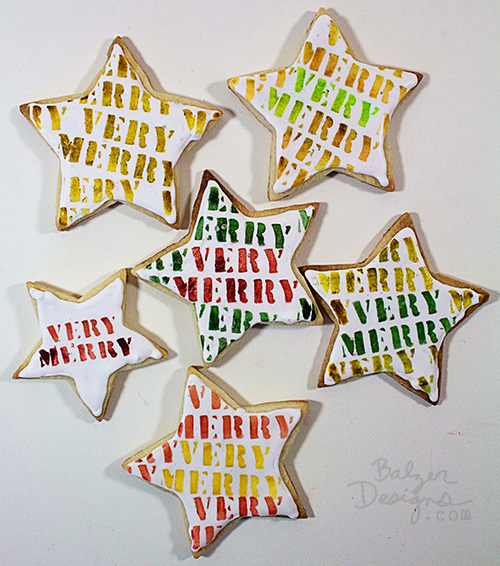
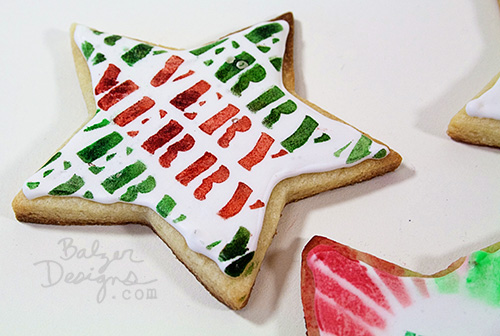
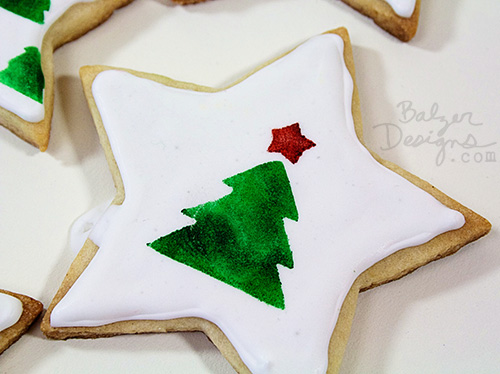
STEP THREE: Decorate the Cookies
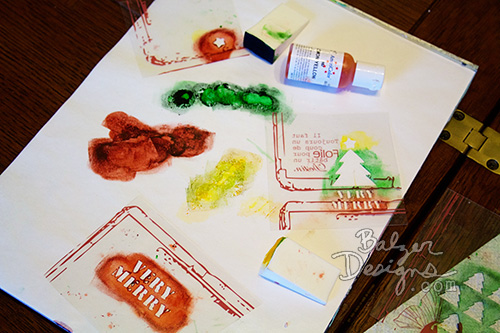
Let the Royal Icing dry overnight. To begin decorating you will need gel food coloring, cosmetic wedge sponges, and clean-never-before-used stencils. When working with food it’s really important to use supplies that haven’t been used for crafty projects. Brand new stencils are easy to create with your ScanNCut!
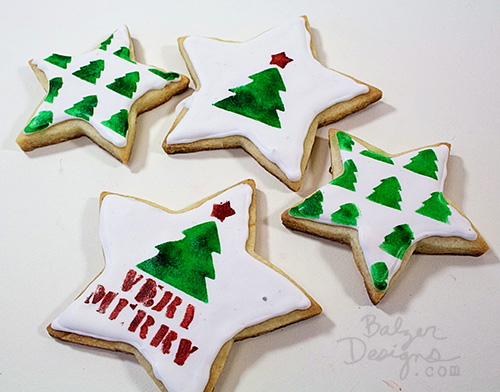
I cut mine out of a transparency. You can use stencil plastic, or even paper!
Here’s a video all about cutting stencils:
I had lots of fun creating colorful cookies!
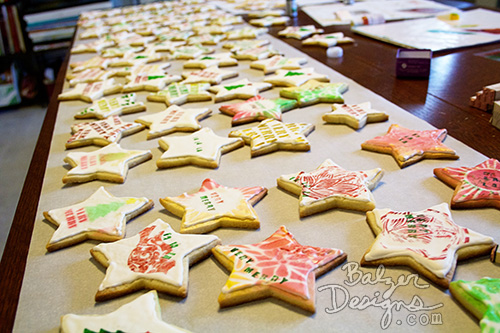

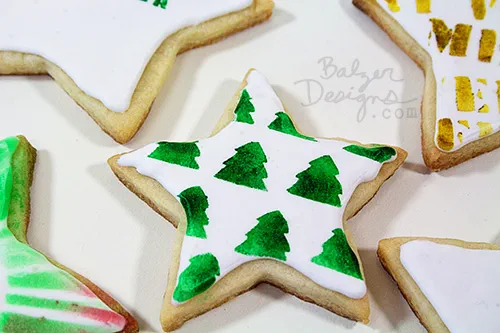
I had a lot of fun during this cookie decorating adventure. And my ScanNCut made it super easy to customize the cookies! I hope you’ll give this project a try!
Talk to you next week!
Related Projects
Stay Connected
Follow Us
Brother Support
Corporate Information
Partnership Opportunities
About This Website
