Customized Spring Plant Accessories

Bring some nature into your home and with few upcycled succulent planters, vinyl pot labels, and some Leaf sprig garland.
You will need:
Upcycled Succulent Planters
- Aluminum Cans, Stencil sheets, ScanNCut, Auto Blade, heavy-body acrylic paint in assorted colors, resin or acrylic sealer, paintbrush + palette, can opener, potting soil, tiny succulents
- Planter Stencils.fcm
- Pot/planter of your choice w/ desired cacti or succulents, Vinyl in color of your choice, ScanNCut, Auto Blade, Roll Feeder, Transfer sheets
- Vinyl Pot Labels.fcm
Leaf Sprig Garland
Steps:
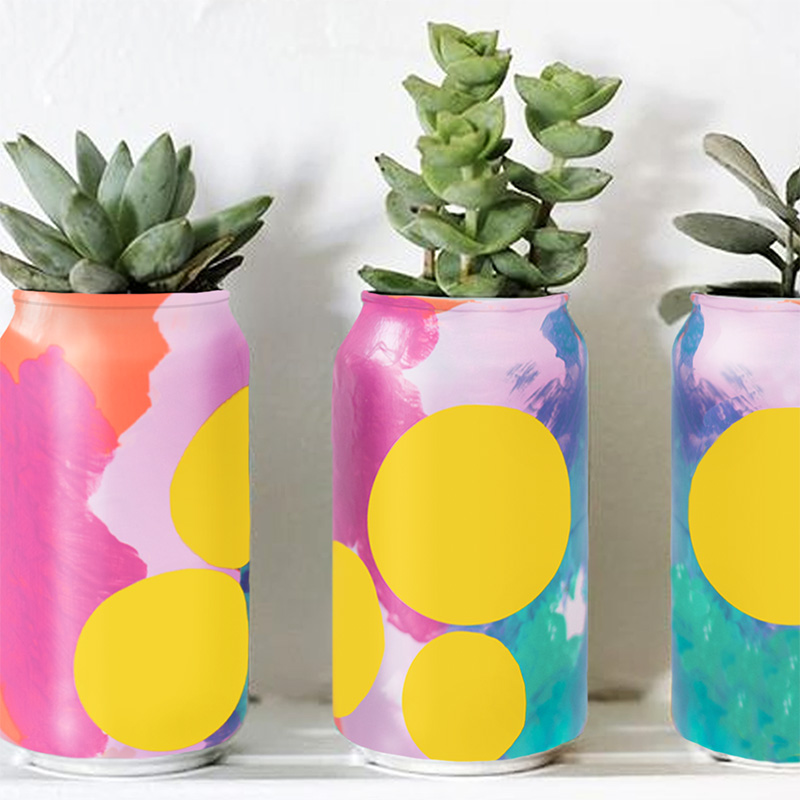
Upcycled Succulent Planters
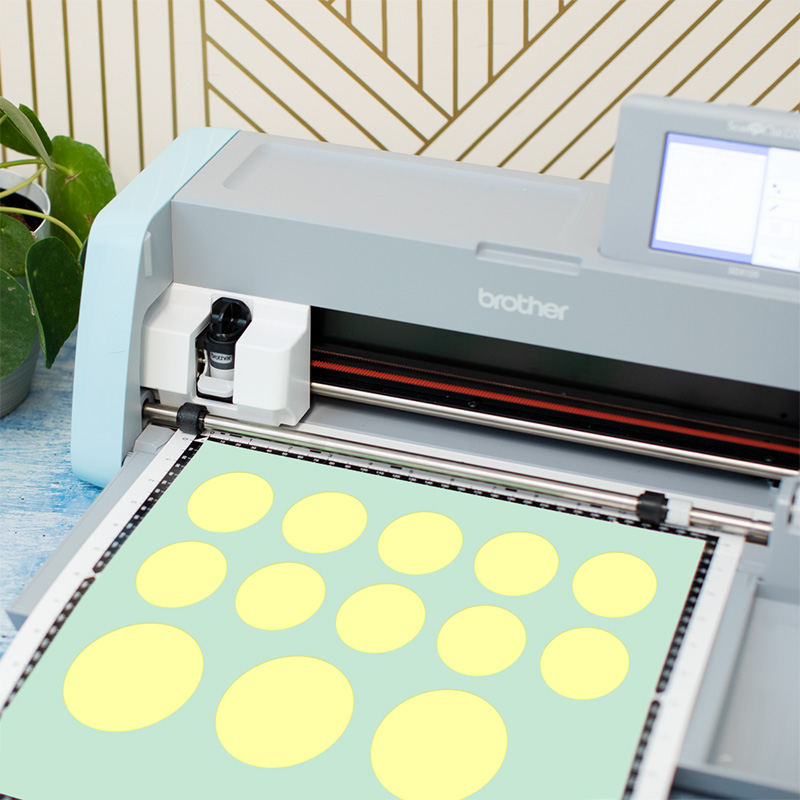
1.Download “Planter Stencils.fcm” to your machine.
2.Load a Standard Mat with a Stencil Sheet, with the green shiny side facing up.
3. Set the cut settings to Half-Cut.
4. Cut out the pattern. Remove from the mat and set aside.
5. Now, prepare your aluminum cans. Use a can opener to carefully remove the top from each can (so that it can be used as a planter).
6. Paint each can with a base layer color of your choice. We used a bright yellow.
7. Apply 3-4 layers of paint, letting each layer dry thoroughly.
8. Once the last layer is completely dry, apply a layer of clear sealer. Let dry completely (if you use a resin sealer you may need to wait a full 24 hours). If you think it’s needed, add a second layer, repeating the drying process.
9. Peel the round stencils off of the sheet, and begin to place them on the cans in a pattern that you like. Smooth out to make sure there are no bubbles.
10. Use a paintbrush and acrylic paint colors of your choice to apply color. Get creative! We used painterly strokes and layered colors over and around the stencils.
11. Paint 2nd and 3rd layers of color as needed to make sure the colors are opaque.
12. Once the paint is completely dry, carefully peel away the stencil sheets.
13. Use potting soil, water, and a little TLC to get your succulents potted in their new homes.
14. Done!
Vinyl Pot Labels
1. Download “Vinyl Pot Labels.fcm” to your machine.
2. Load the Roll Feeder with your choice of vinyl.
3. Cut out the designs using the Auto Blade.
4. Carefully trim and weed away all excess vinyl.
5. Use a Transfer Sheet to transfer each design to your pots. Smooth out any air bubbles.
6. You’re done!
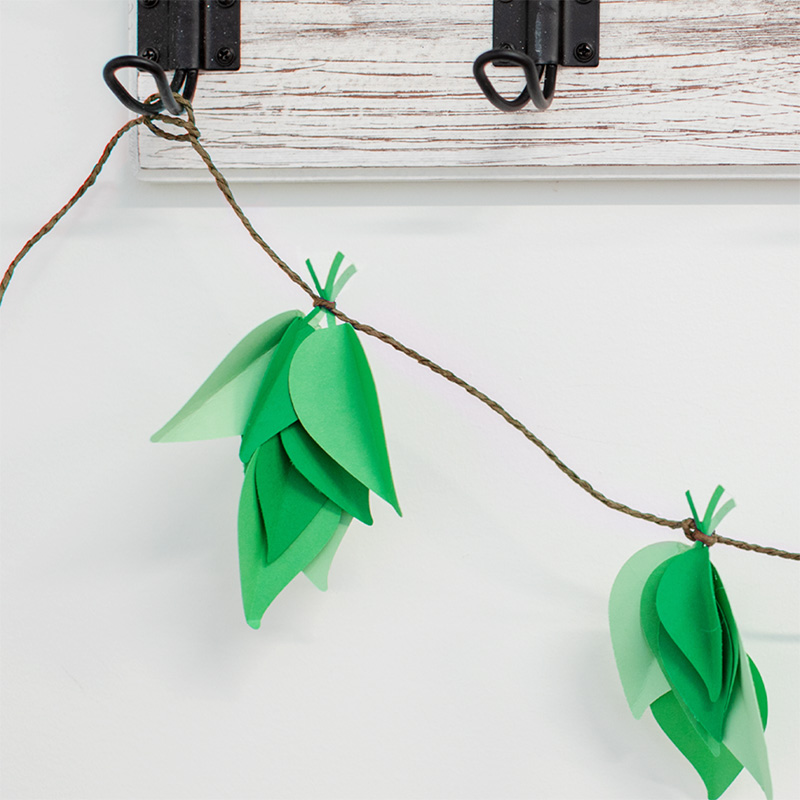
Leaf Sprig Garland
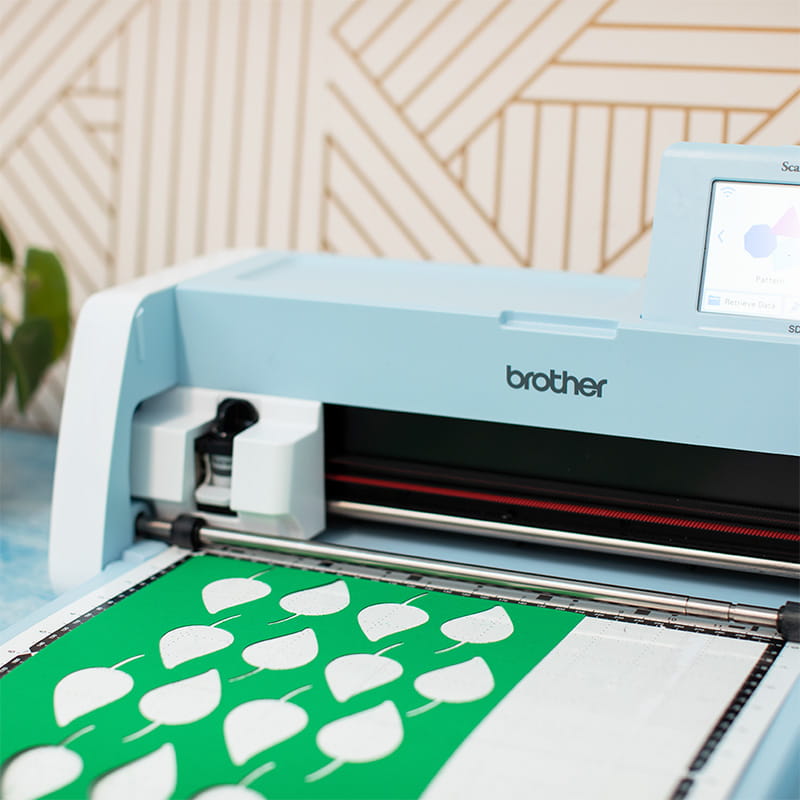
1. Download “Leaves 1.fcm” to your machine.
2. Load a Low-Tack mat with the green paper of your choice.
3. Cut out the leaf shapes and set aside.
4. Repeat steps 2-3 with additional shades of green if desired.
5. Download “Leaves 2.fcm” to your machine.
6. Load a Low-Tack mat with the green paper of your choice.
7. Cut out the leaf shapes and set aside.
8. Repeat steps 6-7 with additional shades of green if desired.
9. Next, take all leaf shapes and use a scoring tool to score a line down the center of each.
10. Fold slightly along the line to make the leaves look more 3D.
11. Next, begin layering the leaves to create the bunches. Use hot glue to stick the tops of the leaves together, layering smaller leaves on top of larger ones. Angle the leaves in different directions to make each sprig look fluffy and full.
12. Repeat for each sprig until you have the number that you desire (8 is a good starting point for a medium-sized garland).
13. Finally, attach the sprigs to the twine to create the garland. We made sure the sprigs were evenly spaced along the length of the twine, then knotted the twine around the top leaf stems. Use an extra bead of hot glue to secure if necessary.
14. You’re done!
Related Projects
Stay Connected
* Required fields