Mardi Gras Crafts: Fleur de Lis Earrings & Thermoplastic Mardi Gras Mask
For the Fleur-de-Lis Earrings, you will need:
- Metallic faux leather, Standard Mat, High-Tack Fabric Support sheet, Earring hooks, small jump rings, jewelry pliers, ScanNCut DX
- Earrings.fcm
For the Thermoplastic Mardi Gras Mask, you will need:
- Thermoplastic sheeting (large roll, to accommodate at least 2 12” x 12” cut sheets of material), hair dryer or heat gun, hot glue, paint in colors of your choice, paintbrush, ScanNCut DX, Auto Blade, Standard Mat, High-Tack Fabric Support Sheet (optional)
- Mardi Gras Feathers.fcm
- Mardi Gras Mask.fcm
Steps for the Fleur-de-Lis Earrings:
1. Download “Earrings.fcm” to your machine.
2. Load the Standard Mat with the metallic faux leather of your choice. Use the High-Tack Fabric Support sheet to ensure the leather sticks properly to the mat.
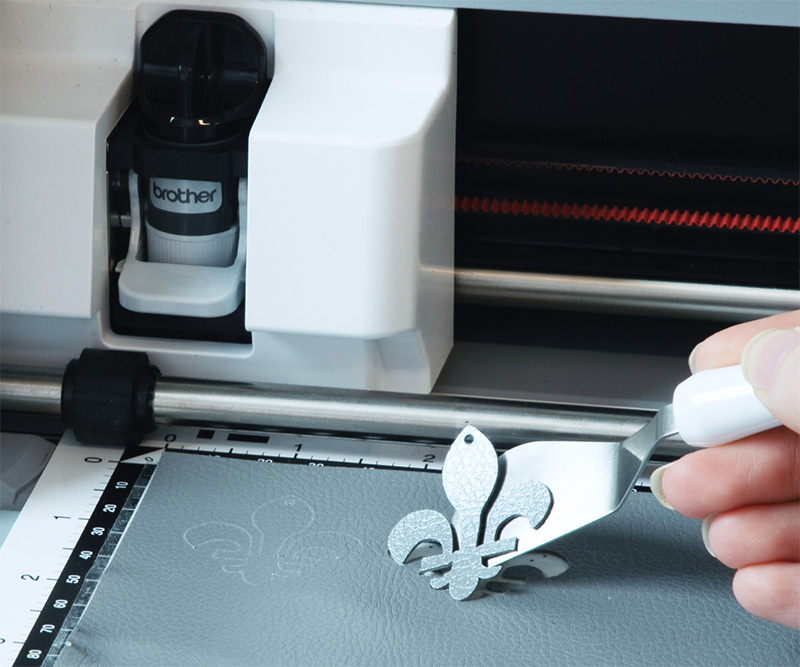
3. Cut out the designs and carefully remove from the mat.
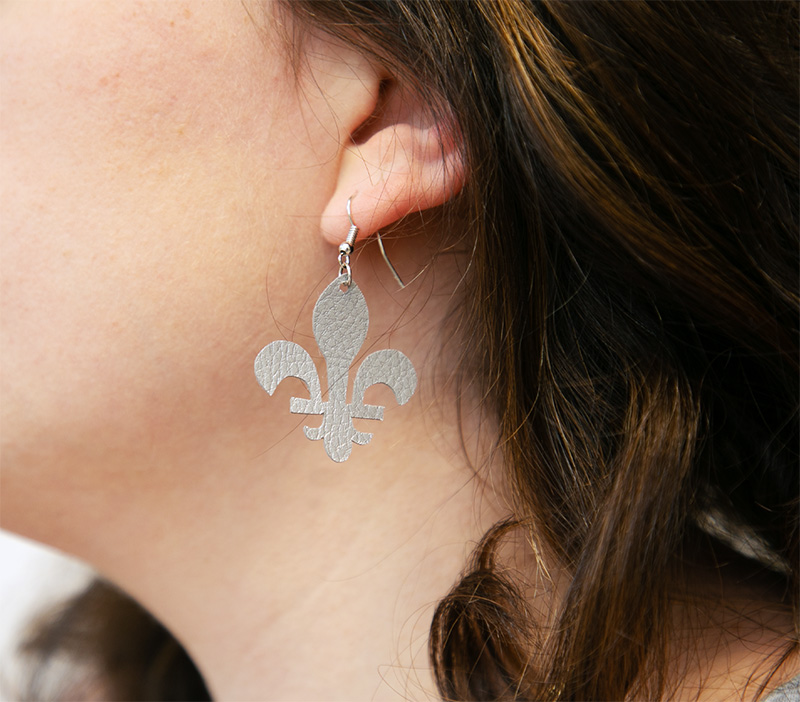
4. Loop a small jump ring through the hole in the top of the earring, and use it to attach an earring hook to the earring. Close the jump ring with pliers.
5. Repeat step 4 for the second earring.
6. Done!
Steps for the Thermoplastic Mardi Gras Mask:
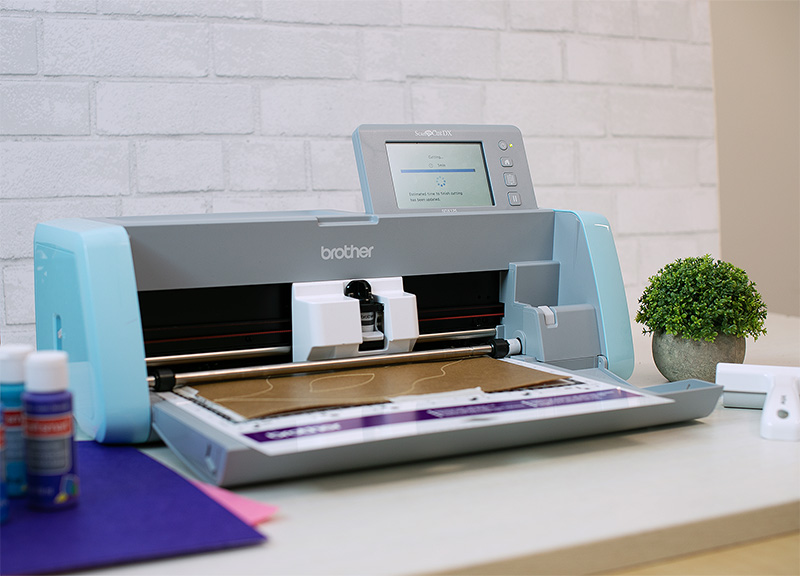
1. Download “Mardi Gras Mask.fcm” to your machine.
2. Load the Standard Mat with a 12” x 12” piece of thermoplastic sheeting. If you’re having trouble getting the sheet to stick to the mat, a High-Tack Fabric Support Sheet can help! Also, make sure that the sheet is completely flattened out.
3. Cut out the design using the Auto Blade. This may take a few minutes as the thermoplastic sheeting is pretty thick, but as long as it’s less than 3mm thick the machine will do the job!
4. Remove the cut design from the mat and set aside.
5. Download “Mardi Gras Feathers.fcm” to your machine. 6. Repeat steps 2-4 with another 12” x 12” piece of thermoplastic sheeting.
7. Take your hair dryer or heat gun and get it warmed up.
8. Take the mask shape that you’ve cut out and begin heating up the material with the hair dryer or heat gun. The material will start to flex and bend, and may even feel a little soft or rubbery.
9. Gently start to bend the mask into a curved shape, paying special attention to the nose area—we made this area more prominent to accommodate for a wearer’s nose.. You may need to heat up the material again throughout the process to keep it pliable.
10. Once you’re happy with the shaping, hold the mask’s shape in place until it fully cools. Use the cool setting on your hair dryer if available to speed up the process.
11. Next, begin heating up the feather pieces. Less shaping is required here, just some slight bending to get the feathers to follow the curve of the mask.
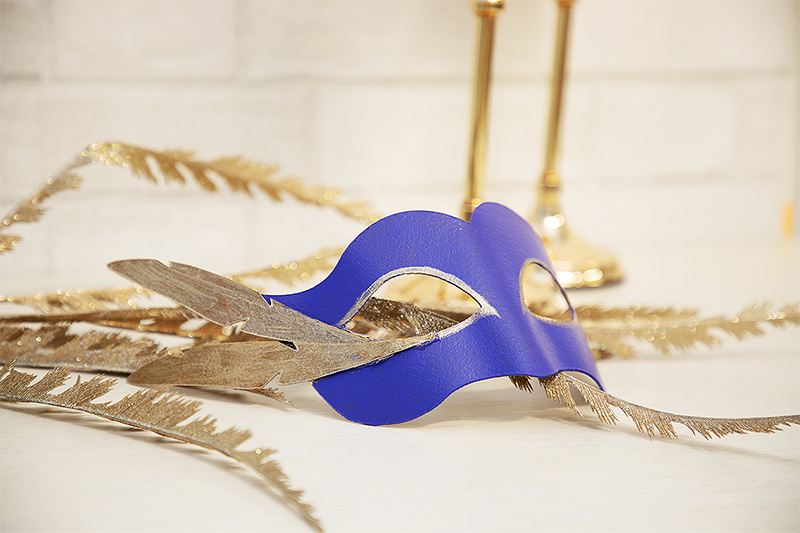
12. Once the feathers are completely cool, start to use hot glue to secure the feathers to the mask. We attached ours to the outer corner of the mask, but get creative!
13. Once the hot glue is completely dried, paint the mask! We used purple and gold paint to embellish ours. You may need to apply several coats of paint.
14. Let paint dry completely.
15. Done!
Related Projects
Stay Connected
Follow Us
Brother Support
Corporate Information
Partnership Opportunities
About This Website
