Crafting Vinyl Frame Home Decor with ScanNCut

Erin Bassett, crafting expert and educator, is a paid consultant of Brother ScanNCut USA.
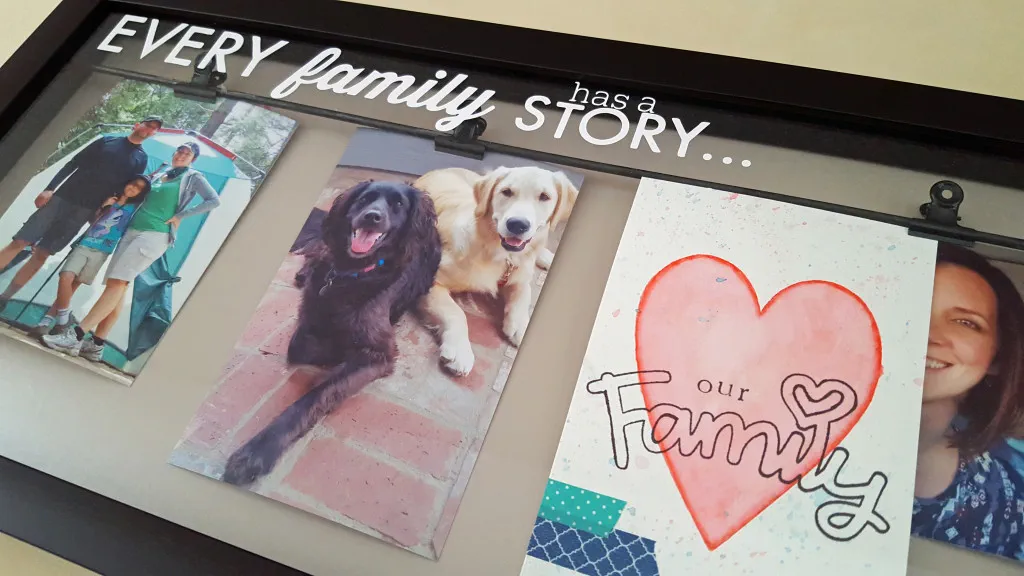
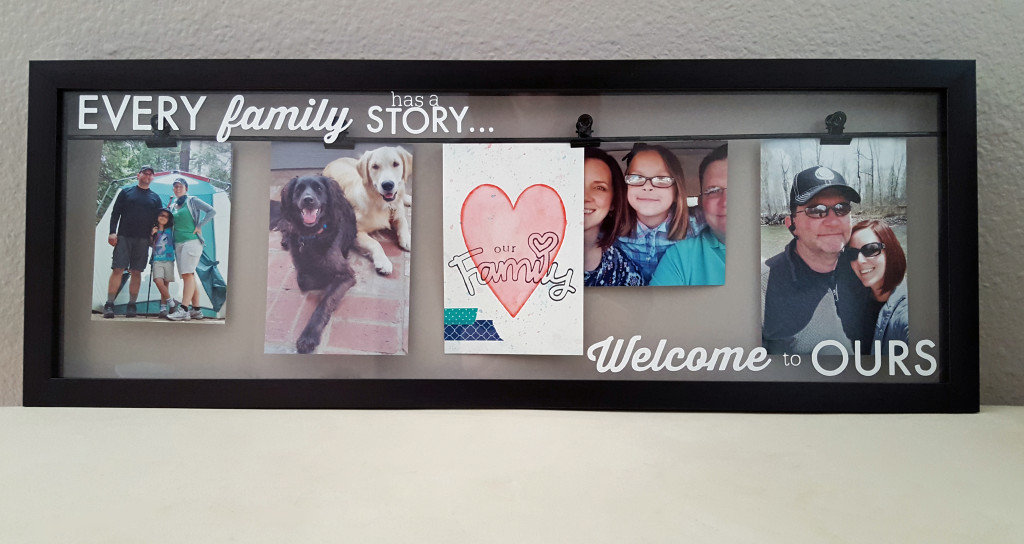
Here’s a great home decor project I want to share with you. I found these neat frames when I was out shopping and thought how fun they would be to use at home or in my art studio since they have little clips you can hang photos or artwork on. The frames are great on their own but I thought it would be cool to jazz them up a bit by cutting a warm cuddly phrase out of craft vinyl and applying it to the glass.
Here's how I created this project:
Supplies:
- ·ScanNCut machine and accessories
- ·Photo Frame
- ·Craft Vinyl
- ·Grid Transfer Paper
- ·Word Art (FREE Download)
- ·Every_Family.fcm Cut File (FREE Download)
Instructions: 1. Use the "Scan To Cut Data" feature to scan in the word art or open up
the Every_Family.fcm file onto your ScanNCut.
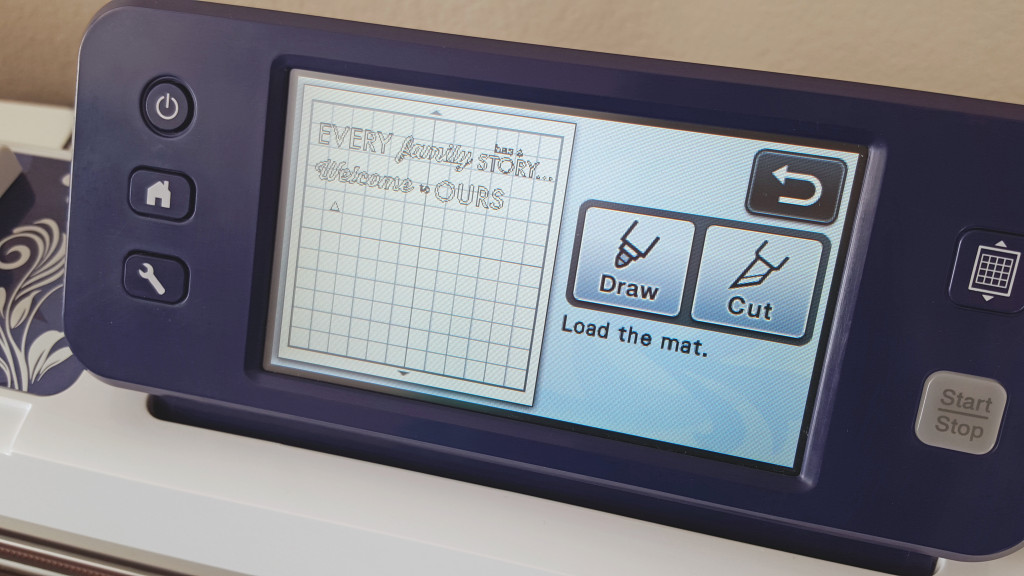
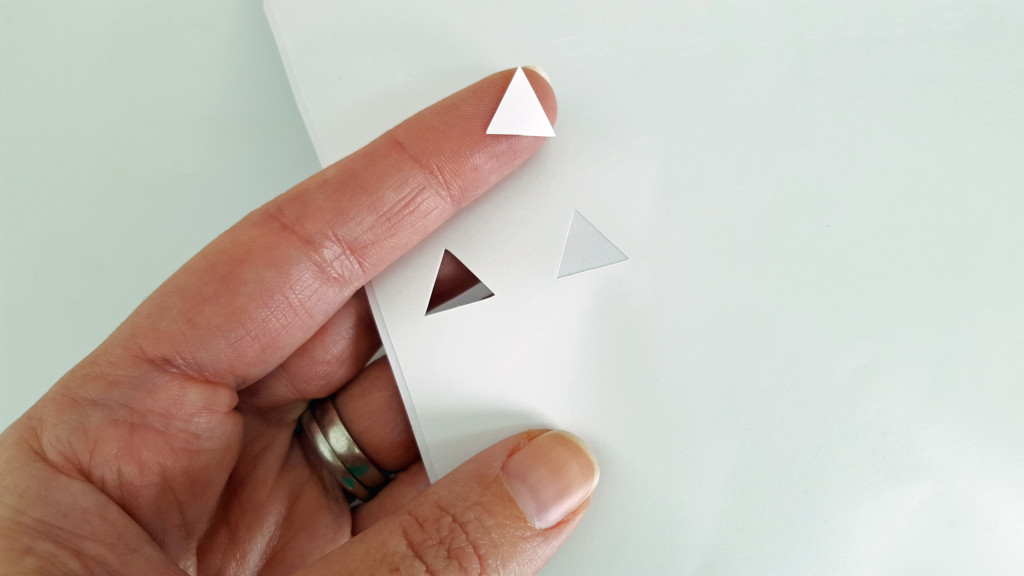
2. Add a test cut to your project mat and then push the "cut" and "start" buttons. Even though you have multiple designs on your mat your machine will perform the test cut first and then pause so you can make adjustments if needed before cutting your vinyl. You want to have it cut through your vinyl but not through the backing so start off with the blade barely coming out of the blade holder, and adjust it from there depending on the results of your test cut.
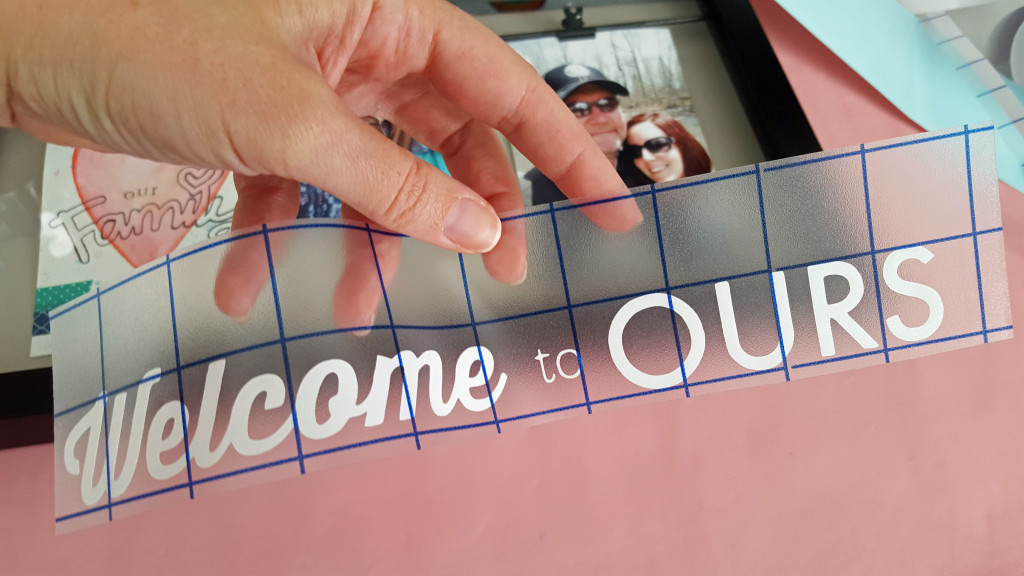
3. Cut out the phrase on vinyl and remove the vinyl from the machine. Weed out the design by removing the negative part of the vinyl and leaving the words you will be using on the backing sheet. For long phrases, like the one for this word art, I like to cut apart the vinyl I'm removing so it doesn't accidently get stuck to letters I want to remain on the backing sheet.

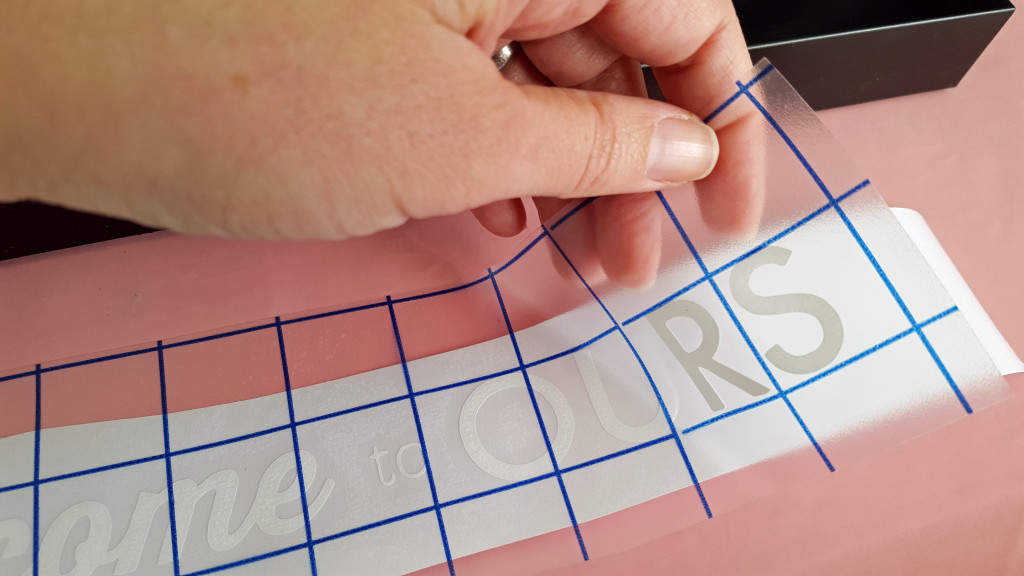
4. Cut off a piece of the grid transfer tape that is a little larger than your vinyl letters an apply it on top of the letters, lining them up with the grid lines. Burnish the transfer paper onto the letters and then carefully peel back the transfer tape to lift off the letters.
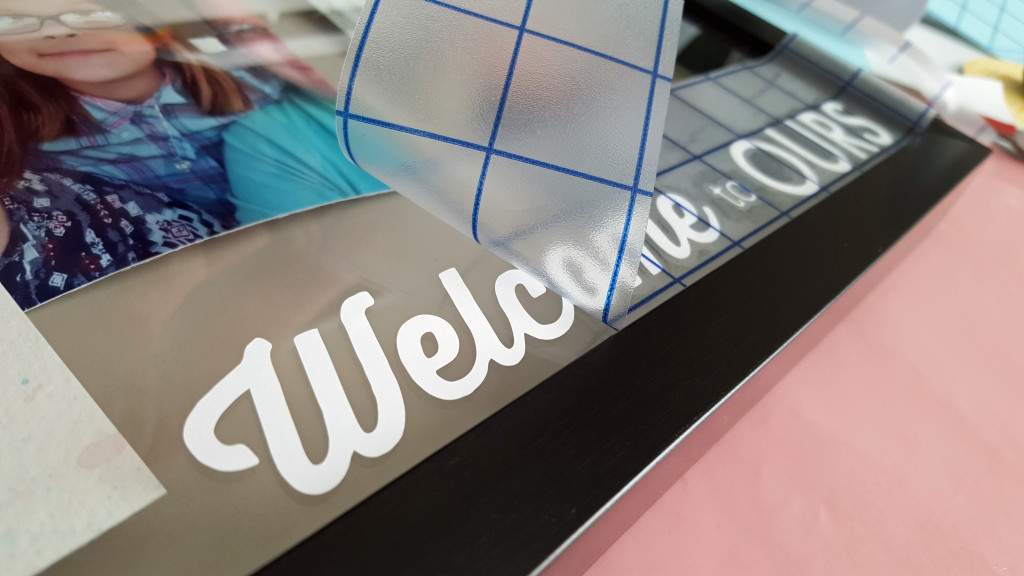
5. Once your have lifted off the letters place the stip onto the glass of the photo frame and burnish it again to firmly affix the letters to the glass.
Then slowly peel off the transfer tape so that just the letters remain on the glass.
6. Repeat using the same piece of transfer tape for the rest of your design.

Such a quick project, but it sure packs a punch! This would make such a great personalized gift too!!
Related Projects
Stay Connected
* Required fields