Crafty Wood Inspired Signs

Create beautiful personalized signs with the ScanNCut! Upcycling reclaimed wood is fun with the ScanNCut and all you’ll need is:
Supplies:
- ScanNCut DX + Roll Feeder
- ScanNCut Transfer Tape
- ScanNCut Vinyl (color of your choice)
- White wood paint
- Reclaimed wood
To start, open CanvasWorkspace for desktop, if you do not have a CanvasWorkspace account – sign up here, its free!
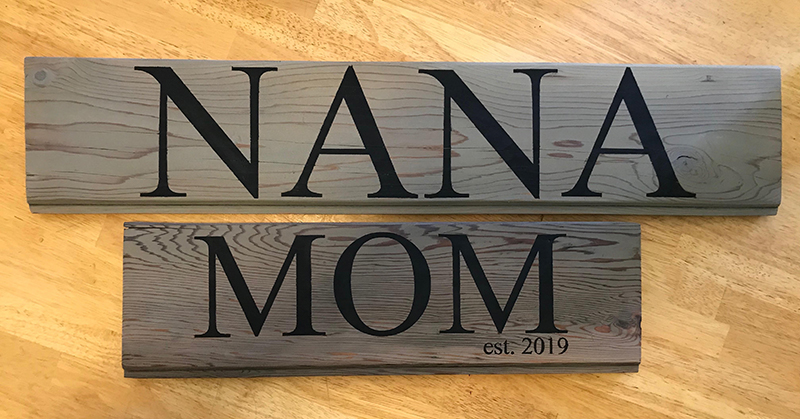
Select the art board icon on your left tool bar. Click on the drop-down menu under ‘art board size’ and select ‘rolled material’. Select the ‘T’ or text tool from the left tool bar. From there you can make it your own, type a name or a favorite phrase but for this project we’ll type NANA and MOM in two separate text boxes.
Next, wirelessly transfer your design from CanvasWorkspace to your machine or simply use a USB.
Set up your roll feeder. if it’s your first time, check out this video!
Once you have your design, open it on the machine by selecting ‘retrieve data’ and select either the USB or computer icon (depending on how you transferred it).
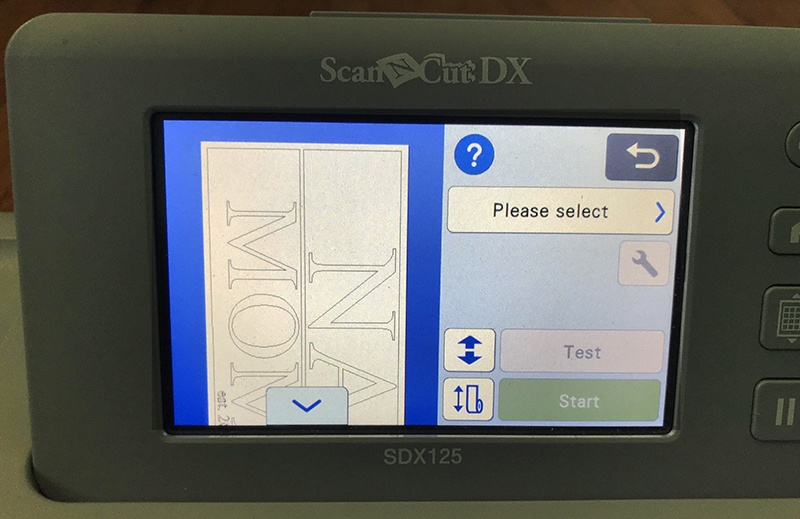
Select ‘cut’ from the drop-down menu on screen and ‘start’.
Once your design is complete follow the on-screen instructions to trim the edge.
Next, weed out the lettering and apply the transfer tape. Peel back transfer tape (so that craft adhesive vinyl lettering is stuck to it) and apply to reclaimed wood.
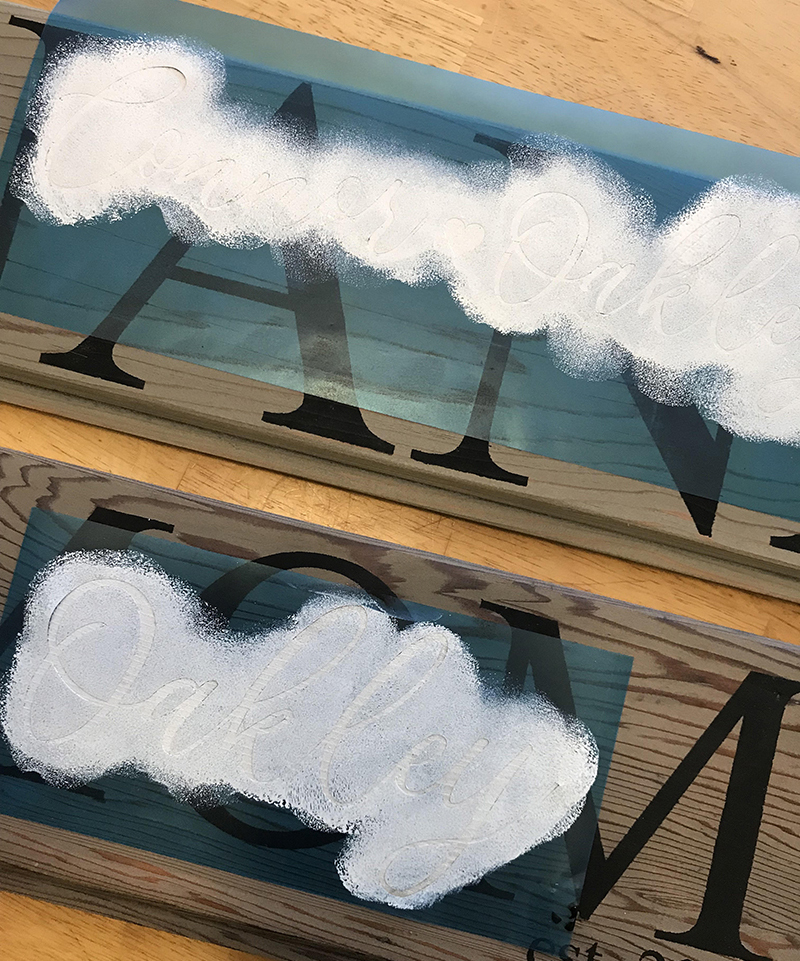
Repeat the same steps for the names in white except this time you’ll be creating a stencil, weed out the negative space.
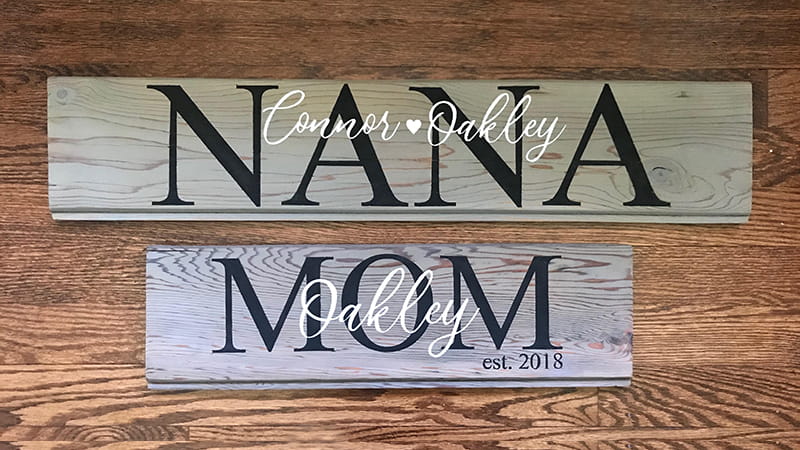
Apply white paint and remove stencil, let dry.
Lastly - take a step back and admire your work!
Related Projects
Stay Connected
* Required fields