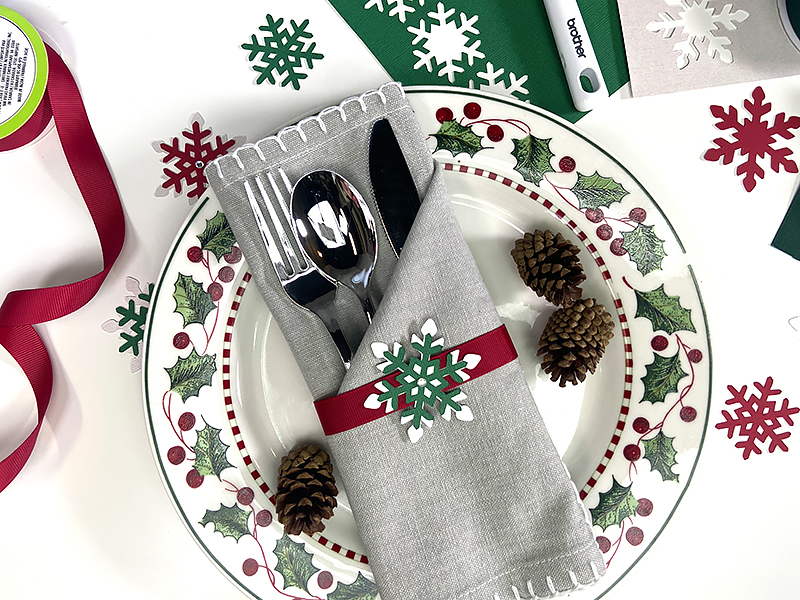
Decorative Holiday Napkin Holder
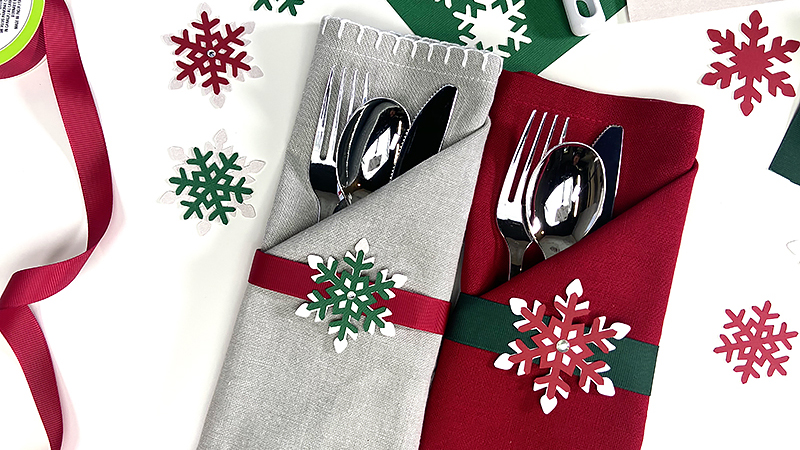
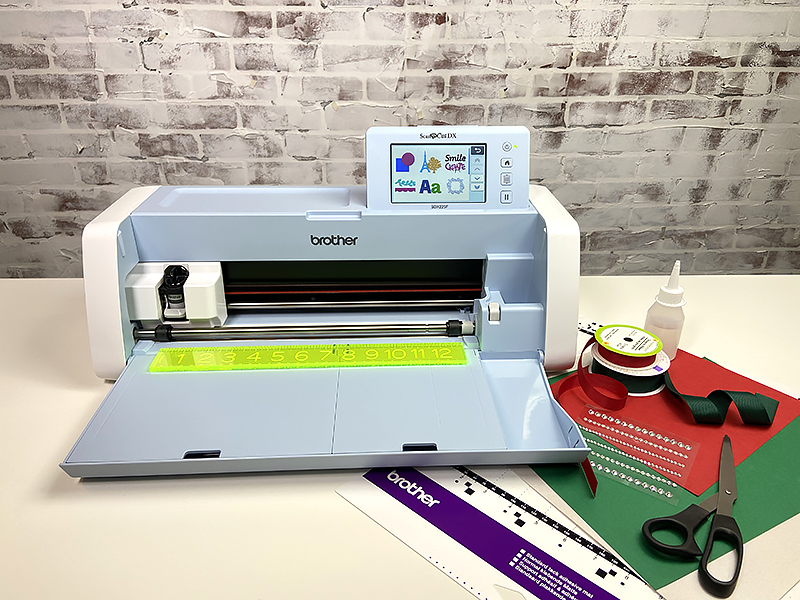
Make your holiday table pop with cheer with this festive and fun DIY napkin holder project. This little added touch of creativity shows that simple can be beautiful. Best of all, you can create something that is unique to your own holiday style! Materials: • ScanNCut DX SDX225F • ScanNCut DX Standard Mat • Ribbon • Cardstock • Rhinestones • Glue • Ruler • Scissor
 Steps:
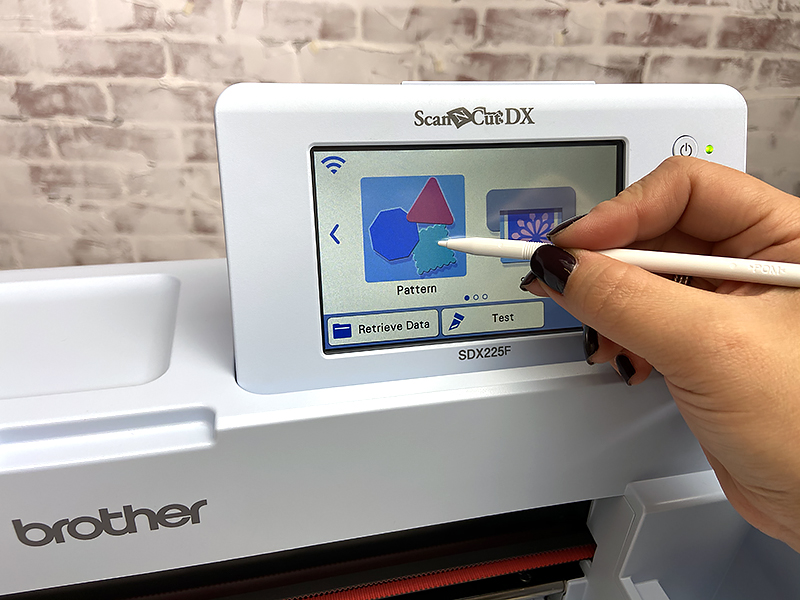
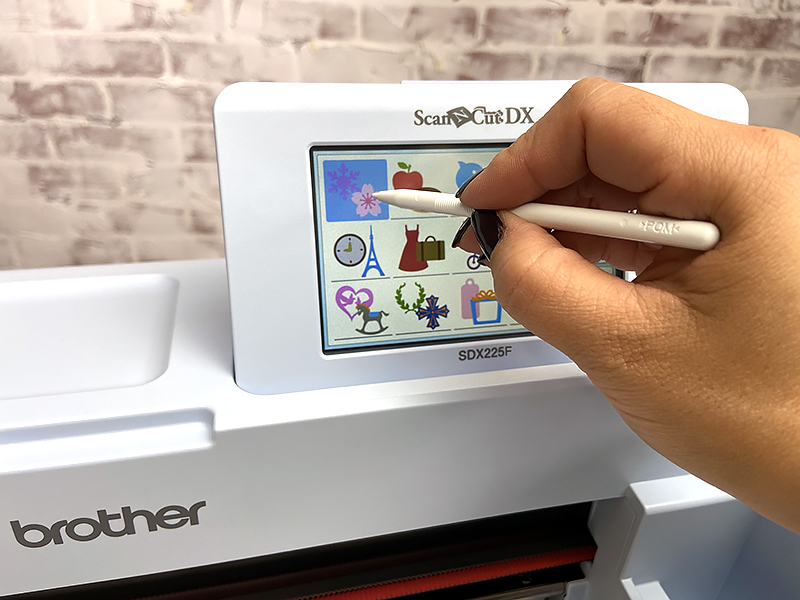
1. Select Pattern on the home screen of your electronic cutting machine.
Steps:
1. Select Pattern on the home screen of your electronic cutting machine.
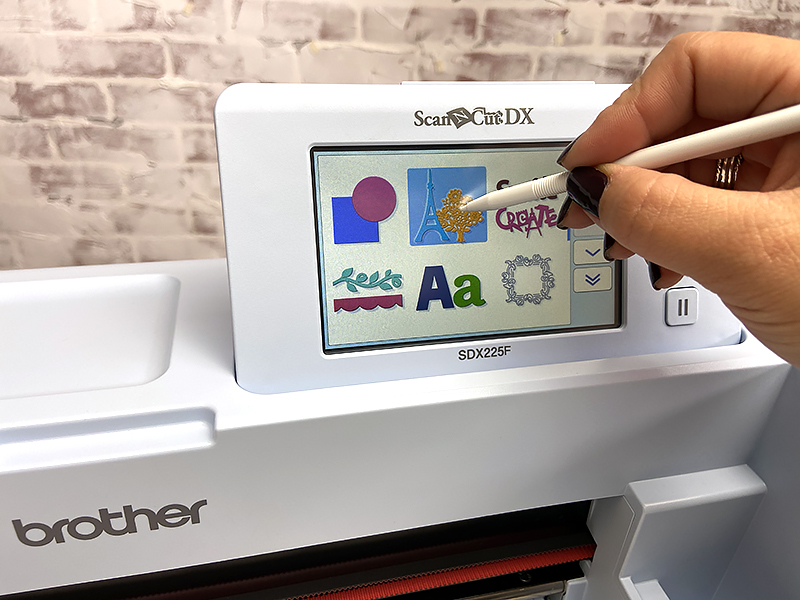
 2. Select the pattern category (this will be the second icon on the top row of your screen).
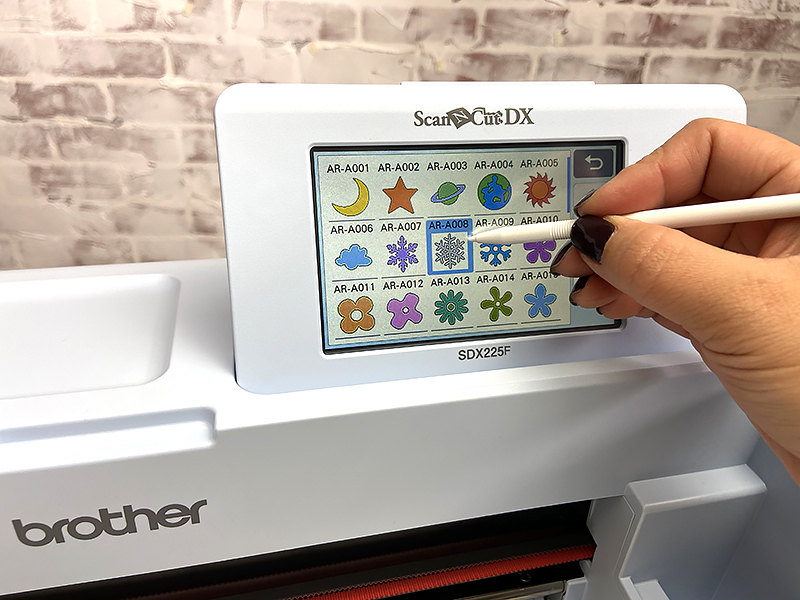
 3. Select the pattern sub-category (for this project we will be selecting the first icon on the top row for the built-in snowflake designs).
 4. Select the pattern design (AR-A007 and AR-A008)
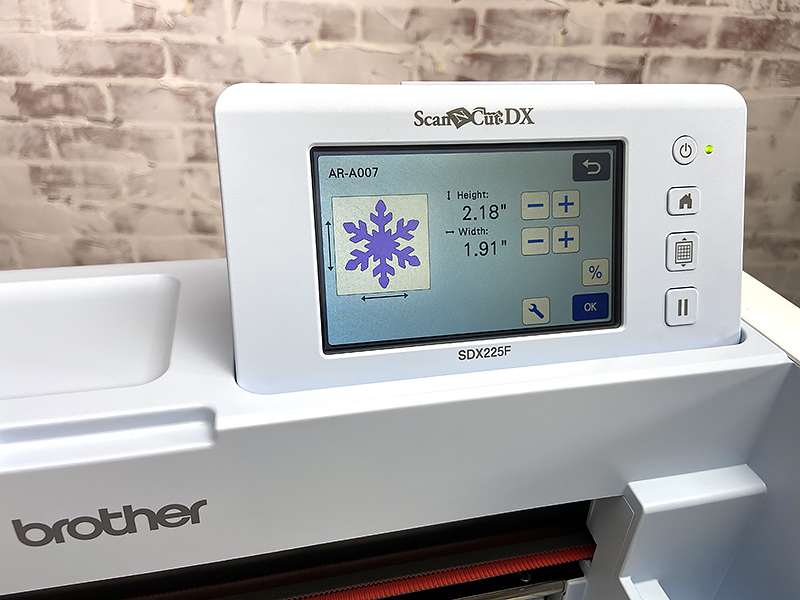
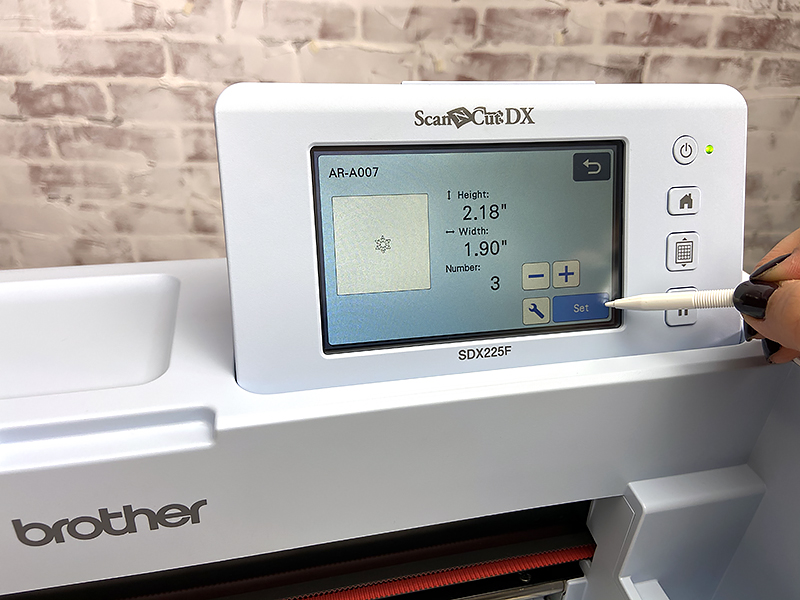
 5. Edit the snowflake design size to your preference (Note: Ribbon size 5/8 in = 0.00 x 0.00 Snowflake Dimensions, Ribbon size 7/8 in = 0.00 x Snowflake Dimensions).
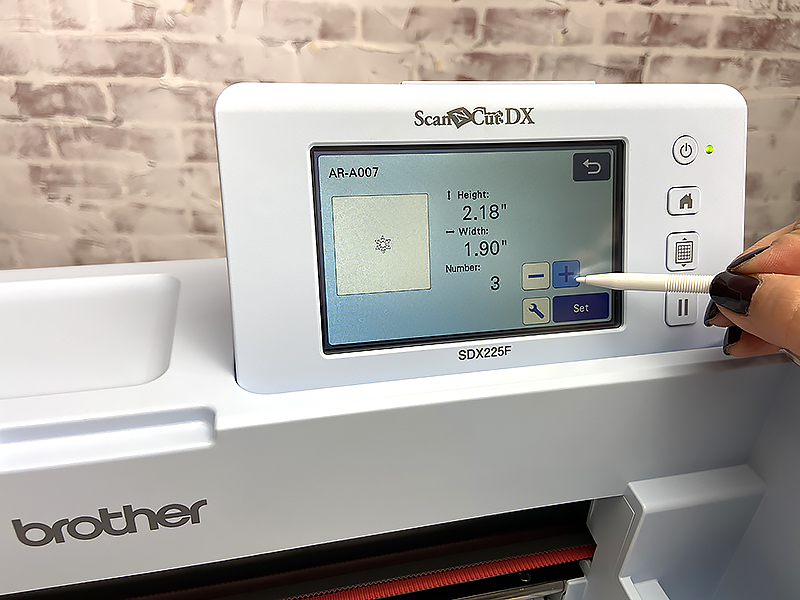
 6. Touch + to duplicate the number of patterns desired. Touch set.
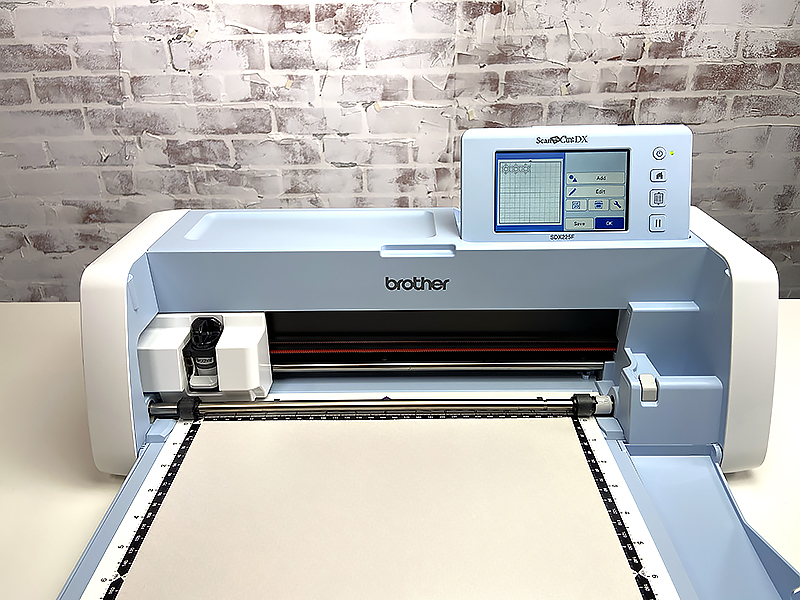
 7. Place desired color cardstock on the standard mat.
8. Scan in background to locate exact placement of material on mat.
7. Place desired color cardstock on the standard mat.
8. Scan in background to locate exact placement of material on mat.
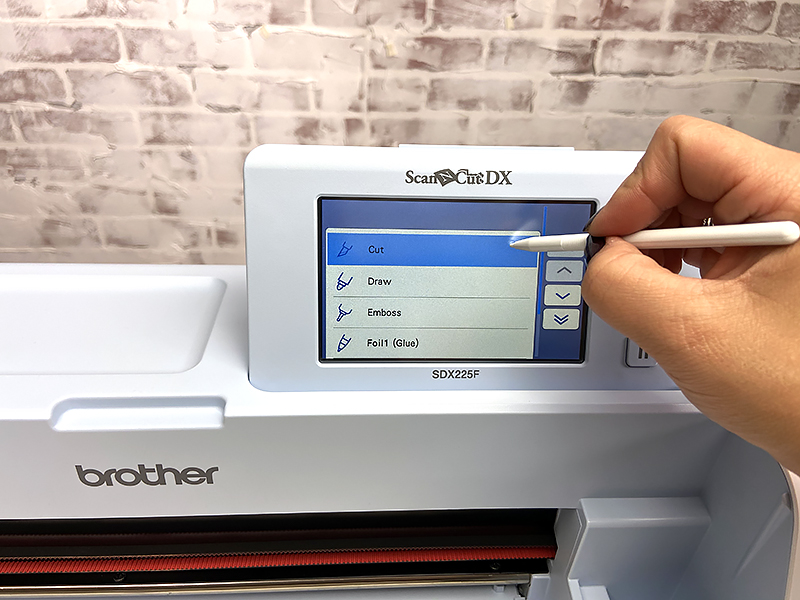
 9. Select cut.
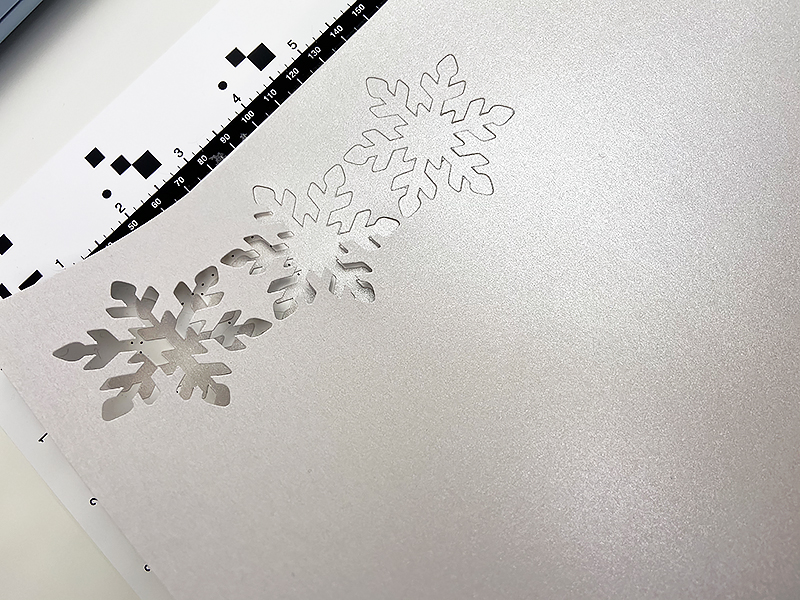
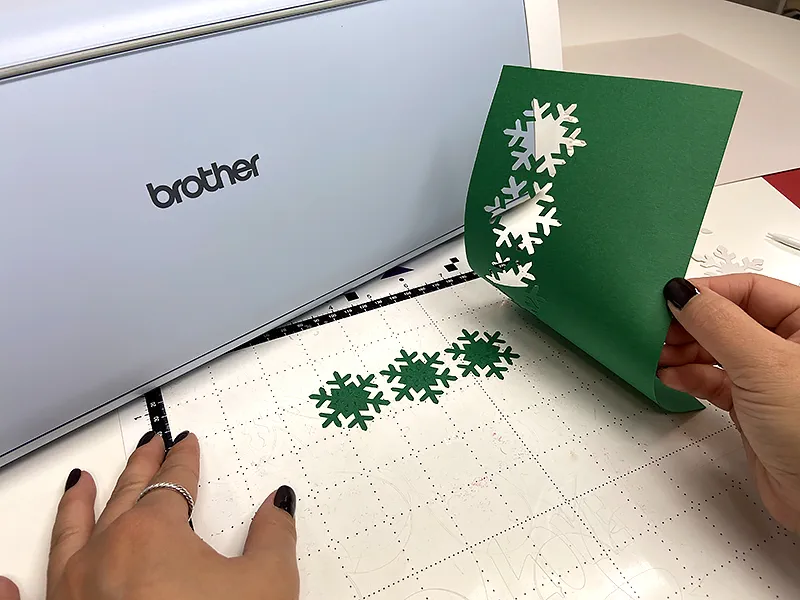
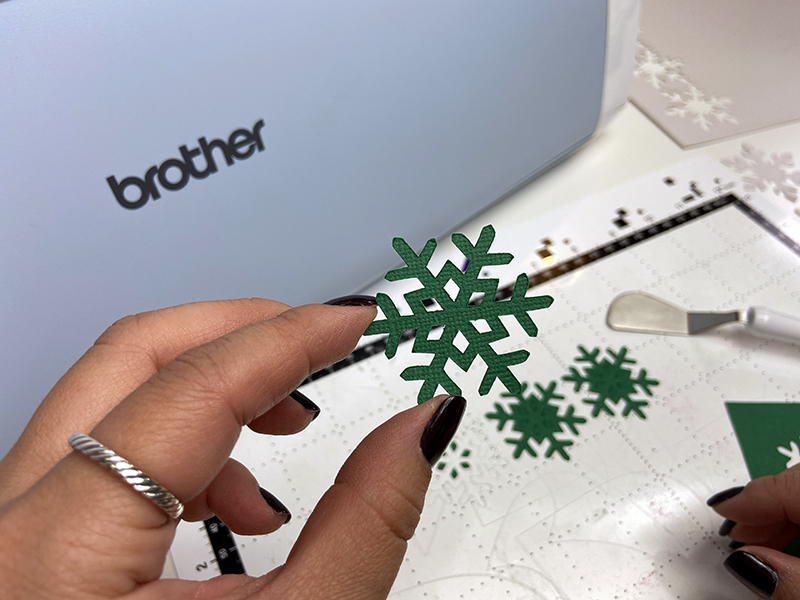
 10. Remove cut outs from mat.
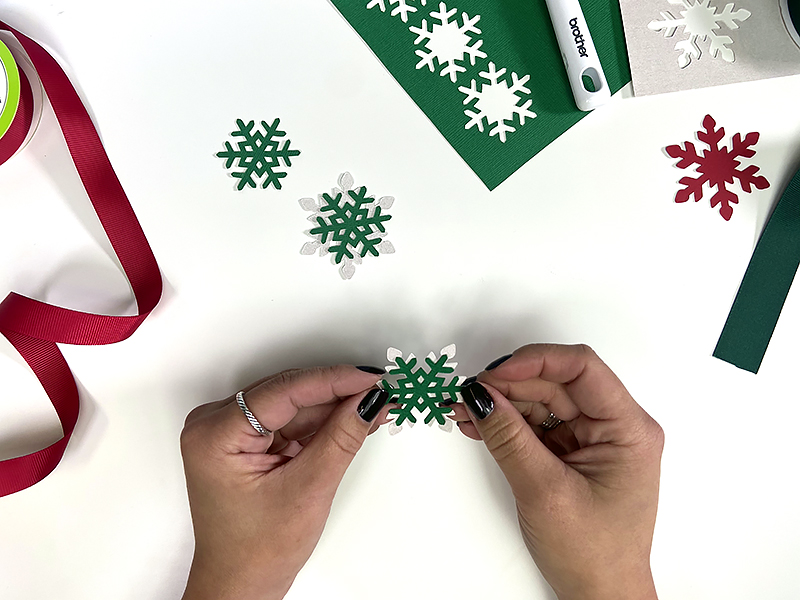
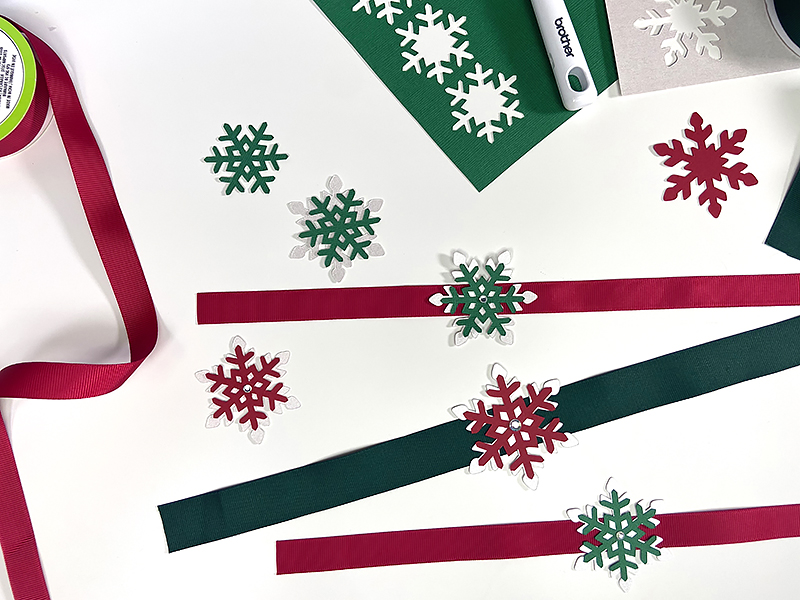
 11. Layout pieces to assemble.
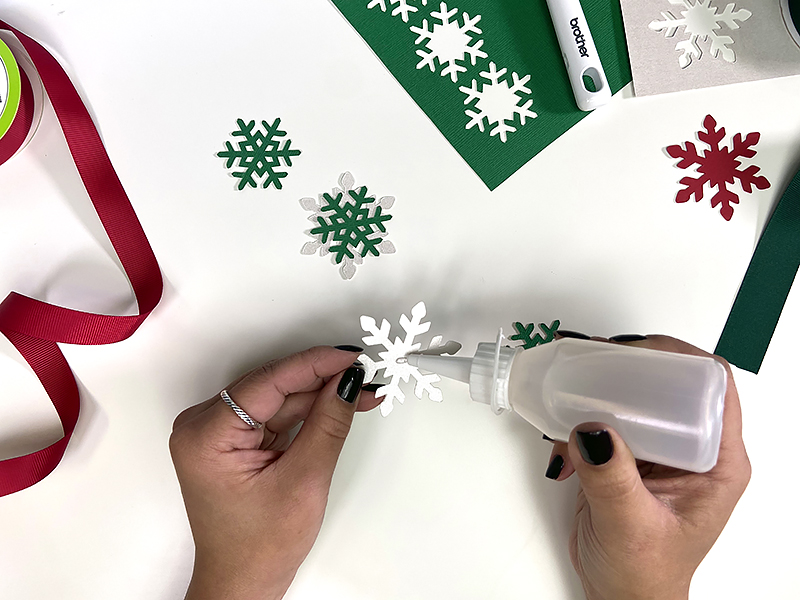
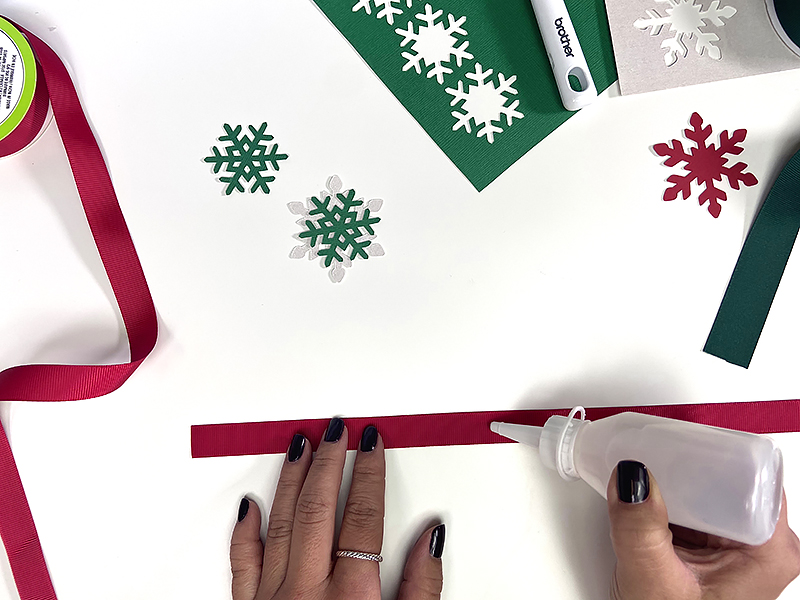
 12. Glue together snowflake cutouts, alternate colors as desired and top it off with a little bling (centered rhinestone).
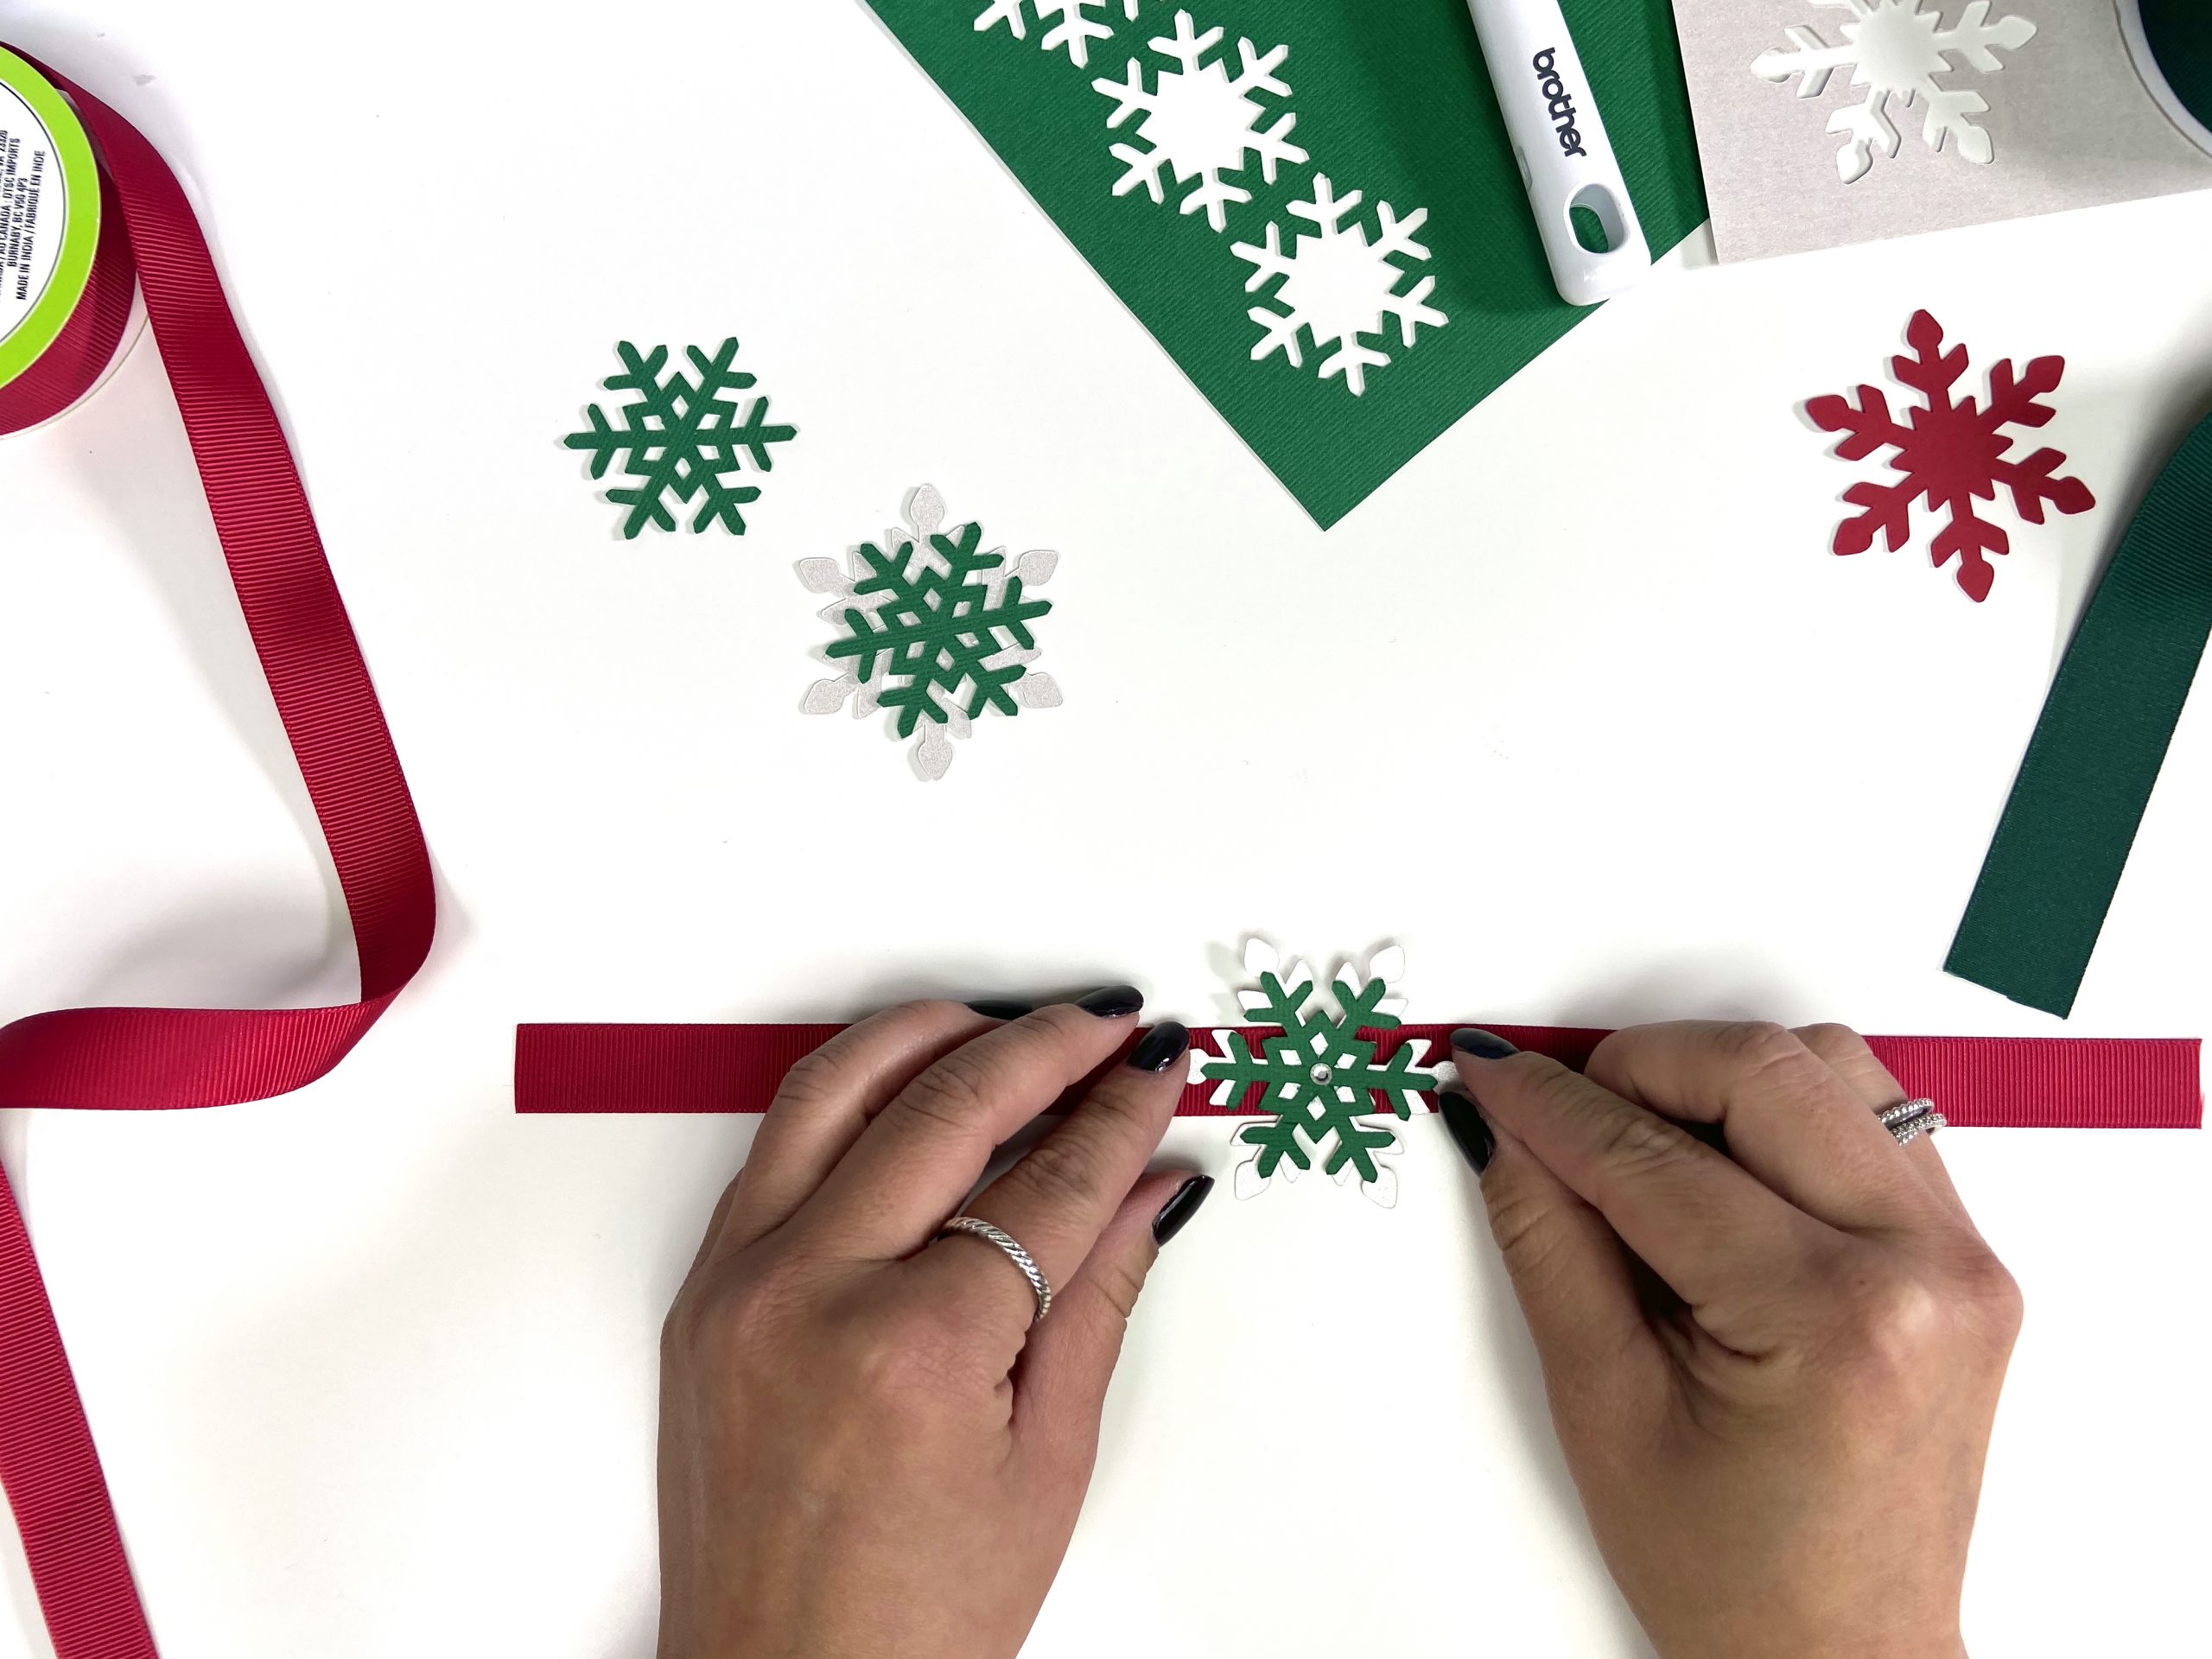
 13. Attach assembled piece to a strip of ribbon.
 14. Lastly, loop your finished piece to a folded napkin.
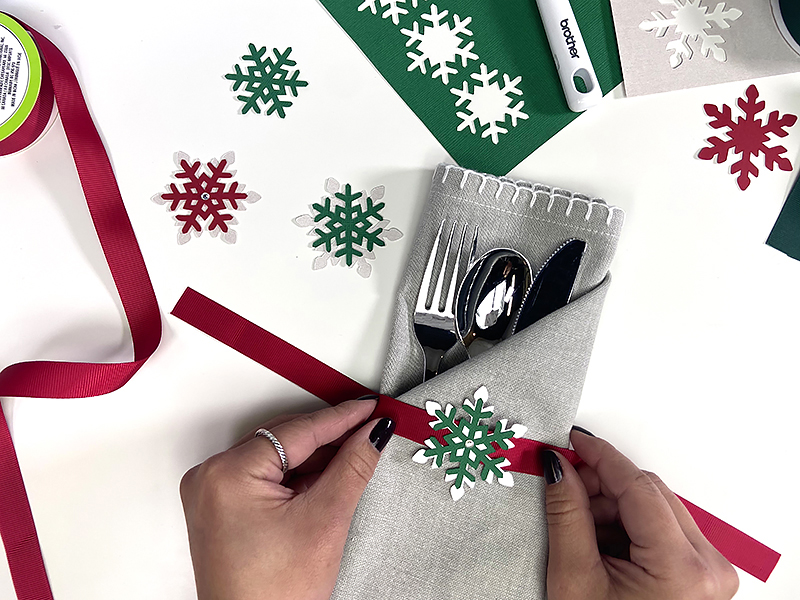 15. Enjoy!
Related Projects
Stay Connected
* Required fields