Use Shapes to Keep Kids Entertained With This Cute Jack-O-Lantern Project
-Brother Crafts Blogger
With the spooky season fast approaching, why not make this adorable Jack-O-Lantern project? This project is perfect for little ones who like to play. The possibilities are endless with this cute project. You have the ability to create so many different combinations with shapes to make all sorts of cute and silly faces. Not only that, but if you attach the pumpkin to a surface like a wall or another flat surface, the felt pieces stick to each other! If you’re a beginner, join me in learning how to do new things you might not have tried before.
Materials:
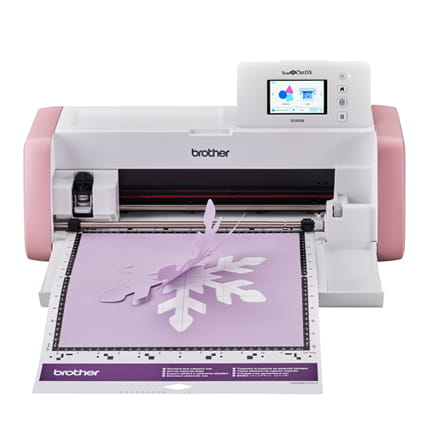
● Brother® ScanNCut DX SDX85 machine with stylus
● Brother® fabric mat
● Felt in desired colors 1mm thickness : orange and yellow used
● Spatula tool
Steps:
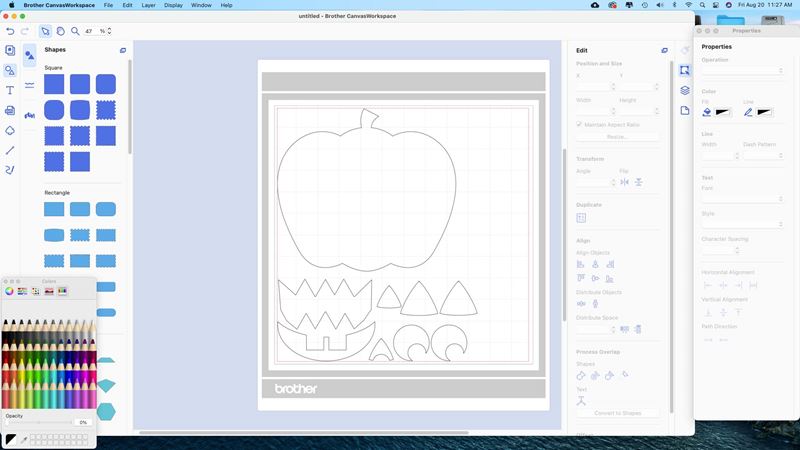
1. Open Brother® Canvas Workspace
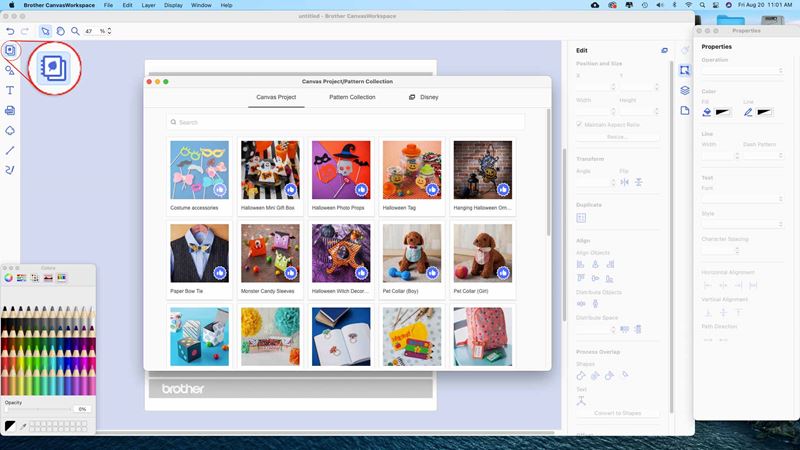
2. Select Canvas Project/ Pattern Collection
3. Select Halloween Photo Props
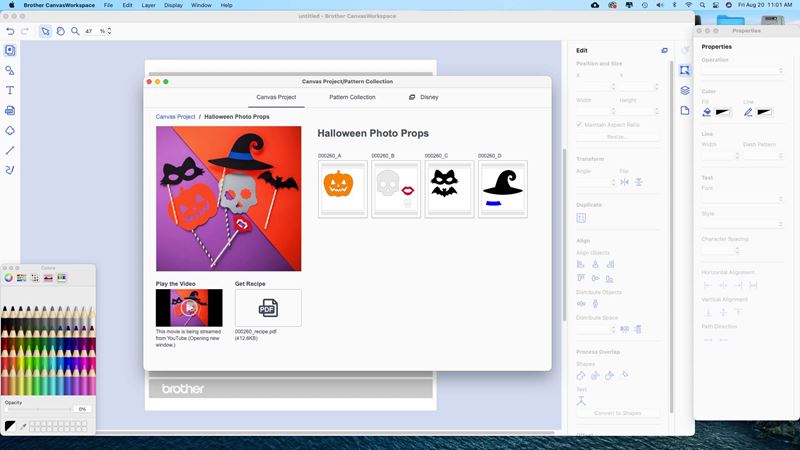
4. Select Jack-O-Lantern
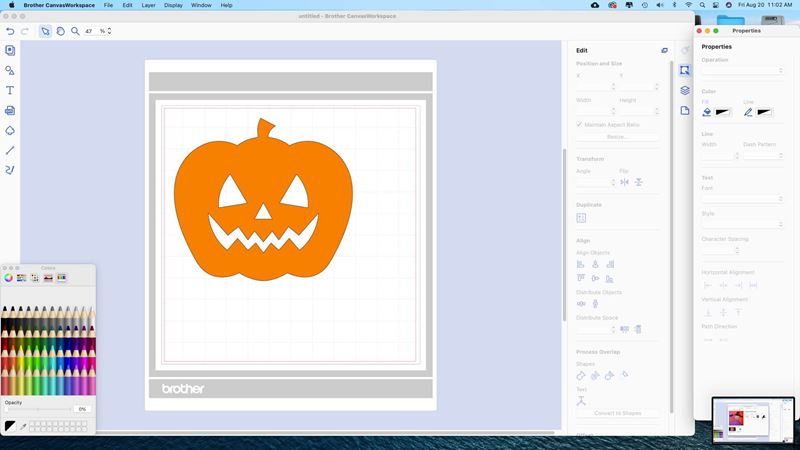
5. Jack-O-Lantern will now be on Canvas Workspace
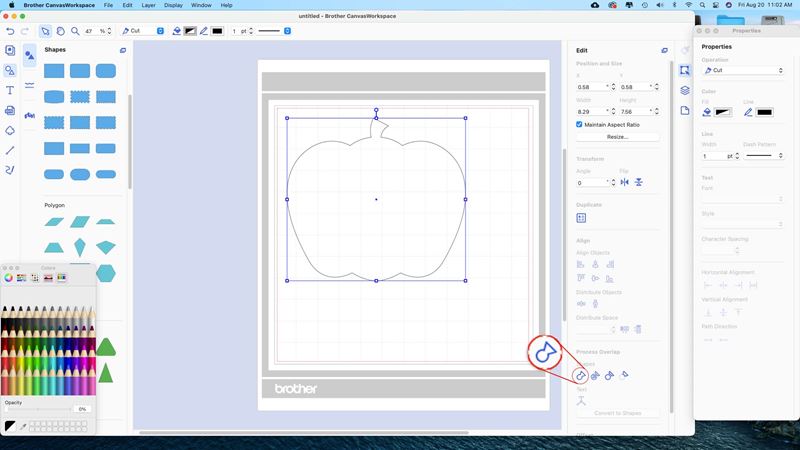
6. Select Shapes Palette
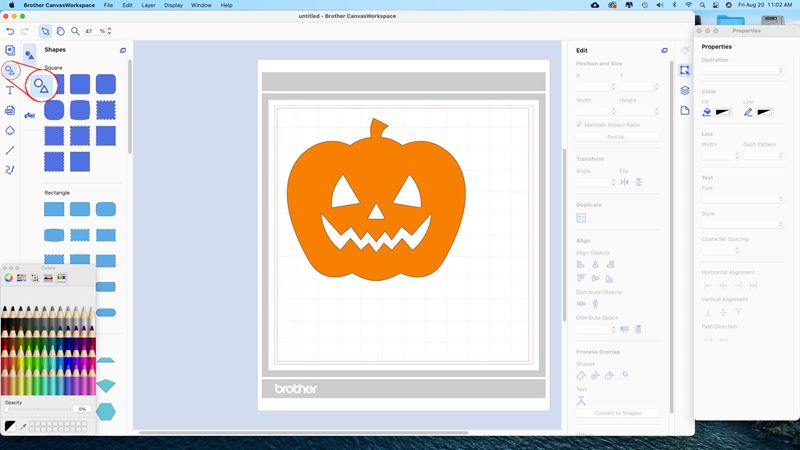
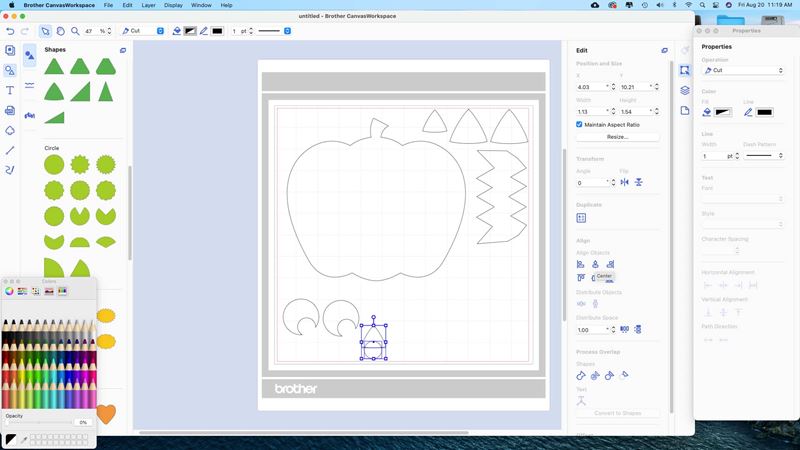
7. Make a shape big enough to cover the face.
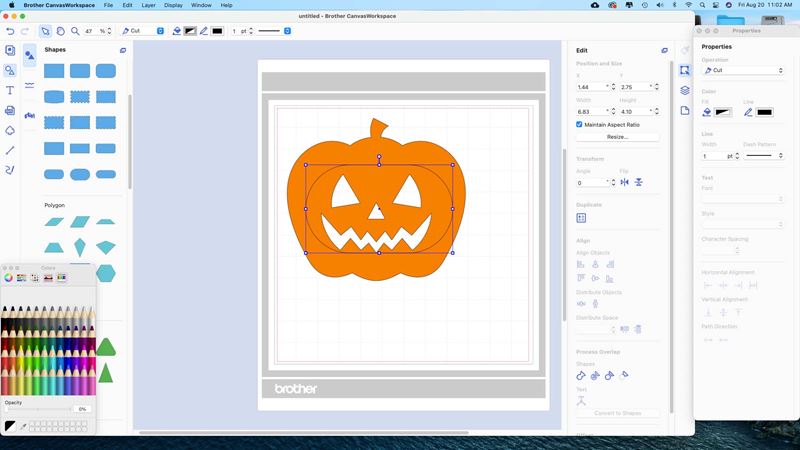
8. Select shape and Jack-O-Lantern.
9. Weld pieces together.
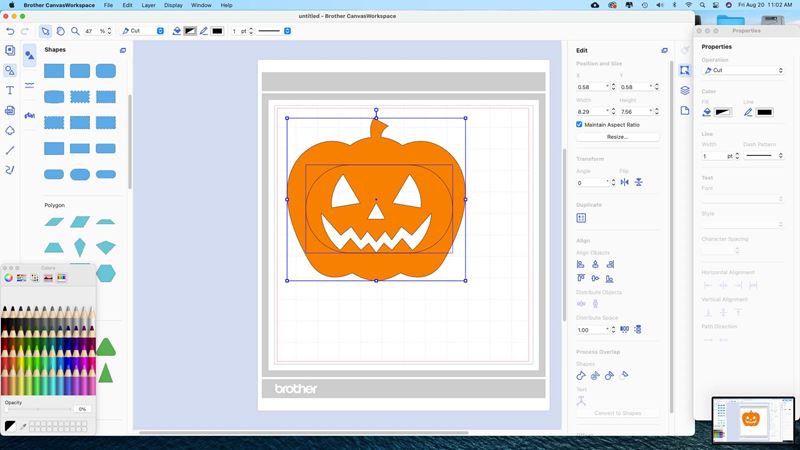
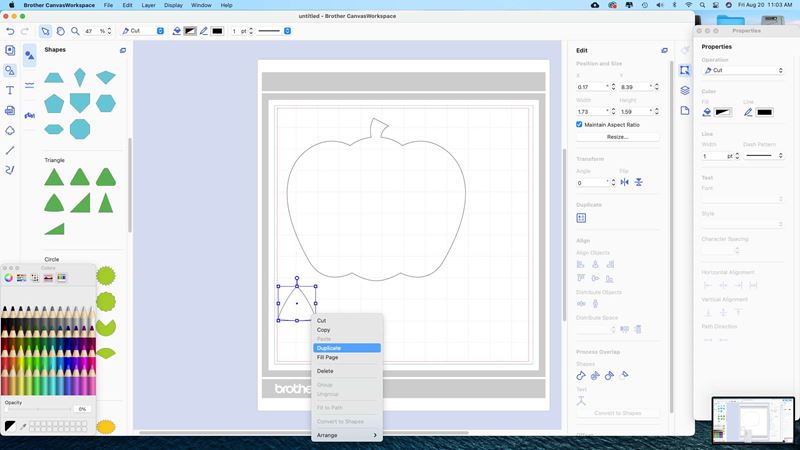
10. Select other shapes to make face.

11. Resize shapes to desired size.

12. Right click on your mouse and select duplicate to make more of that same shape.
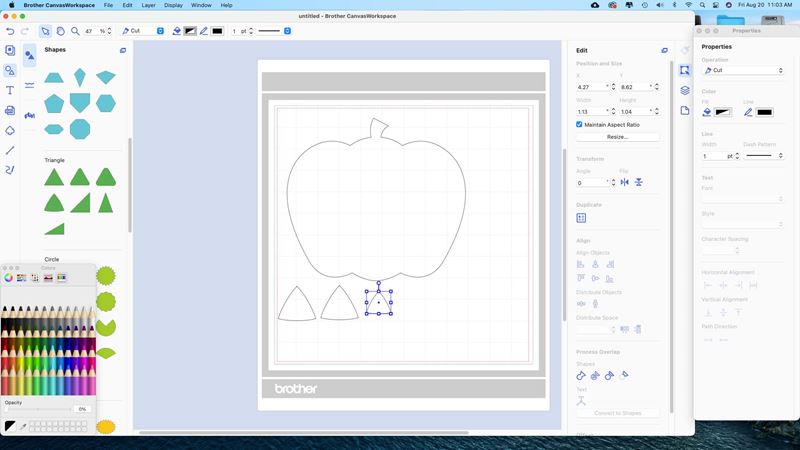
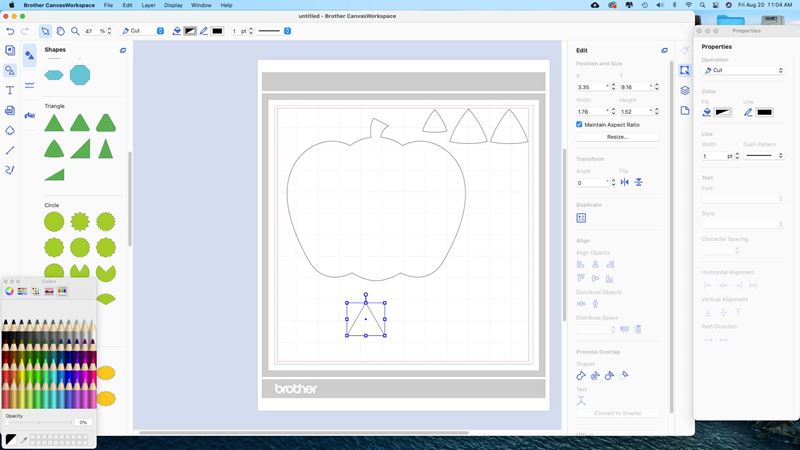
13. Make more triangles and scale to make nose.
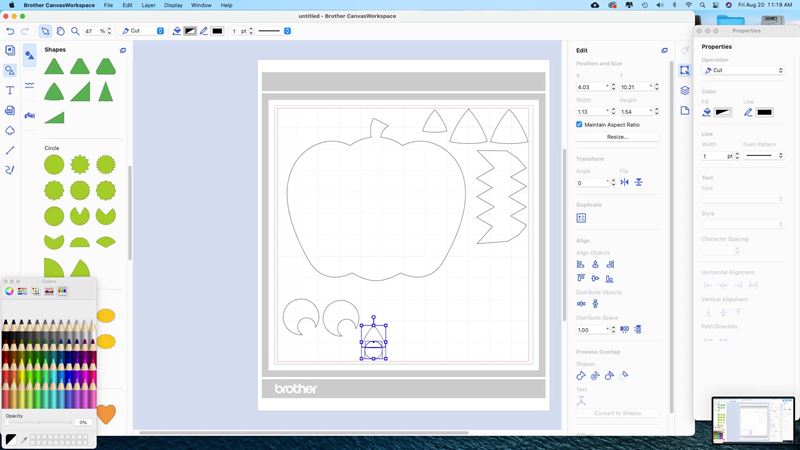
14. Make custom mouth using shapes.
15. Duplicate shapes as much as you want. Select all shapes and weld as in previous steps.

16. Select line of shape and click on point to make desired final shape.
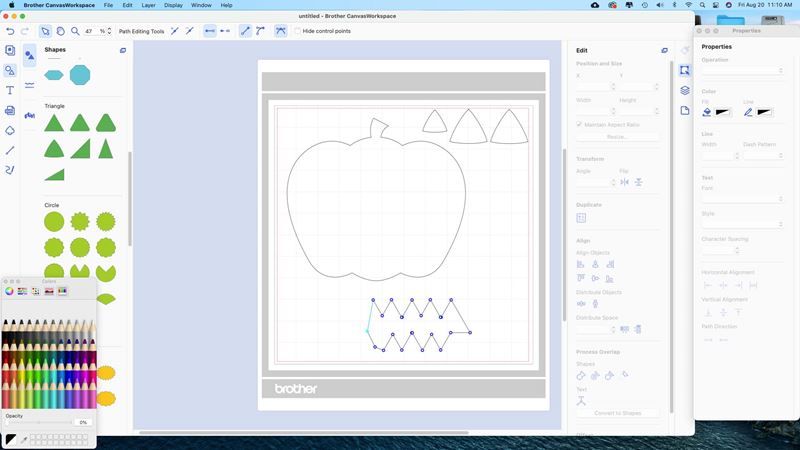
17. Admire custom mouth shape.

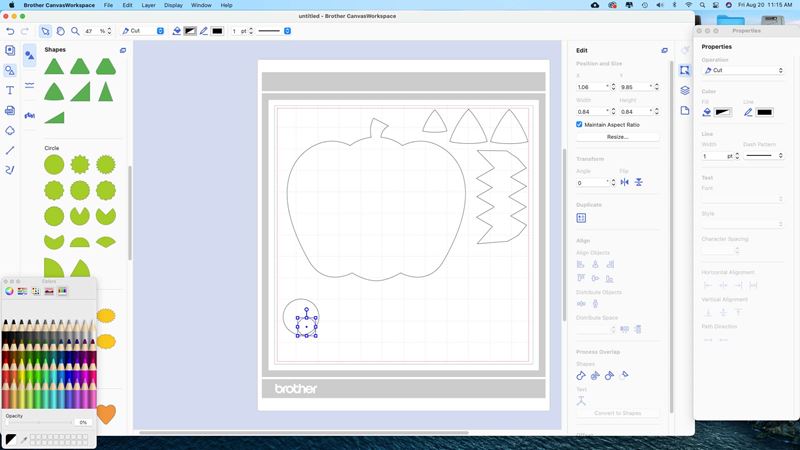
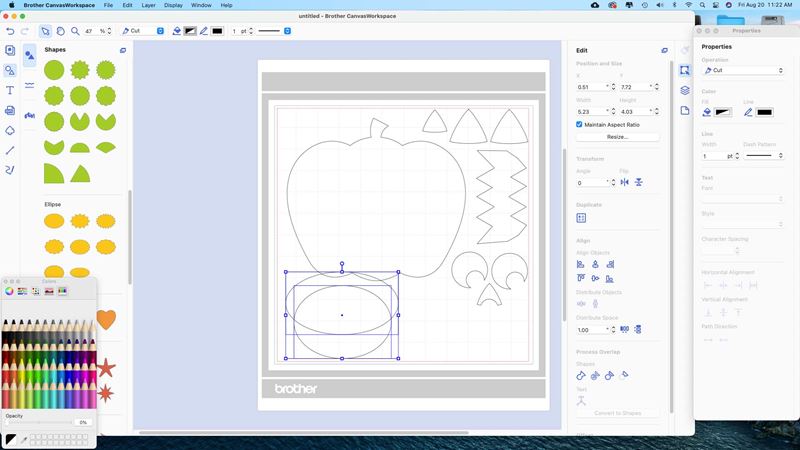
18. Move previously made shapes in order to make more. Select desired shape from palette and scale to size.

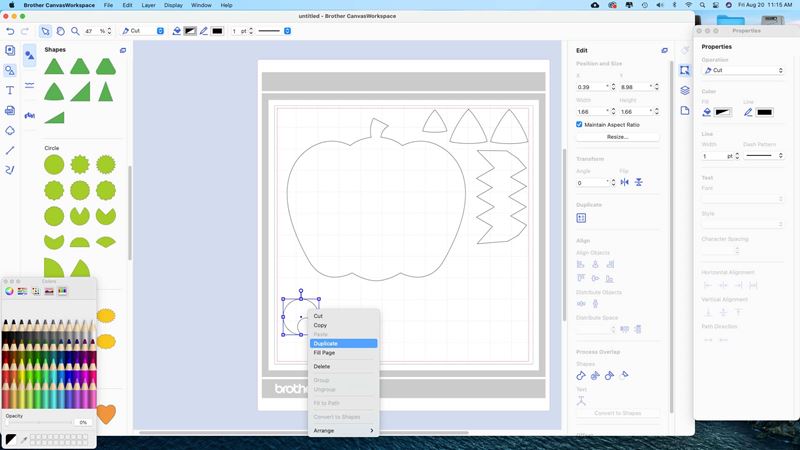
19. Let’s try something new. Duplicate shape, resize and move.
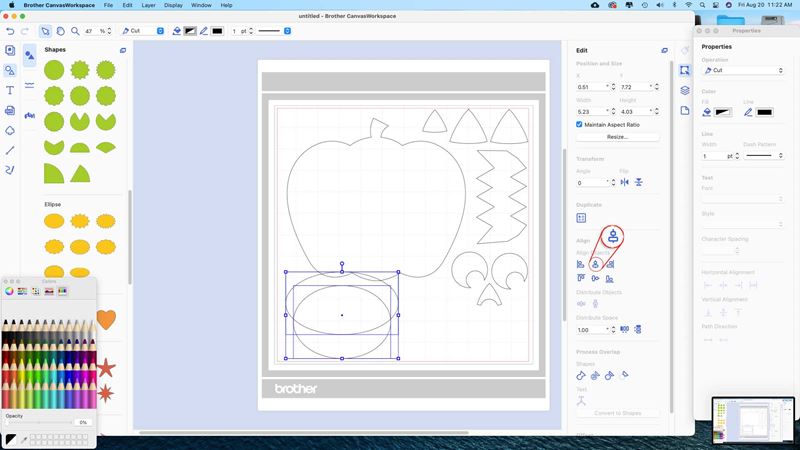
20. Select both shapes.

21. Choose divide.

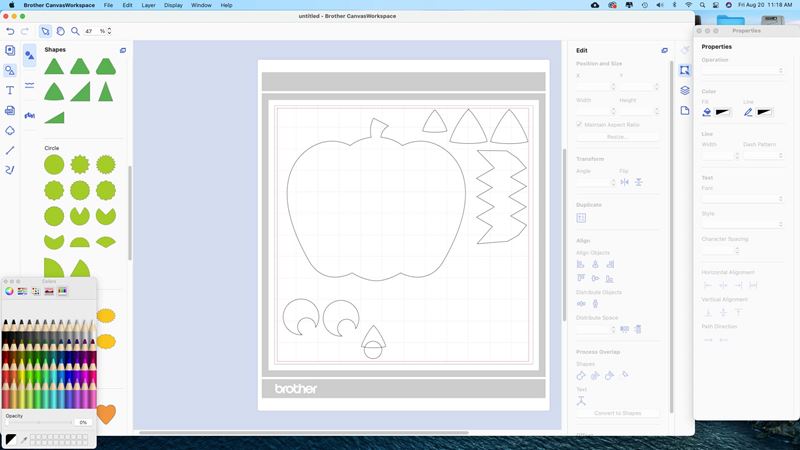
22. Move divided pieces and delete undesired parts.

23. Duplicate shape to make another eye.
24. Making another nose.
25. Select both pieces and align center.
26. Divide as in previous step.
27. Delete undesired pieces. See how these pieces look with the eyes.

28. Make another mouth. Choose two ellipses.
29. Select both shapes and align center.
30. Make two squares for teeth. Select all pieces of mouth and divide as in previous steps. Delete undesired pieces.

31. When you’re done making your shapes, it’s time to send to your Brother® ScanNCut DX Machine.
32. Go to “File” and select “Export/Transfer FCM File.”
![]()
33. New window pops up and you will select “Transfer File Via Internet.”
![]()
Using Brother® ScanNCut DX Cutting Machine
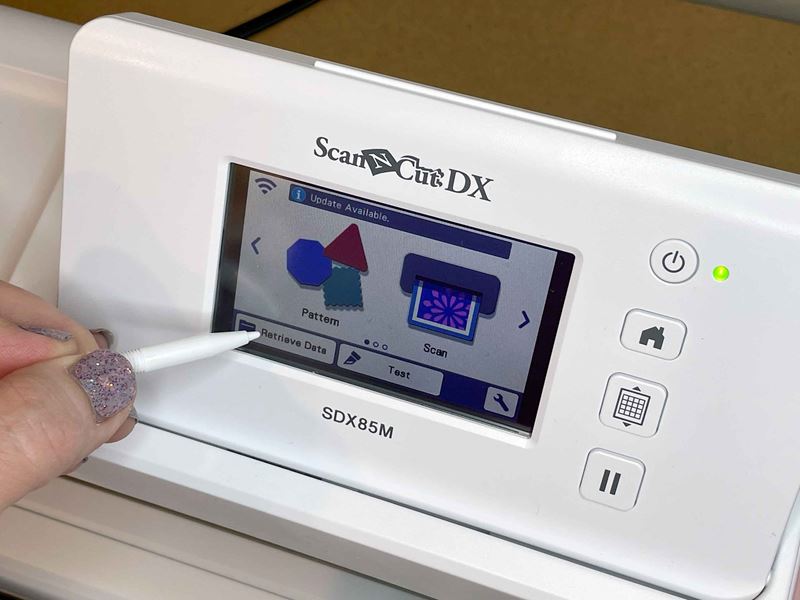
1. Turn on your Brother® ScanNCut DX cutting machine.

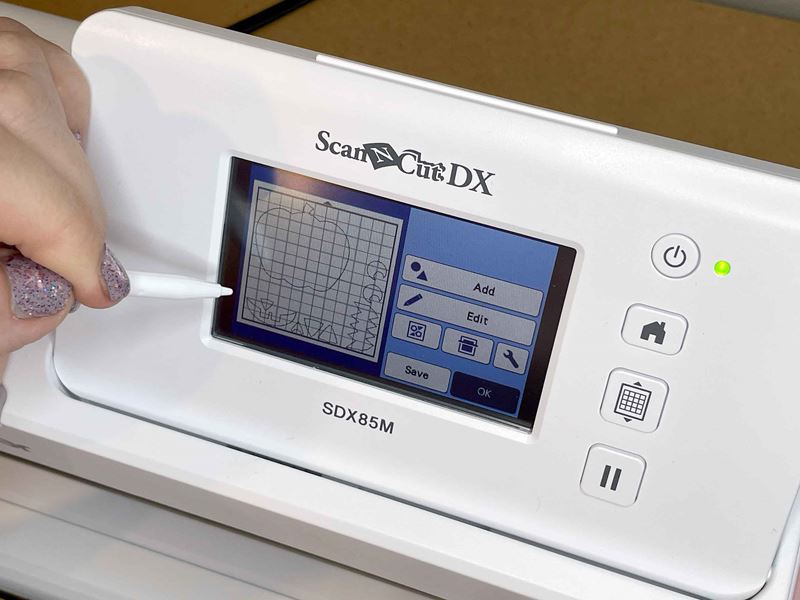
2. Using the stylus, that comes with the ScanNCut DX machine, select “Retrieve Data” from the bottom left side of the touch screen.
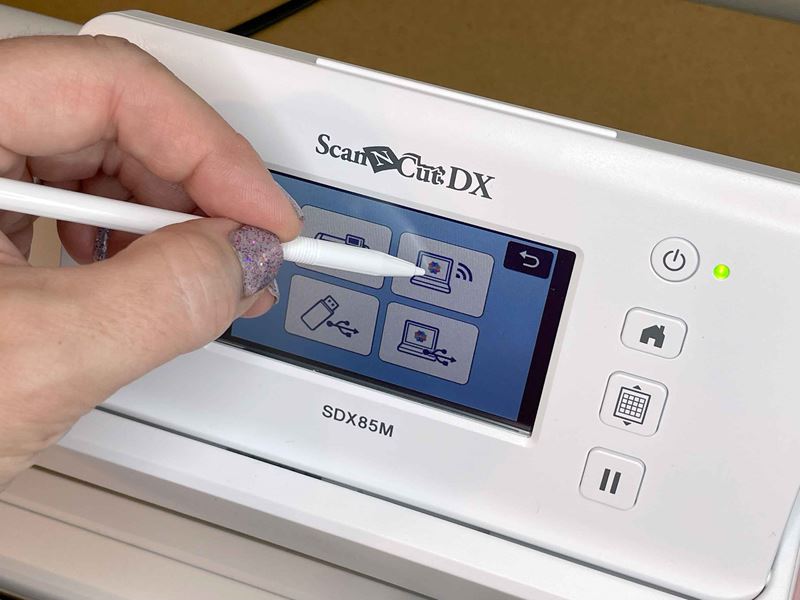
3. Using the stylus, tap on the computer/ wifi image.
4. Using stylus, you can move the shapes around so you can plan where the colors of the material you’ll use on the mat.
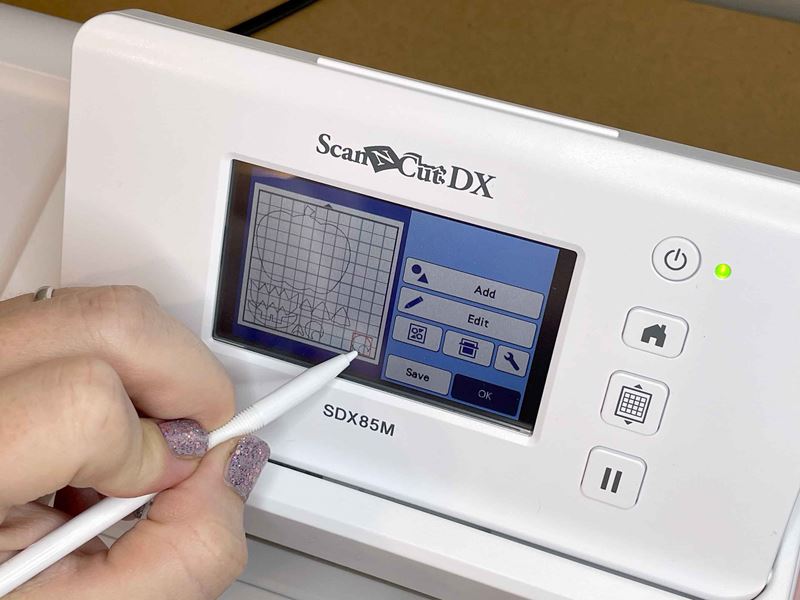
5. When you are happy with your placement you are ready to pick your materials to cut.
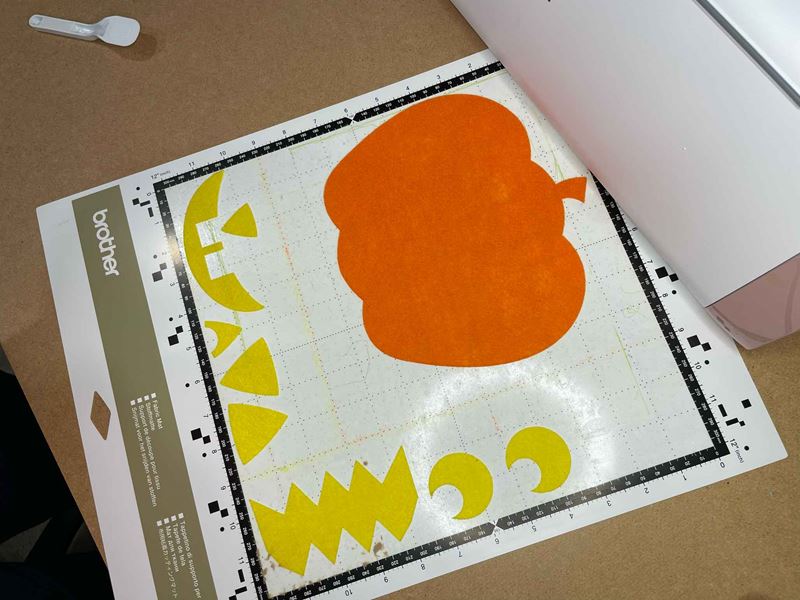
6. These colors look great! I selected 1mm craft felt in orange and yellow.
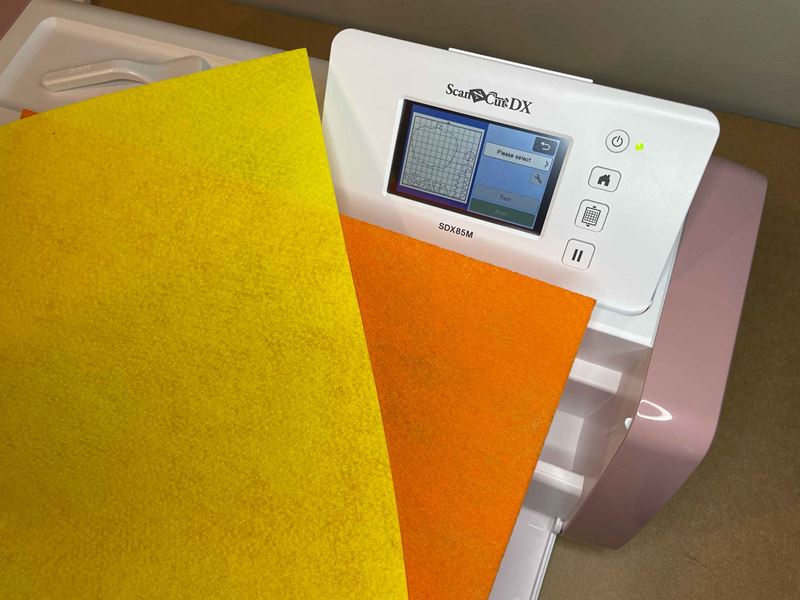
7. Place felt on the fabric mat. Make sure the felt is stuck well by smoothing with hand or brayer tool.
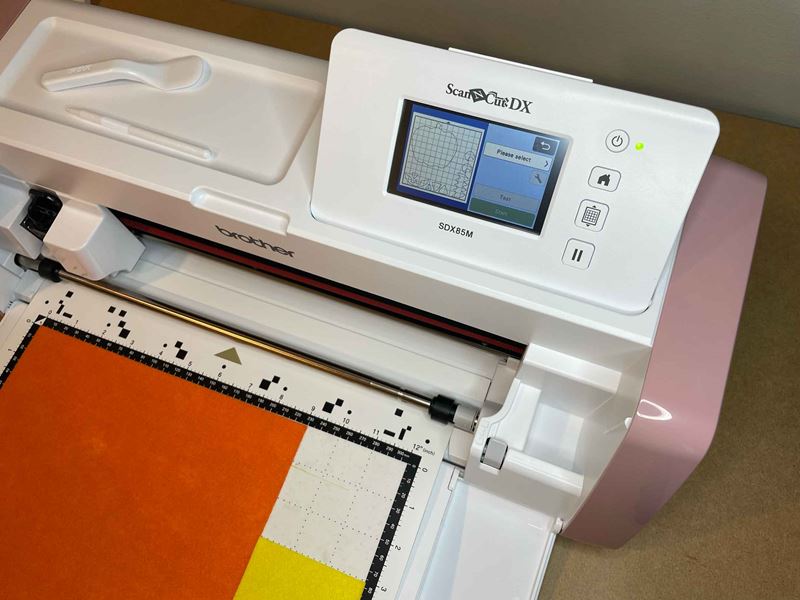
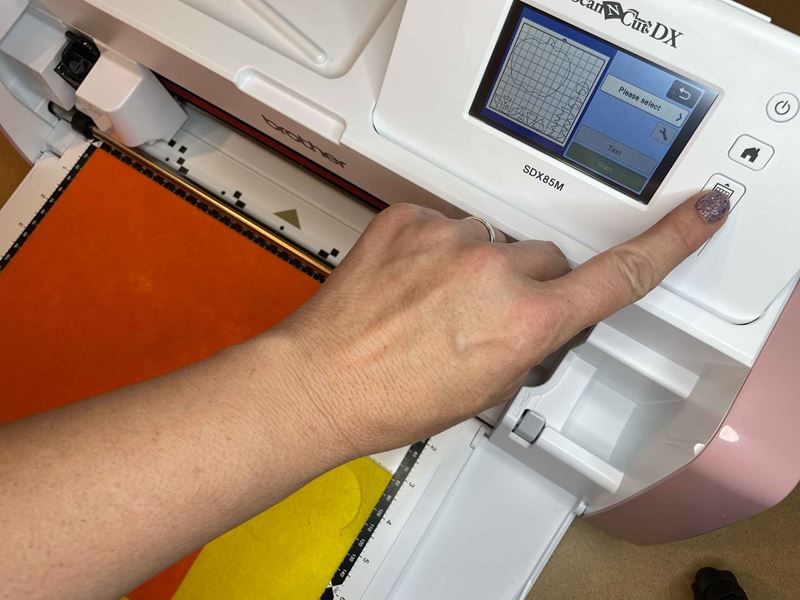
8. Place mat against rollers of your ScanNCut DX and press button to load mat.
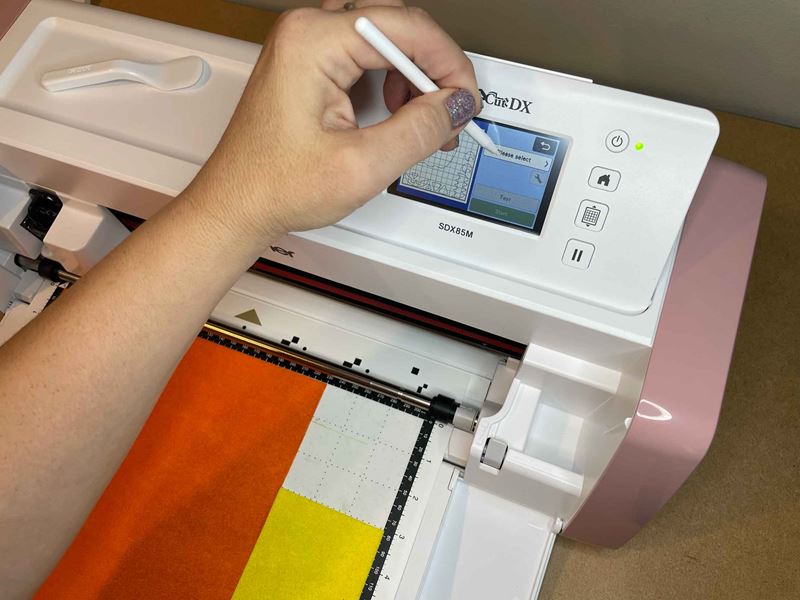
9. Using stylus click on “Please select” button.
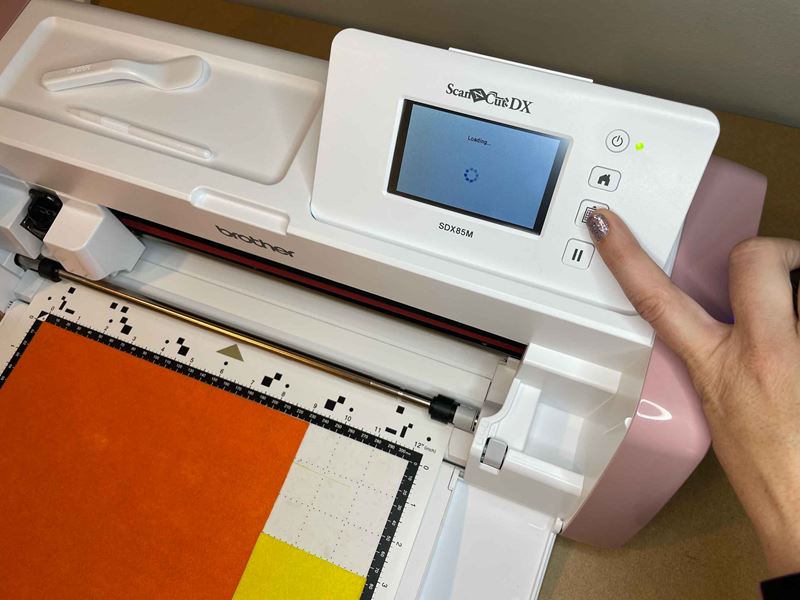
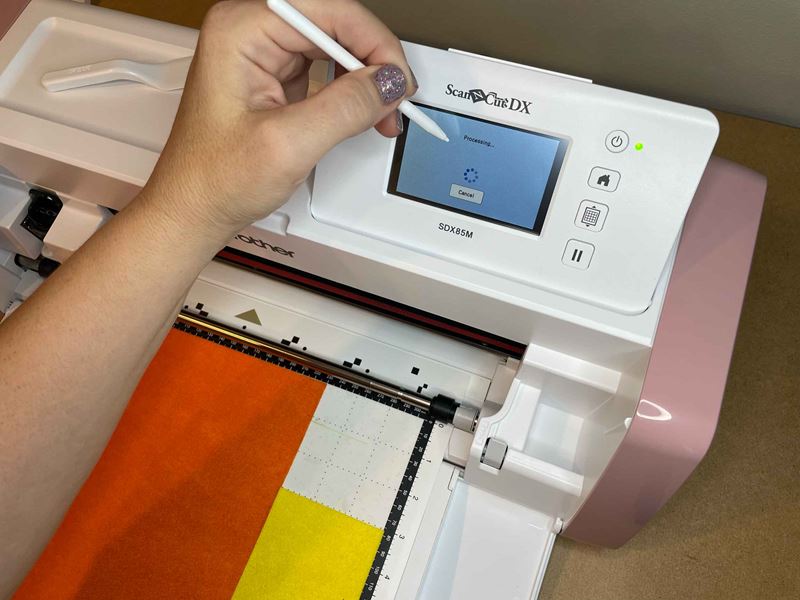
10. A processing screen will come up.
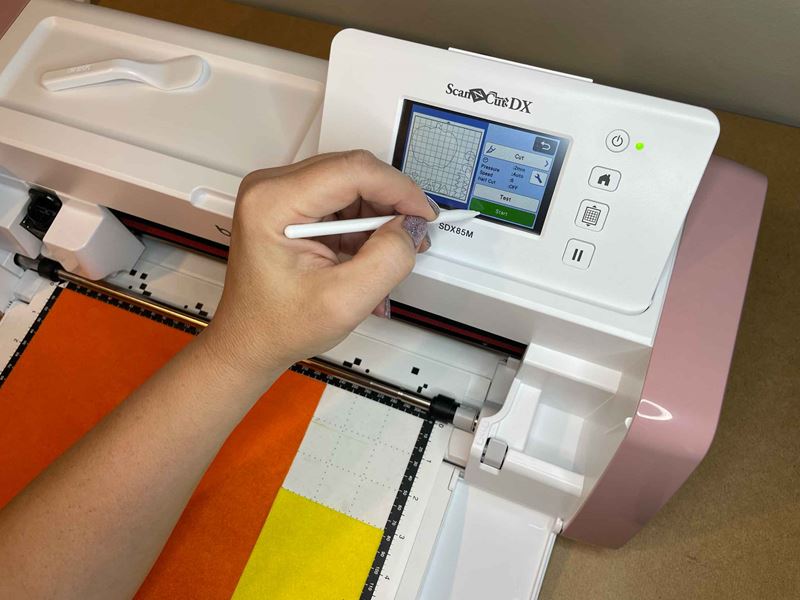
11. You will select the operation you want to perform. In this project I selected “cut.
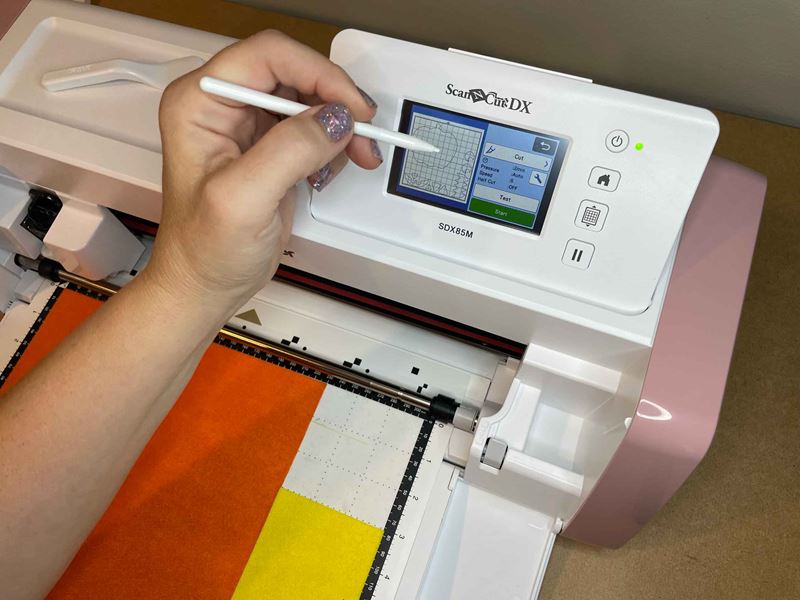
12. Press start to begin the cut.
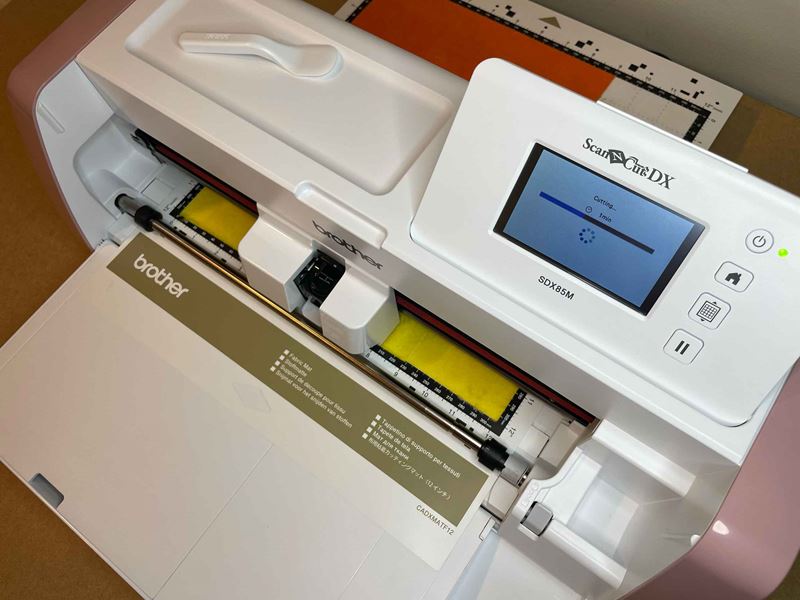
13. Progress screen while ScanNCut DX performs operation.
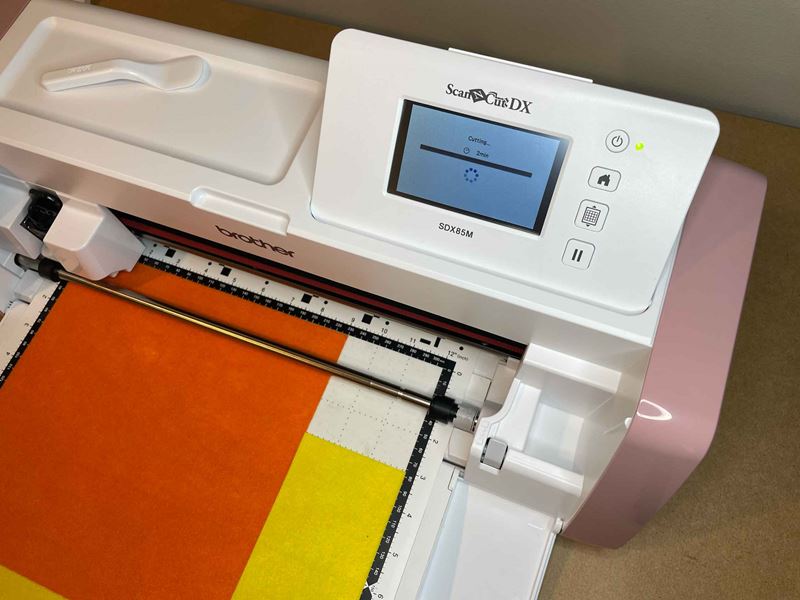
14. More progress while ScanNCut DX performs this operation.
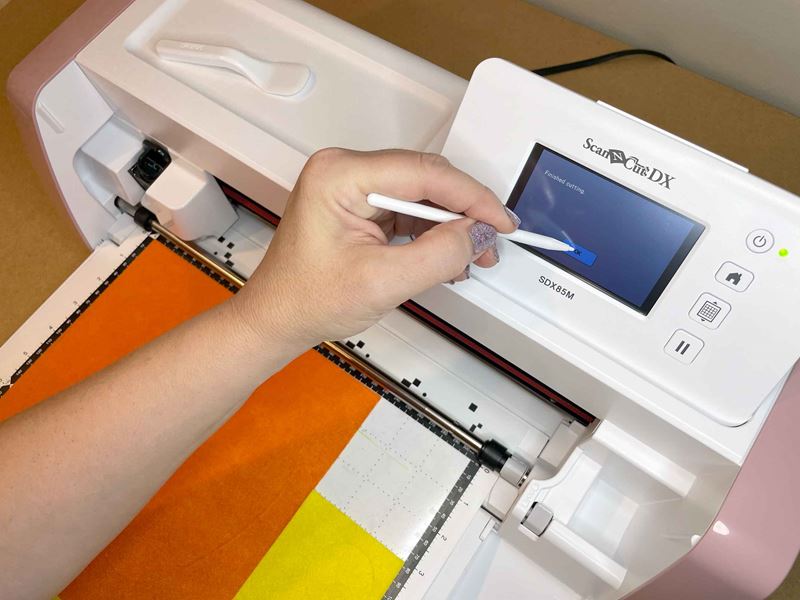
15. When complete, click ok.
16. Before unloading mat, use spatula tool to gently lift the edge of the felt to ensure it has been cut all the way through.
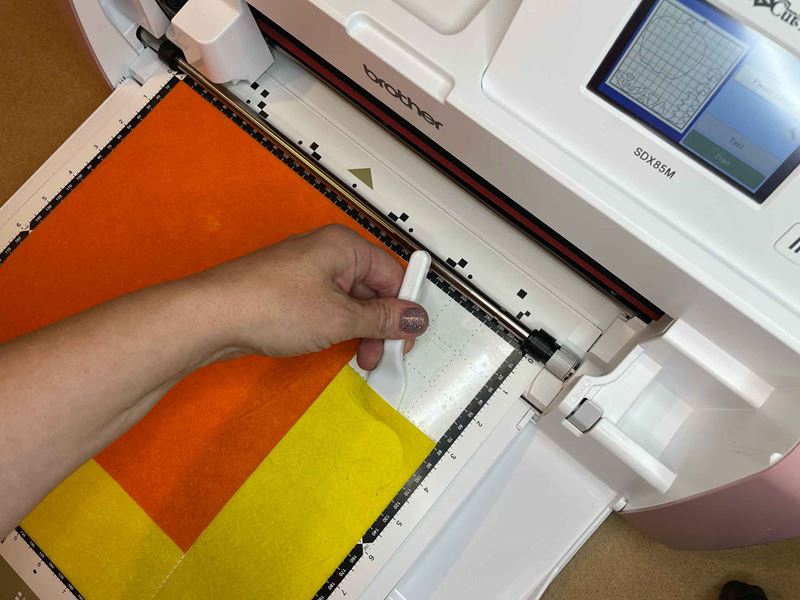
17. Gently peel felt up more with fingers to make sure it has cut through.

18. Press button to unload mat.
19. Gently peel unwanted felt off of the mat.

20. Now gently peel off Jack-O-Lantern pieces.
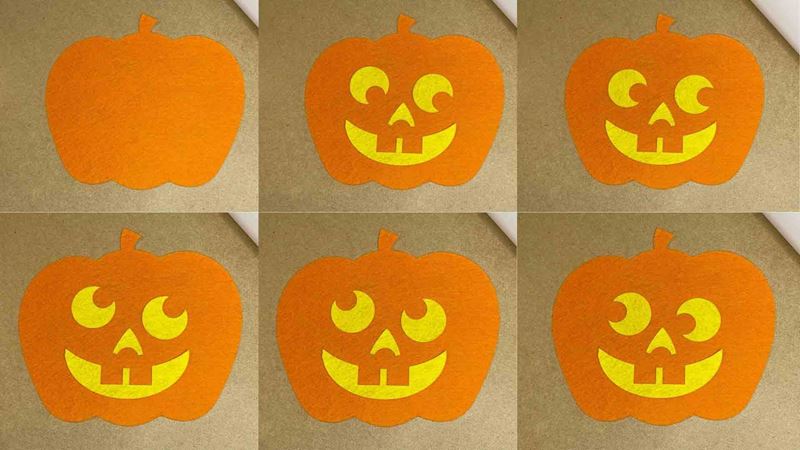
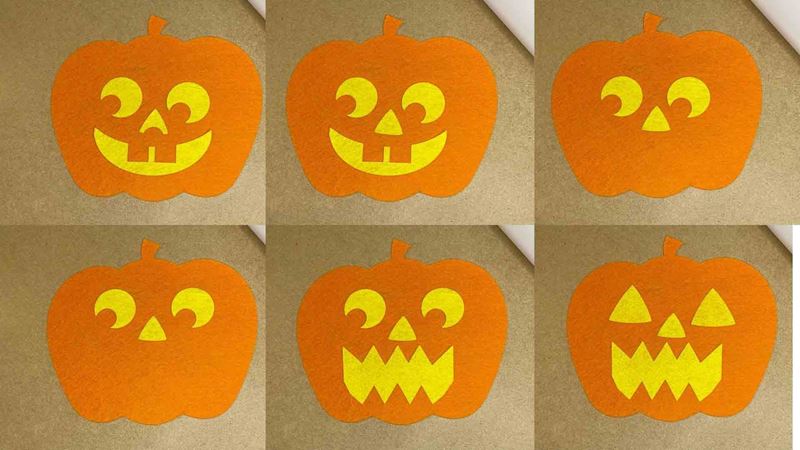
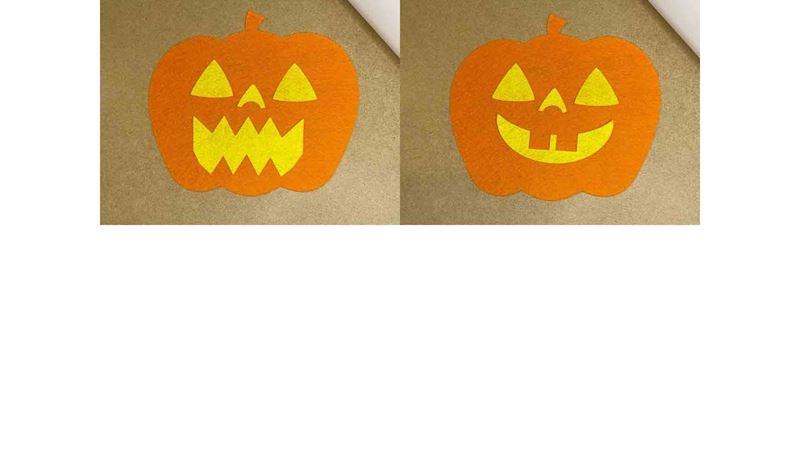
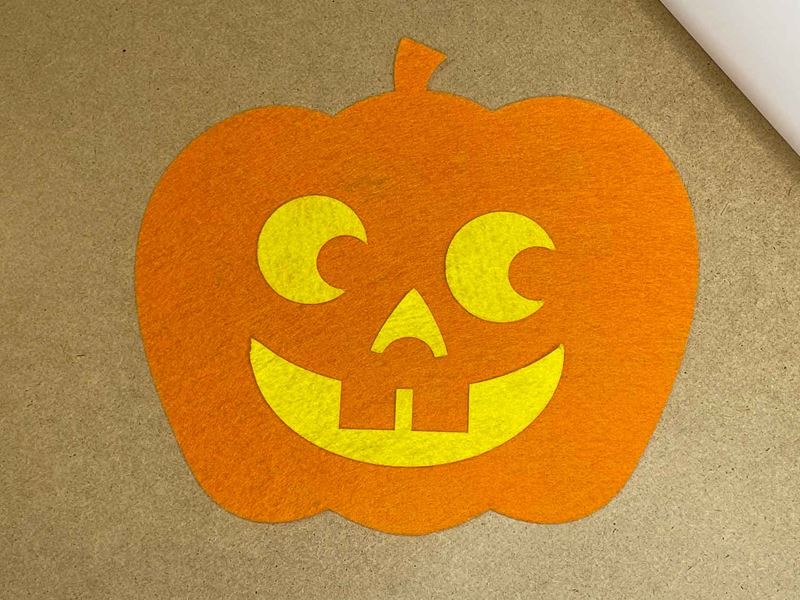
21. See how cute your Jack-O-Lantern looks with different shapes.
There are so many things you can do with this project. You don’t have to stick with a Jack-O-Lantern. You can make things for different holidays or events. Imagine a whole scene made with dinosaurs and trees. A flower garden where you can switch the flowers. Or leaves on a tree. You can make a dress up activity for your kids with different profession uniforms or outfits and accessories. The possibilities are endless and your child’s imagination can take flight! Happy crafting!
Tags
Shop this Project
No ScanNCut DX? No problem! Any products mentioned in this project are available to buy here.
Brother ScanNCut DX SDX85
- 251 Built in Designs
- True Auto Blade, no manually adjusting blade pressure settings
- Built-in Scanner; scan in hand-drawn creations and cut them out!
Related Projects
Stay Connected
* Required fields