Thanksgiving Inspired Projects for the Home
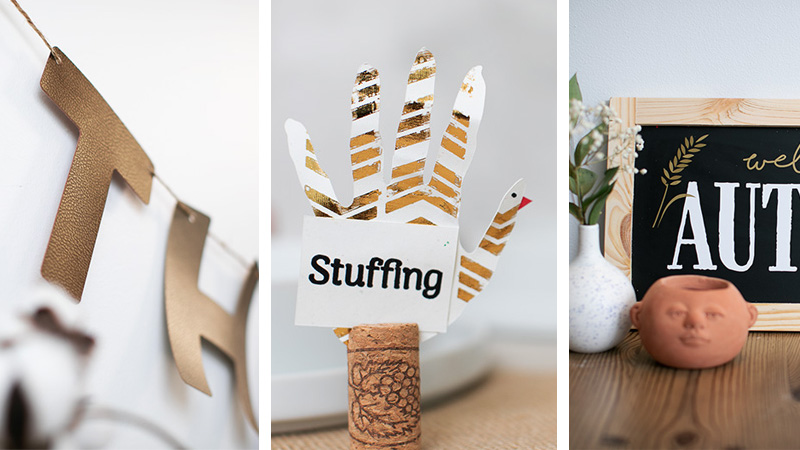
Time to get the home all dressed up for the holidays with a colorful assortment of Thanksgiving inspired projects!
You will need:
DIY Autumn Signboard • Signboard, about 15.5” w x 7.5”h, gold and white vinyl rolls, roll feeder, transfer sheets, ScanNCut, Auto Blade • sign_gold.fcm • sign_white.fcm
Turkey Hand Place Cards • White cardstock, Brother Foil Kit (using the gold foil), Auto Blade, Black drawing tool, Black drawing pen, ScanNCut DX, non-toxic adhesive, wine corks, utility knife • turkeyhands_foil.fcm • turkeyhands_labels.fcm

20-Minute Metallic Banner • Metallic faux leather in 2 contrasting shades, twine, ScanNCut, Standard Mat, High-Tack fabric support sheet, Auto Blade • thankful1.fcm • thankful2.fcm

Steps:
DIY Autumn Signboard1. Download “sign_gold.fcm” to your machine.
2. Load the roll feeder with gold vinyl.
3. Cut out the decal designs. Set aside.
4. Download “sign_white.fcm” to your machine.
5. Repeat steps 2-3 with the white vinyl.
6. For both the gold and white designs, weed away all excess vinyl.
7. Apply a piece of transfer sheet on top of each weeded vinyl design, using the sheet to remove the vinyl from the adhesive backing.
8. Using the transfer sheet, apply the white vinyl design to the center of your signboard. Carefully peel away the transfer sheet.
9. Next, trim the gold designs into three separate pieces, and use the transfer sheets to apply the decorative elements to your signboard. Reference the below image:
10. Done!
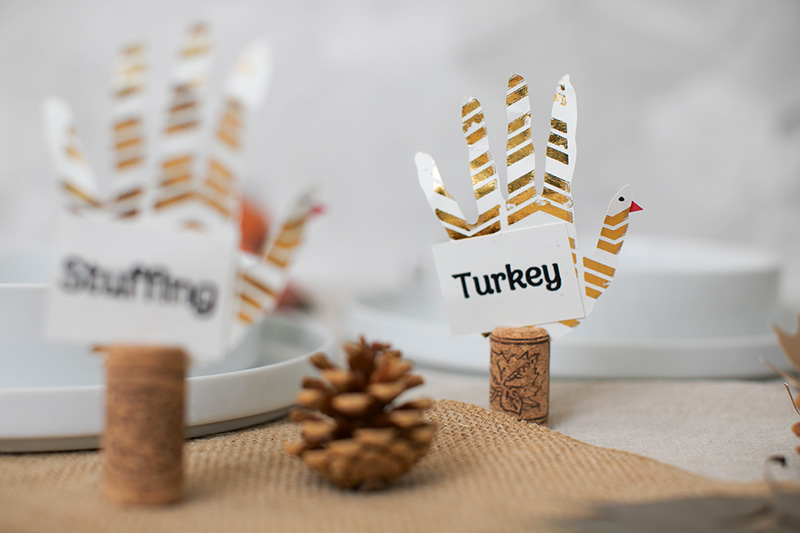
Turkey Hand Place Cards
1. First, get your kids! (Or, do this step yourself!) Use a black marker to trace around the shape of their hands on a piece of paper.
2. Open up the scanning function on the machine and select “Scan to cut data.” Scan the hand drawings and save as cut files to CanvasWorkspace.
3. Next, open up the Brother Foil kit and review the instructions.
4. Download “turkeyhands_foil.fcm” to your machine.
5. Select the “Add” button on the screen and load in the scanned cut data that you just created. Drag the hand shapes over the foiling chevron shapes on the screen, resizing if needed.
6. Load a sheet of white cardstock onto a low-tack mat. Make sure it’s firmly stuck down.
7. Select the text portions of the cut file on the screen (but don’t move them around). Double check that the fill setting is ON in the object edit section of the screen.
8. Move on to the next scree and choose the “Foil Glue” function.
9. Load the machine with the glue pen and its correct holder (comes with the Foil kit).
10. Press the start button. Wait until the glue pen is finished drawing.
11. Let the glue dry for a couple of minutes, until it has a shiny but not wet surface on the paper.
12. Take a sheet of gold foil and place it SHINY GOLD SIDE UP on top of the glued section. Press down to stick it to the glue.
13. Layer the Brother blue protective sheet (comes with the Foil kit) on top of the foil sheet. Affix to the mat with tape.
14. Change out the glue pen with the foiling holder and lock it into the machine.
15. Navigate to the screen where you can select the function and select “Foil2.”
16. Press the start button and wait until the function is complete.
17. Remove the protective sheet and carefully pull back the foil.
18. Finally, change out the foiling holder with the auto blade.
19. Navigate to the screen where you can select the function and select “Cut.”
20. Cut out the foiled pieces and set aside.
21. Next, download “turkeyhands_labels.fcm” to your machine.
22. Apply cardstock to a low-tack mat.
23. Select the “Draw” function. Select a pen and load it into the Pen tool.
24. Draw the design on the cardstock. When done, don’t remove from the mat.
25. Select the “Cut” function and load the Auto Blade into the machine.
26. Cut out the designs and set aside (feel free to customize these steps with the Text tool on the machine, for your own Thanksgiving table needs!).
27. Attach each label to a foiled turkey hand using non-toxic glue.
28. If desired, add extra embellishments like beaks and eyes to your turkeys using trimmings of scrap paper.
29. For each place card, get a wine cork and set aside.
30. Cut a slit down the center of each wine cork using a utility knife.
31. Insert each assembled turkey hand label into the slit of each wine cork.
32. Done!
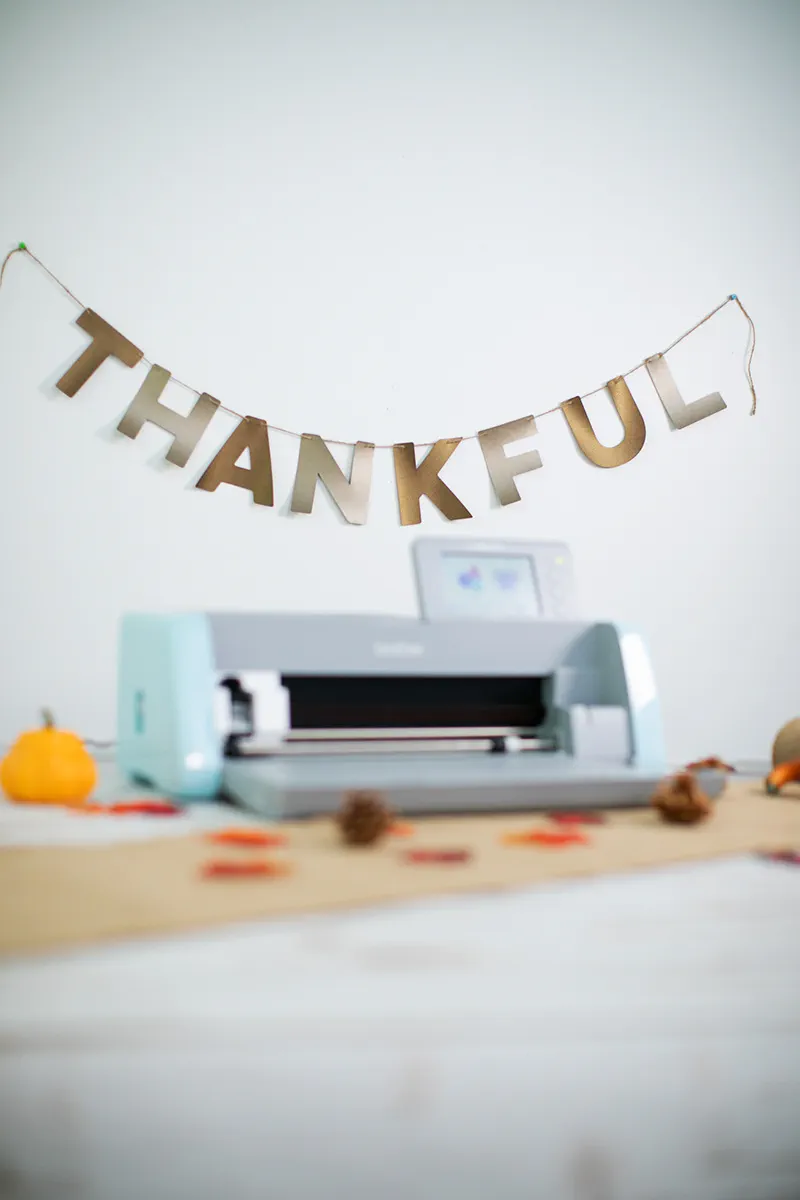
20-Minute Metallic Banner
1. Download “thankful1.fcm” to your machine.
2. Apply a sheet of metallic faux leather in the color of your choice to the Standard mat, using a high-tack fabric support sheet if needed.
3. Cut out the designs and set aside.
4. Download “thankful2.fcm” to your machine.
5. Repeat steps 2-3 with a contrasting color of faux leather.
6. Take a length of twine and thread it front-to-back of the left side of the first letter (“T”), around the backside of the cutout, and then back-to-front on the right side of the cutout.
7. Repeat this process for the remaining letters.
8. Tie off the twine in two knots at the beginning and end of the garland to secure.
9. Hang up your garland wherever you desire!
Related Projects
Stay Connected
* Required fields