Working with Shrink Material
Brother Crafts Blogger
Walking the aisles of your favorite craft store, ideas easily start to build up as you find new items. Shrink material is something we never thought to find at the craft store, but there it was! This fun childhood memory can be easily revisited and made new again in no time. Materials: Brother ScanNCut machine, shrink material, oven, acrylic paints, clear protective coating
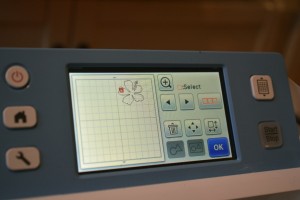
Step 1: Shrink material works great with ScanNCut. Simply use these settings: Standard Cut Blade depth: “5,” Cut Pressure: “4,” Cut Speed: “1.” (Note: Depending on the material you find, you may want to do a test cut before attempting your own design). If you are creating a keychain, make sure to add a circle for a hole to your ball chain. We used a .5-inch circle for this hole, since it will shrink in the baking process.
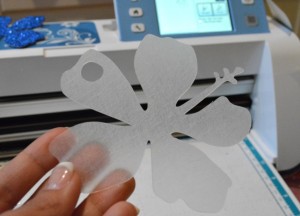
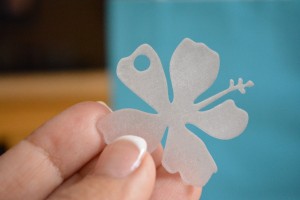
Step 2: Once your design is cut, follow the directions on your shrink material packaging and bake it for the appropriate time.
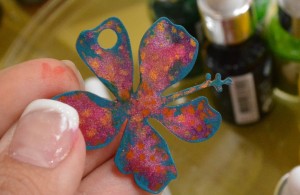
Step 3: Once baked, start painting your design onto the rough side of your design. For this coloring, we used pink with orange polka dots in a metallic acrylic paint.
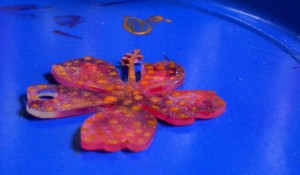
Step 4: Then we added a bit of matte turquoise paint to the edges to outline the detail of the designs that were cut.
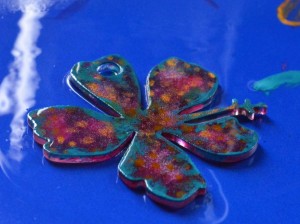
Step 5: Next, apply a clear protective coating over the top.
Related Projects
Stay Connected
* Required fields