Using ScanNCutCanvas and ScanNCut to Make Heart Boxes
Opinion by Paid Consultant

I found a great template (with detailed instructions) for making heart shaped boxes here.
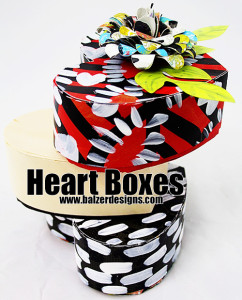
I took the template and converted it over to a ScanNCut file, which I used to make my three boxes:
There are several ways to convert an existing template over to a ScanNCut file. You can:
- Scan it into your ScanNCut and use the on-screen editing functions to clean up the file (get rid of any text or written instructions, etc.).
- Use ScanNCut Canvas to convert a .jpg to an .fcm file and use the editing functions within ScanNCut Canvas to clean up the file. One of the bonuses of using ScanNCut Canvas is that you can add a perforation line. Great for a box like this, which involves folding.
- Use Adobe Illustrator to do your editing first. Then export the file as an .svg and use ScanNCut Canvas to convert the .svg file to an .fcm file. (This is what I did.)
Any of the methods will work. It just depends on what you feel comfortable with!
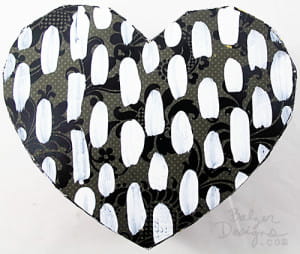
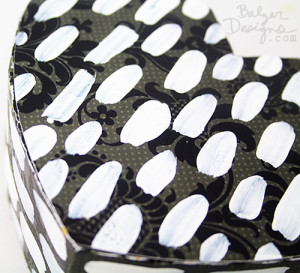
For this box, I painted patterned scrapbook paper to make it more my own.
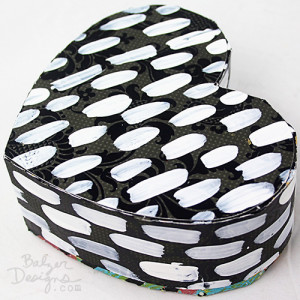
The box is made of two halves. If you look at the templates, the top is slightly larger than the bottom.
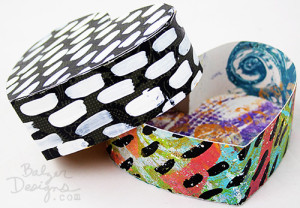
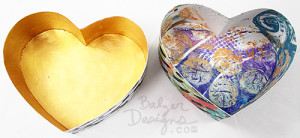
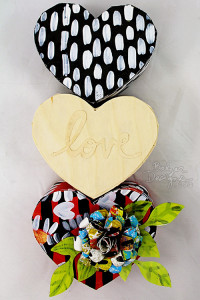
I painted the inside of the lid to finish it off. For the bottom, I used a piece of watercolor paper that had painting on both sides already. For my second box, I used wood veneer!
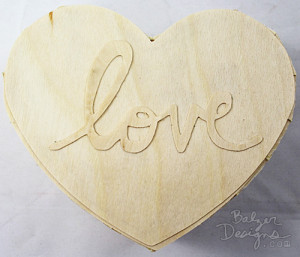
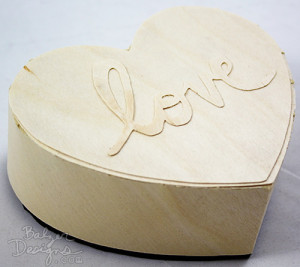
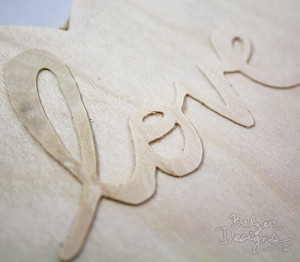
It was my first time cutting wood veneer with my ScanNCut and it worked great! I used the standard blade at a blade depth of 9 and a speed setting of 1. Of course, all wood veneer is not the same, so you should do a test on your machine before cutting.
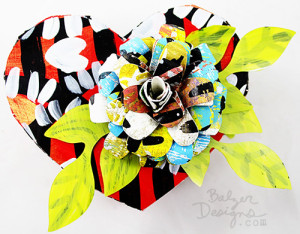
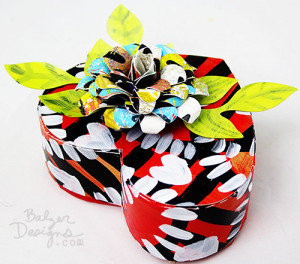
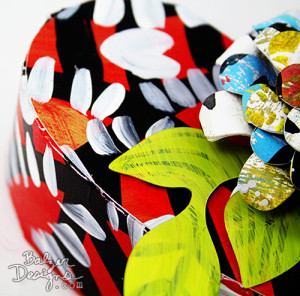
This next box is made from scrapbooking cardstock that I painted with acrylic paints. I added a big dimensional flower for some extra flair!

I hope you'll give making your own heart boxes a try! They're super cute and easy to make! Talk to you next week!
Related Projects
Stay Connected
* Required fields