DIY 3D Floral Wall Art Craft
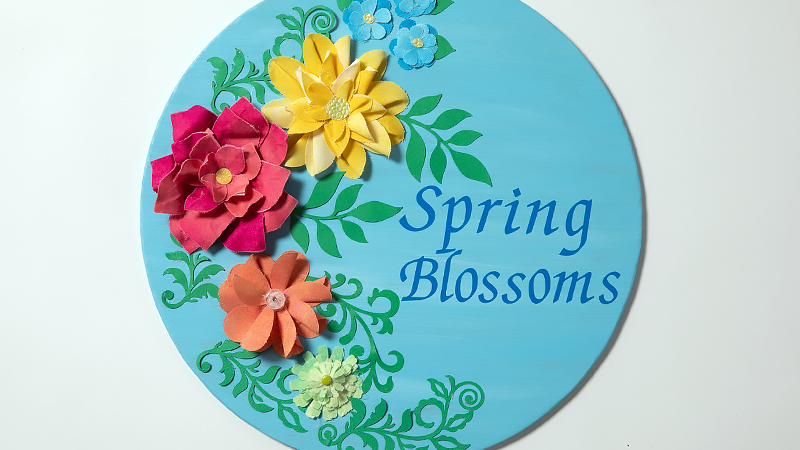
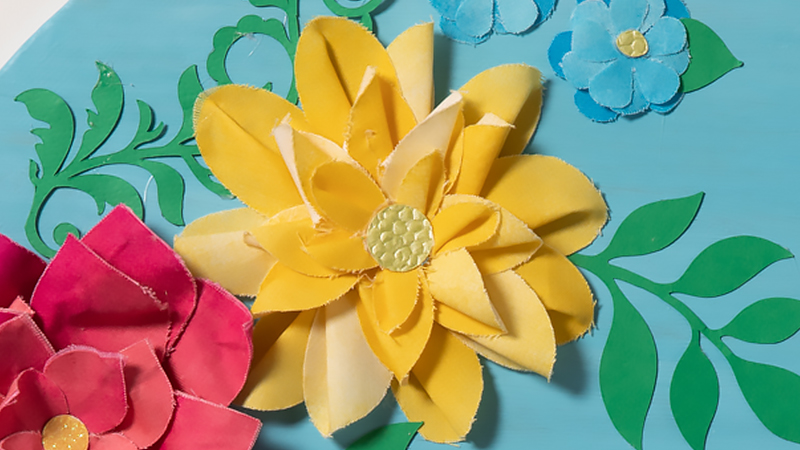
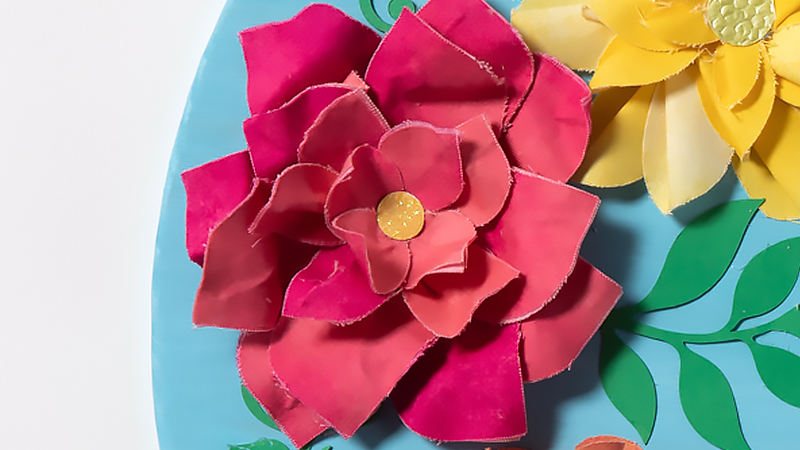
Add some festive spring florals to your home with this gorgeous 3D flower wall hanging! You can create this craft with a little help from your Brother ScanNCut DX machine, giving your home a burst of color and life! This 3D craft is a great gift too, and a perfect spring crafting activity. Read on to find out how to make this fun DIY flower craft for yourself.
Materials:
- Auto Blade
- Thin Fabric Auto Blade
- Vinyl Blade
- Low Tack Mat
- Fabric Mat
Assorted fabric scraps
- Blue: 6” x 6”
- Yellow: 8” x 12”
- Hot Pink: 12” x 12”
- Peach: 6” x 12”
- Green: 4” x 12”
- Adhesive Vinyl (for words) in your choice of color 2” x 11”
- Cardstock: 1- 12” x 12” & 1- 12” x 6” of green
- 1- 2” square of embossed yellow
- 1 small decorative small button for peach flower center
- 1 craft mini brad fastener for green flower center
- Glue gun and hot glue sticks
- Fine gage wire for shaping the hot pink flower
- Invisible tape
- Unfinished 16” round wood piece
- Wood paint/acrylic craft paint – your choice of color
STEP 1- Place full sheet of green cardstock on Low Tack mat and load into machine; insert the auto blade
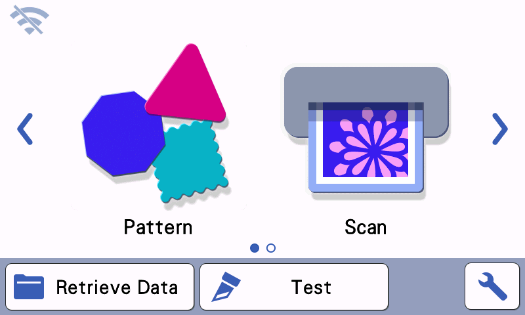
- TAP Pattern
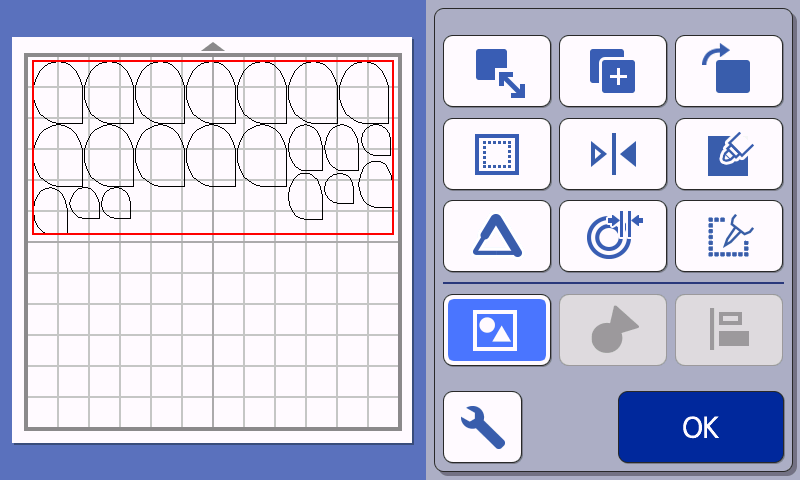
STEP 2
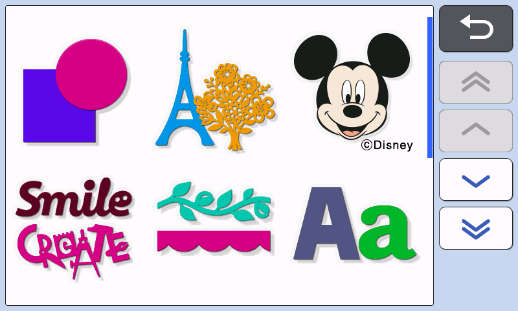
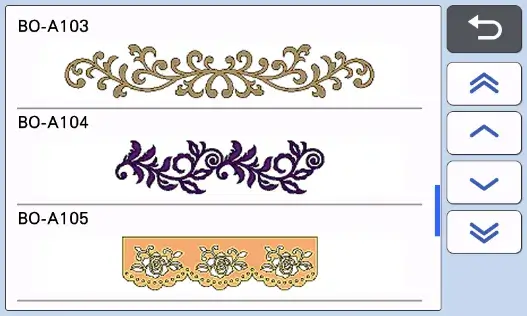
- Select Trims and Borders Category
- Choose Design BO-A105
- Change # to 2 --> Press SET
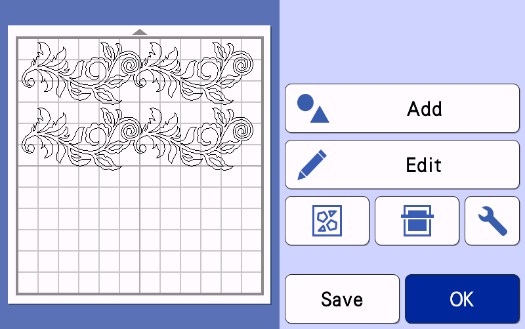
STEP 3
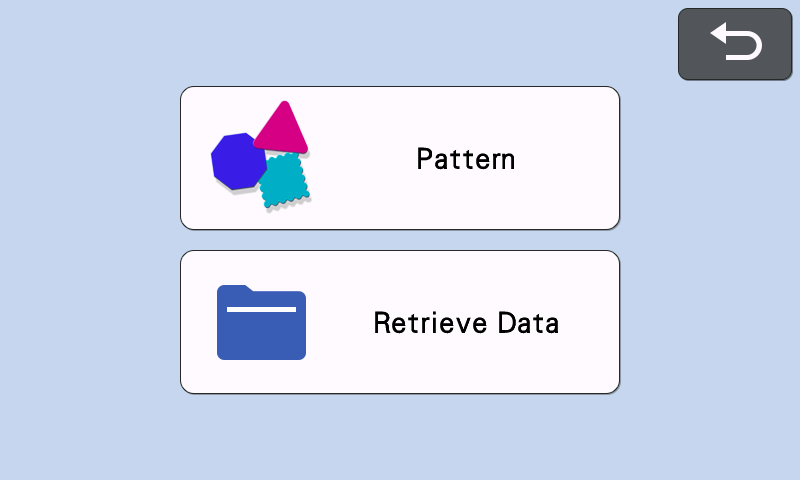
- Tap ADD --> Tap PATTERN
- Select General Category
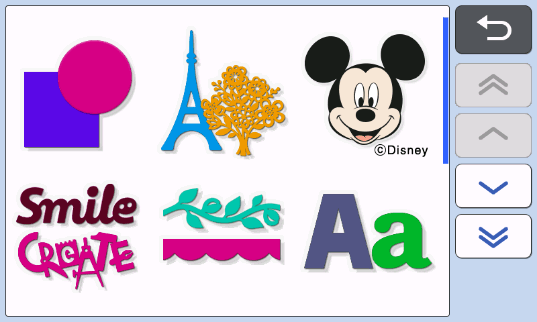
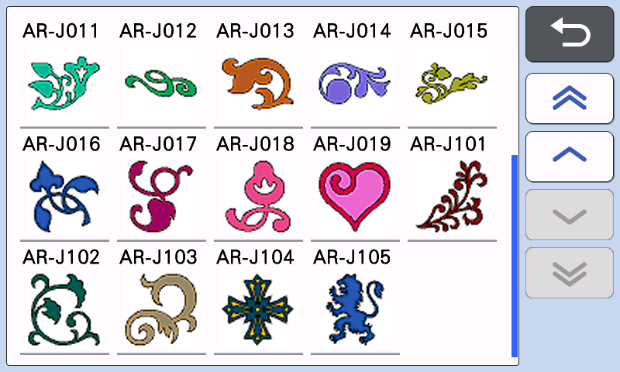
- Select Decorative Flourishes
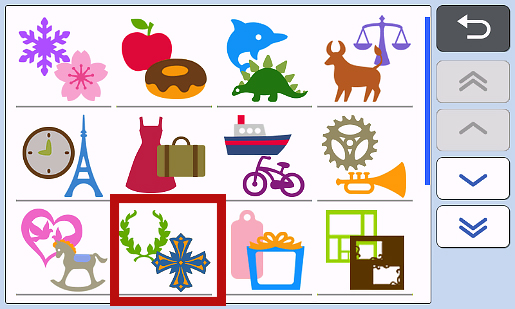
- Choose Design AR-J101--> Click OK--> Click OK --> CHANGE # to 2--> Click SET
- Select Pattern and position in lower left quadrant
- Tap ADD
- Press PATTERN
- Select General Category
- Select Nature
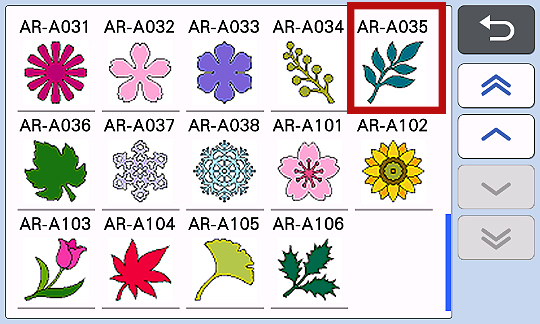
 Choose Design AR-A035--> Click OK--> Click OK--> Click SET
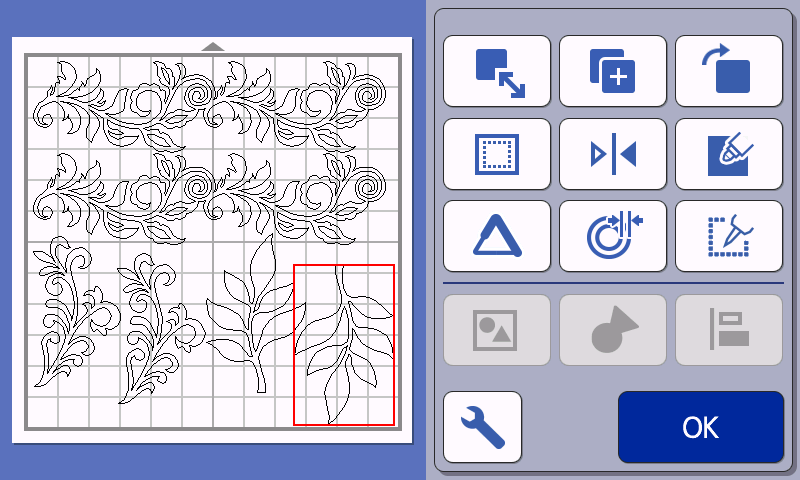
- Tap EDIT--> Click OBJECT EDIT--> Click COPY--> NUMBER-2 --> OK
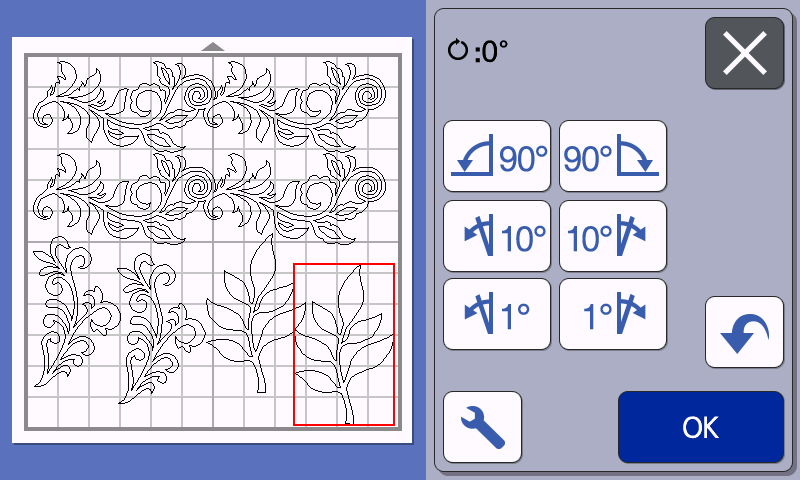
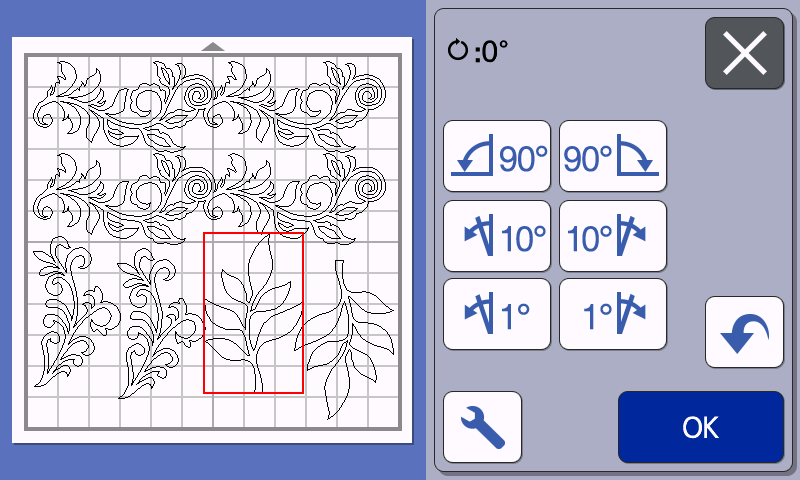
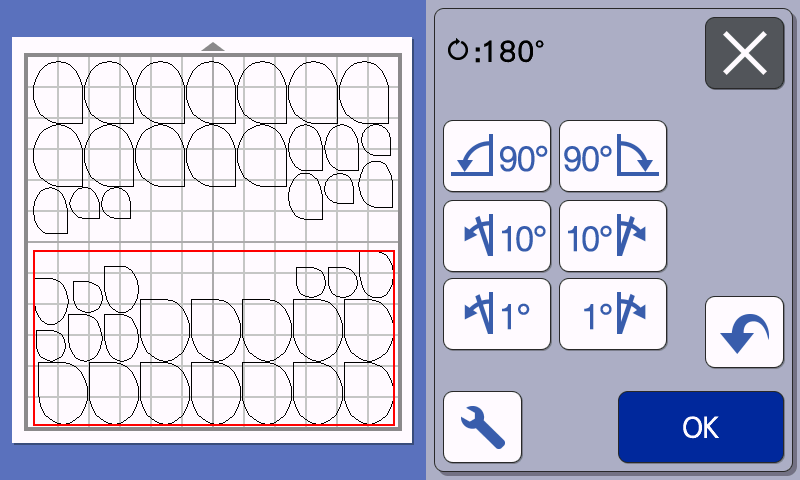
- Select ROTATE--> Choose 90°, TWICE--> Drag so that patterns are not touching--> Click OK--> Click OK--> Click OK--> Click OK
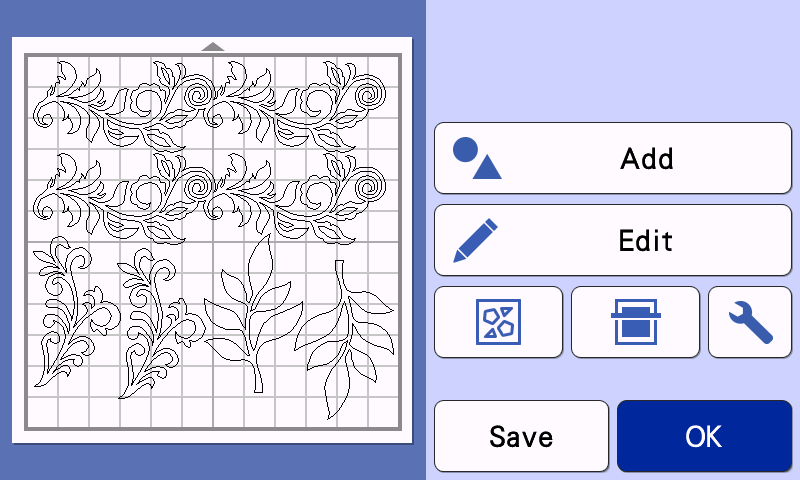
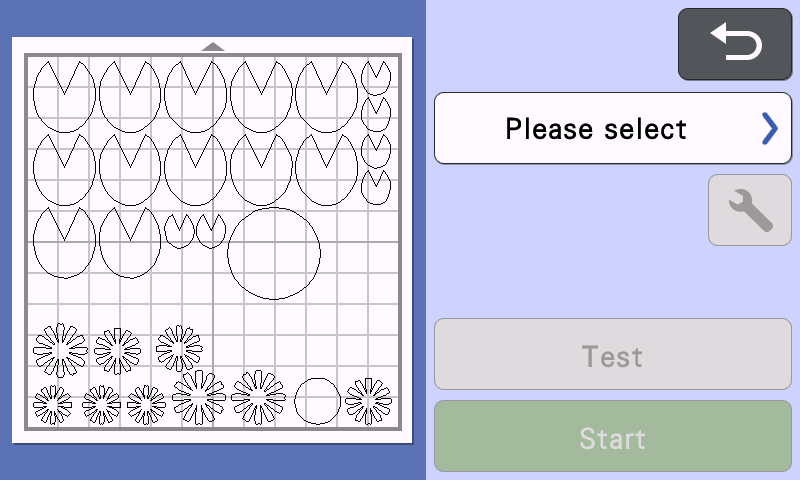
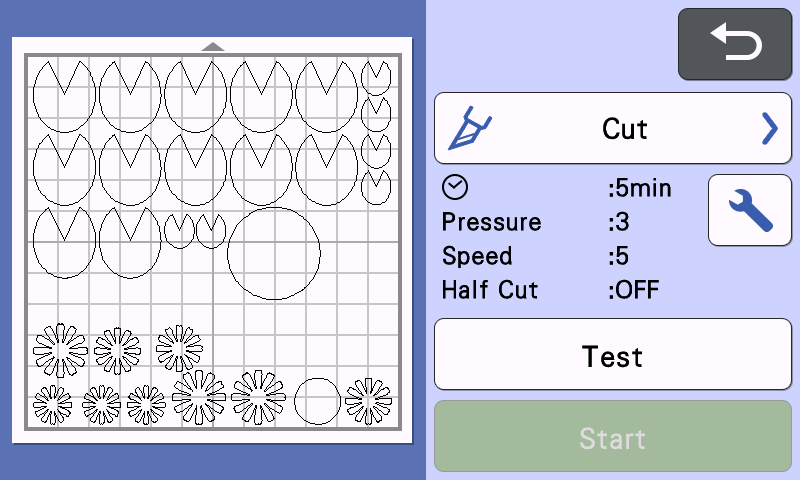
- Tap PLEASE SELECT--> Choose CUT --> Press START--> Click OK--> Press HOME--> Click OK
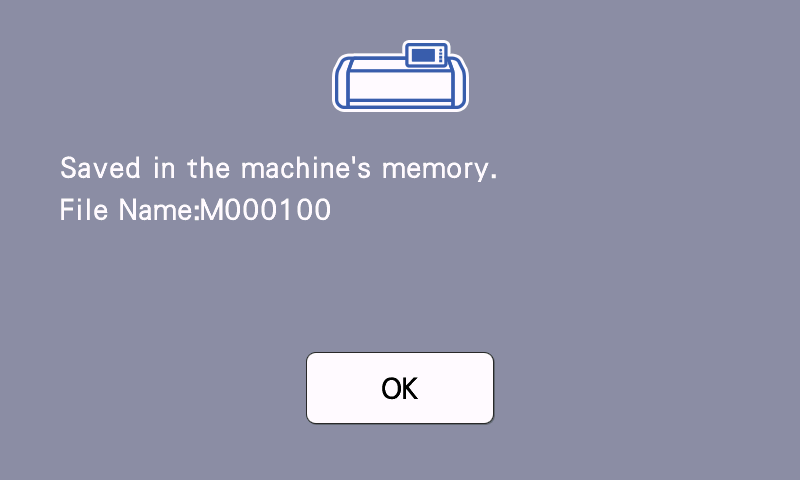
- Press RETURN and SAVE DESIGN--> Click HOME--> Click OK
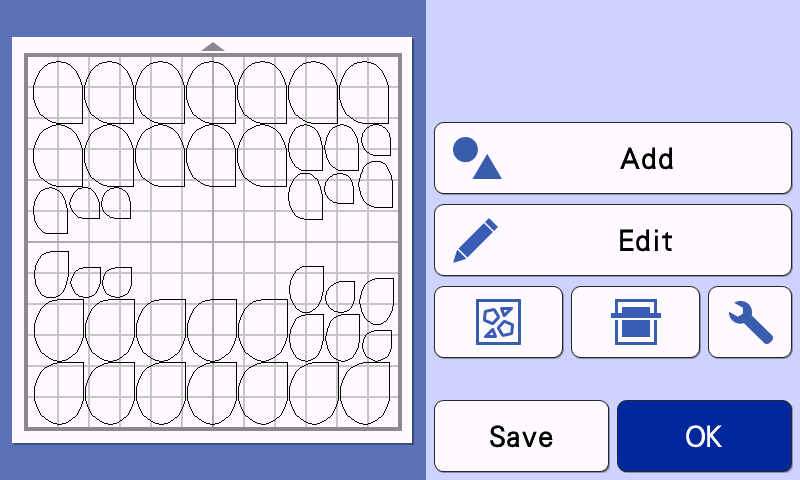
- Tap PATTERN
- Select General Category
- Select Nature
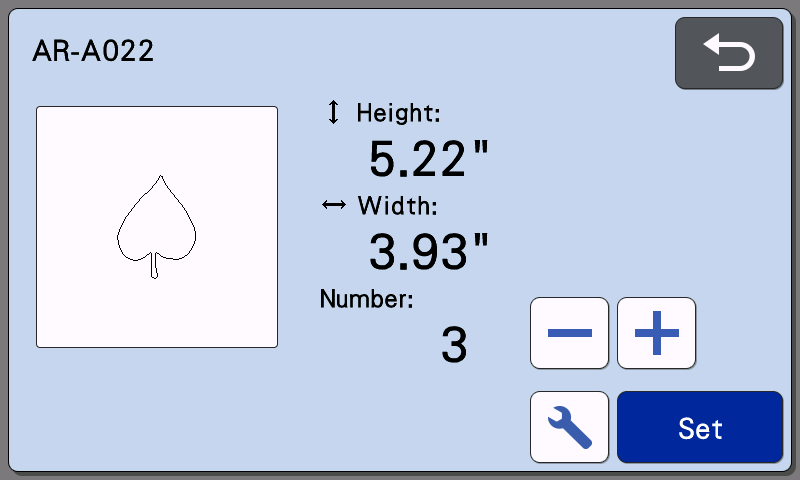
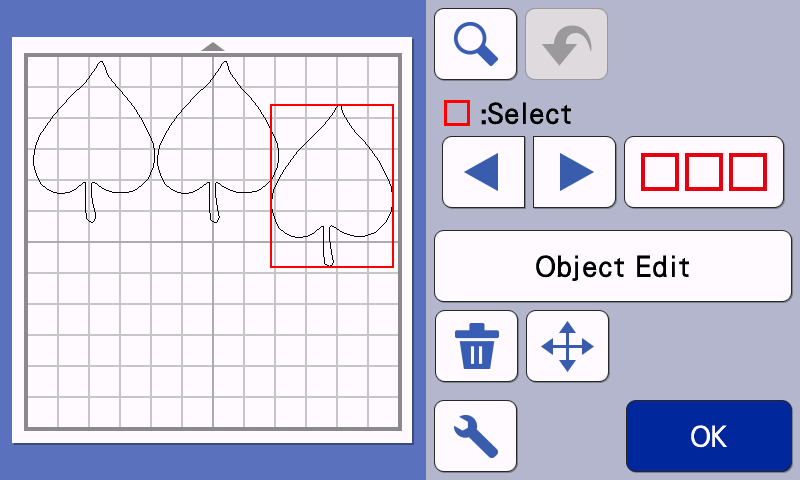
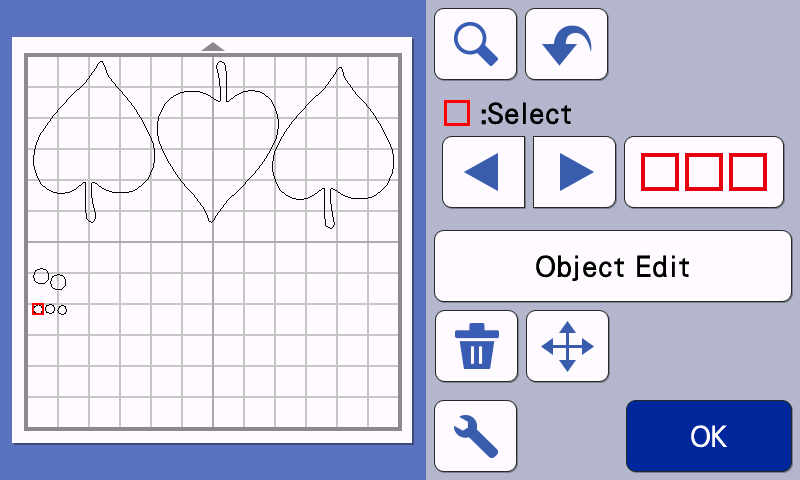
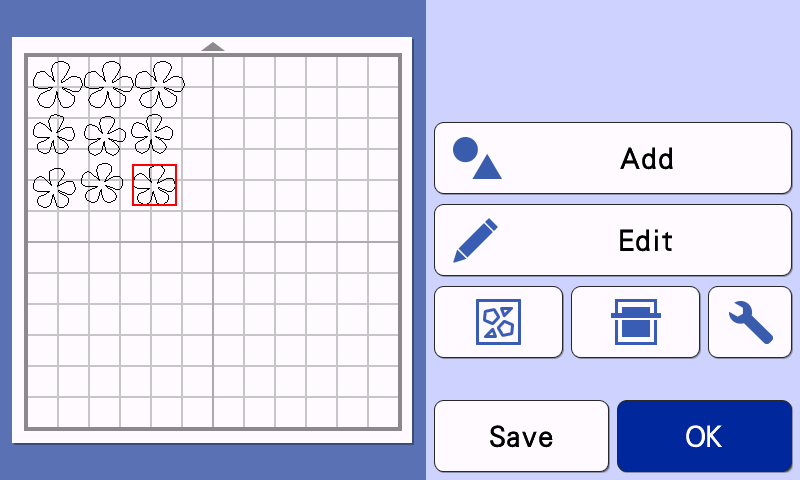
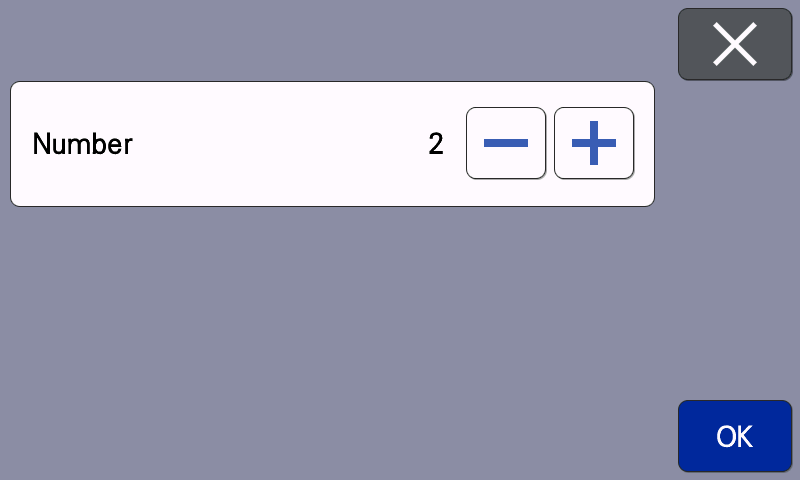
- Choose Design AR-A022--> Click OK--> Click OK--> Change NUMBER to 3--> Click SET--> Click EDIT--> Click OBJECT EDIT--> Select middle pattern--> ROTATE 90° CLOCKWISE--> Tap 3RD pattern and move to upper right corner--> Click OK--> Click OK--> Click OK


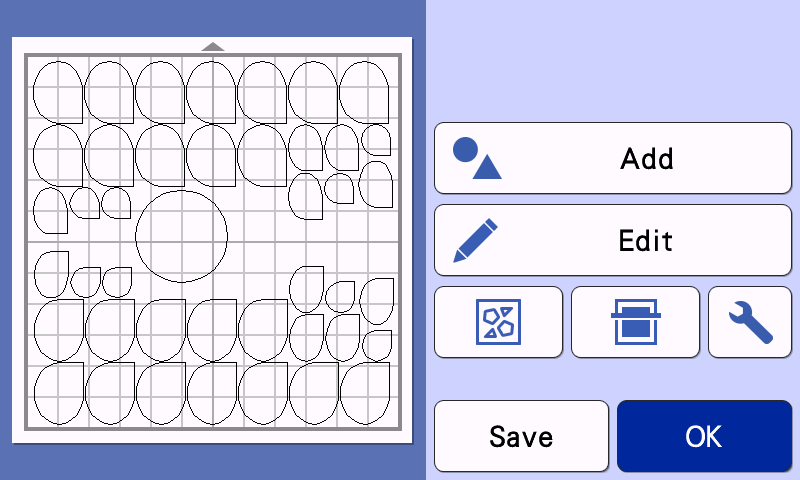
- Tap ADD--> Click PATTERN--> Click SHAPES--> Choose CIRCLE #BA-045

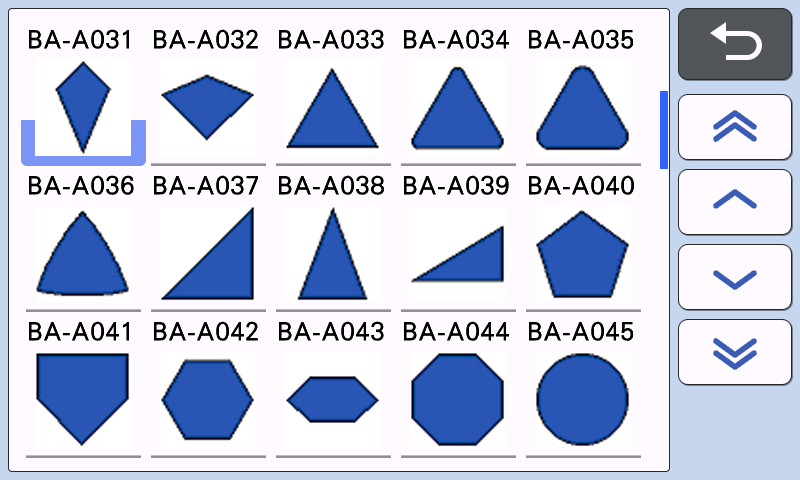
- Change SIZE to .50” x .50” and NUMBER to 2--> Click SET
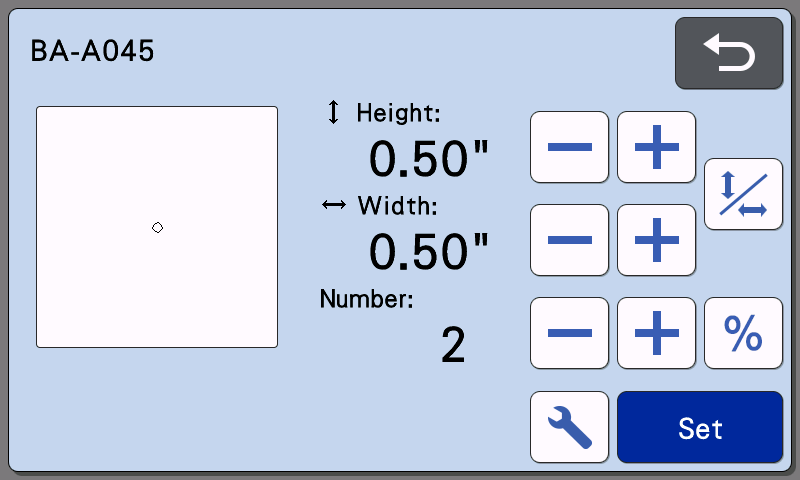
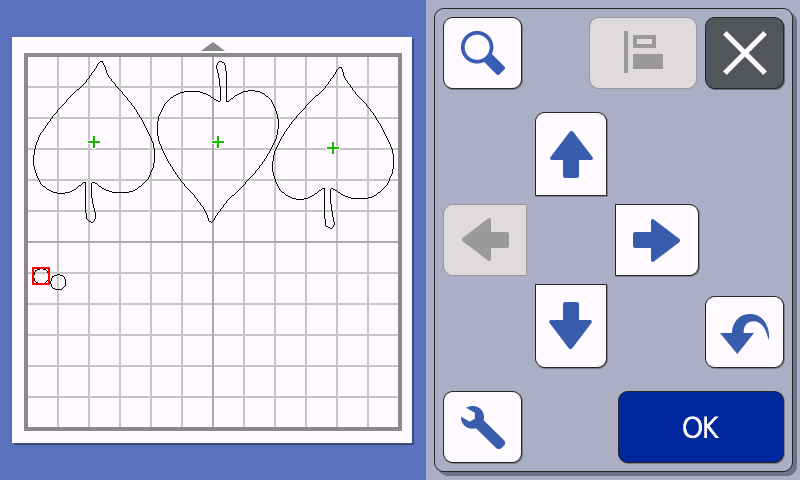
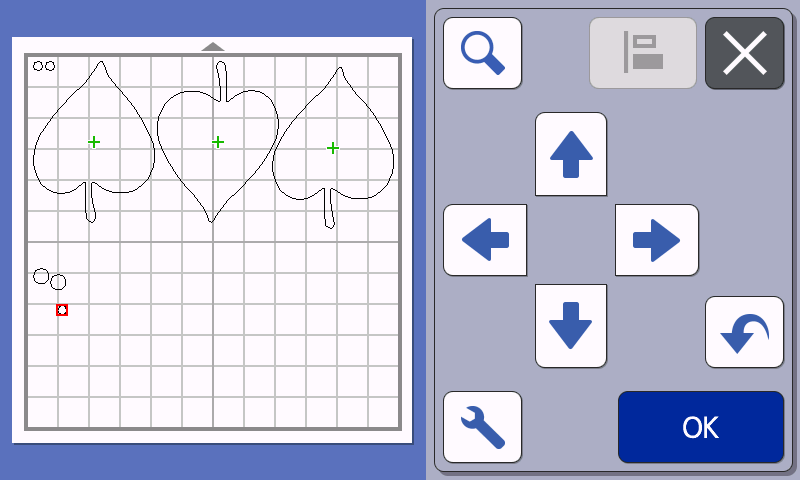
- Move the circles to lower left quadrant OK OK
- Tap ADD PATTERN--> Click SHAPES--> Choose CIRCLE #BA-045
- Change SIZE to .30” x .30” and NUMBER to 3 SET

- Move the circles to lower left quadrant--> Click OK--> Click OK
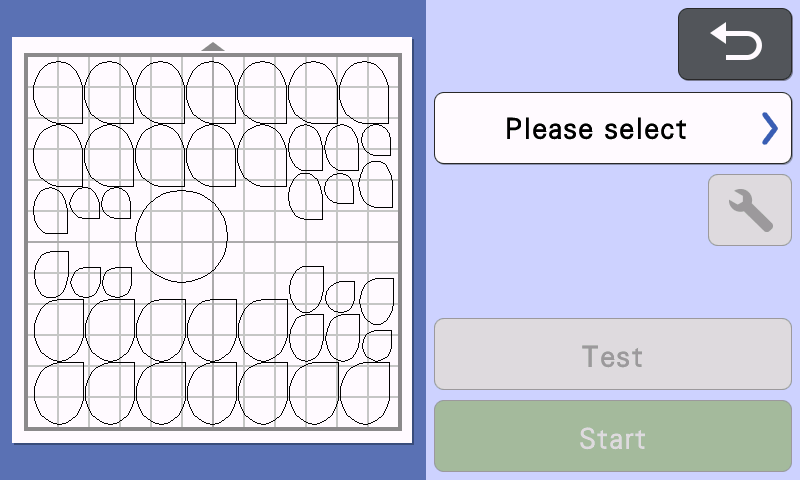
- Scan mat

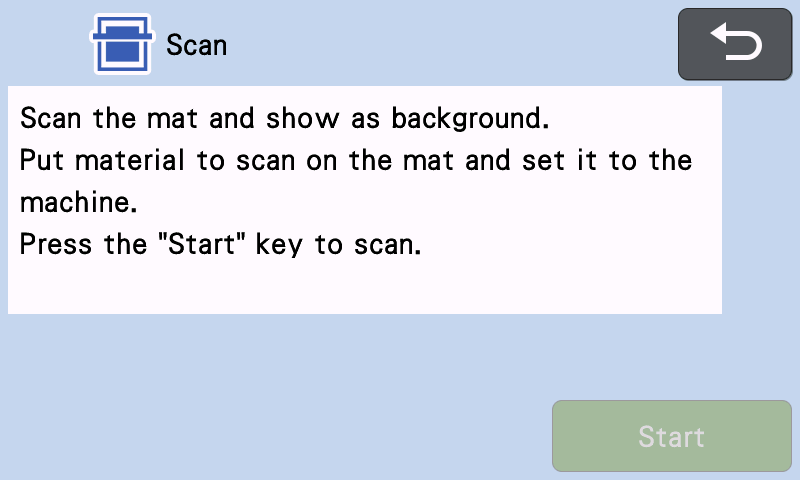
- Click OK
- Please select CUT--> Click START--> Click OK
- Place 2nd green cardstock and yellow embossed cardstock on Low Tack mat and load into machine
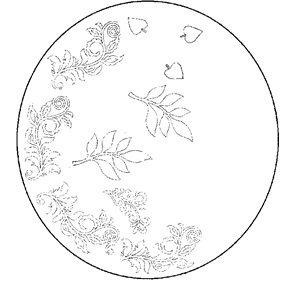
- With scissors, cut each border section in half. (See illustration)


 FLOWERS
Change to Fabric Mat and Thin Fabric Auto Blade. Place blue fabric and peach fabric on mat, side by side. Load into machine.
FLOWERS
Change to Fabric Mat and Thin Fabric Auto Blade. Place blue fabric and peach fabric on mat, side by side. Load into machine.

- Tap Pattern
- General Category
- Nature
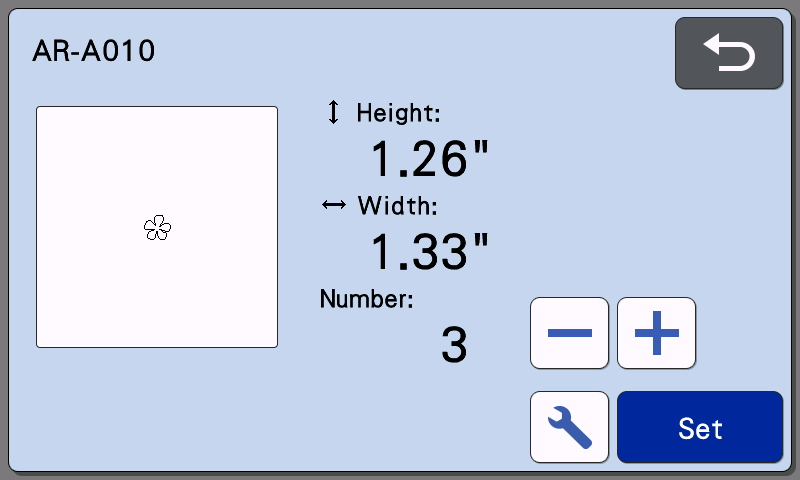
- Choose Design #AR-A010--> Change size to: H= 1.50--> Click OK--> Click OK--> Change NUMBER to 3--> Click SET


- Follow steps above and choose Design #AR-A010 again BUT now, Change size to: H= 1.28--> Click OK--> Click OK--> Change NUMBER to 3


- Choose Design #AR-A010 one last time and change size to: H= 1.26--> Click OK--> Click OK--> Change NUMBER to 3--> Click SET
- Position patterns on mat to fit in upper left quadrant
- Tap ADD
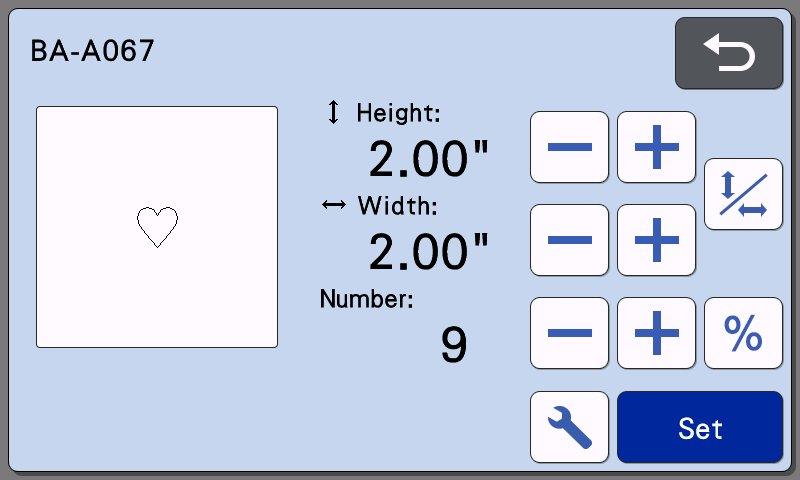
- Click PATTERN--> Click SHAPES--> Choose #BA-A067
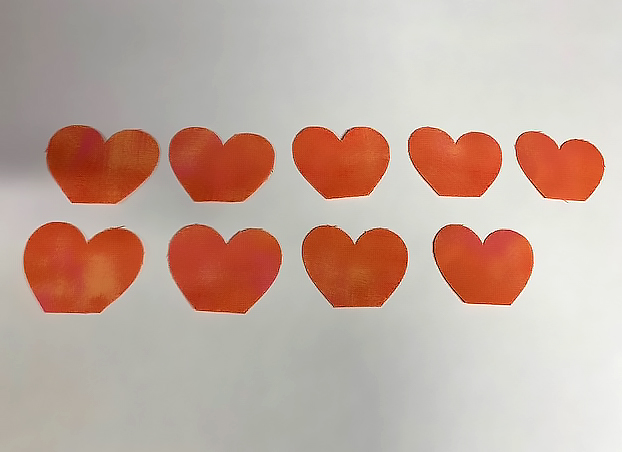
- Change SIZE to 2” X 2” and NUMBER to 9--> Click SET
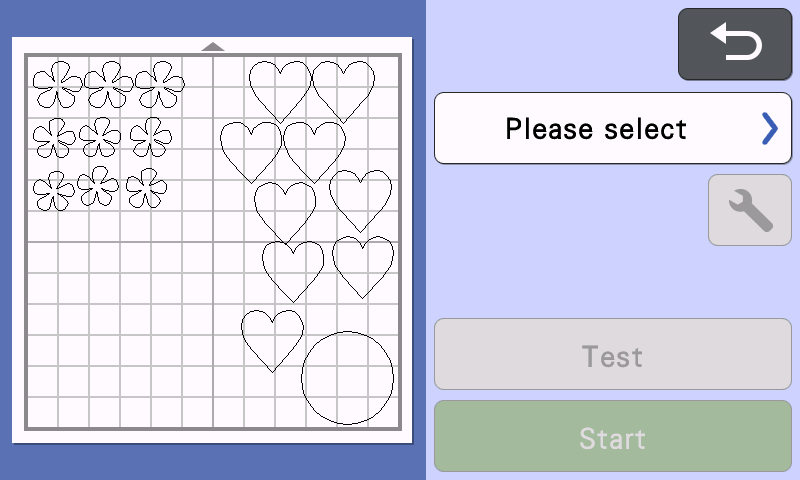
- Move hearts to right side of screen, vertically

- Click ADD--> Click PATTERN--> Choose SHAPES--> Choose #BA-A045--> Change SIZE to 3”--> Click SET--> Move circle to fit on side with hearts

- Tap PLEASE SELECT--> Click CUT--> Click START--> Click OK--> Click HOME--> Click OK
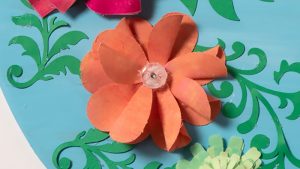
 Construction Peach Flower
- Trim the pointed ends of the hearts approximately ⅜”
- Create a pleat at the end of the flat edge of heart. Hot glue a drop of glue to hold pleat
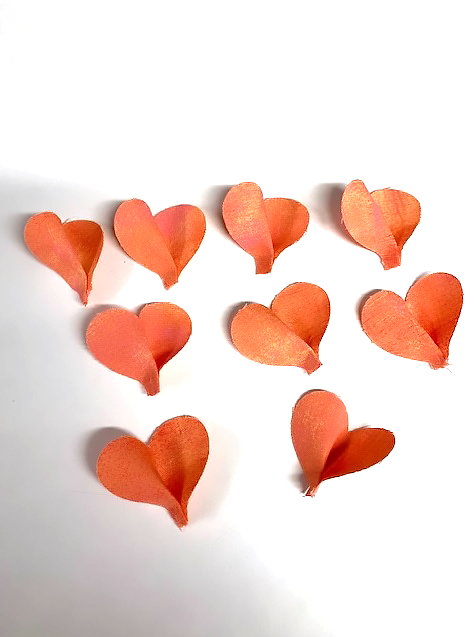
- To assemble, layer five heart petals around the circle. Assemble the remaining four heart petals on top of the first row of heart petals and space evenly
- Use hot glue to add a decorative button in center of flower. Set aside
- To assemble, layer the large, medium, and small flower on top of each other in size order, largest to smallest.
- Glue the flowers in place with hot glue gun.
- Glue small yellow embossed cardstock circle in the center of each flower. Set aside.
- Put yellow and green fabric on Fabric Mat
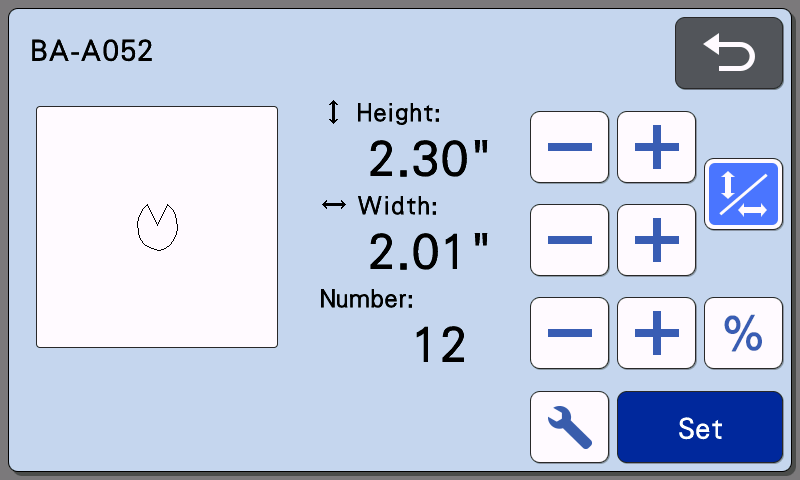
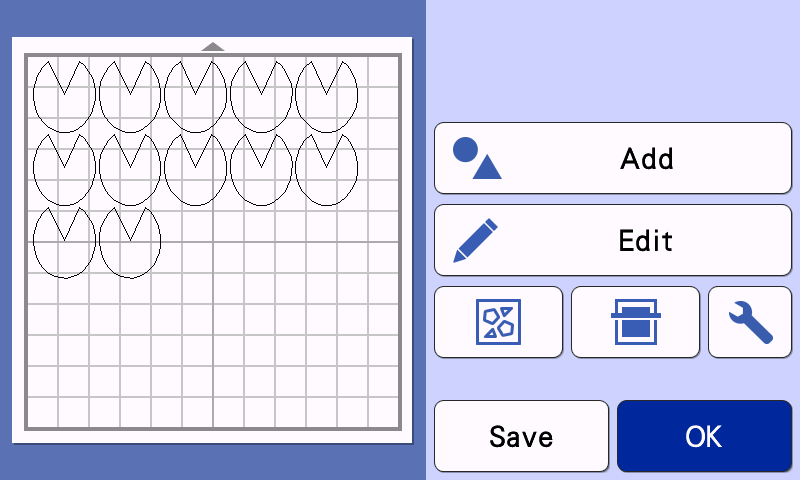
- Tap PATTERN-->SHAPES #BA- A052-->Change SIZE H= 2.30” W= 2.01”
- Change NUMBER to 12--> Click SET-->ADD
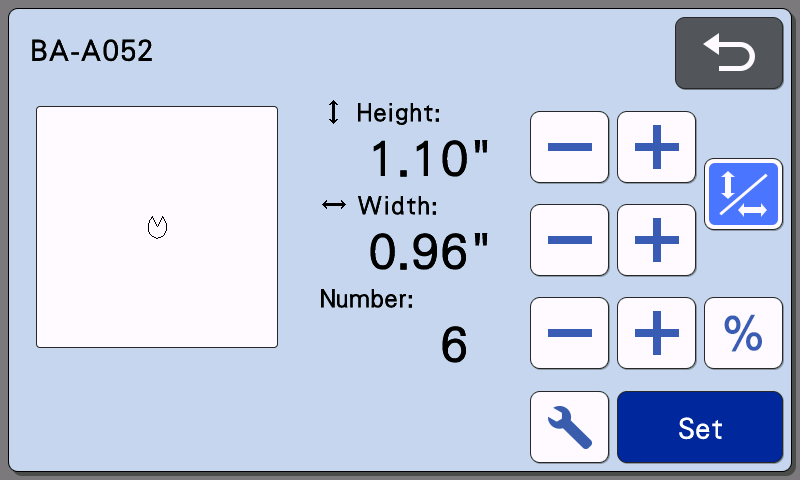
- Tap PATTERN--> Click SHAPES--> Choose #BA-A052--> CHANGE SIZE H=1.10” W=0.96”-->Change NUMBER to 6--> Choose SET-->ADD
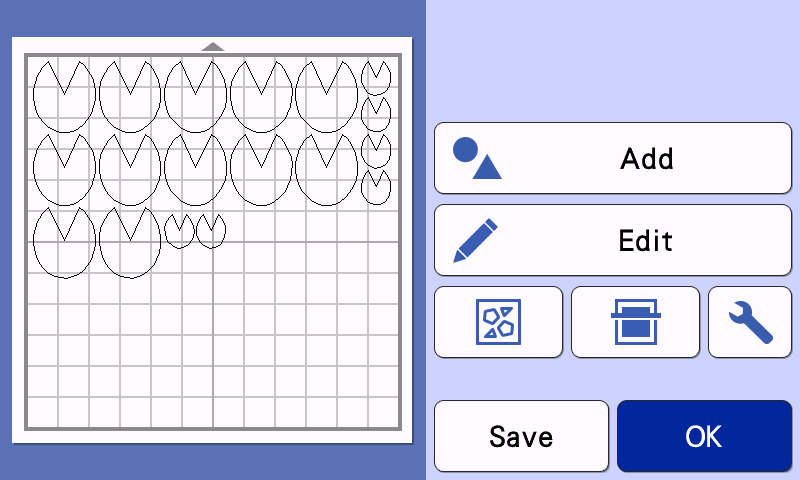
- Tap PATTERN--> Click SHAPES--> Choose #BA-A045--> Change SIZE to 3”--> Click SET--> Arrange patterns to fit towards top half of mat

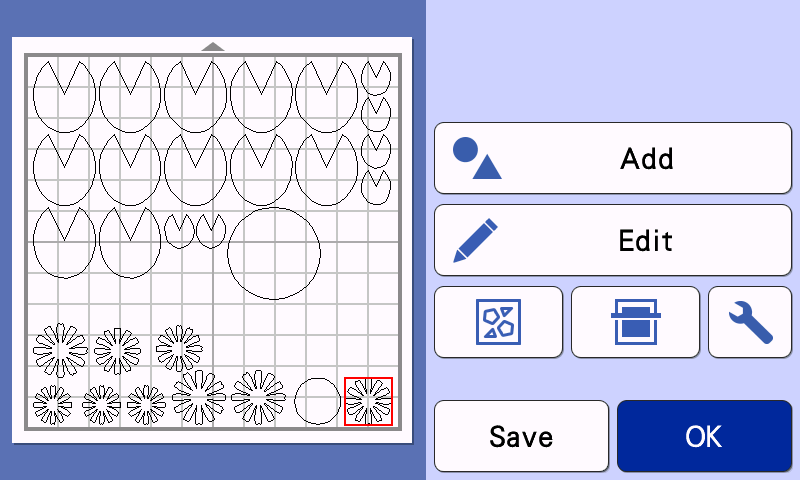
- ADD--> Click PATTERN--> Click GENERAL--> Choose NATURE #AR-A031--> Change SIZE to 1.75”--> Click OK--> Change NUMBER to 3--> Click SET--> Click ADD

- Use NATURE #AR-A031 again, but this time change size to 1.50”--> Click OK -->Change NUMBER to 3--> Click SET--> Click ADD

- Use NATURE #AR-A031 one last time and change SIZE to 1.25”--> Click OK-->Change NUMBER to 3--> Click SET--> Click ADD

- PATTERN--> SHAPES--> Choose #BA-A045--> Change SIZE to 1.50”--> Click SET -->Move to bottom of mat

- Tap OK--> Click PLEASE SELECT --> Click CUT--> Click START--> Click OK -->Click HOME--> Click OK
 Construction Green Flower
- To assemble, layer the flower pieces on top of the circle - large flowers first, medium flowers next, and small flowers last.
- Glue the flowers together.
- Insert the craft brad fastener through all three layers of the flowers. Set aside.
- To assemble, create a pleat in the bottom of each petal. Put a small dot of glue to hold the pleat in place
- Layer the six larger petals around the circle in the first row
- Layer a second row of large petals on top of the first row
- Layer the small petals on top of the second row of petals
- Glue a large yellow embossed cardstock circle to the center of the flower. Set aside.
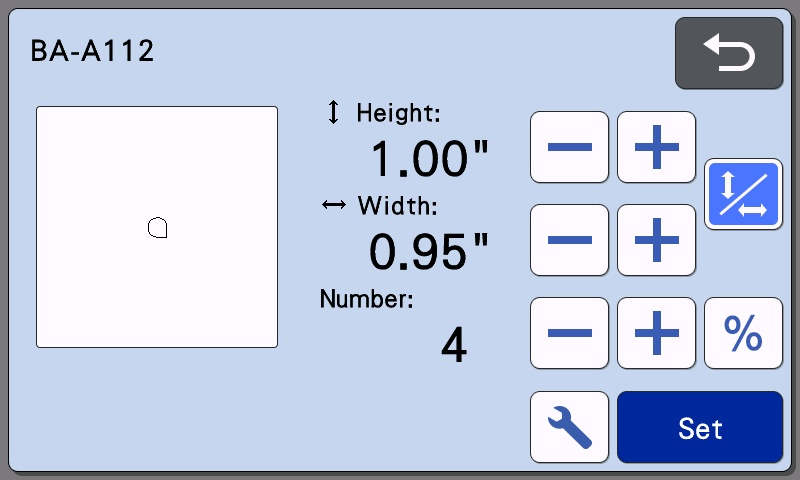
- Tap PATTERN-->SHAPES--> Choose #BA-A112-->Change SIZE to H=2.00” W=1.60”


- Choose shape #BA-A112 again but this time change SIZE to H=1.50” W=1.10”, change NUMBER to 5--> Choose SET-->ADD
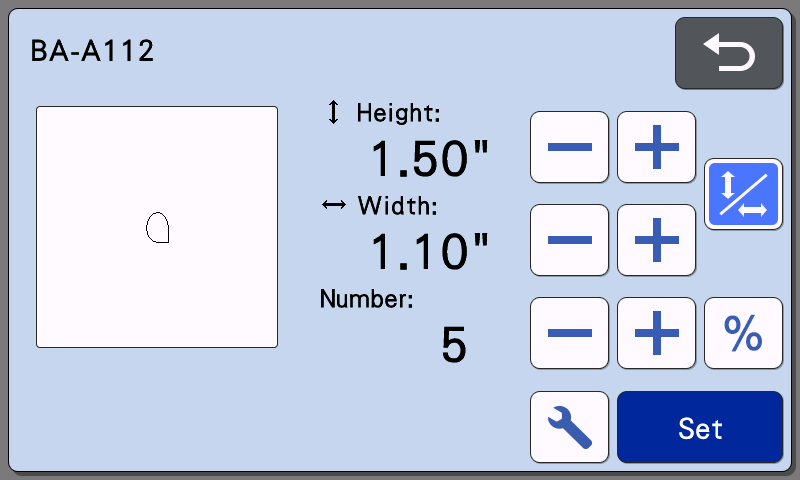

- Choose #BA-A112 one last time, change SIZE to H=1.00” W= 0.95”, change NUMBER to 4-->SET-->EDIT
- SELECT-->SELECT ALL-->OK-->OBJECT EDIT
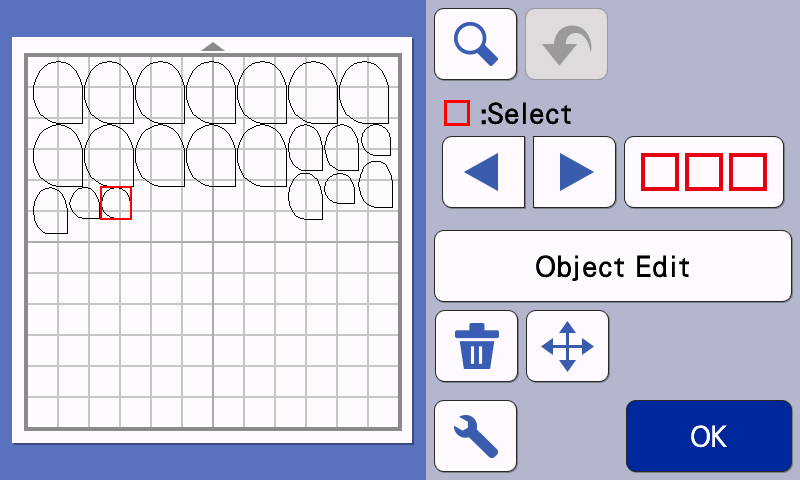
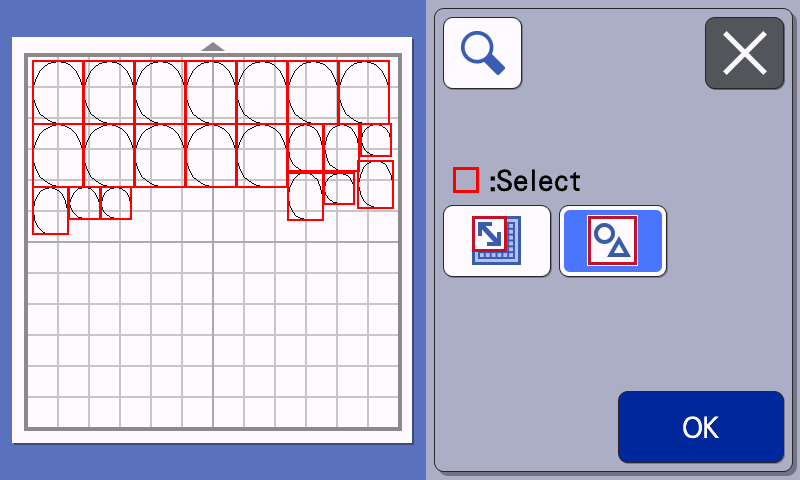
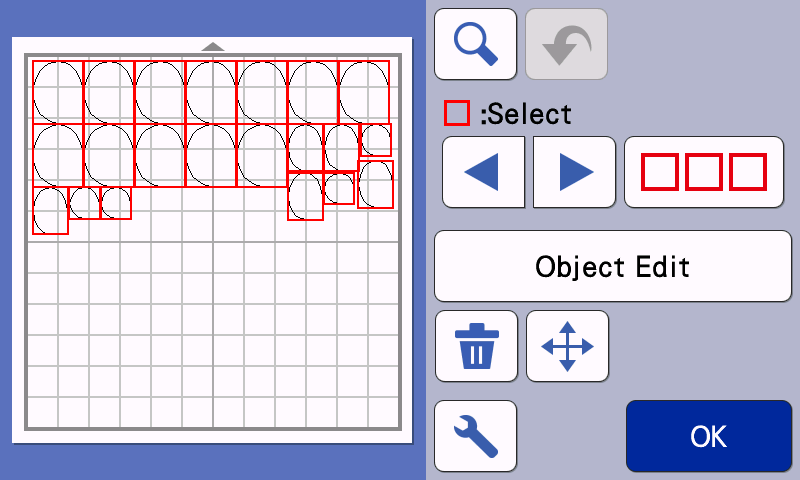
- GROUP-->COPY-->Change NUMBER to 2-->OK-->Drag grouping to bottom
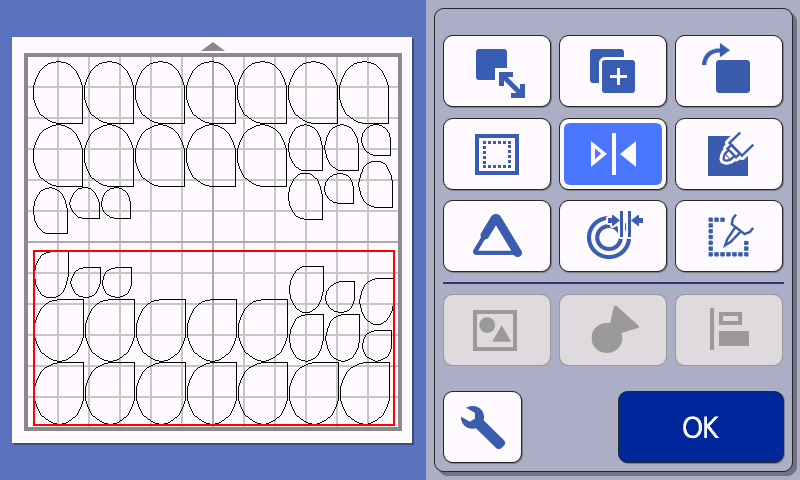
- ROTATE 90° CLOCKWISE TWICE-->OK-->MIRROR-->OK-->OK-->ADD
- PATTERN-->SHAPES--> Choose # BA-A045-->Change SIZE to 3.00”-->SET-->OK -->PLEASE SELECT-->CUT-->START
- OK-->HOME-->OK \
- Cut 1” lengths of floral wire to fit inside the petals.
- Use invisible tape to hold the wire in the center of each of the “A” petals.
- Glue one petal “B” to the back of each petal “A”, sandwiching the wire between the two. Do this for all remaining petals
- To assemble, layer the larger petals around the circle, then the medium petals. The small petals should be layered on top of the medium petals. Use hot glue to attach petals to the circle.
- Glue an embossed circle to the center of the flower.
- Shape each petal to create dimension. Set aside.
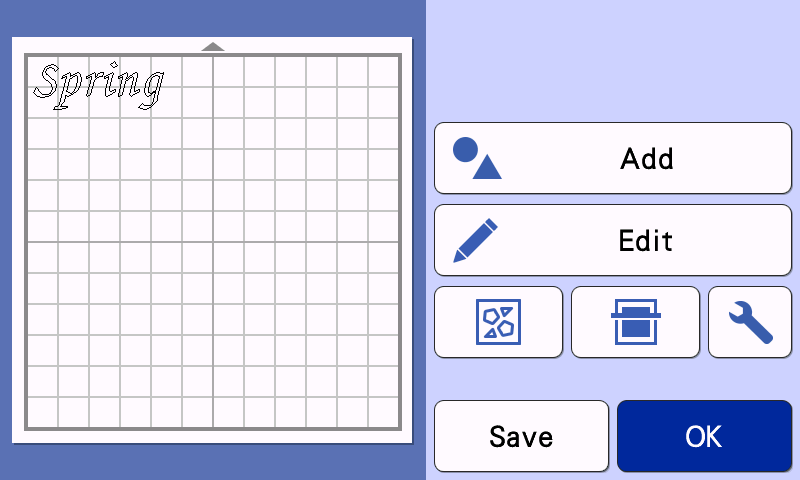
- Select Pattern
- Font Category-->Choose FO-A003
- Enter the word “Spring”--> Press OK
- Press Set-->Press Add
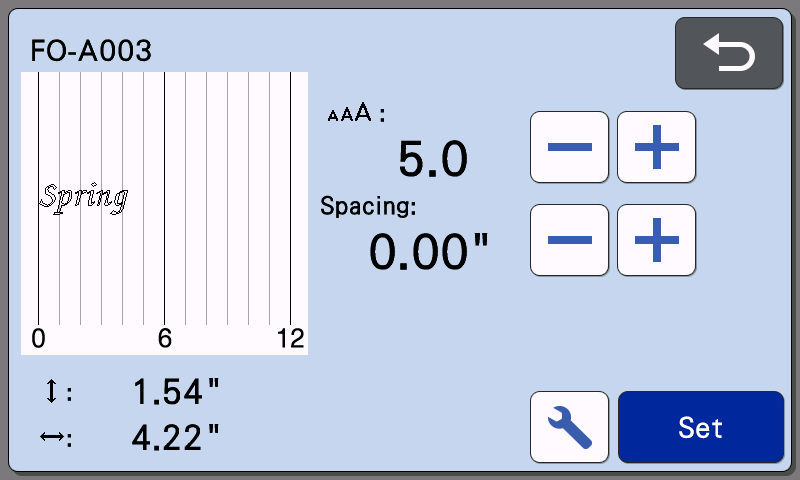
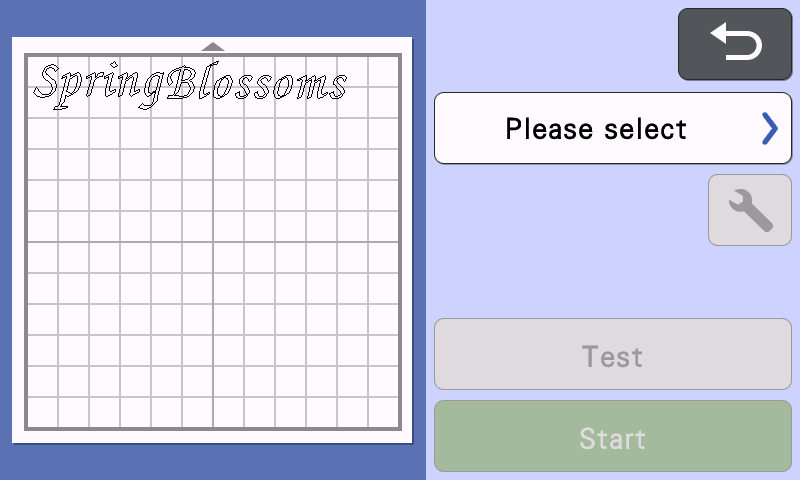
- Select Pattern
- Font Category-->Choose FO-A003
- Enter the word “Blossoms”--> Press OK-->Set--> OK

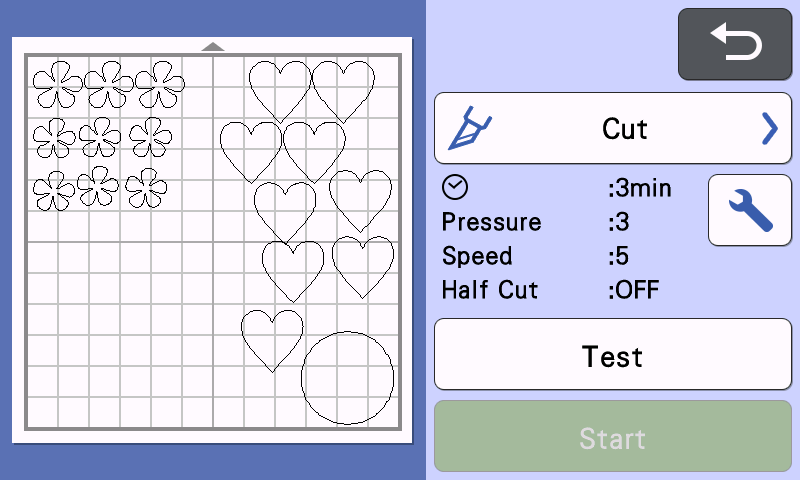
- Click PLEASE SELECT-->Click CUT--> Click SETTINGS
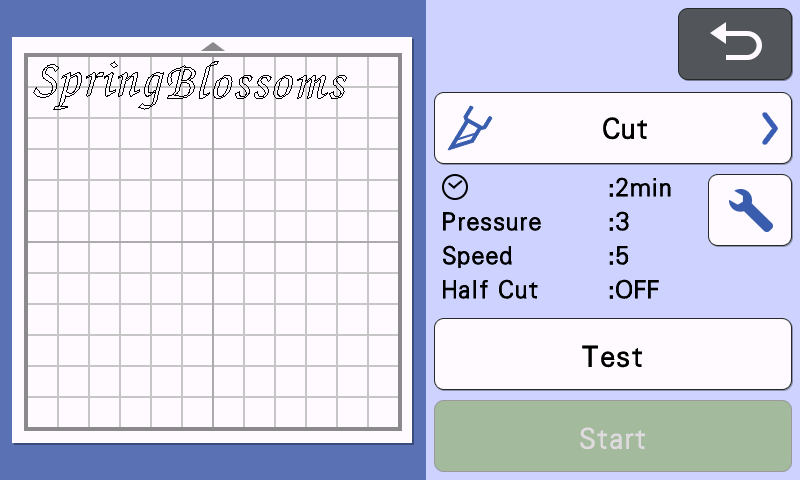
- Find setting for half cut and make sure that it is set to ON--> Click OK
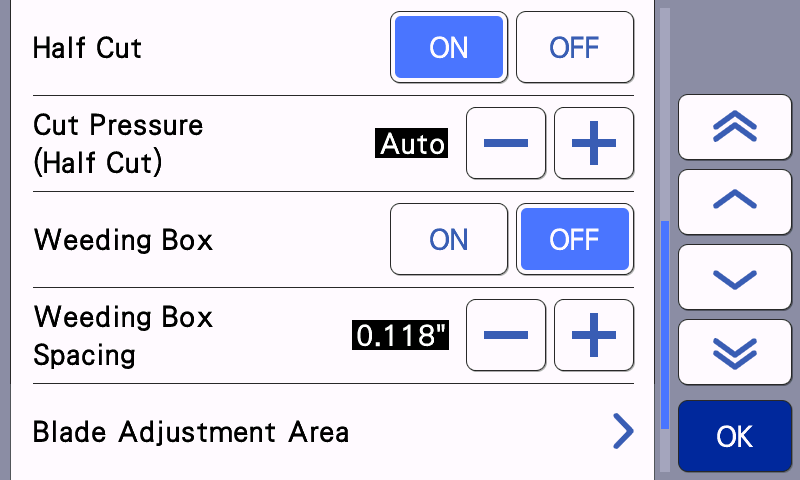
- Touch Start

- Cut the letters and set aside
- Assemble the leaves and flowers as illustrated below before using the glue gun to attach the cut designs onto the board

- Remove the letters from the paper backing and position them onto the board as shown
Tags
Shop this Project
Inspired to try to this at home? Brother has you covered! The products in this snazzy project are available for purchase so you can click, shop, and get crafting!
Related Projects
Stay Connected
* Required fields