How to Create Wall Art/ Wall Mural For Your Home
-Brother Sews Blogger
Just when you think that the Brother ScanNCut DX is only good for crafts, it just continues to blow your mind! I’m always experimenting with my ScanNCut DX. I like testing it’s limits and seeing what it’s truly capable of. It can do so much! This time around, I decided to take my machine out of the craft room and into my kid’s room.
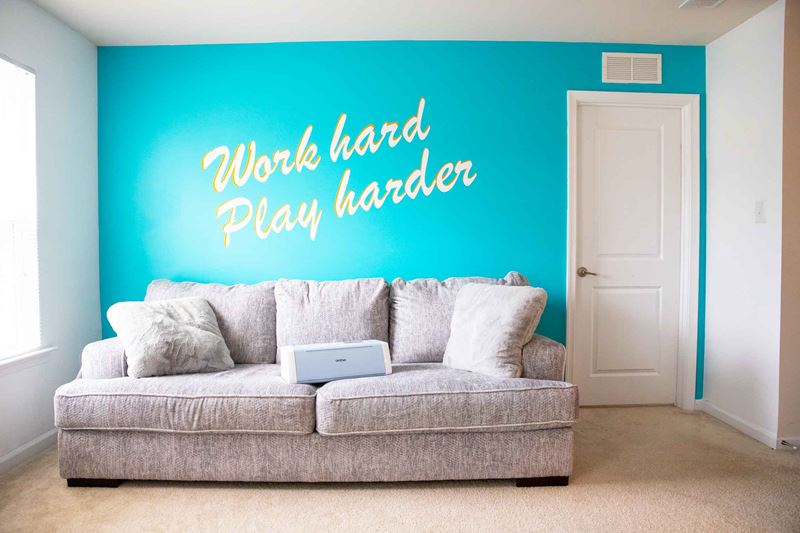
In one weekend, our family decided to decorate our loft by turning it into my kids office space. The wow factors in the space were the bold statement walls. This was made possible with my Brother ScanNCut DX. Can you believe it?! There are a couple of different ways that you can use your machine to create a fun statement wall in your home. You simply just have to be creative. Think outside of the box!
When designing your space, the first thing you want to start with is, thinking about it’s function and the people who would be in this space aka your audience. In my example, I was designing around my kids. I needed a place for them to come and do homework, arts and crafts, and I wanted a comfortable place for them to read. You can create a design around your dining room, your family room, or even your bedroom. If you are designing around your family room, you would obviously design for the members in your family and this room may be a space where your family gathers to watch tv, maybe where you’d bring your guests, etc. Functionality and audience are important in kickstarting the design process.
This post isn’t necessarily a step by step on how I created my space, but mores o a guide on a couple of different ways the ScanNCut DX can assist you in decorating your dream space. So without further ado, let’s get started.
Create a Stencil
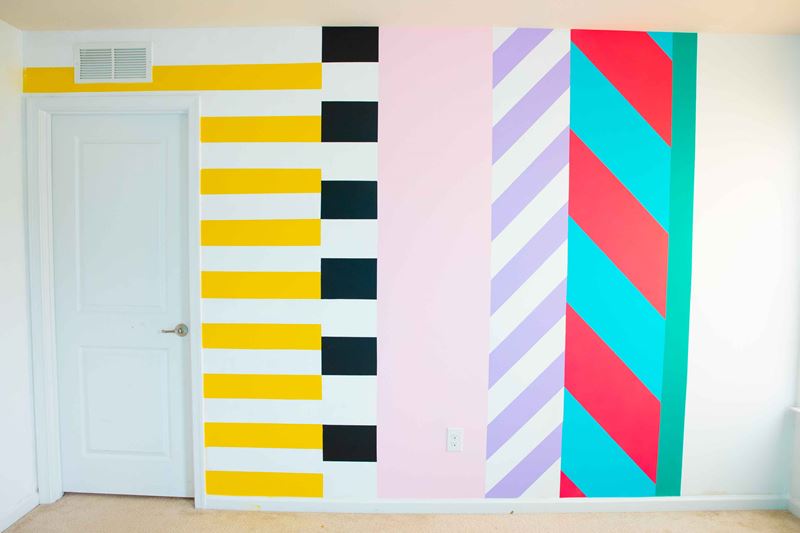
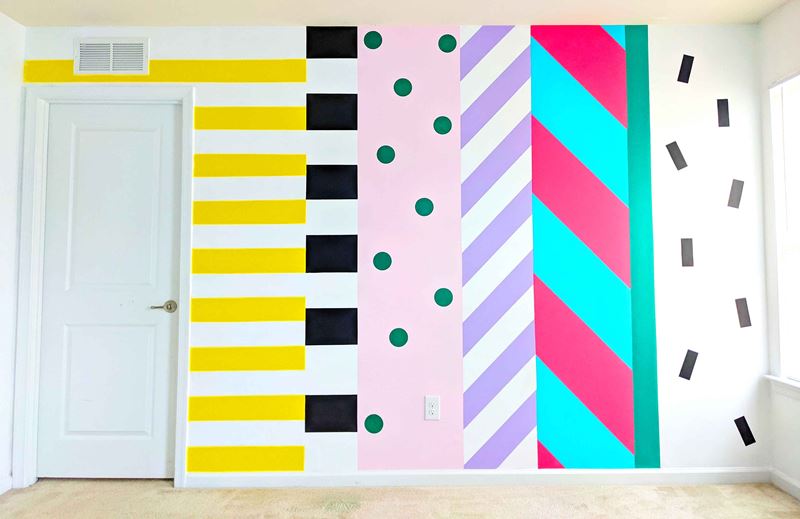
On the wall pictured below, I used a painters tape for the straight lines on each panel, but there were two panels where I wanted a fun painted design on the wall. To do this, I created a stencil. This is where the Brother ScanNCut DX comes in.
1. One or all. When painting a statement wall, decide whether you want one or all of the walls in the space. I typically choose a singular wall to paint a statement wall for two reasons; time (painting can take a long time) and not wanting the space to feel too overwhelming.
2. Choose your design. I kept it pretty simple, but you definitely don’t have to! Go wild if you want. That’s the best part about having a Brother ScanNCut DX. You don’t have to figure out how to create even, professional looking shapes because your machine will do that for you.
3. Design your stencil. Let’s create your design in Brother canvas. When designing, keep the size of the wall in mind as well as how detailed you want your stencil to be. I recommend not going too detailed with your design. You may find it tedious when you go to paint. Keep it as simple as possible.
When designing your stencil, keep the size in mind. Remember, create one design up to 12” and create a repeat up to 24”.
4. Vinyl. The vinyl recommended for this project is a stencil vinyl. It’s removable and it’s sticky enough to where the paint doesn’t leak underneath the vinyl which would cause the design to look distorted. (In the example, I used a basic removable vinyl for easy viewing.)
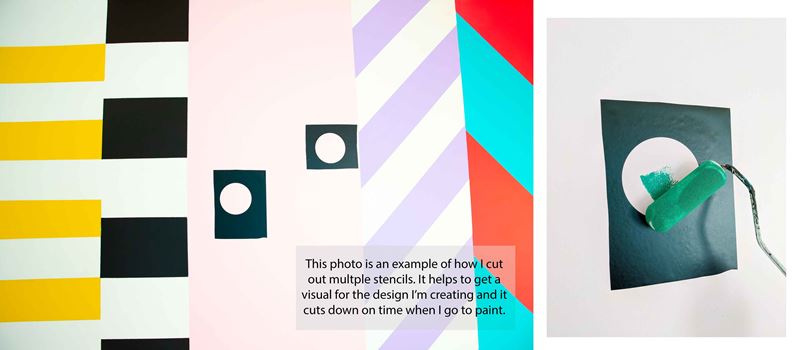
5. Cut it out. When cutting out your design, make sure the right side of your vinyl is facing up. You’ll also need to set up your machine using a half cut. I recommend cutting out 3-4 stencils for efficiency. And as always, be sure to always test your cut prior to cutting out your design.
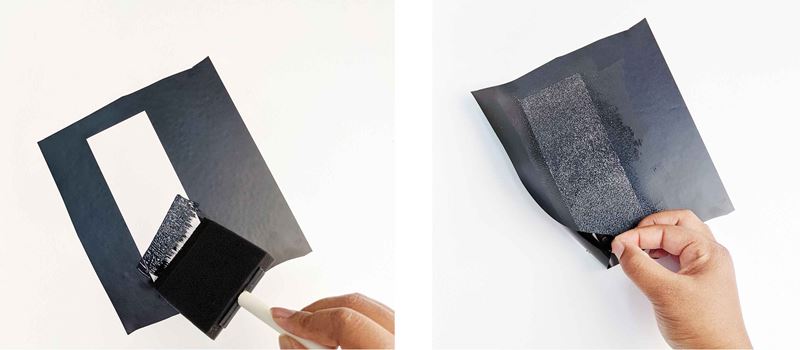
6. Paint. Remove your stencil from your machine and adhere it to your wall making sure that there are no visible bubbles or raised areas in the vinyl. It should be flat to the wall. Add one or more stencils to the wall. The more you add, the faster you’ll finish.
Paint a thin layer of paint within the cut out. Repeat until you get the desired opacity. Once dry, remove, replace your stencil to an unpainted area and paint. Repeat these steps until your statement wall is complete.
Create a Removable Wall Decal
Wall decals are great! We’ve seen them at retail stores in all sorts of shapes such as: birds, stars, flowers, etc. I've also seen quotes and popular sayings in retail stores. They are available in all sorts of fonts and colors. These are great, but it’s even better when you can customize every detail of your wall decal to the space you're designing and who you are designing it for. Am I right?! Custom is always better.
When it comes to fun shapes, the canvas workspace has an unlimited amount of designs. You can find what you’re looking for and create the sizes you’re wanting for your wall design. If you want to create a custom design, that’s even better. Bring you ideas to life by creating in Brother Canvas. It’s fast and easy.
Walls with quotes are a huge trend at the moment. Most of the ones I’ve seen on social media are hand painted. For those of us that aren’t really strong suited in painting, no worries; Brother ScanNCut DX has us covered. Below, I've listed some helpful tips to consider when cutting out wall decals.
1. Always use removable vinyl. You don't want anything permanent on your walls. You may want to change up your design in the future. Removable is always the way to go.
2. Set up your machine to cut at half cut.

3. Keep the width of your cutting mat in mind. Remember, you only have 12” in width to work and up to 24” in length. When designing your decal, design accordingly. Also, note that you can break up your design if it doesn't fit on one mat. If you are doing a quote, you can do one set of letters the first round of cut and do additional letters thereafter.
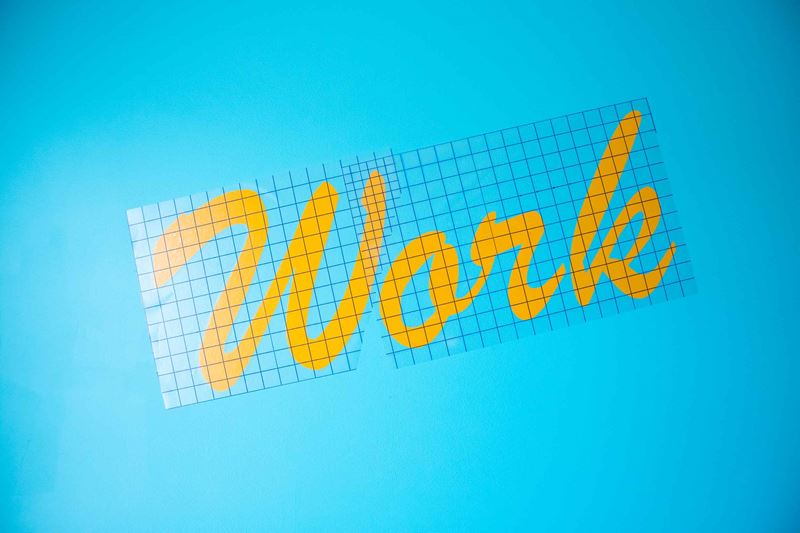
4. When cutting out your quote, there is no need to mirror the design. You’ll simply weed the background from your lettering and transfer your quote to transfer tape. This leads me to my next point.
5. Transfer tape is crucial in helping you map out your design as neatly as possible. This is especially important if you are cutting out any quotes or words.

Create a room that you’d enjoy walking into everyday and have fun with your space. Keep in mind that the vinyl isn’t permanent. You can always change it. Brother ScanNCut DX makes it easy for you to get creative with your ideas and design a space you’ll love. Have fun!
Tags
Shop this Project
No ScanNCut DX? No problem! Any products mentioned in this project are available to buy here.
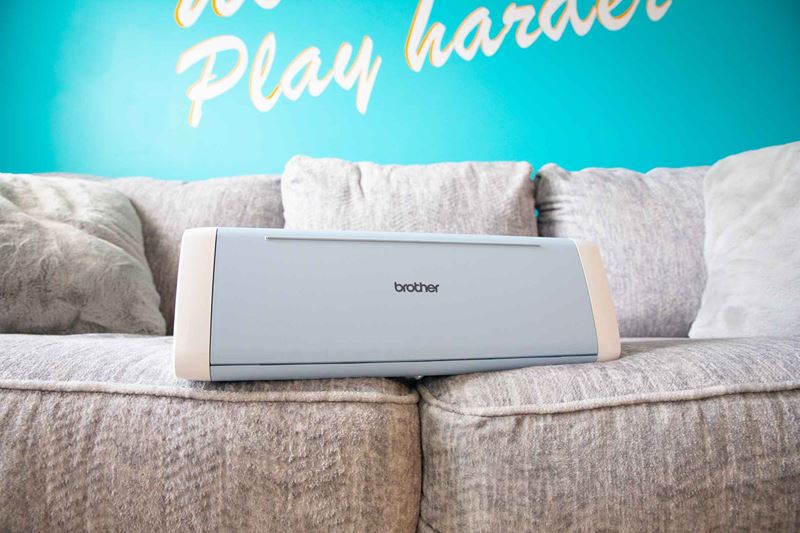
Brother ScanNCut DX
- 251 Built in Designs
- True Auto Blade, no manually adjusting blade pressure settings
- Built-in Scanner; scan in hand-drawn creations and cut them out!
Related Projects
Stay Connected
* Required fields