How to Craft A Custom Dog Treat Container
-Brother Crafts Blogger
When it comes to gifting for my friends (and their furry pets!) I love putting a handmade spin on things. In this tutorial I will show you how I simply design and create my own treat jar in three simple steps. This idea can be transformed into many different themes, as well as adding (or taking away) elements to make it more or less complicated.
Supplies:
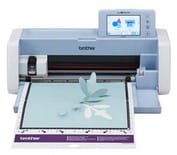
• Brother ScanNCut DX
• standard or low tack mat
• vinyl
• transfer sheet
• pick tool recommended but not required
• container
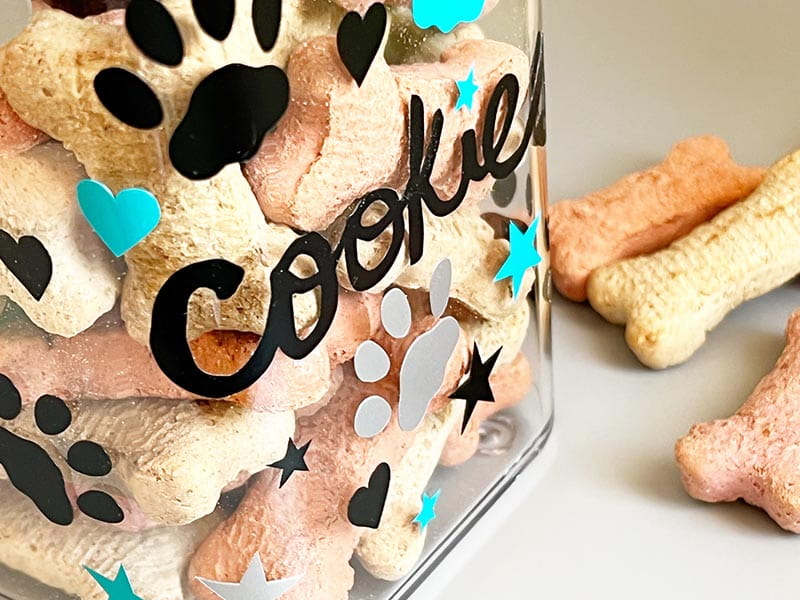
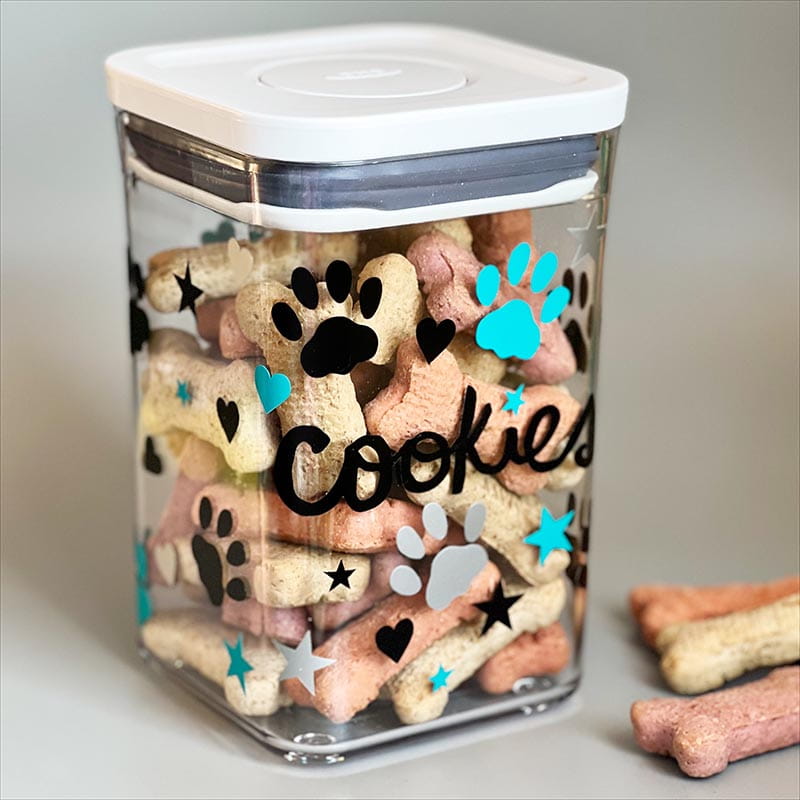
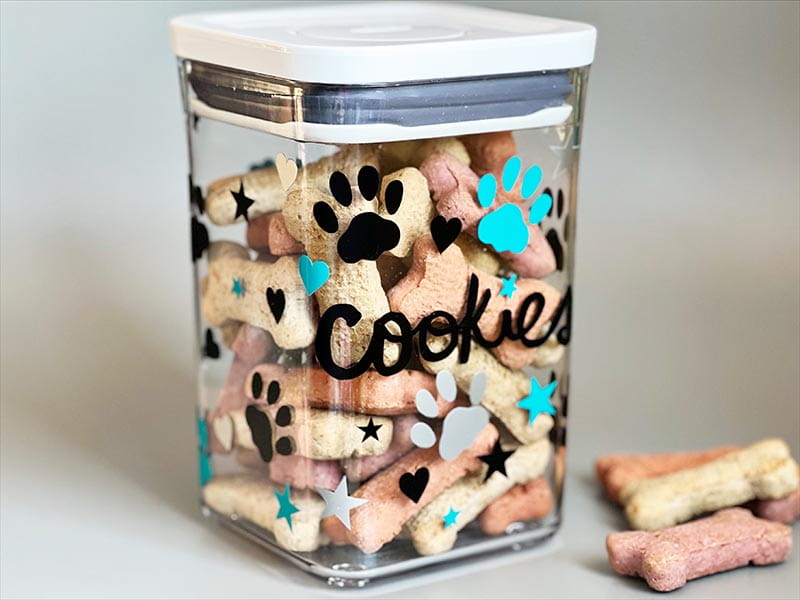
For this container, I wanted to write out the word “cookies” for the jar and create my own cut file. If that is not your preference, you can use an SVG, built in font, or use the Brother Type Converter tool in order to create your own custom cut file from any font nearly instantly! I always love how the ScanNCut DX gives me so many ways to both customize and simply create.
In this tutorial I am using three colors of vinyl, however for a project like this you have limitless options! Likewise, you can hand-place each and every single element or create a design as I do within the machine and transfer many things at once. I love this flexibility and depending on my mood and how well I am able to envision my project I can adjust how I design and create my project each time.
The container I am using is more squared with rounded corners (vs a cylinder) and I mention this because I find the flat surfaces a bit easier to design on, as you know how much of the front design will show vs when totally rounded sometimes it can be harder to gauge how large any one element should be to be able to see/read without turning the container. When in doubt- a bit smaller is usually better.
This project is so much fun to create and share – and can be anything from a dog cookie container to art supplies to anything you can wrap up and gift! My ScanNCut DX always makes the process a blast!
Tags
Shop this Project
No ScanNCut DX? No problem! Any products mentioned in this project are available to buy here.
Brother ScanNCut DX
- 251 Built in Designs
- True Auto Blade, no manually adjusting blade pressure settings
- Built-in Scanner; scan in hand-drawn creations and cut them out!
Related Projects
Stay Connected
* Required fields